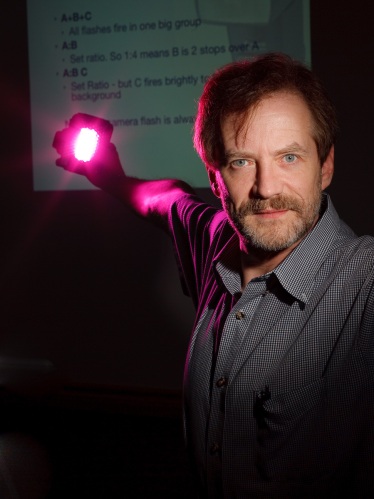
Light, Portrait, #1

A few words about lighting. Today, two lighting types for you:

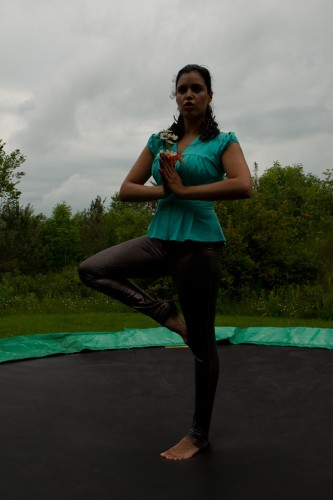
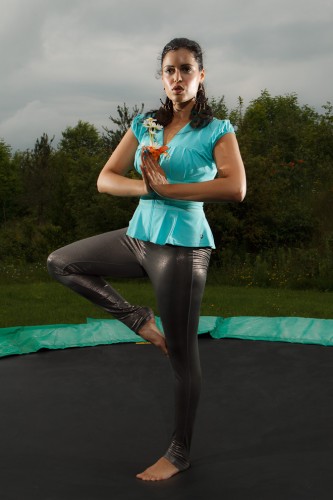
Broad lighting—you are mainly lighting the half of the face that is largest to you )turned toward you).

Short lighting—you are mainly lighting the half of the face that is smallest to you (turned away from you).

There are many other types of lighting (Split, Rembrandt, Butterfly, Loop, etc), and they merge into each other rather than being cleanly split (e.g. you could make the case that the second picture is really more Rembrandt Lighting); but these two will do for now.

The effect: Broad Lighting makes a face look broader. Short (or narrow, as I like to think of it as) Lighting makes the face look narrower.


Inverse Square

You have heard, perhaps, of the Inverse Square Law. I hope you have. Because it is rather important in photography.

The Inverse Square Law says that the intensity of light shining on an object from a light source decreases with the square of the distance of the light source to that object.
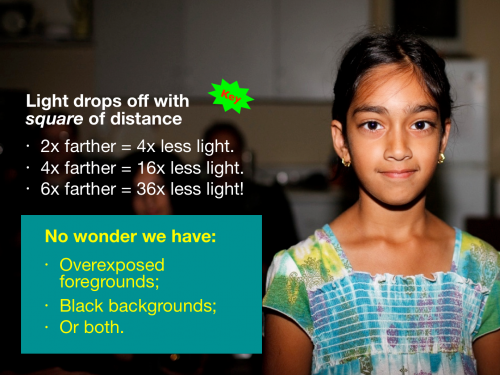
You can see what this means for us in practice: dark backgrounds if we aim a light forward from where we are (say, a pop-up flash). If the background is ten times farther away than your subject, it gets 100 times less light. Solution: do not have the light where your camera is. Or bounce. Or use several flashes. Or use ambient light also (“dragging the shutter”).

Important note: It is important to realize that this applies to the distance between light emitter and subject. Not the distance between you and the subject!  (If you find this hard to visualize, consider this: when you back away while looking at a Caucasian, he or she becomes a smaller Caucasian to you, not an African-American).

Other than dark backgrounds, what else does the inverse square law mean to you in practice? This, for instance:

  • If you move a studio light twice as far from a subject, you lose two stops of light (2 squared = 4, and two stops equals a factor of four).
  • If you move it 41% farther, you lose just one stop, since 1.41 is the square root of 2.
  • To get one stop more light, move the light closer by 30%, to 70% of its previous distance, since 0.707 is the square root of 0.5).

So knowing a little math, geometry and physics comes in handy. I speak not as an engineer, but as a photographer. I can move a studio light into the right position to get a  stop more, or a stop less, light without metering.

And now, so can you. You are welcome.


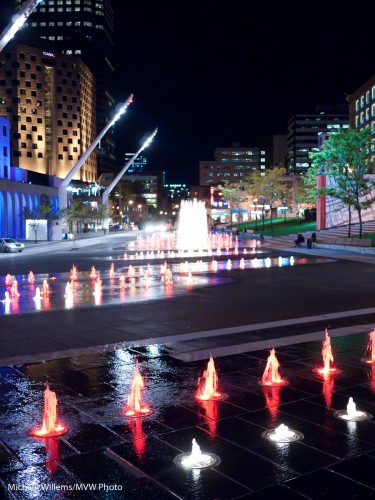
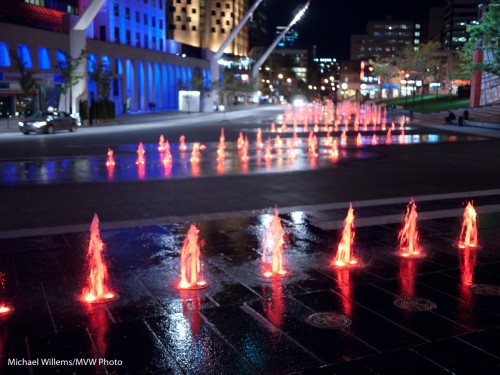
Night.

In Montréal. Last night!

Montreal, 9 Oct 2010

Montreal, 8 Oct 2010

Taken at 800 ISO, 1/30th sec, f/1.7.

Because of the fast (f/1.7) 20mm lens on the Lunix camera I was able to shoot at 800 ISO. Had I had a regular point and shoot, I would have had to shoot at a higher ISO speed, much higher.

Here’s another one:

Montreal at night, 8 Oct 2010

Montreal at night, 8 Oct 2010

So the tips for today are:

  • Use a tripod if possible.
  • If not, then open your aperture as wide as you can.
  • And go to a wide angle if you can.
  • Use exposure compensation if needed, usually -1 to -2 stop. Ensure the black sky is black.
  • Go to a high enough ISO so you get a reasonable shutter speed.
  • Hold still.
  • Shoot multiple times.
  • Select the best shots!

And above all: bring the camera. And have fun.

Bad light

Have you ever thought, or said, the following?

Waah. It’s raining, I can’t take pictures.

There’s no sun, I can’t take pictures.

Don’t you believe it. A cloudy, rainy day is better than a sunny day in so many ways.

  • No harsh shadows to wrinkle clothes (or faces)
  • No squinting eyes
  • Saturated colour
  • No impossible contrast to handle
  • Those great raindrops

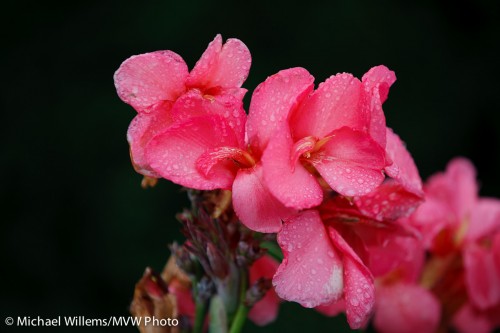
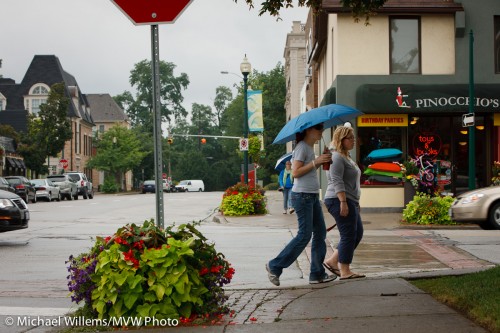
The other day, I took a few snaps during the Henry’s Creative Urban Photography walkaround. Here’s a few of them: are those saturated colours not beautiful?

Leaf in the rain, by Michael Willems

Leaf in the rain

Flower in the rain, by Michael Willems

Flower in the rain

Turning Leaves in the rain, by Michael Willems

Turning Leaves in the rain

Oakville in the rain, by Michael Willems

Oakville in the rain

Tired Flowers, by Michael Willems

Tired Flowers

Oakville plants in the rain, by Michael Willems

Oakville plants in the rain

Oakville door, by Michael Willems

Oakville door

A rainy, overcast, dreary day: provided you expose properly (remember exposure compensation. Hint: it’ll likely be “minus”), there’s really nothing quite like it.

Creative light

There is just one more spot open for the all-day Creative Flash course in Mono, Ontario, an hour north of Toronto, Saturday.

Using a professional model and pro lighting equipment on Canon, Nikon and other camera brands, Joseph Marranca and I will teach our students to take shots not like this:

Tara Elizabeth

Tara Elizabeth

But instead like this:

Tara Elizabeth

Tara Elizabeth

You see how important light is? That’s what these workshops are about, to make users comfortable with the technical and creative aspects of light,

And they are about going home with portfolio shots.

And about having fun with cameras, all day!

Grids and why you might like them.

Grids,  like the Honl grid attached to my flash here, are very important modifiers. A grid ensures that the light from a flash does not go “everywhere”. Instead, it goes to one cone of light, that drops off softly at the edges. This was taken by a student a few hours ago:

Oddly, that cone is a bit softer than the straight flash.

TIP: Use a gel if you want to see where a light is going, That way you can identify easily which light is shining where:

And have fun.

That wired effect

Here’s a picture I just took of my favourite patient model. I used some technique to get that dramatic “Wired” effect:

The way I made this picture:

Camera:

  • Camera: Canon 7D with 50mm f/1.4 lens
  • Set to Manual, 1/125th sec, f/8, 100 ISO

Flash:

  • Multi-flash TTL with one on-camera and two off-camera flashes.
  • One “A” Flash on the camera (580 EX) as fill flash and “commander”;
  • The main lighting was rim lighting: two 430 EX flashes either side of the model, slightly behind, set up as “B” flashes.
  • I was using a 1:8 A:B ratio.
  • The 430 flashes were each equipped with a Honl 1/4″ grid, to stop their light from hitting the entire room.
  • Flash compensation -1 stop to avoid overexposing the rims (this is common when your main flash lights only a small part of the picture).

Post:

  • And finally, I desaturated the colours in Lightroom: Presence +15, Vibrance -20 and Saturation -40. I also did a version where I desaturated only red and orange, and increased sharpness, which is the usual technique.

Try it yourself, or come to our two-day Light workshop 10+11 April to learn exactly how to do this.