“One step at a time” lighting technique

You have heard me say it many times: “bright pixels are sharp pixels”.

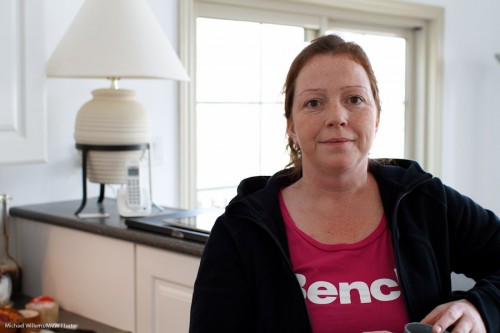
Let’s say you want a picture of a lady. Just let’s say that.

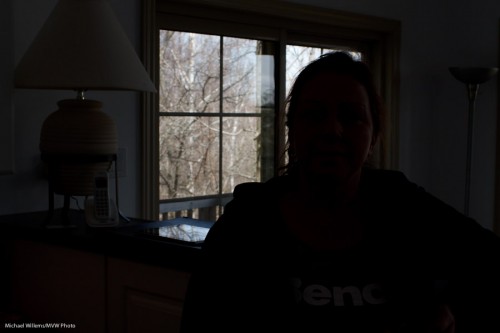
So then you put a lady by the counter. Because there’s a bright background behind her, and you know your camera, you use Exposure Compensation to avoid her turning into a silhouette. I used a Canon 7D with a 35mm prime lens. And hey presto, here’s the snap – and that is all it is, a snap:

The background is now too bright, and the person is “dark pixels”, meaning the picture misses that crisp sharpness you were after.

So now let’s take it in steps.

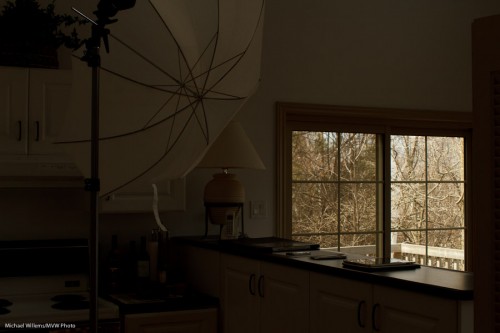
First, decrease the exposure to get the background right. Use manual, or use exposure compensation (minus!). In my case, it was manual exposure mode, 200 ISO, and 1/200th second at f/8, which gave me this (and that should not be a surprise to those of you who know the “sunny sixteen rule”):

Better – for the background. Now we have a nice dark background, and we can see the trees, and so on.

Now the next step: to light up the foreground!

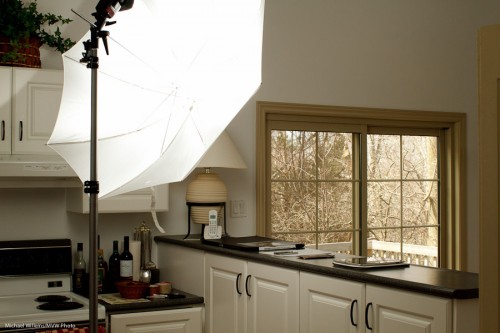
Flash is evidently called for. So I used a light stand with a flash-and-umbrella mount on top, with a simple 430EX flash on it, shooting through an umbrella:

Now I do the following:

  1. I set the flash to “slave” mode (“remote” on Nikon”)
  2. If I have a 7D, or a 60D, or a Nikon, I use the popup flash to fire that remote flash in TTL mode. If I have another Canon, I use a 580EX on my camera to fire the remote flash.
  3. In both cases, I ensure that the on-camera flash (popup or 580) is disabled, other than sending commands.
  4. Since the background is white, and I am using TTL rather than manual flash, I use flash compensation, +2/3 stops.
  5. I set my White Balance to “flash”.

And now when I fire, the umbrella lights up:

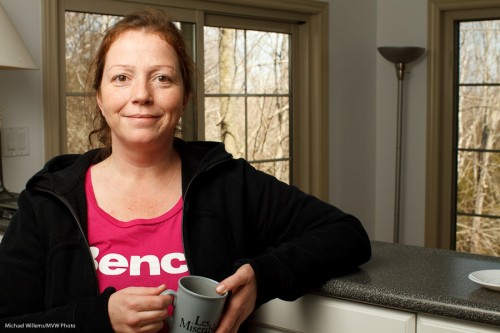
Which, finally, once we ask the lady to stand by the counter again, leads to this shot:

(Thanks for being the patient model, Lita!)

I have now achieved what I wanted: Lita is “bright pixels”, and the background is nice and colourful. Other than explaining, this all took just a few seconds, of course.

The technique above is just one of the many things students learn on my Flash courses. The last Mono, Ontario course ever is “Creative Lighting” with Joseph Marranca, on April 23rd – and there are only a few places left. Just saying!

The horror.. the horror…

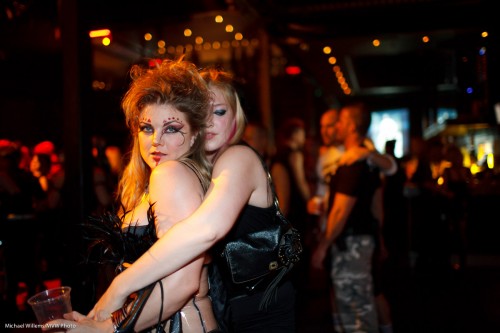
…of walking into a venue where you have to shoot, only to discover that the ceiling is about 1,000 ft high and the walls are black, and there is zero light.

1600 ISO, 1/30th second, f/1.4

My strategy?

In this order, I:

  1. Reduce Shutter to what I am comfortable with.
  2. Open Aperture to what I am comfortable with.
  3. Increase ISO as much as needed.

That is how I got to those values above. Using, of course, my prime 35mm f/1.4 lens. I reduced the shutter to 1/30th, which is as low as I want to go with a 35mm lens if I can help it. Then I went to f/1.4: wide open (focus carefully!). Then I raised ISO until I got light into the background. Phew!

Learning opportunity! Stay tuned for an exciting new “Events Photography” course – details soon. And there are also still spots on “The Art of Nude Photography”, Sunday January 16, 2011 (See yesterday’s post).

Classic Portraits

Here’s one tip for classic portraits: you can use classic backgrounds.

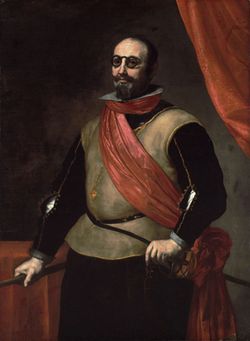
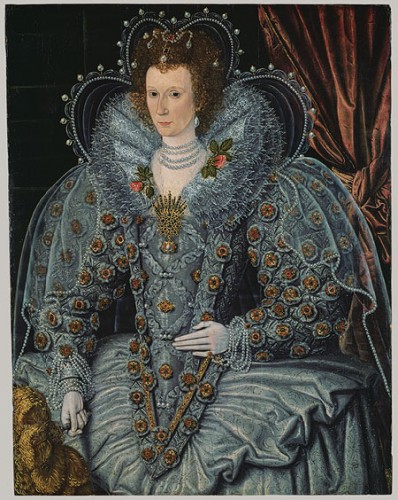
In the 17th century, that meant an elegant drape behind the subject, to provide:

  1. Nice texture;
  2. Elegance;
  3. A sign of wealth and comfort;
  4. A nice curve.

Somewhat like this:

1630 - portrait

You do wonder how people walked around in those Halloween costumes. But anyway, back to backdrops. Why not do that today?

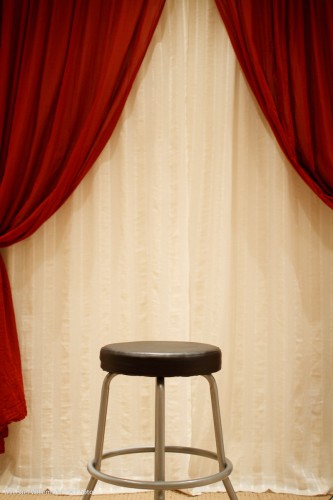
My student Melony built this in her home studio.

Home Studio Backdrop System

Against a wall, two curtain rods: the back one with white curtain hanging from it, and the front one with red curtain. Both operable independently so you can open or close either or both. Easy, and it is not in the way of normal use of the room.

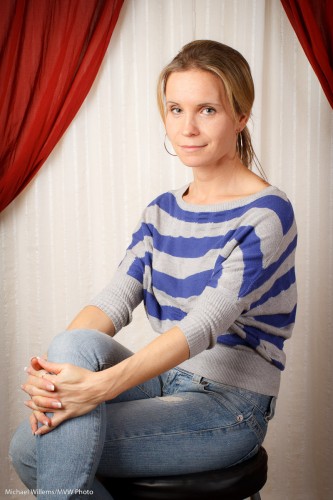
And with proper, light and white balance, this results in portraits like this:

Student Melony in home studio

That kind of setting is very suitable for family portraits. Even in 2010. Many times, I much prefer this to a standard white or black backdrop, or to a muslin.

I might even say especially in 2010. Tip: go to an art museum if you want to see great portraits.

How did we light that portrait?

  1. A softbox to camera left
  2. A fill light behind me to camera right

Questions?

  • Why a softbox? Because it does not spill light everywhere, like an umbrella. Umbrella = safe; softbox = more controllable, and hence more for art.
  • Why the fill light? Because without it, even in a small studio, the non-lit side of your subject can get a bit dark.
  • And if the light is too bright even at the lowest setting? Move it back.
  • Could we have used a reflector instead of a fill light? Absolutely.
  • But will you sometimes want a roll of paper for a neutral, simple background? Of course. Having a drape does not mean you have to use it every time.
  • What kind of lens were you using? A prime (fixed) 35mm lens on a crop camera (the Canon 7D). That means effectively a 50mm lens, which is perfect for half body portraits like this.

So, a classic portrait does not have to be complicated: a few simple tools and you have great options.

Unstick yourself!

A recent meeting with a very talented young photographer, Peter McKinnon, prompts me to write about lens choices for a moment.

Peter, who is a student of mine in the Advanced Flash lighting workshops, showed me a wedding album and other wedding shots he recently did. He showed me a wedding he shot on his own,  entirely with a 24mm prime lens, and much of it at f/1.4. Never took that lens off. No long shots. No zooming. Just Peter and his wide angle lens. Fantastic work.

The 1D Mark IV makes a lens look 30% longer, so that’s 24 x 1.3 = 31mm. Roughly equivalent, then, to me using my 35mm f/1.4 lens on the full-frame 1Ds Mark III body.

Mmm. That would be liberating: one lens, a wide one, for an entire shoot. And I have mentioned before, for events this is my favourite lens.

Selective focus:

Cat, by Michael Willems (35mm, f/1.4)

Cat, by Michael Willems (35mm, f/1.4)

Low light ability:

Club, by Michael Willems (35mm, f/1.4)

Club, by Michael Willems (35mm, f/1.4)

And both, available light and selective focus:

Couple, by Michael Willems (35mm, f/1.4)

Couple, by Michael Willems (35mm, f/1.4)

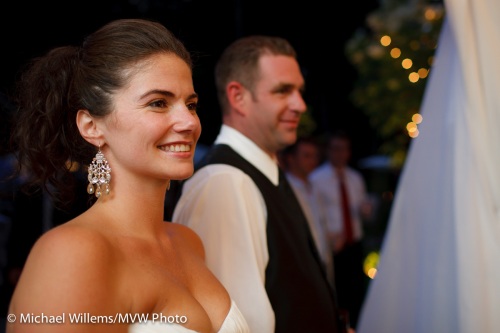
So I checked. The last wedding I shot, I used my 35mm lens for fully 30% of the shots! I too love the shallow depth of field:

Bride and Groom, by Michael Willems

Bride and Groom, by Michael Willems

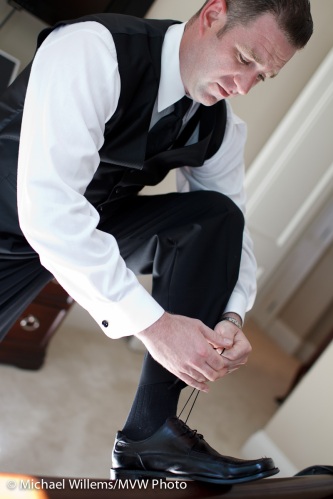
And I like the ability to get it in and to not have to worry about how to zoom.

Groom getting ready, by Michael Willems

Groom getting ready, by Michael Willems

So here is my suggestion: that you too spend an entire day shooting with one wide angle lens. This will free your mind from deciding on lens, zoom, and so on, and open your eyes to the photos in front of you. And that is what photography is about: photos, not cameras or lenses.

And you know what: I’ll do the same, on my next event shoot.

It's all a blur

Well, not all. But in many good photos, the background is blurred. Because one way – a very good way – to draw attention to your subject is to blur the background. You do this by using aperture or manual modes and selecting a large aperture (a small “f-number”, like 2.8 or 2.0 or even 1.4 if your lens can do this).

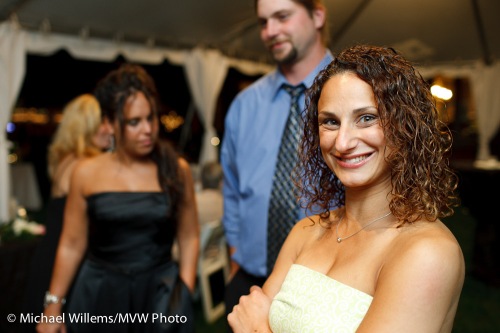
That is why I love the 35mm f/1.4 lens and several f/2.8 lenses I use also: because they allow me to dramatically blur backgrounds. Like in a few of last night’s guests:

Wedding guests, photographed by Michael Willems

Wedding guests

The other interesting thing is that these pictures make you guess; make you piece together the story, as in my post the other day.

Tip: Normally, you do not want the blurred background person to vie for attention by looking into the camera. Except if they are the only person, as in this image:

A wedding cake, photographed by Michael Willems

A wedding cake

Your eye goes first to the cake. Then to the gentleman in the background. Then you try to make out what is happening.

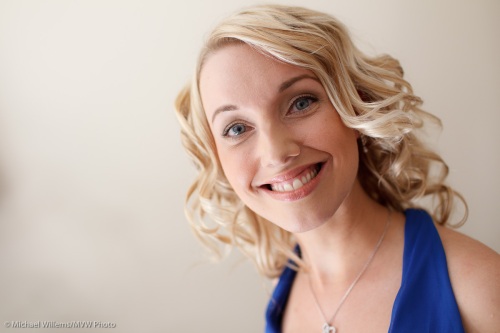
And sometimes selective focus is all about drawing attention to the eyes:

Wedding guest, photographed by Michael Willems

Wedding guest

The good news: there are many affordable fast lenses available, like the 50mm f/1.8 that many camera makers sell, and the 35mm f/1.8 that some sell.

If you are not yet shooting with fast lenses, probably prime lenses, my advice is to try it soon.

Detroit speaks: Cubic Inches

Detroit used to say: there’s no substitute for cubic inches.

And indeed there isn’t. Wanna have torque: need a big engine.

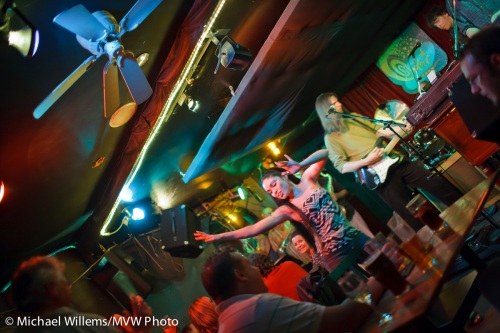
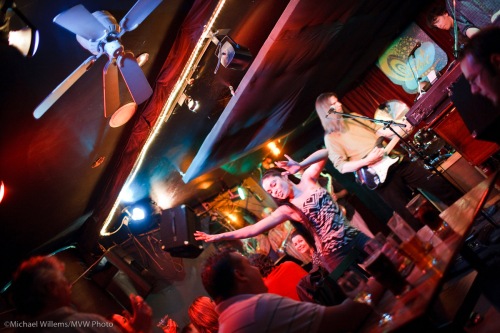
Similarly, in cameras there’s no substitute for lots of glass. Here’s a shot the other day in a bar with live music:

A scene in a bar ion College Street with live music, shot by Michael Willems

Bar on College Street with live music

So can I do this with my point and shoot, or with a kit lens?

Alas, no. With a fast lens I was using the following settings:

  1. Sensitivity set to 1,600 ISO
  2. Manual exposure mode
  3. Aperture at f/1.4
  4. Shutter at 1/30th second
  5. No flash

Surely there are better solutions than spending money on a fast lens! Could I have used a cheaper lens? Not with those settings: the picture would have been too dark.

  • Higher ISO then? No, most cameras will not go higher than 1,600 – or if they do, much noise results.
  • Longer shutter speed? No, the girl would have been a big blur.
  • Just use Flash? No, the black walls did not afford flash bounce capability and direct flash would lead to a really bad picture.

So, sometimes you need the power of fast prime (fixed focal length) lenses. And that is why my 35mm f/1.4 lens is my favourite party lens.