You have heard me say it many times: “bright pixels are sharp pixels”.
Let’s say you want a picture of a lady. Just let’s say that.
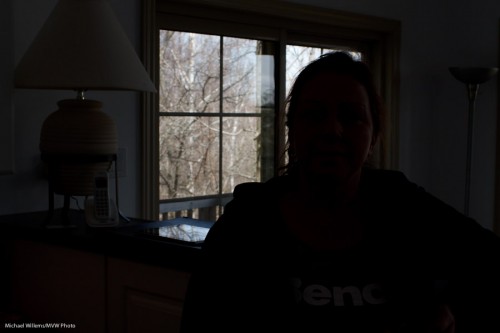
So then you put a lady by the counter. Because there’s a bright background behind her, and you know your camera, you use Exposure Compensation to avoid her turning into a silhouette. I used a Canon 7D with a 35mm prime lens. And hey presto, here’s the snap – and that is all it is, a snap:
The background is now too bright, and the person is “dark pixels”, meaning the picture misses that crisp sharpness you were after.
So now let’s take it in steps.
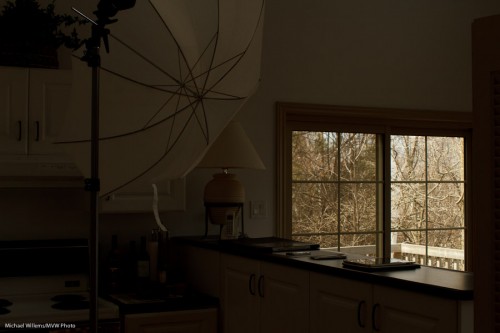
First, decrease the exposure to get the background right. Use manual, or use exposure compensation (minus!). In my case, it was manual exposure mode, 200 ISO, and 1/200th second at f/8, which gave me this (and that should not be a surprise to those of you who know the “sunny sixteen rule”):
Better – for the background. Now we have a nice dark background, and we can see the trees, and so on.
Now the next step: to light up the foreground!
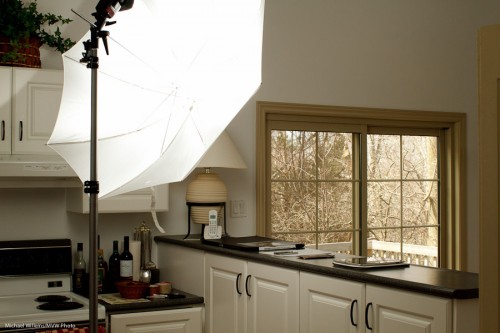
Flash is evidently called for. So I used a light stand with a flash-and-umbrella mount on top, with a simple 430EX flash on it, shooting through an umbrella:
Now I do the following:
- I set the flash to “slave” mode (“remote” on Nikon”)
- If I have a 7D, or a 60D, or a Nikon, I use the popup flash to fire that remote flash in TTL mode. If I have another Canon, I use a 580EX on my camera to fire the remote flash.
- In both cases, I ensure that the on-camera flash (popup or 580) is disabled, other than sending commands.
- Since the background is white, and I am using TTL rather than manual flash, I use flash compensation, +2/3 stops.
- I set my White Balance to “flash”.
And now when I fire, the umbrella lights up:
Which, finally, once we ask the lady to stand by the counter again, leads to this shot:
(Thanks for being the patient model, Lita!)
I have now achieved what I wanted: Lita is “bright pixels”, and the background is nice and colourful. Other than explaining, this all took just a few seconds, of course.
The technique above is just one of the many things students learn on my Flash courses. The last Mono, Ontario course ever is “Creative Lighting” with Joseph Marranca, on April 23rd – and there are only a few places left. Just saying!


Had a fantastic lesson yesterday! You are a fantastic teacher! Just saying…
Cannot wait for April 23rd! See you there:)
Yes it was a great lesson for me too, and I agree with Melanie you are a amazing teacher.. Thanks for yesterday I have been duplicating with success what we learned yesterday – so empowering and exciting!
I am delighted you liked the lesson; also delighted you are both reading the blog!
Hi Michael,
I just stumbled upon your site. I can see that this is a great set up with the example of Lita in front of the slider. However, how would I adjust this with a speedlite on teh camera and not use an umbrella?
I’m also going to read and see if I can figure it out but didn’t know if you had a good way of explaining it.
Thanks!!
Hi Scott,
Mmm. You would bounce off the wall behind you. But an umbrella or softbox really works well here!
Putting the brolly close the the subject also produces a (IMO) nicer falloff of the key-light to the counter.
Well said. The closer the light source is to the subject, the more it falls off to the background – so when you want to light a background in a different colour, or like here don’t want to light it much, then make sure your main light hardly hits the background, by moving it close to your subject.