Colours and «croak croak»

Wednesday was another day for the macro lens. This time at the Botanical Gardens in Burlington, Ontario.

These froggies were in glass cabinets, so the main objective is to avoid reflections:

Then, plantie thingies, with some brilliant spring-like colours, because it’s spring, at least in the greenhouse:


And then there’s the niece:

Settings were: 5D Mk3 with macro lens; manual exposure mode, 800 ISO; various aperture and shutter speed settings achieved using the built-in light meter.


Gee. Nine?

I have an old Canon G9. A great camera in its day, but small sensor/high noise by today’s standards. Here it is:

So. Useless. Right?

Not.

This camera is great for one thing in particular: close-up photos. Because of the small sensor, I can get very close. Here’s a shot of some jewellery:

Made like this:

But I can get closer:

AND HERE’S A 1:1 SECTION (each pixel in this, once you click on it, represents one pixel on the sensor):

These are very small beads in real life!

So an old G9 does a great job as a macro camera, if you have left your macro lens at home. Here’s another full shot of another piece:

I guess the lesson for today is that you should not throw old equipment out. I am pretty sure you can buy a G9 for a price approaching $ zero… and it’s plenty good for a lot of pro work, as long as you keep it to low ISO settings. Keep it our little secret!

Jewellery by Becky.


Close-up photography tip

Do I need a macro lens for close-up photography?

Yes. No. Depends. Depends, like so many things.

Often, a long lens will do well. As in this image, taken with my 70-200 2.8L stabilized lens:

And the next thing you need to ask yourself is: how large does the picture need to be? What is it for? A large poster, or a small print, or a web site?

If the answer is one of the latter two, i.e. “not large”, and your sensor has lots of pixels, you can simply crop. As in this image I took just now with my 45mm tilt-shift lens on my 1Ds Mk3 camera, a full-size sensor camera. This is not a macro lens, so I cannot get close:

But because my camera has lots of pixels and this image was meant for web sites or smaller prints (like 5×7, say), I can crop down to just the watch, and I am still left with 1833×1222 pixels.  Even that is too much for this web site: when you click on the image below to see full size, you will see a large image on your screen that is downsized to just 1024 pixels across.

And that is plenty here. In other words, you may not need a macro lens!

A few more tips:

  • Clean the object before shooting. Every speck of dust will show
  • Use a tripod
  • Clean any remaining dust specks in Lightroom or Photoshop after taking the shot.

So… the obvious answer is not always the whole answer, or even the right answer. The world is not black and white; it is 256 shades of grey.

(PS: Isn’t that tilt-shift lens disgustingly sharp?)

Best light for macro

Today, allow me to talk again about “best light”.

And I would like to do this because quite often, there is no “best” light -just alternatives. Sure, there are big differences in light. But the best light, as so often, “depends”.

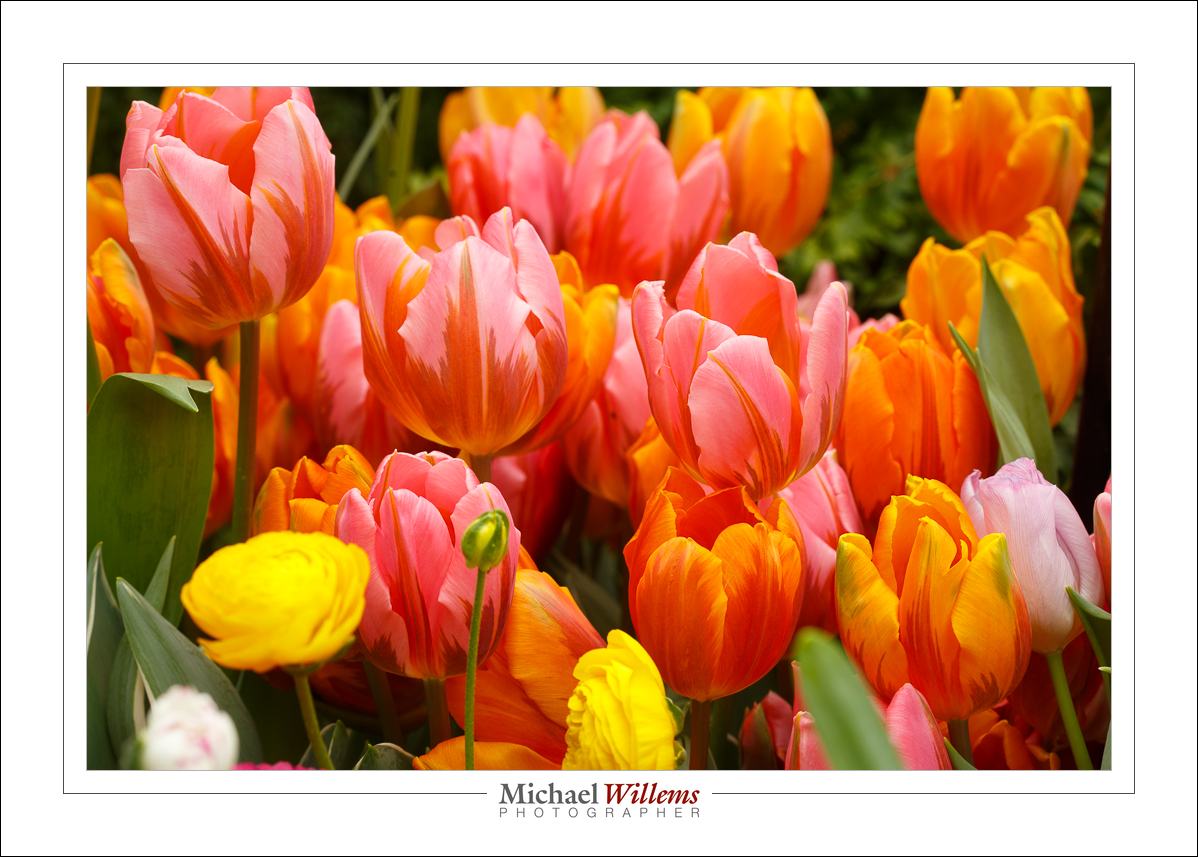
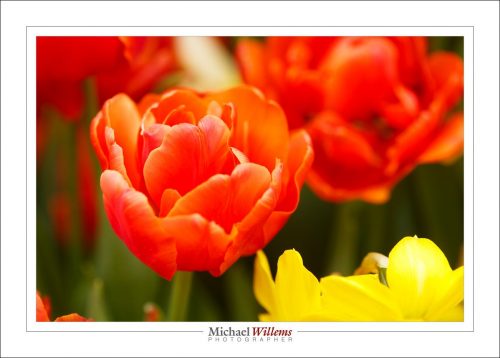
Take Macro shots. Sure, the conventional wisdom is that you should use cloudy-day light. And that is often true: lack of harsh shadows, and colours that “pop” with wonderful saturation.

But there are circumstances where direct sunlight is best, because it is bright. Bright means

  1. Small apertures (needed for macro)
  2. Fast shutter speeds (also needed, since the wind keeps moving the plants you are focusing on with millimeter accuracy).

So a shot like this…:

… can be lit with direct sunlight. Because:

  1. The dandelion is lit by a shaft of direct light, while the background is not
  2. Because the seeds are not large leaves, so they do not throw shadows.
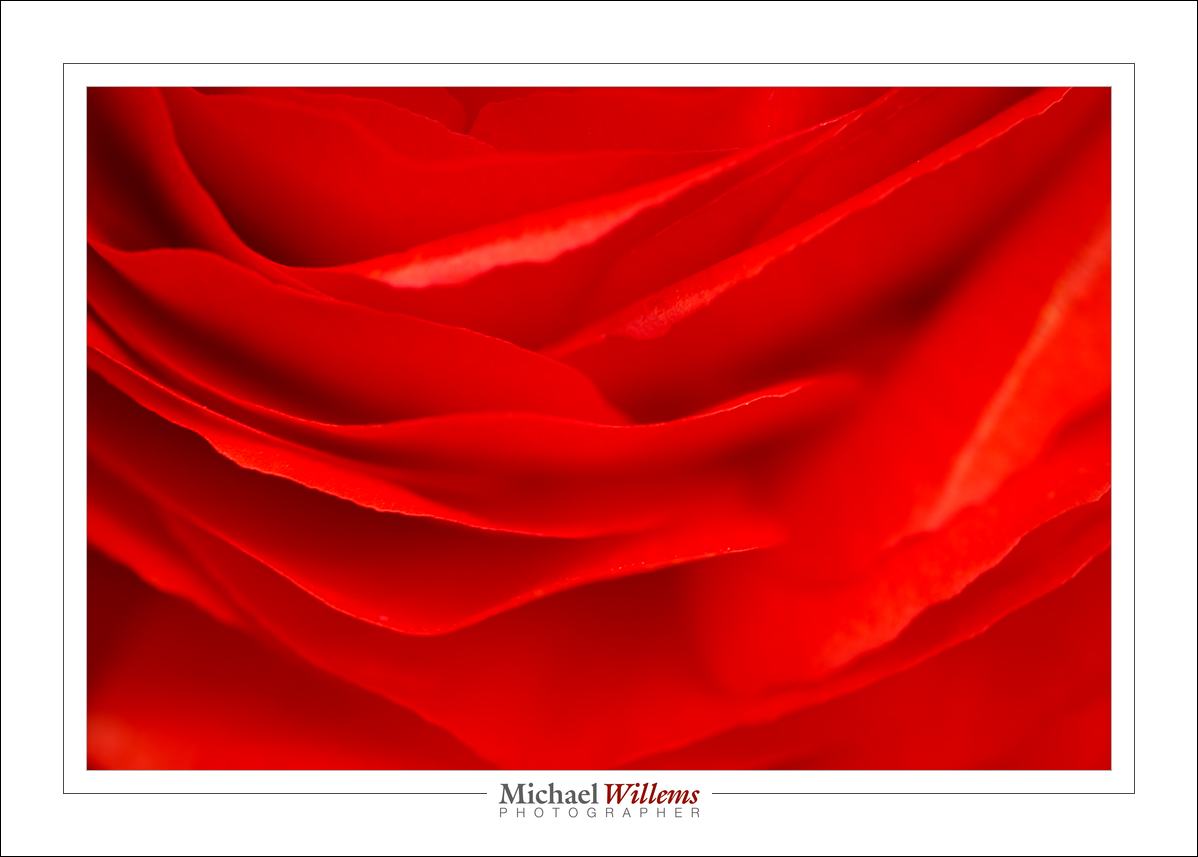
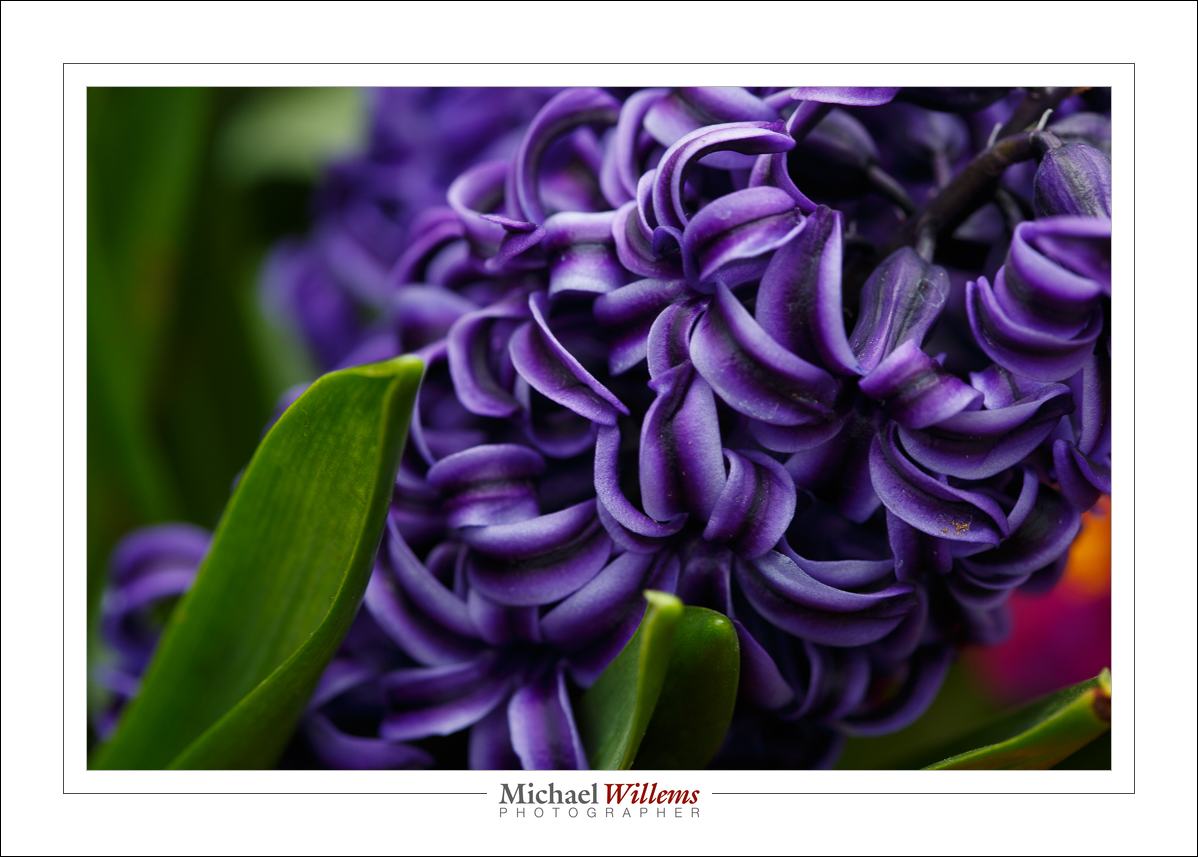
Another example:

Are there alternatives?

Sure. Sometimes the wind blows too much, so the shutter speed you get will not stop the motion. One way to handle that: increase the shutter speed. But how? Well – increase the effective shutter speed, by using flash light.

You see, if you shoot outdoors at, say, 1/200th second, that would be the shutter speed, 1/200th second. But if you use flash, whose duration is perhaps in the order of 1/2000th sec, then never mind your shutter: that flash duration becomes your “effective” shutter speed. Like in this shot:

So I now shot at 1/200th, but because I used flash, I got an effective 1/2000th second. And because of the greater light intensity, I was able to shoot at f/16 or higher – in this shot, f/20. Which in macro shots, I often find I need.

Here’s the softbox being used – top left corner:

And yes, this is a sunny day. A sunny day at 1/200th and f/22 at 400 ISO looks black to your camera, so your only light source is the flash. I used a Bowens 400 Ws light with a battery pack for outdoors use.

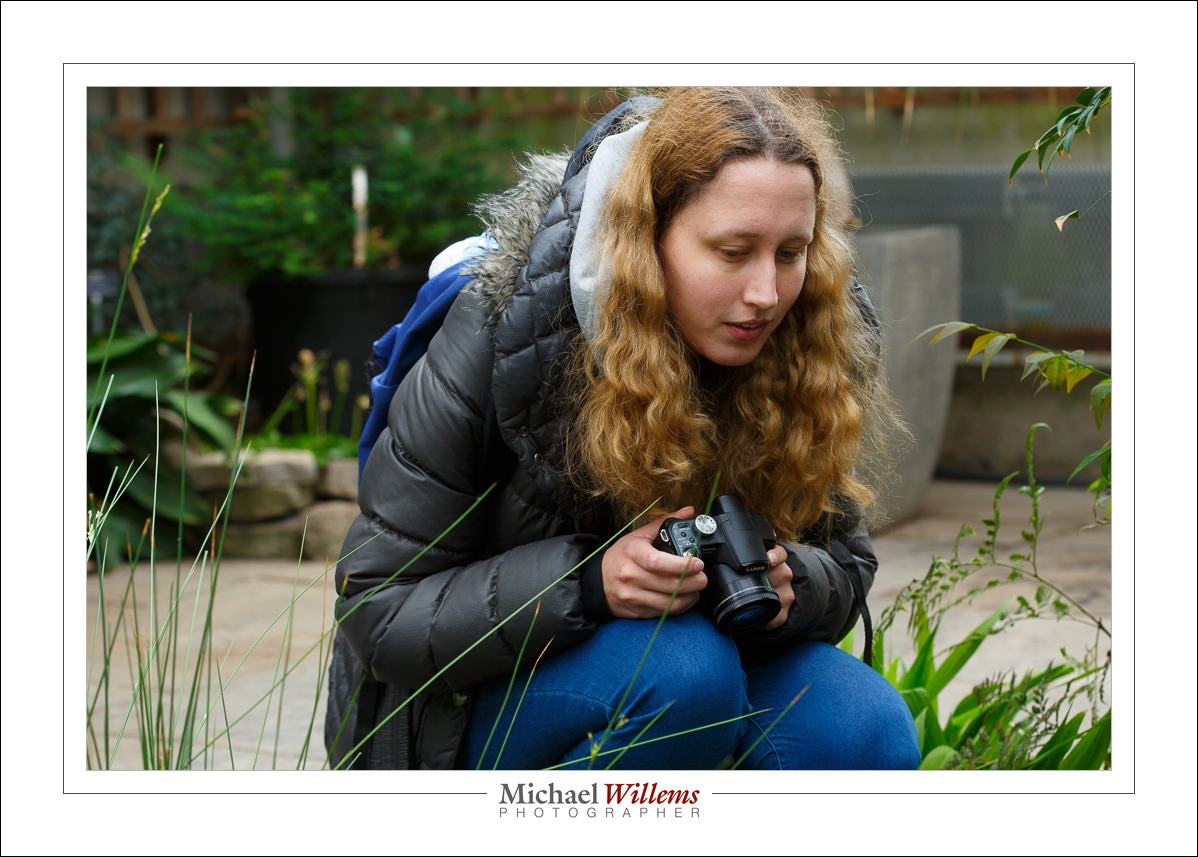
And that also gave me some nice portraits, like this:

So here an outdoors shot is lit with flash light,which gives me better light than cloudy day light. And the macro shots looked better with direct sunlight than they would have looked in cloudy light.

There is no one source of light – there are many alternatives, and sometimes the best choice is not the obvious one.


Tulip Mania

The front porch is full of tulips. Beautiful. And we will have Vancouver-type weather (i.e. rain) for the next seven days so I shot a few snaps while I could.

Tulips in the front garden

Tulips in the front garden

I used a macro lens.Handheld, which is bad. And I used the light you should never use: direct sunlight. And yet, I wanted a few pics.

So what are my strategies to deal with this? here are some of them.

Shoot close up. Use a macro (Nikon: “Micro”) lens if you can and capture detail.

Tulips in the front garden - detail

Tulip sex organs

Select a small enough aperture. A small “F-number” like 5.6 or 4.0 will give you way too restricted depth of field. You may need to shoot at f/8, f/11 or even f/16 or sometimes beyond.

Tulip (Photo: Michael Willems)

Tulip

Watch the wind. Shield the flowers from it, or shoot when they are momentarily still.

Use a high enough ISO. That way you can get the shutter speed up to, say, 1/500th of a second, while keeping a nice small aperture.

Shoot through the flower if you can. Nice saturated colour will result, instead of washed-out overexposed colour.

Tulips in the front garden

Tulips in the front garden

Watch the backgrounds. Simple is good. Simplify, simplify, simplify.

Select contrasting colours. Red and green. Or colours that go very well together like purple and green, my favourite combo.

Tulips and background (Photo: Michael Willems)

Tulips and background

Wait for a rain shower. Gentle spring rain looks good:

Gentle Spring Rain (Photo: Michael Willems)

Gentle Spring Rain

Alternately, do not wait. I have two secret words for you. Spray bottle, and water mixed with glycerine (available from any drugstore). OK, that’s six words.

Gentle Spring Rain (Photo: Michael Willems)

Gentle Spring Rain

Go on, go have some fun. Even if you live in Vancouver – sunlight bad, overcast good, for flowers.


Macro, anyone?

A definition for you, today.

“Macro” (or as Nikon calls it, “Micro”) means “showing ordinary things large”.

But true Macro, following the official definition, means the ability to obtain a 1:1 ratio between the object’s size and the size of the image on the sensor. So a 1cm long bug casts an image 1cm long onto your sensor.

A lens can be a normal lens (not macro, usually 1:5 or worse, meaning a tiny bug image on the sensor), or a “macro featured lens” (perhaps 1:4, so that would make the bug 1/4 cm long on the sensor), or a true macro lens, like this one:

See the “1:1” marking? This, as you have seen, can give you cool images of day-to-day objects in a new light. Like this, the top of a knife:

Or this:

Yup. That’s the front of a microwave.

Or finally this:

Cute eh?

If you have a macro lens, try to shoot a few normal objects close-up, in your kitchen.

Depth of field in Macro

When shooting Macro pics, you often fight to get enough depth of field. Even f/16 might only get you this:

So why not forget that and play? Selective DOF can be very effective, as in here:

That was f/2.8 with the 100mm macro lens. Doesn’t that make Her Majesty’s eyes stand out nicely?

As in all these things, it is a matter of choosing the technique to suit the message.

A few flower tips.

Today, I shot some flowers, in anticipation of a photo club walkaround on Monday.

I’ll share a few here, to get you started.

If you have a macro lens, use it. If not, then consider a 50mm lens and get as close as you can: then crop in post-production. That’s why you have all those pixels. (If you use a “normal” lens, set it to a smaller f-number to get shallow depth of field).

And look for nice colour contrasts: purple and green is a great combination.

Here’s a shot taken in simple non-direct light (direct sunlight is not great), with a macro lens set to f/5.6. Normally, f/5,6 at close range gives you too narrow a depth of field, but in this case it works:

A flower

A flower, shot with a macro lens.

Red (or orange) and green is a great combination, also:

Poppies

Poppies, shot with a macro lens

As said, if you can, avoid flash, and direct sunlight. Except translucent light, i.e. a flower lit by the sun from behind, can work very well:

Translucent tulip

Translucent tulip, lit from behind

Simple backgrounds are essential. Dark backgrounds are nice too, if you can get them.

A tulip

A tulip

Can you see that the iris shot below does not have a simple enough background, and that the light is a bit harsh? If I had been able to, I might have used a black sheet of paper behind the flower.

An iris

An iris

Importantly: get your exposure right. Foliage is dark: your camera will try to over-expose it. You may well need to use exposure compensation, of perhaps -0.5 to -2 stops, to get the right exposure. I am sure I used that in most shots here.

(“I am sure” because I am not sure: it is so automatic that I am not even consciously aware!)

This, I hope, is a start: go try some flower pictures!