Tulip Mania

The front porch is full of tulips. Beautiful. And we will have Vancouver-type weather (i.e. rain) for the next seven days so I shot a few snaps while I could.

Tulips in the front garden

Tulips in the front garden

I used a macro lens.Handheld, which is bad. And I used the light you should never use: direct sunlight. And yet, I wanted a few pics.

So what are my strategies to deal with this? here are some of them.

Shoot close up. Use a macro (Nikon: “Micro”) lens if you can and capture detail.

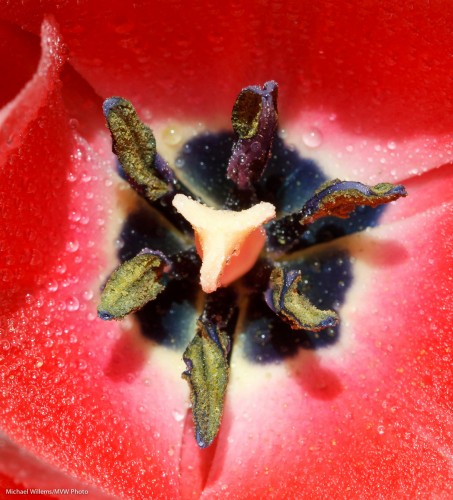
Tulips in the front garden - detail

Tulip sex organs

Select a small enough aperture. A small “F-number” like 5.6 or 4.0 will give you way too restricted depth of field. You may need to shoot at f/8, f/11 or even f/16 or sometimes beyond.

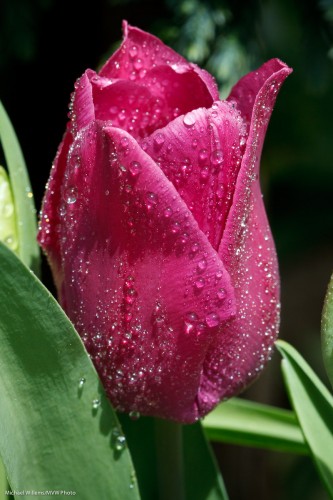
Tulip (Photo: Michael Willems)

Tulip

Watch the wind. Shield the flowers from it, or shoot when they are momentarily still.

Use a high enough ISO. That way you can get the shutter speed up to, say, 1/500th of a second, while keeping a nice small aperture.

Shoot through the flower if you can. Nice saturated colour will result, instead of washed-out overexposed colour.

Tulips in the front garden

Tulips in the front garden

Watch the backgrounds. Simple is good. Simplify, simplify, simplify.

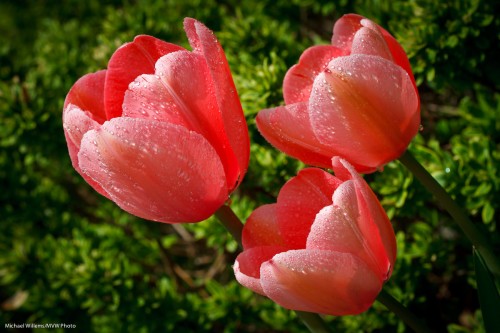
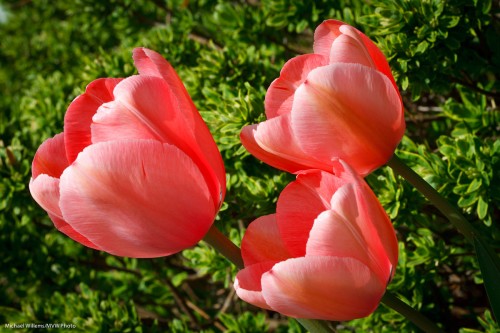
Select contrasting colours. Red and green. Or colours that go very well together like purple and green, my favourite combo.

Tulips and background (Photo: Michael Willems)

Tulips and background

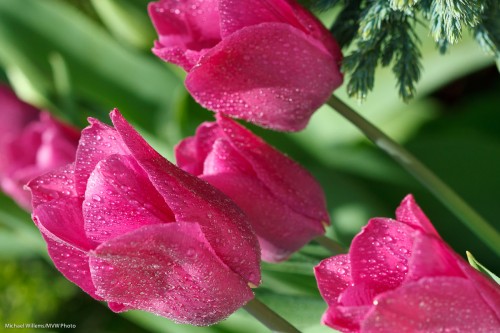
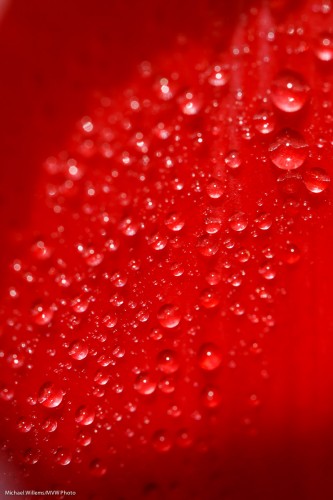
Wait for a rain shower. Gentle spring rain looks good:

Gentle Spring Rain (Photo: Michael Willems)

Gentle Spring Rain

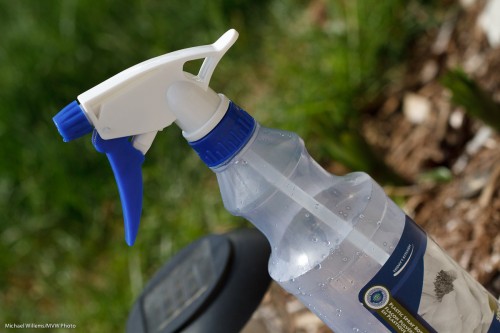
Alternately, do not wait. I have two secret words for you. Spray bottle, and water mixed with glycerine (available from any drugstore). OK, that’s six words.

Gentle Spring Rain (Photo: Michael Willems)

Gentle Spring Rain

Go on, go have some fun. Even if you live in Vancouver – sunlight bad, overcast good, for flowers.

 

A few flower tips.

Today, I shot some flowers, in anticipation of a photo club walkaround on Monday.

I’ll share a few here, to get you started.

If you have a macro lens, use it. If not, then consider a 50mm lens and get as close as you can: then crop in post-production. That’s why you have all those pixels. (If you use a “normal” lens, set it to a smaller f-number to get shallow depth of field).

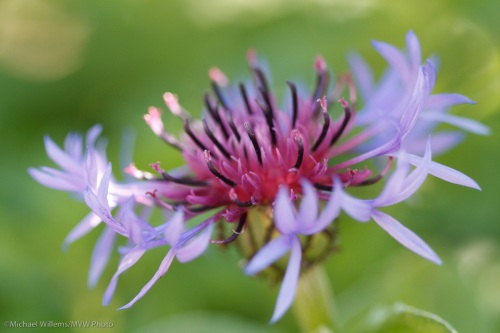
And look for nice colour contrasts: purple and green is a great combination.

Here’s a shot taken in simple non-direct light (direct sunlight is not great), with a macro lens set to f/5.6. Normally, f/5,6 at close range gives you too narrow a depth of field, but in this case it works:

A flower

A flower, shot with a macro lens.

Red (or orange) and green is a great combination, also:

Poppies

Poppies, shot with a macro lens

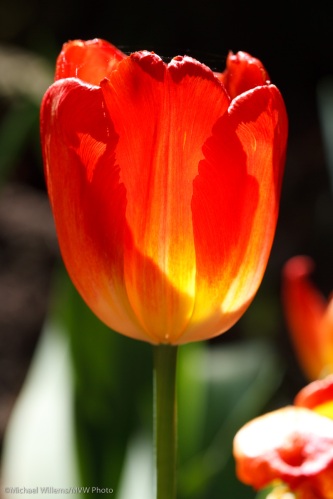
As said, if you can, avoid flash, and direct sunlight. Except translucent light, i.e. a flower lit by the sun from behind, can work very well:

Translucent tulip

Translucent tulip, lit from behind

Simple backgrounds are essential. Dark backgrounds are nice too, if you can get them.

A tulip

A tulip

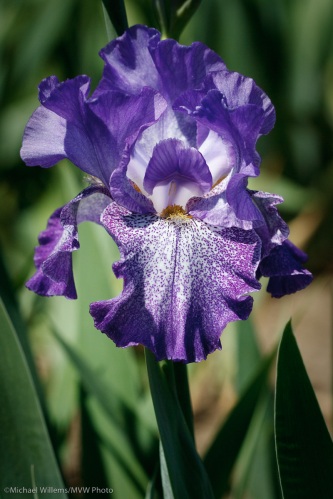
Can you see that the iris shot below does not have a simple enough background, and that the light is a bit harsh? If I had been able to, I might have used a black sheet of paper behind the flower.

An iris

An iris

Importantly: get your exposure right. Foliage is dark: your camera will try to over-expose it. You may well need to use exposure compensation, of perhaps -0.5 to -2 stops, to get the right exposure. I am sure I used that in most shots here.

(“I am sure” because I am not sure: it is so automatic that I am not even consciously aware!)

This, I hope, is a start: go try some flower pictures!