More and more, I am honing my flash teaching into a well-defined method. It comprises theory and practice, including:
- Basic theory
- Tech: Tools
- Tech: Modifiers
- The Epiphany…Turn Your Thinking Around: Balance
- The Four Flash Lighting Types
- The Three Starting Points: outdoors, indoors/party and studio
- Learning Bouncing
- Flash or strobes?
- Off-camera flash
- Learning The Limitations
- Getting Creative, Post-work, and minimizing the latter
- Troubleshooting
The emphasis is on obtaining a Quick Start.
Today, a quick tip.
Namely: Conceptually and in practice, split your photo into background/ambient and flash: two different shots, and treat them as such!
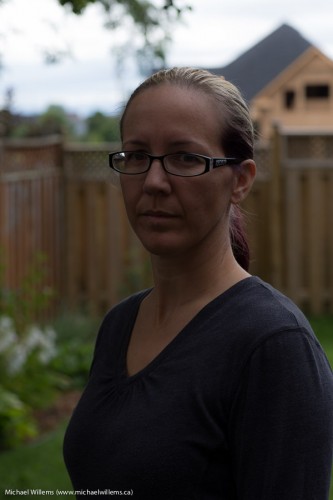
Here’s background: a very talented photographer I had the honour of teaching a few days ago. or rather.. the background behind her.
Aim for minus 2 stops (—2 on the meter).
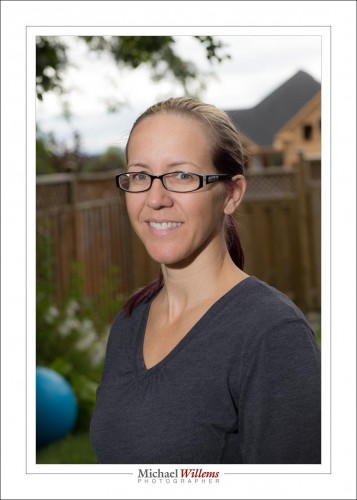
Now add flash,. so we get background plus Flash:
There you go. And that is direct flash, hand-held, but off camera.
This is how it works. Not complicated, and in my courses and books (see http://learning.photography) you get the practical start points (f-this, ISO-that, etc) that allow you to get this right off the bat 90% of the time. Learn this stuff: it is such a nice experience to be able to light things predictably, and well!
Back to writing the “Portraits” book.


I remember my “epiphany” moment!
I do too. Like, all the lights went out, the room shook.. oh wait… no, that was the earthquake of ’89…