Greeting from The Netherlands, where my teaching tour continues Saturday. But for you, a note about photo post-processing, and about a popular technique, today.
The thought behind this technique is that the “blacks” in your picture do not necessarily have to be black; sometimes a little lighter is OK; the resulting “matte” look can be good.
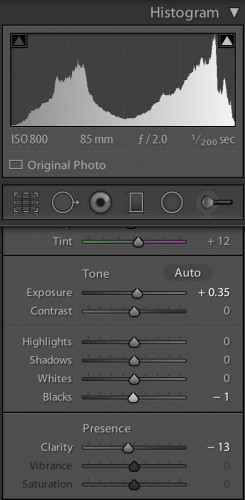
Look at this image and the accompanying Lightroom “Develop” settings in the “Basic” pane:
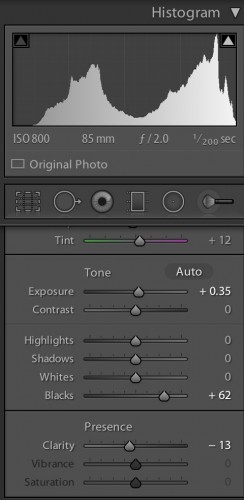
Now the treated version: where I made the blacks “not quite black”. The Basic pane looks like this now: look at the “Blacks” slider:
And as you see, the histogram no longer starts on the very left.
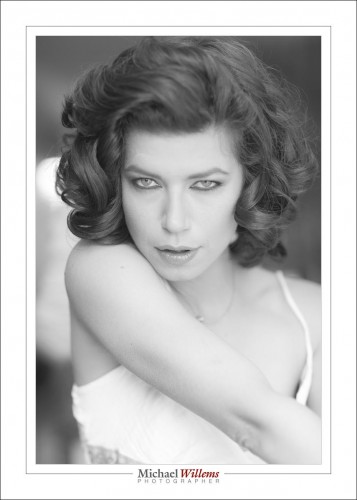
The very left of the histogram represents “pure black”; dragging “blacks” to the right makes the start point of the photo (the darkest areas) not “pure black”, but “slightly grey”. This leads to a matte paper type look:
The difference is subtle but clear, once you look at both side by side, or in succession—try.
And as said, this “matte paper” look is very popular among photographers now. I am not sure I am quite as enthusiastic, but hey, never too old to learn.


