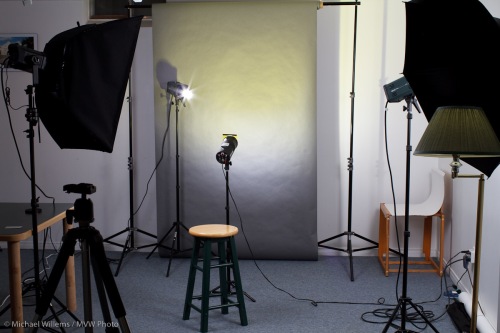
Back to the standard “small studio” setup I described earlier. This time I shall talk a bit not about how it works – I assume light sensitive slave cells and Pocketwizards and cables are all old hat to you now – but instead, I will talk about how to use it.
As a reminder, here is such a four-light setup, again:
Four lights; and after the click, more about how you use them.
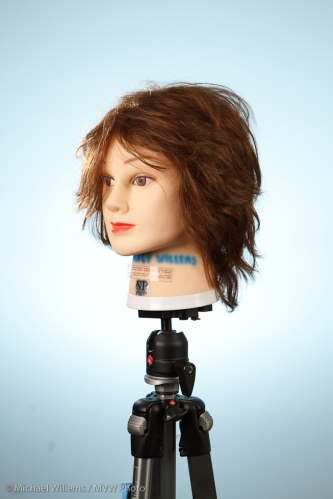
First you would set them up around your subject, and then start measuring. You need a model for much of this. Maybe a friend, a child, a spouse, or a mannequin.
Now set your camera to manual, say f/8, 100 ISO, and 1/125th second, with white balance on “Flash”, even if you are shooting RAW (as I hope you are).
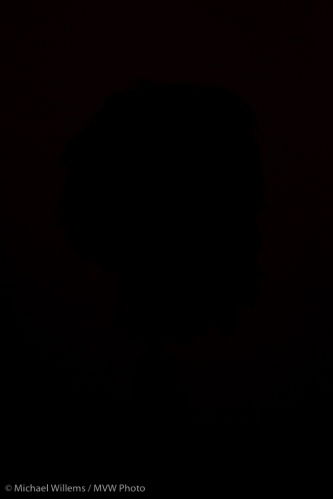
With those settings, check that a test shot with no lights firing at all gives you this:
Good. So your settings do not show the available light in the studio. This is important in order to give you proper control. It also proves that your camera is not accidentally set to “Auto” ISO.
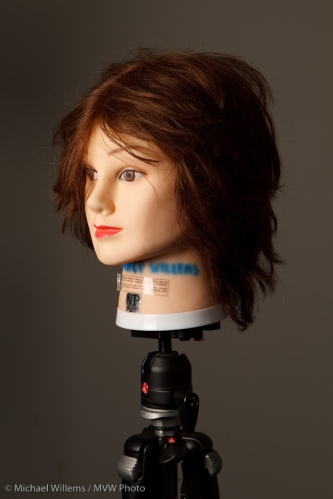
Now test your main, “key” light, which comes through an umbrella or softbox. Use a flash meter, or if necessary, use your histogram. Set the light power properly and you get this:
With a white wall as in the example here, some light will spill onto the background: use a dark (grey or black) background or move your subject away from the wall to minimise this.
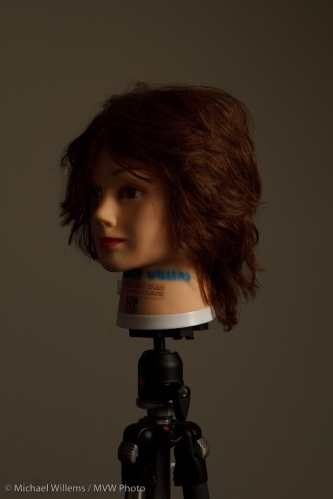
Now you can test the fill light. Use your meter to set it two stops below key. Turn off all other lights again, and now just the fill light should give you something like this:
Great, so now the shadows are filled in. You can use a reflector for this instead, incidentally, if you do not have a fourth light.
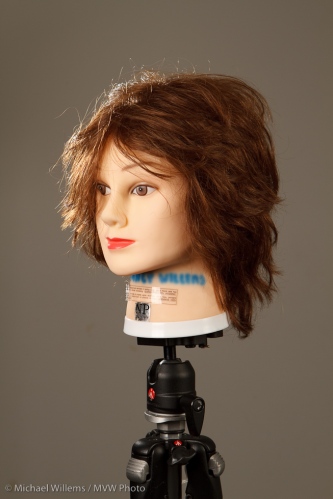
Either way, when you enable both those light sources you get this:
Beginning to get there. But a little back light on the hair would give us proper separation, depth; so aim a snooted light at your subject’s head from behind. As bright as the key, or brighter.
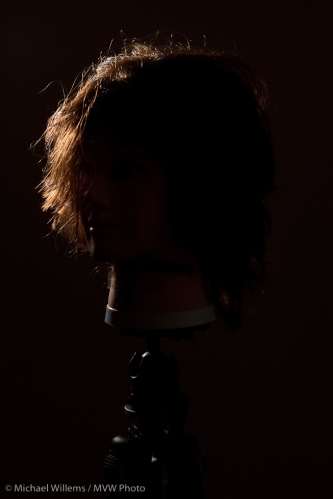
Used by itself, this gives you:
Nice.
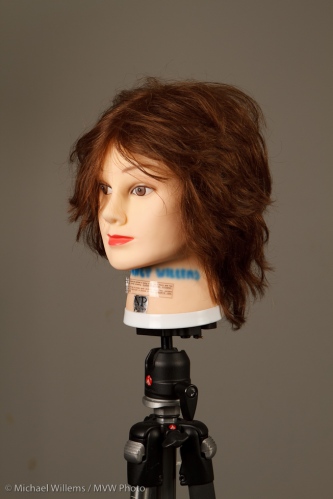
Now all three together, i.e. using key-, fill- and hair-light, we get this:
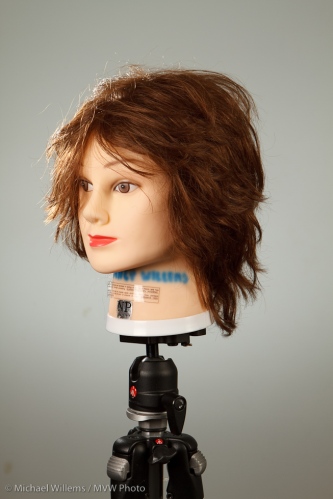
We are getting there. But the background is uncontrolled. We may want to control it. Make it lighter. So a fourth light is aimed at the background. It casts light in an oval around where our subject is:
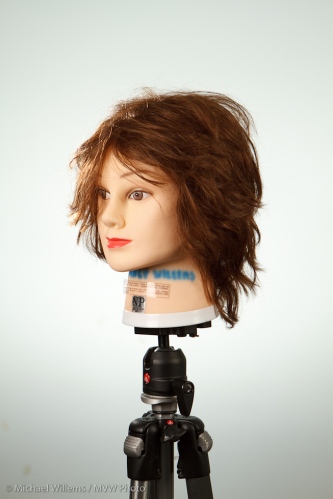
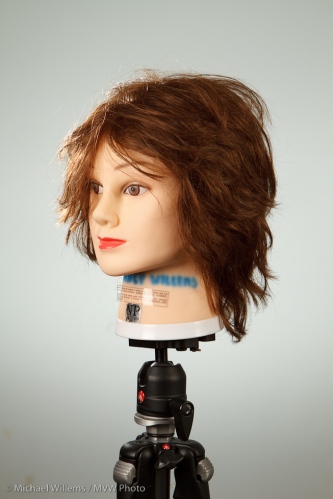
If our subject is wearing light clothing and we want to make the wall as light, in order to draw attention to the subject’s face, we can brighten it more. Two stops more gives me this:
I would go a bit darker, in between:
And now we are done.
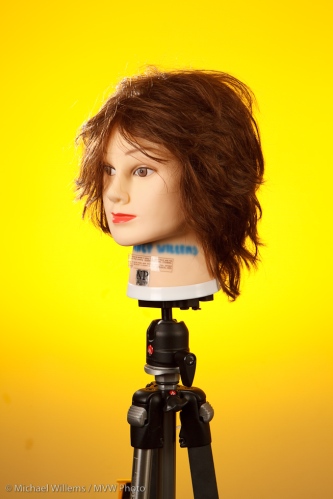
Except of course the fun starts now. We could make the background crazy, using a Honl Egg Yolk Yellow gel over the background flash:
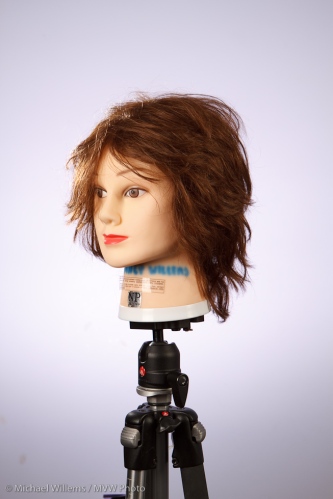
Or subtle, using a Honl Lavender gel:
Or “business safe”, using a Half CTB (i.e. ever so slightly blue) gel, an effect I use for many corporate headshots:
If you take any of my lighting courses, I will tell you more about all this, but I hope this sets you off with a good start.
And realise this is a start: what we have not talked about is how to set up your light for the desired lighting effect (butterfly, Rembrandt, rim lighting; broad and short lighting; and so on). We have also not talked about posing. Those are for later.
If you like the idea of coloured backgrounds, more sample colours here (in particular on page 2): http://www.mvwphoto.com/studiolighting/
More about that, too, some time: what goes into choosing the background colour.

Model-gorgeous!! Basic lighting-learn it folks!! Michael is giving it out for free here!!! All you need to do is just shoot for trial and error. Good on you, my good sir.
What would the cost be for a similar set up like this? I’m learning the lighting technique with just one light (my 430EX II) right now. I’m experimenting with the angle that I need to bounce my flash off the wall, and the apperture in relation to the distance between the subject, the wall, and me. I would definitely be interested in your lighting class when I have the money to purchase the equipment.
Here is a picture I took last night. ISO 100, 1/125, f/5.6. Flash bounced off the wall to the left. Please let me know your thoughts.
Sorry, try this link here http://www.flickr.com/photos/wang_funtime/4313101582/
You get the idea!
Yes, a bit more light would make it even better. Maybe bounce off the other side, the right, or increase flash compensation a little more. This would also separate the hair from the background. You’ll have fun trying the options!
Michael, thanks for the feedback. I set my flash to manual at 1/4 power. Since it is my main light source, I probably should have increased it to 1/2 power to light up the hallway a bit more.
Or, use E-TTL! It works very well indeed, once you know exactly how.
Franklin: the cost for a setup like this? With studio lights, if you buy affordable lights you can keep this under $2,000. Even with speedlites like the SB-600 or 430EX II, you can do this very well, and then the cost can be well under that.
Is this set up broad lighting the subject? Is this better than short lighting?
There’s no better or wise. But this is short lighting: the smaller side (to us) of the face is lit.