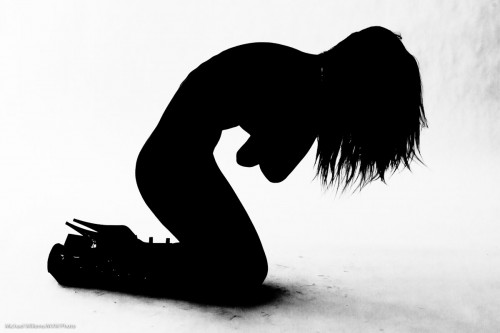
You all saw my silhouette pictures recently, and some have asked “how do you do that”.
Sometimes these are fortuitous. Sometimes, as in my case, they are my standard process for a picture where the flash failed to fire (becasue someone else just fired it). In those cases I know I can get a contrasty silhouette out of it.
I use Adobe Lightroom for this. In Lightroom, an underexposed picture from Sunday’s shoot necessitated adjustments in the following order:
- Set white balance
- Set exposure to +4 stops (!)
- Set Fill Light to +13
- Set Blacks (a key adjustment!) to +17
- Now set Brightness to +103
- Set Contrast to +50
- Select “B&W” (Black and White) mode
- Curve adjustment: darks down, brights up
- Noise reduction
That resulted in this pretty good, if I say so myself, image:
Of course I could have removed the “grunge”, as the model put it, on the floor and on the right, but no I like it. It’s part of the fun.
Remember, a good image makes the viewer do some work, “trying to put it all together”.

