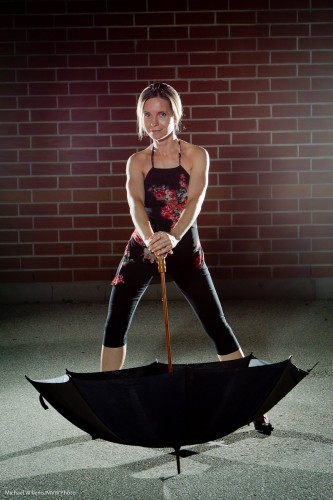
When you are using rim lighting, like in this shot of this evening…:
Then I would give you a few tips:
- Do. It’s good. Look how well it shows off round shapes like arms and legs. It makes them look round, rather than flat, which is what they would look like if you lit them just from the camera’s direction.
- Light from behind – 45 degrees behind the subject aimed forward.
- Fill from the front. Watch for shadows behind your subject.
- Watch for shadows in general. You may like them. Or you may like only one of them. Or none. All good, as long as you watch for them, and feather the lights you do not want throwing a shadow, or use snoots or grids or gobos – or soften them in the case of the front fill light (I used a Honl Traveller 8 softbox).
- A little flare, as in this shot, can be okay. Don’t go crazy, but do not be afraid. I often include lights and flare: love them when done well.
- If you want flared lights to show like stars, use a small aperture, like f/8 or f/11.
- If you are using TTL, which is fine, then do use manual at least for the rim lights. Using TTL for those makes little sense, as this light is very hard indeed to measure in camera.
- And for manual flash, know how light works. The Inverse Square Law is very important. To get half the light, increase the flash-subject distance by 1.4 (the square root of two). That sort of thing. Yes, math.
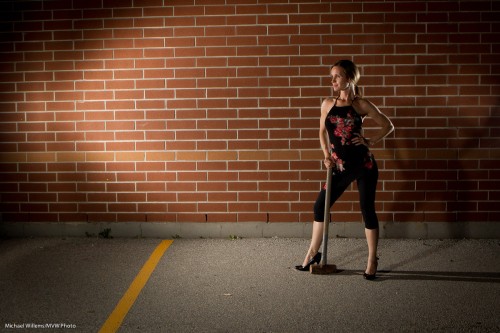
Oh and when you have a wall, you can use it, of course. Like here, wher I have made oneof the rim lights into the main light:
Controlling light is fun, and is remarkably easy. And Photography is all about the light.
(Joseph Marranca and I are teaching another Creative Lighting course, this time in Fort Erie, just over an hour from Oakville, on July 23. Stay tuned or drop me a line!)


