Since you presumably shoot RAW, the White Balance (WB) setting (and I do wish they had called it “Colour Balance”) is unimportant: you can set it later in Lightroom or your software of choice, for one image or for an entire group, with no penalty.
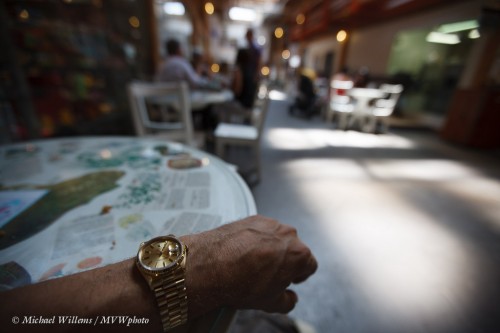
Yes, but, as you have heard me say here before, you might as well feel good about yourself. Say you shoot indoors on a sunny day, and the “Auto” setting produces this, as it did for me yesterday agt my exhibit:
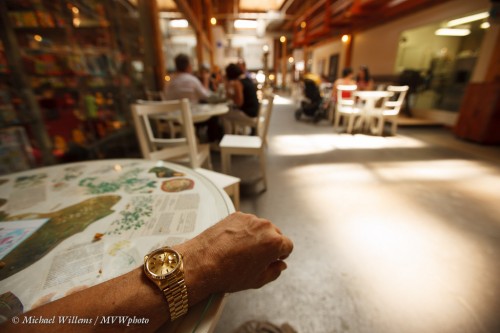
Looking at the back of your camera, you wil not feel great about your shots. So why not, jst to make yourself feel better, set the WB setting to “Shade”? You will get something more like this:
Looks better to me – more like what I was actually seeing. And if I do manage to get it right in the camera, there is less work to do later.
So what do I normally do? My strategy is to leave it on AUTO unless I have extra time; then my strategy is to get it right.
I can also
- Use K settings – Degrees Kelvin;
- Or take a shot of a gray card and use that as my “custom” reference. By definition, this gives me perfect white balance.
One time-saving note: if I do neither of those and leave White balance on AUTO, I do try to take one picture of a neutral gray object – like a gray card – in each lighting situation. That way I can quickly grab each ;lighting situation with the dropper in Lightroom and get the colours exactly right instantly in post-production.
As you see, there are many possible strategies. choose the one that best matches you and the particular shoot you are doing, and it will be one thing less to worry about. So that you can concentrate on your compositions!


Shade really made a difference! The shadows in the shade shot are not nearly as deep as they are in the first shot.