I remember when my children were babies. Like yesterday. One day they arrive (and having put them in there in the first place, I watched them pop out too, and yes, I am sure the term “pop” is making it sound waaaay too easy); a few days later you are holding them on your shoulder while they struggle to lift their little heads. Everyone who has children will remember this. And everyone who has children will also share this experience: about three days later you blink and they have graduated university and have jobs and cars and cameras, and they help you do complicated things.
Time moves quickly. And you cannot get it back. Our time on this planet, in one of billions of solar systems in our galaxy, which itself is one galaxy among billions, is limited. We came from stars, and we shall all return to stardust very soon.
And alas, we cannot travel in time, except to “where the casement slowly grows a glimmering square” (that’s Alfred, Lord Tennyson for you, yes, he battled depression for most of his life).
We cannot travel in time… except through photography.
Which is why you should photograph your kids. Or better still, have a pro do it. Properly, artistically, in a way you can’t, unless you have read this blog and bought my e-books and practiced for 10,000 hours and bought cases full of equipment.
So photographing kids is what I did for a friend today. Together, we photographed her kids. One is 12, the other almost 20. And we did this in style. Outdoors, by a bridge with graffiti. Using six flashes and countless speedlights—well, six speedlights to be precise.
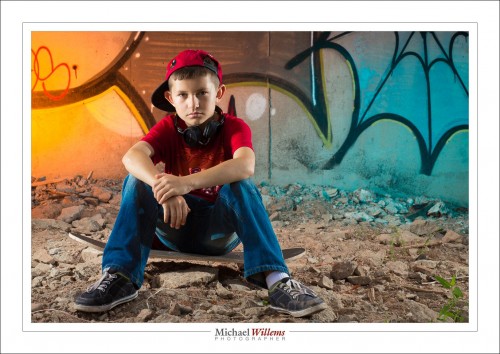
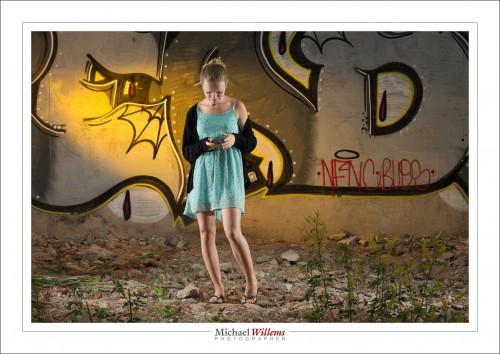
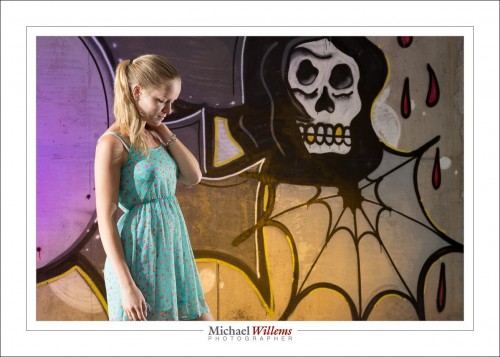
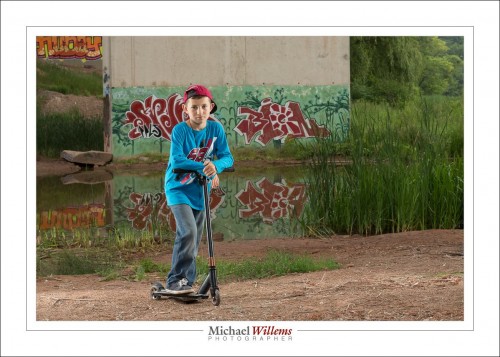
We pictured them doing what kids do:
(400 ISO, 1/125 sec, f/11)
(400 ISO, 1/125 sec, f/11)
Those pictures are basically straight out of the camera (“SOOC”). And I am sure mom will like them on the wall. And later, the kids, who soon will have their own kids, will love them too. Time travel: accomplished.
I only used my 85mm f/1.2 lens (my friend used her 85mm lens too); on a full-frame camera. The shots were taken outside, during the day, under a graffiti-loaded bridge.
This is a case of “light from behind, fill from the front”, but the fill was ambient light.
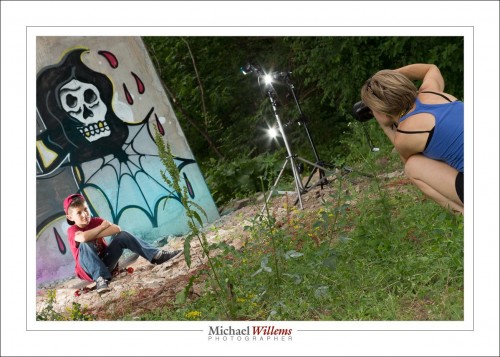
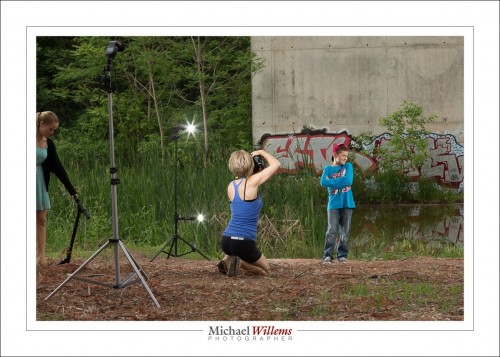
The subjects were lit with four flashes driven by Pocketwizard radio triggers. Four speedlights: two on each side, in each case on a lightstand. One high on the light stand, one lower; thus providing a vertical band of light. (One light would lead to the head being brighter than the legs, or vice versa).
The background was lit too: we used two flashes aimed at the background graffiti, each fitted with a gel for colour. We switched up the colours regularly.
I set all flashes to manual mode, 1/4 power. 1/4 is a great starting point. At that power, f/8 should get you close. And indeed, little tuning was needed. I used the histogram to ascertain that the settings worked. I want to fill the histogram with light; I can reduce exposure later on the computer, if I choose. Also, 1/4 power means the flash can fire again rapidly and does not readily overheat.
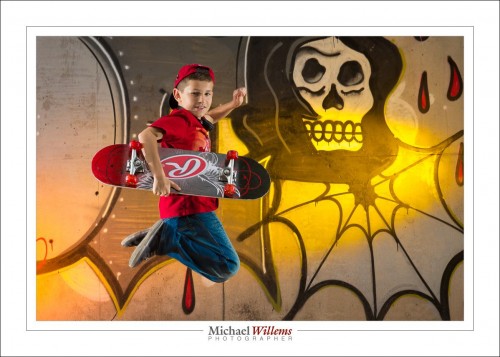
Jumps are cool:
Getting close is cool, too:
Here, we did not use a light aimed straight from the camera onto the kids, because of the close wall: a nasty drop shadow would result. But aimed the other way, across the river, the wall was far, so there is no shadow problem:
(You see the reflections? If you have bought my last two books—see http://learning.photography—you will know that you always look for reflections).
And again, side lit from behind; this time with a fill light where we were. The fill light was set to 1/8 power, plus it was moved 40% further back than the other lights were (i.e., it was two stops darker: can you work out why?)
Here’s the pullback shot:
The technique described here works well, and if you master it, you will need to do very little “post” work. The images shown here are basically straight out of the camera—I took them just a few hours ago.
Last note. Why 400 ISO and 1/125 second? Because I also took some shots with my Nikon FE film camera and that has a flash sync speed on 1/125 sec and it is loaded with 400 ASA film. 🙂
_____
Now get some flashes and go wild. If you do not know how to do this, take some private training and I can teach you this stuff in a few hours. Go to http://learning.photography and book a one-on-one or small-group course now.
Alternately, just hire me to do your kids’ photos. You’ll have great pictures to remember today: once you have a photo, no-one can take today away from you. And, bonus: if you hire me, you will see how I do it and get what amounts to a free lesson along the way. Win-win.
It is truly worth doing: please, however you do it, do it and beat time at its own game.

