An event shoot the other night prompts me to point out how important it is to bounce your flash into the right place.
When you shoot an event, you:
- Set your camera to a good starting point: Manual mode, 400 ISO, f/4.0 and 1/30th sec.
- Use the right lens: perhaps 35mm prime (on a full-frame camera, or 24mm prime on a crop camera).
- Aim your flash roughly behind you.
- Fire.
That gives you images like this:
You now adjust aperture, shutter and ISO according to ceiling height, available ambient light, background colour, and “how you like it”. For a neutral, normally lit background you want your in-camera meter to read roughly -2 stops when taking an average reading. So take a test shot, adjust where needed, and carry on.
Fine. But where exactly do you aim?
You aim the flash:
- Where you want the light to come from. Usually this means behind you.
- And it should throw light into your subject’s face, not onto the back of their head.
- This flash bounce area must be outside the image area.
- And it must have a nice bounce surface (not too far, not too coloured).
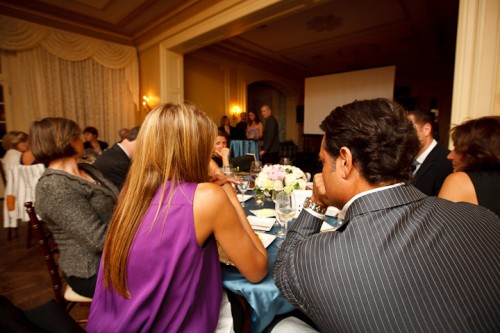
If you do not get the bounce area right, you get this, where I got it wrong (I aimed the flash too far forward):
Instead of this, where I did it right (I aimed it behind me):
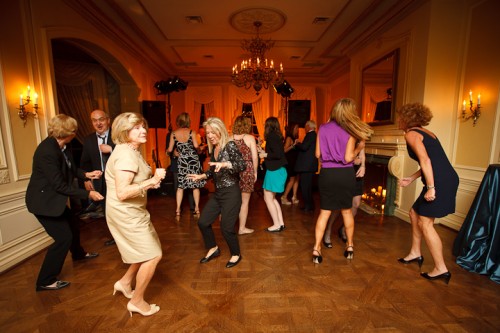
Because I aimed correctly, the wall behind me became a big virtual umbrella, and cast natural light throughout the room, not mainly into one area like in the previous shot.
Another couple of shots from the event:
I like warm backgrounds. That’s my style.
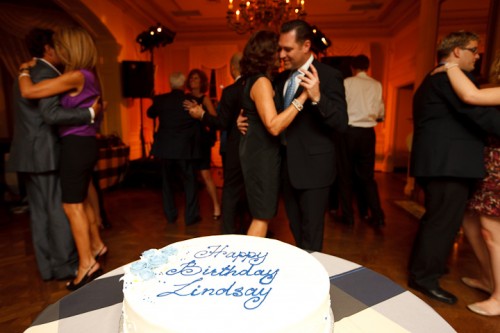
Dancing in dark rooms is hard to capture. Shoot a lot.
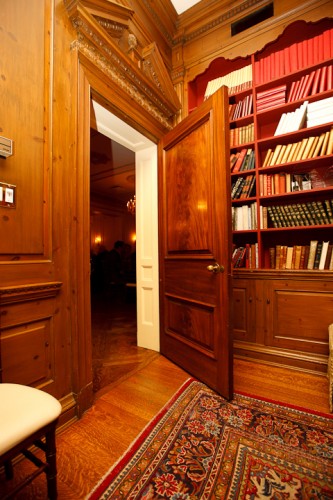
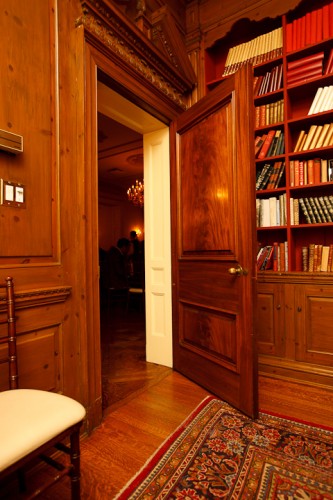
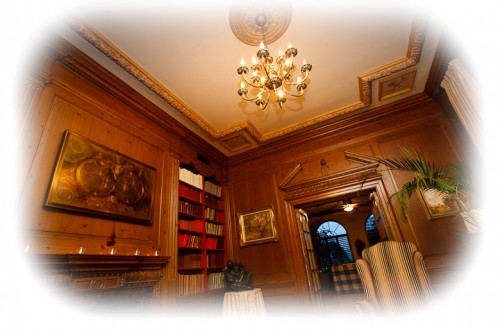
Yes – you can shoot in wood-paneled rooms too, but it can be challenging.
Want to read more? Watch out for the June/July issue of Photolife Magazine, with my article on “Flash: 20 problems, 10 solutions”. It should be in the stores any day now.

My copy of Poto Life just came in the mail today and I am reading your article….ohhhh….ahhhh…..
Excellent. I have not even seen it yet!