….except when it isn’t.
When doing post-production, make sure that the areas of your image that should be totally black are in fact totally black.
Take this image.
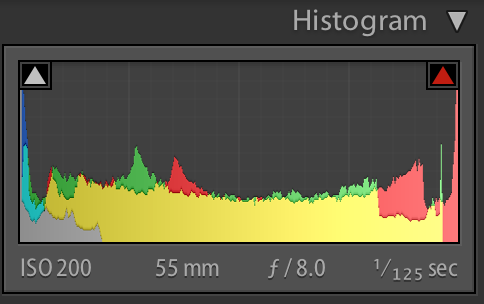
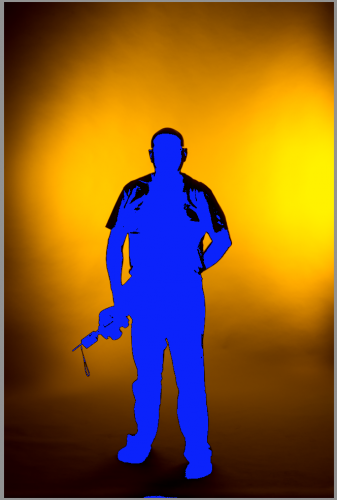
The photographer is black. But is he?As you know, a RAW image has much colour space, so are you sure? Go to the histogram in Lightroom’s Develop module, and click on (or hover over) the little arrow on the top left.
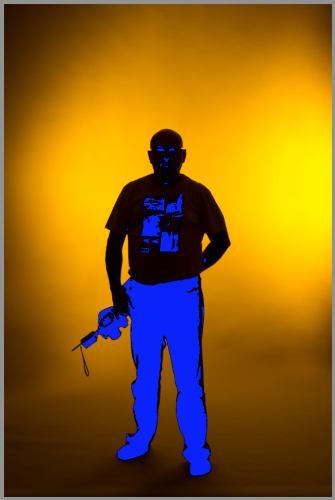
Now you see what is really dark:
Blue areas are lacking detail, i.e. pure black. And not all of the person is blue.. so uh oh, there’s still detail lurking in the image.
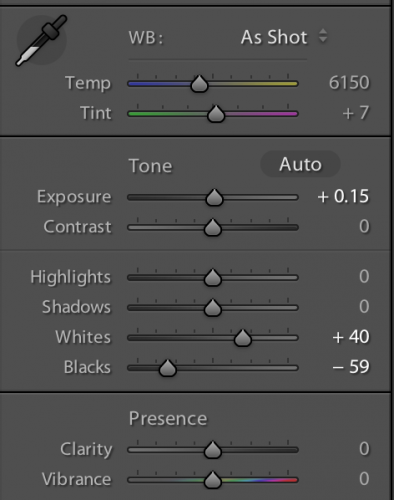
Well, then drag “Blacks” to the left in the BASIC pane:
…until you see something like this:
And now finally the blacks are black, and no amount of increasing exposure will bring back detail. (OK – this is not really true: Lightroom is very conservative and preserves some detail even when blue shows. But to all intents and purposes, you’re good, and that detail will not be seen.)
___
Allow me to once again point out these few additional learning opportunities:
- My photo eBook is out: www.speedlighter.ca/photography-cookbook/
- All-day workshop “The Art of Shooting Nudes” on March 2 in Hamilton, Ontario, and there are still places available: www.cameratraining.ca/Nudes.html
- Advanced Flash workshop, also in Hamilton, 17 February (booking page soon)
All workshops will be announced via email and press release shortly, but you, my readers here, still have first option!

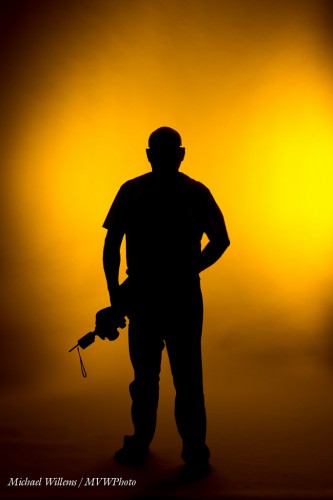
Michael – did you have 2 speedlights lighting the background? How did you have the lights positioned?
Indeed, Richard: Two speedlights, one on the left and one on the right; both fitted with a 1/4″ Honl grid and an Egg Yolk Yellow gel!