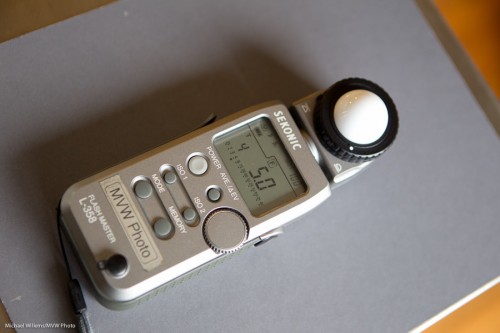
If you are a photographer, you will need to use a light meter sooner or later. Like in studios, when shooting flash, or when shooting outdoors in mixed light. Or for when you want it accurate. Light meters, like my Sekonic L-358, are invaluable.
But light meters are not perfect. They can vary between modes, between measurements, and between light meters. Even between ISO settings, or times of day.
The good news: modern light meters can be calibrated, i.e. adjusted, when necessary. The bad news: this is sometimes a little similar to black magic.
If you doubt your meter’s accuracy, here is what I would suggest you do:
- Set your camera to aperture mode, f/5.6, 100 ISO
- Filling your entire viewfinder, shoot a grey card, evenly lit by diffuse daylight. Avoid reflections. Avoid standing in the light (d’oh).
- Check if the histogram is neutral in color (Red, Green and Blue channels, if you can display those, are equally bright).
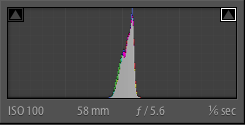
- Now check if the histogram is in the centre. If not, adjust the exposure using exposure compensation, until it is in the middle.
You should now see something like this on the back of your camera:
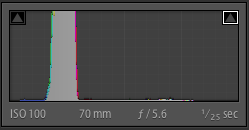
If instead you see a histogram like the one below, the image is too dark – use + (plus) exposure compensation:
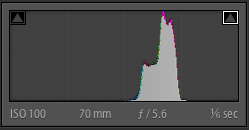
If you see the type of histogram below here instead, then the image is too light – use “-” (minus) exposure compensation:
So. Done? Now repeat the process until this is right.
Now that you have adjusted the exposure to get the histogram into the centre, read the shutter speed you now achieved.
Now:
- Set your light meter to f/5.6 and 100 ISO.
- Dome extended, put it on the grey card.
- Without blocking the light, measure the light.
If your light meter indicates the same shutter speed as you got on your camera,you are good. If it indicates something else, you may need to calibrate your meter.
On my Sekonix, this is done by pressing ISO1 and ISO2 together while you turn on the meter – and keeping them pressed. You can now adjust the meter, + or – as needed, then repeat your measurement. Repeat this until you see the same time on your meter that you saw on the camera before.
Now, take some shots metered with your meter, in various light intensities and types, and verify that the grey card peak is in the centre for most images.
Like I said, black magic. But now you know. Bet you were not aware your meter was adjustable!


Great tutorial! I’d calibrated my L-358, but your technique on how to do it was more clear & concise.
I do have a question about the L-358 though. After calibration, the meter and camera seem to be close in metering average scenes. However, the Sekonic consistently underexposes by multiple stops if I am in the sun with the sun to my back when taking an incident reading. What am I doing wrong? If sun is to the side or in front of me or if the sun does not srike the dome full on, it gives good readings. Thanks again for a great blog!
Try this: hold the Sekonic in bright direct full-on noontime sunlight, dome up, and aimed at the sun. Set ISO to 100 and aperture to f/16 – you should now read 1/100th second (this is the “sunny sixteen” rule). If you are close, then good. If not – then the meter has a problem, or is miscalibrated.. Calibrate it, then try in lower light and see if that works.
Just curious after our session on Sunday. How was the calibration on yours? This will be my project next weekend. And I haven’t forgotten about sending you photos, there are just not enough hours in the day!