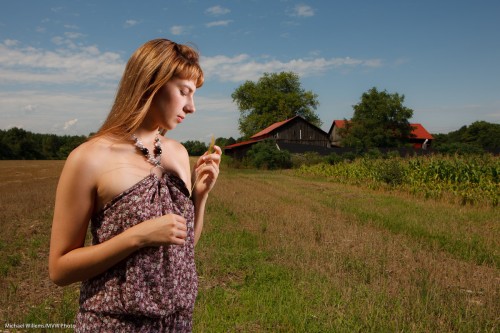
Here is model Jenna Fawcett, as I photographed her in yesterday’s Creative lighting workshop:
To make a picture like this, several things must come together.
Namely:
- A location. Simple, beautiful, with red and green and blue together. You have heard me before: red, green and blue in one shot, especially if saturated, make for a good picture.
- A subject. In this case a model, and clothing-make-up, props.
- The right equipment – camera and lens.
- Now, first of all, exposure set to expose the background properly. Meaning nice and dark – “saturated” means “not overexposed; not mixed with white light”. The camera’s meter points at, say, -2.
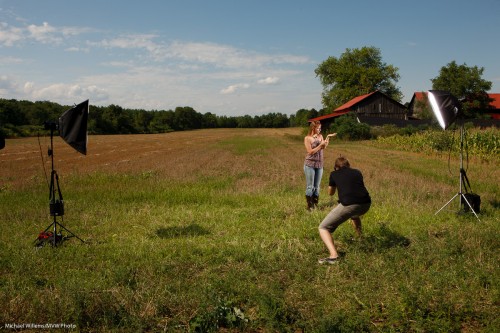
- Light to light up the subject. Meaning flashes- in the case of a sunny day – biiig flashes, with octoboxes, umbrellas or softboxes. Battery-powered if you are in a field in Ontario. One on the right; one on the left.
- Proper exposure of this flash light (this may need a light meter). Becasue you underexposed the background, your subject, if exposed “normally”, will now stand out wonderfully.
And that’s the story. This setup looks like this:
Is a sunny day better for these shots? No – a sunny day is much more difficult. Nasty shadows, and you need very high power to be able to “nuke the sun”. So for a sunny day you need strobes, and power.
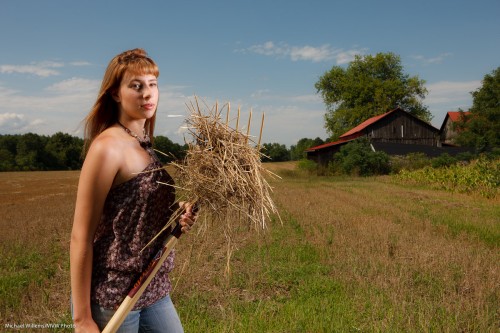
Why did I call this post “Hay there”? Here’s why:
Can I learn this? Yes. Easy – follow the rules above.
Yes, you need to learn lots of finicky stuff about aperture, shutter, and ISO – but it’s worth it. Read this blog daily. Try. Take a course. And take one of the workshops Joseph and I do – they are quite the experience, and include beer and wine and portfolio shots – and great images to take home!


Excellent post as always Michael! What “biiiig” flashes are you using?
Hi William..
The odd thing is – it does not really matter (photons are photons) as long as they are reliable. But I usually use Bowens equipment – the 400 WS Gemini lights, of which I have four. In this shot we also used Joseph’s lights – even bigger.