A common question:
“Why don’t my images look as vivid once they are in Lightroom as they do on the camera or in other software?”.
Good question. We have all seen this: you shoot RAW. It looks great on back of camera, great when first in Lightroom, but after a few seconds, dull. Why?
What you see on the camera, and in Lightroom, and in iPhoto, and so on, is an interpretation of a RAW image. A translation of the actually captured bits, if you will.
What you see on the back of the camera is a built-in JPG; an already-interpreted image. Interpreted according to your camera’s menu settings. Settings like colour space, white balance, contrast, saturation, sharpness, and especially the “autocorrect” settings. So you are not seeing the captured data; you are seeing an interpretation; often a “fixed” one (those in camera “auto fixes” need to be turned off, as I have explained here several times before).
Same in Lightroom. Initially you see the built-in JPG, but after a few seconds Lightroom switches to its own interpretation of the RAW image.
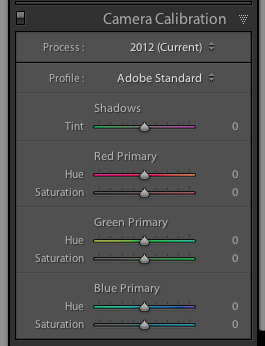
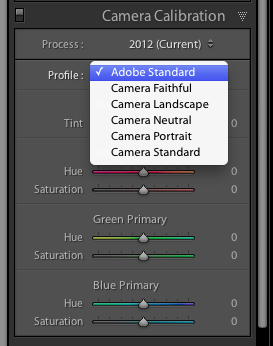
In the DEVELOP module, on the right at the bottom, you can choose the way the image is interpreted. Lightroom defaults to “Adobe Standard”. Try the others to see how your image changes.
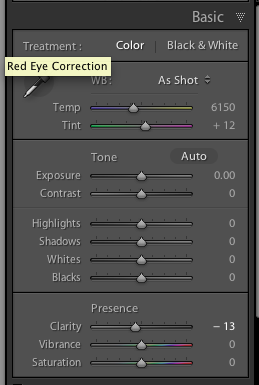
Next, to get the image you want, go to the BASIC pane in the develop module, and set this according to your needs.
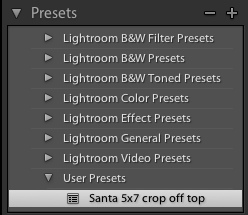
Then, still in the DEVELOP module, save all your settings as a “User Preset”. Press “+” and save the settings, naming it to something meaningful, as I named mine in the example here:
Then upon importing, apply this setting automatically. And now your Lightroom photos look just like the images you see on the LCD, or in other apps.
Oh, and when you export, choose sRGB as your colour space, unless specifically told otherwise.


