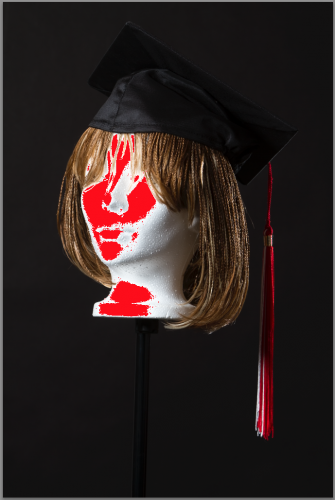
I am studio shooting, and I like to get my exposure right. And there’s one things that always occurs to me: the difference between camera and Lightroom. The camera says this image is overexposed:
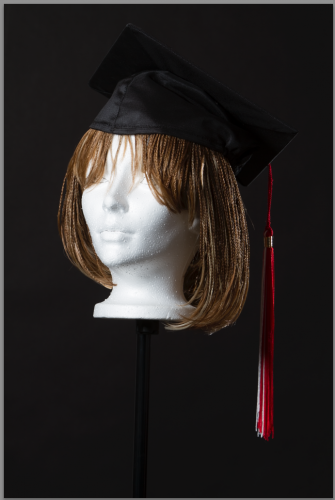
That’s what it looks like on the camera. But in Lightroom, that same image looks like this:
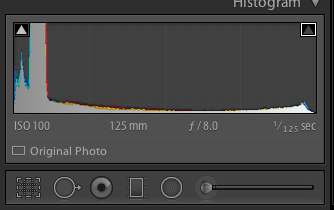
Looks pretty perfect, and that is confirmed by the histogram:
There are several reasons for this.
- The camera shows me the JPG that is built into the RAW as a preview. But in Lightroom, I have the actual RAW. Which has more exposure space due to its having more bits per colour channel.
- Lightroom prevents overexposure when importing, as part of its current develop profile (so if you like overexposed backgrounds, tough—I have commented on this before).
- Cameras and Lightroom are not calibrated the same. There’s always some difference.
So here’s my studio tip for the day: know your camera, and know how to expose on your specific camera to get an image that is exposed to the right (i.e. bright white areas appear at the very end on the right in the histogram, without actually touching the right side). Every camera is different. On my 1Dx, for instance, I need to see overexposure by about 2/3 of a stop, in order to get a Lightroom image that is just shy of being overexposed. As long as you know, this does not matter.
1/1/2015: you have a few hours left to buy three of my e-books at a 50% discount. Only today!


