Again, let me point out today the effect a bit of colour can have. A splash and a dash here and there can make all the difference.
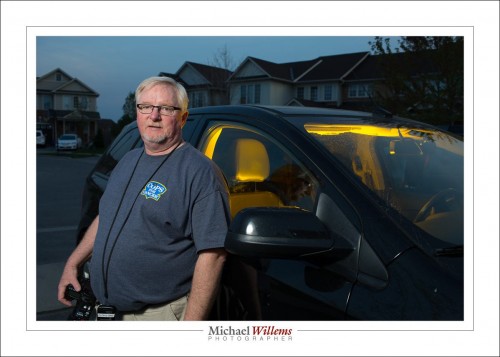
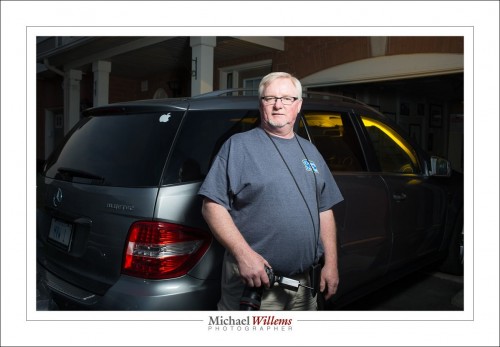
Take this picture, of yesterday’s student by his car:
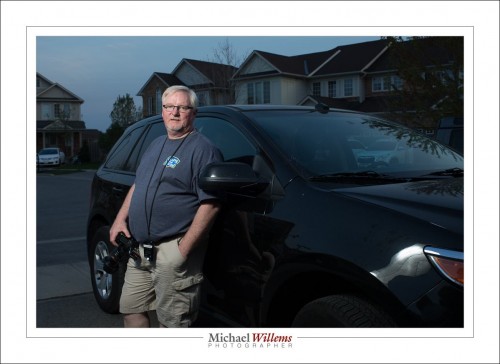
Without that gelled flash inside the car, the picture would miss something. It just does not look the same:
So I always have a flash standing by just in case. To be precise:
- Flash, like a 430EX (Canon) or SB-610 (Nikon)
- Light stand
- Bracket, for mounting flash onto light stand
- Clamp, for when I want to clamp the flash to something
- Pocketwizard radio trigger
- Hotshoe cable between Pocketwizard and flash
- Set of Honl photo gels (use discount code “willems” upon checkout, for 10% off)
The gels are important: over time you will get a good sense of what colour suits what occasion. The Honl gels I use are very sturdy, easy to use, and are chosen very well: I have all the colour sets and use them extensively.
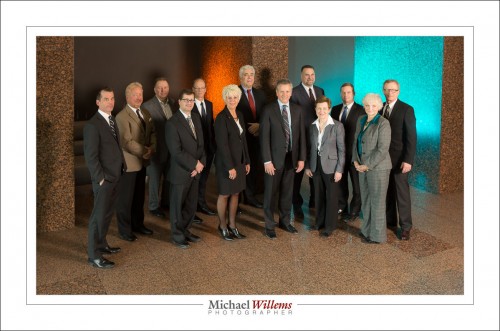
Another recent example, where I used two extra little flashes with gels to liven up a board of directors:
That, too, would have been dull without the colours. And you should never allow a board to look dull.
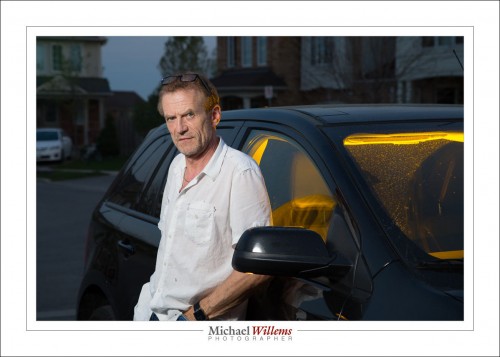
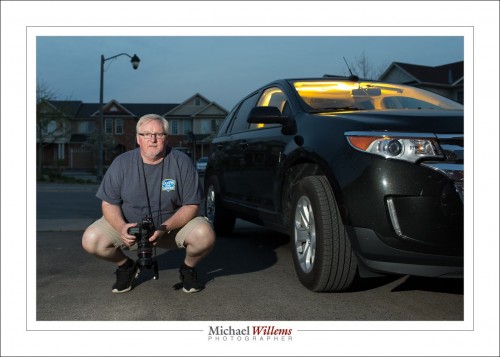
Here’s me, followed by a few more of my student:
You should know, it was not dark when we took those. As you know, your camera is a light shifter. As you know if you have taken my lessons, you start with the background. Set your A/S/ISO to whatever it takes to get that the way you want. Not the way it is. Then, and only then, add flash.
___
If all this is mystery to you, do what my student above did and take a private lesson. In person, or worldwide via Google Hangouts. And start with the books: have those ready during and after the lesson to ensure it all sticks. You too can make artistic professional pictures, and quickly, and without major investments in gear.

