Sharpening is often a mystery. And Lightroom does it very well.
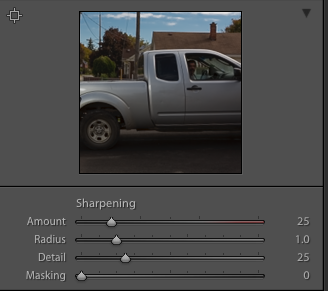
You have four sliders: Amount, Radius, Detail, and Masking.
Amount determines how much sharpening you apply. I set this between 25% (hardly any) and 50% (a lot), usually,
Radius determines how close to the lines it is applied. 1.0 pixels is the system default: a pixel either side of lines. I usually leave it close to that default. Avoid going too high.
But sharpening means the introduction of grainy noise. And the next two sliders have something to do with that. For these as well as the other sliders, holding down Alt-Option while sliding shows you the effect.
Detail means the amount of sharpening applied to the edges; in practice this also means “how much noise is introduced:”. I leave it in the 20-40 range, usually.
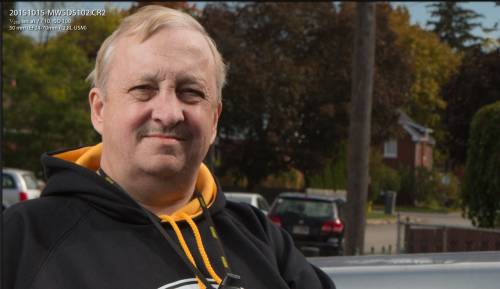
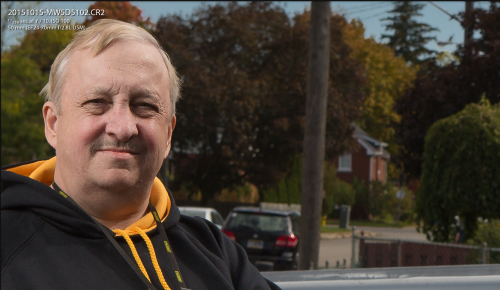
The image without sharpening:
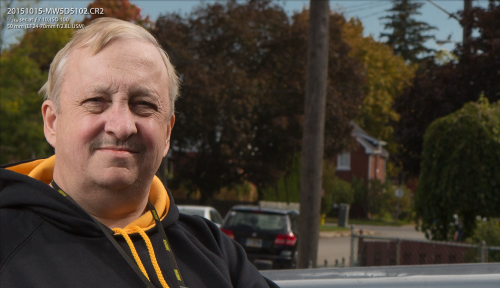
Now with various amounts of sharpening:
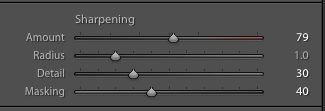
Now some more, but with more of a mask, so it is not applied everywhere:
Masking means “where the sharpening is and is not applied”. White means “it is applied here”, black means “it is not applied here”. I leave this between 0 (everywhere) and “whatever is needed”. Press Alt/Option to set this so that the maximum is applied where the sharpening is needed, without adding noise to areas like the sky.
By judicious use of these sliders, especially the masking and amount sliders, you can apply sharpening just where it is needed.
The result: a very sophisticated sharpening tool, which equals what Photoshop can do. Worth learning the details.


Cool guide, thanks. I’m learning to do the same with Photoshop. I buy review of Photoshop program and as I can see it has more options than Lightroom.
But it also lacks many features that Lightroom has, and it is slower in many other functions. Lightroom is for photographers. Photoshop is for illustrators.
In this case I guess good decision to use both 🙂