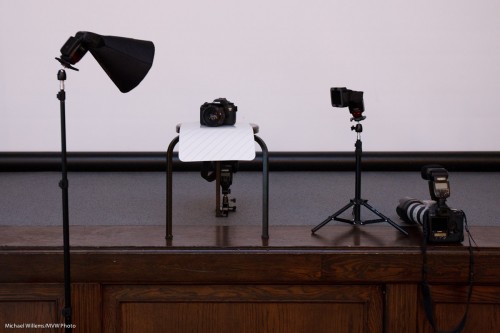
Here again is a quick product flash recipe using small flashes, since many of you have asked me.
Step by step, then:
ONE. Find a neutral background.
TWO. Now find a stool, plus a surface for the product, preferably a sloping one. Put the product on the surface, with the background behind (far enough – the farther the better, usually), and do a sanity check. Look ok?
THREE. Add a main light. For this, use a flash with a modifier. I used a Honl Photo softbox in yesterday’s Three Minute Shot. Put this on a light stand, close to the product (close means larger, hence softer; it also means less light falls onto the background. This is important if you want to color it or leave it dark.)
FOUR. Add a fill light or edge light. I use a speedlight with a grid. Aim this at the product’s other side. In my case, slightly from behind.
FIVE. Add a background light. Again, I use a speedlight with a grid. Aim this at the background. I added a gel to the light: steel green seemed a nice colour.
Simple, no? This looked like this, in yesterday’s Three Minute Shot setup:
—-
POST: Oh I hate this. I wrote a LONG blog post here, with TEN points, and then some more. And it seems to have vanished. And at midnight, I am not going to rewrite it.
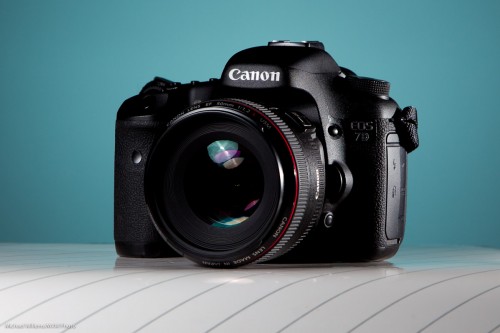
But at least let me share the resulting shot:
Sigh!


I just wanted to ask you why use or preferably using a sloping surface?
I am just starting to get into product photography, I been told to use a tele photo lens, I see in your first photo it looks like 70-200mm is this true and if so what is the reason, why not a 50mm f 1.8?