So yesterday I taught my signature “Advanced Flash” workshop in Hamilton. And one of subjects was restricting and directing light.
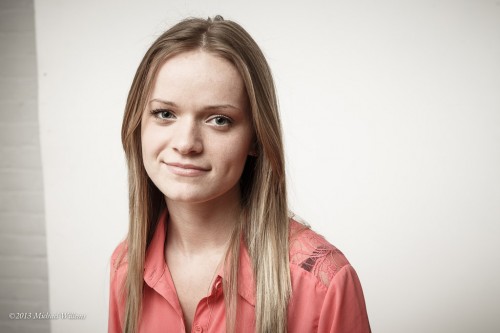
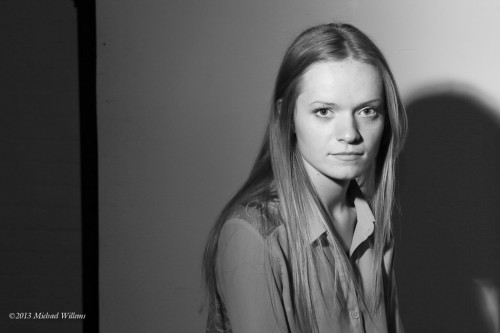
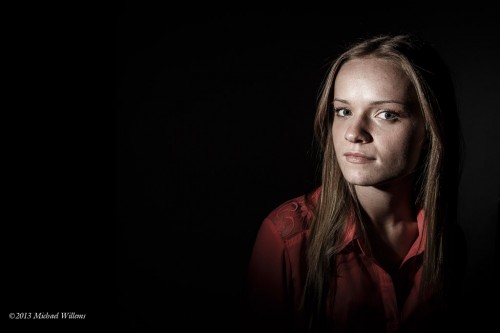
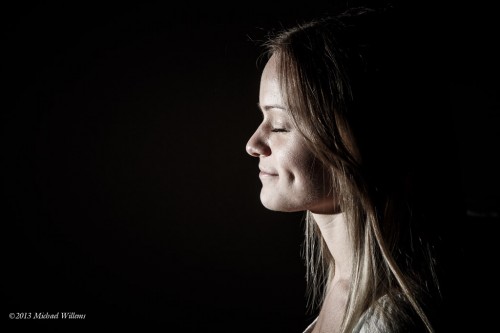
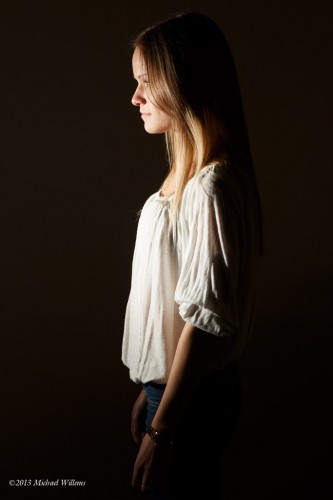
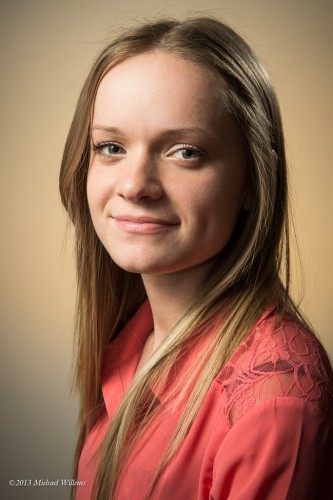
Look at these four images of Vanessa, our workshop model for the day, and consider me what you see happening here:
As you see, they are in increasing order of, as I like to call it, “specificity of the light”.
And can you see how they all show a different aspect of the model’s personality? And how they are all “storytelling pictures”?
Here’s the thing: all of these were taken with just one flash. Four very different types of light; one flash. And here were you, thinking “I can’t do what Michael does because I don’t have all the gadgets and gizmos he has, and I don’t have $30,000 to spare on equipment like he does”. Well – no longer true. You can keep it simple. Just keep in mind what I like to call my cardinal rules:
- Work out what the background should be like.
- Set your camera accordingly.
- Have the flash elsewhere than where your lens is.
- Always know what your flash reach is – “where is it shining”.
- And for effect, make it specific.
As for (1) and (2), I shoot at 1/125th second, f/8, 200 ISO. That gives me the dark ambient light I want.
As for (3), in the interest of speed, I used wireless TTL flash setup. But I could have used pocketwizards, of course, and I normally would have.
As for (4) and (5), except in the first image, which was bounced and hence not at all specific; and in the second image, where I used a Honl Photo 8″ softbox and which hence was only somewhat specific; I used a grid on the flash for the rest (my favourite flash accessory, a Honl Photo 1/4″ grid), in order to restrict where the light goes.
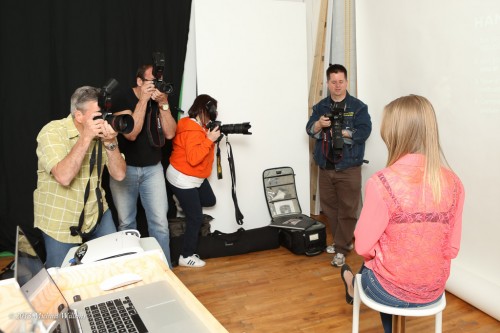
Here’s what the studio, and a few of the students, looked like:
Of course we can make it more complicated, and add the required “shampooey goodness(tm), but even that only neeeds a few flashes and a reflector:
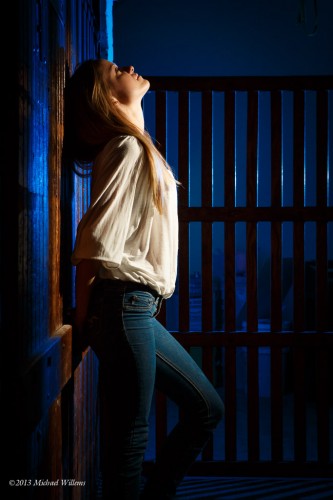
And then you get creative – two flashes, one with a grid, one with a blue gel. And then you can concentrate not just on your light, but on your positioning – as in this one, where my friend and great fashion photographer Baz Kanda did the positioning:
Even that is simple – just two small flashes with simple modifiers.
___
Learn the skills and become a great photographer with little equipment: it is very rewarding and you can do it. Many more courses coming up, so stay tuned on http://www.cameratraining.ca (click on “schedule”).

