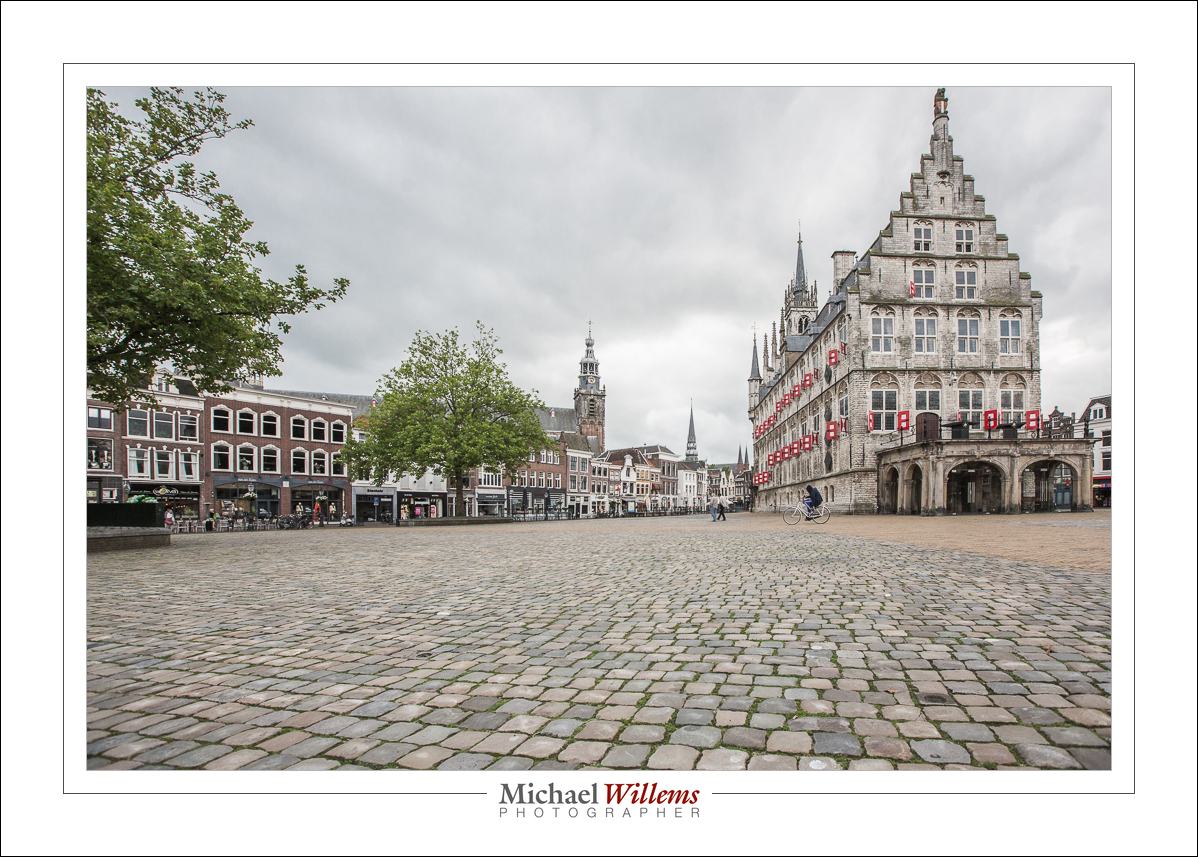

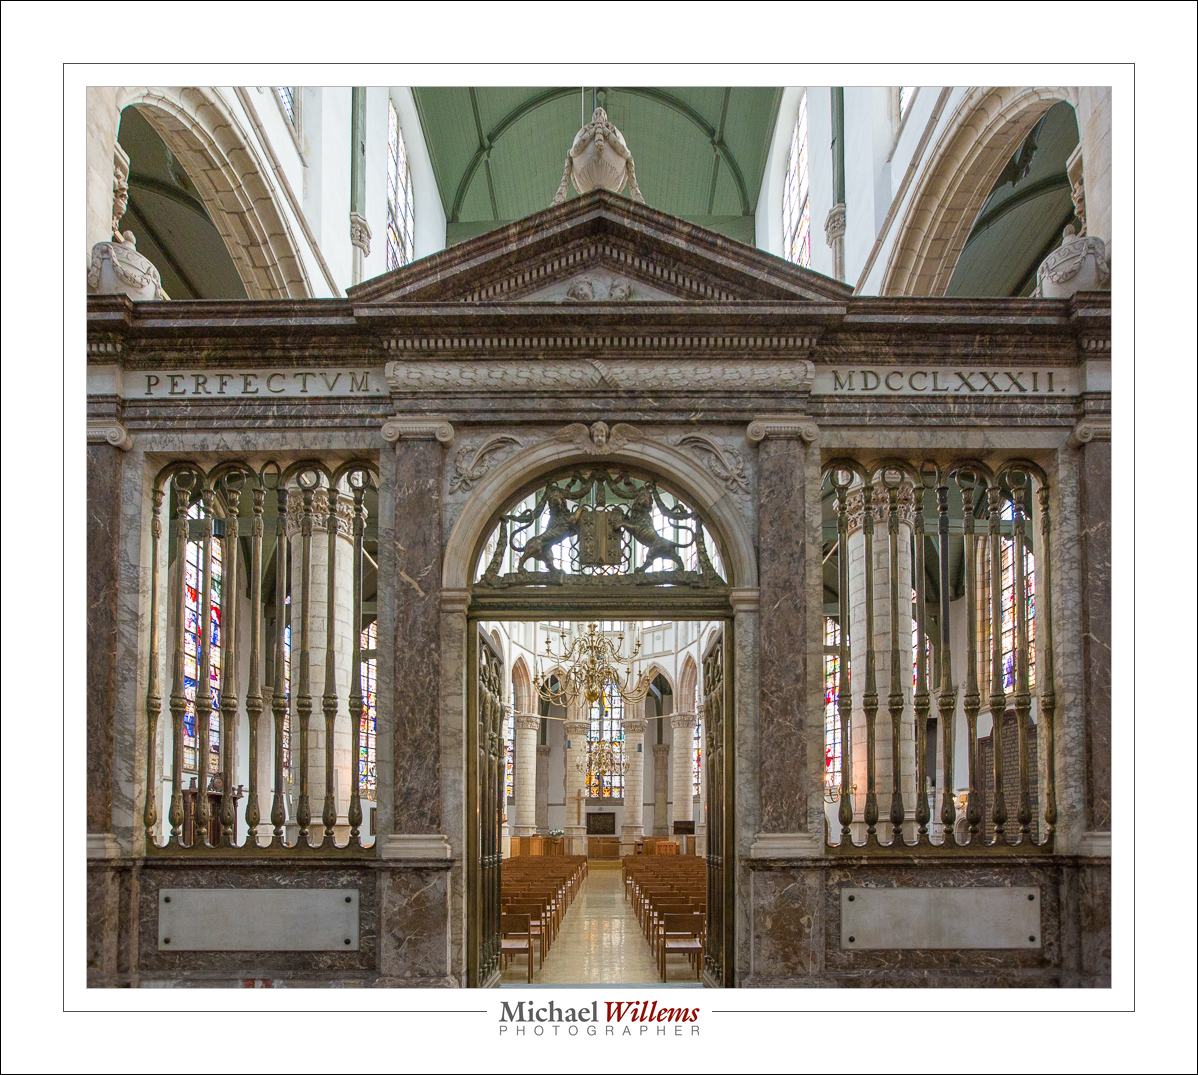
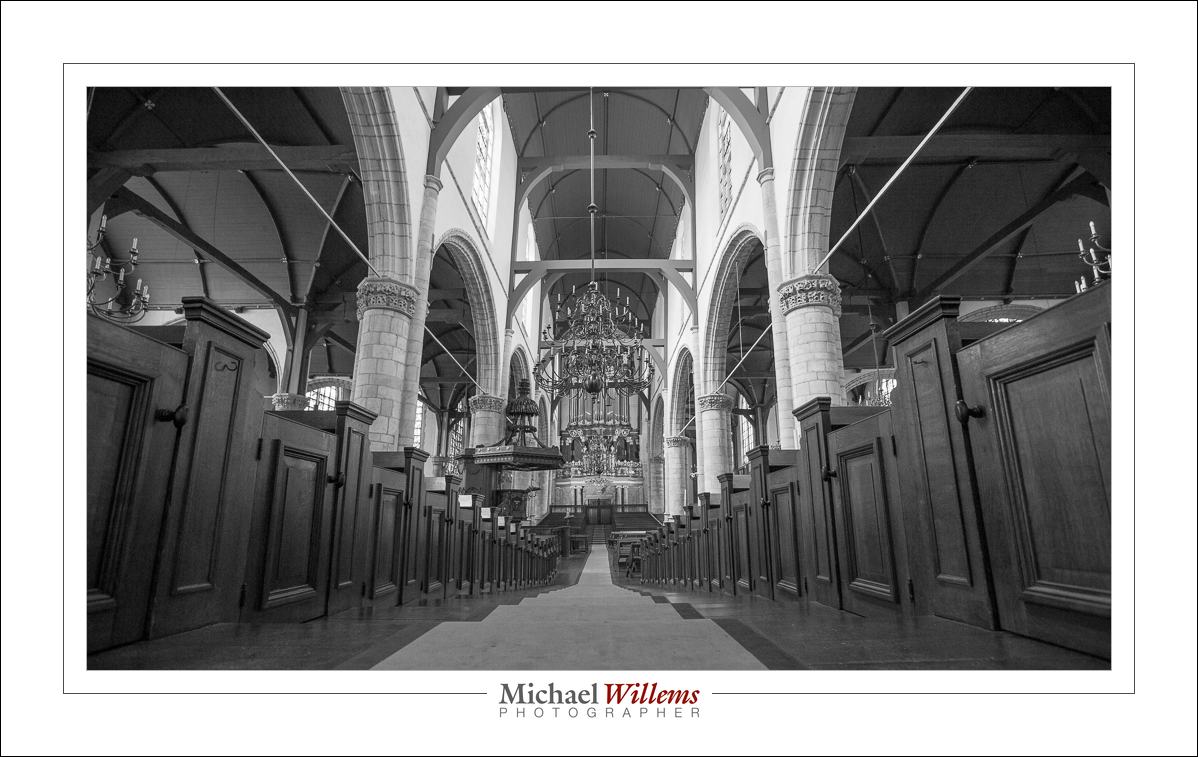
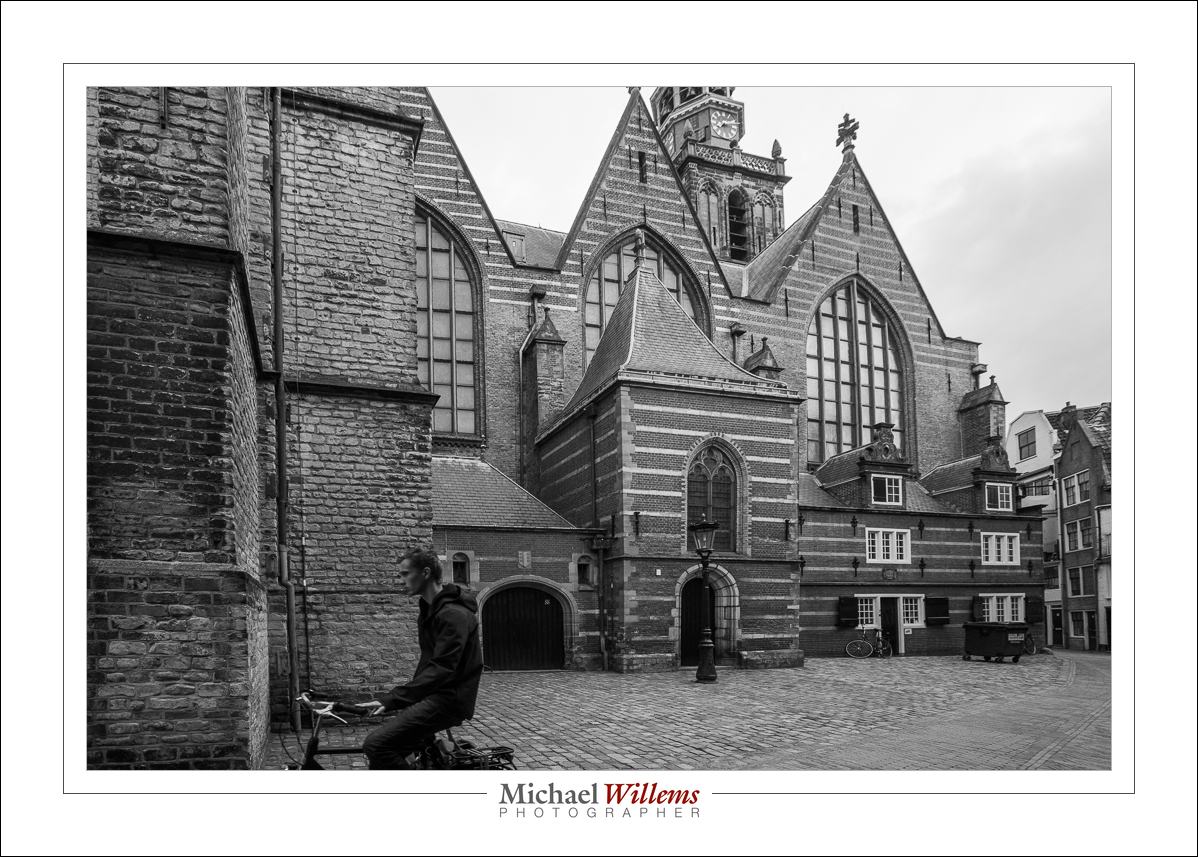

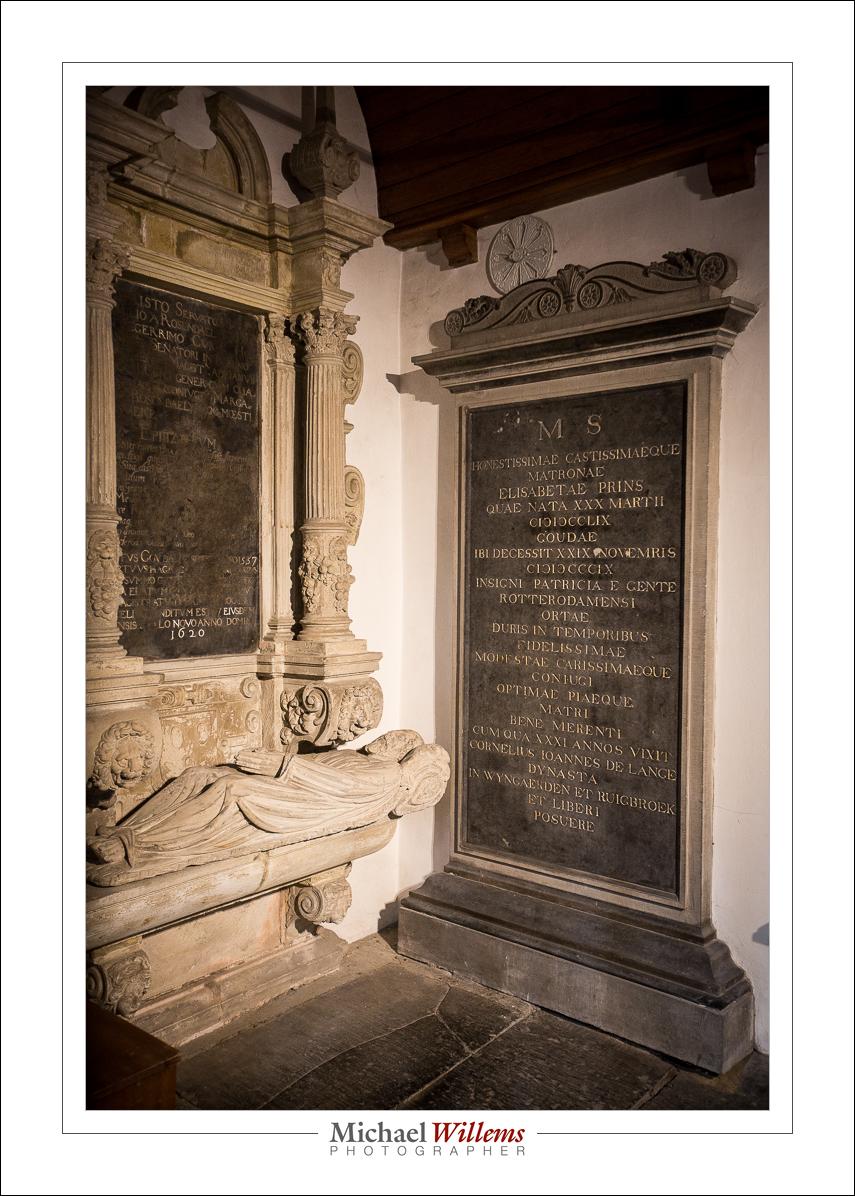
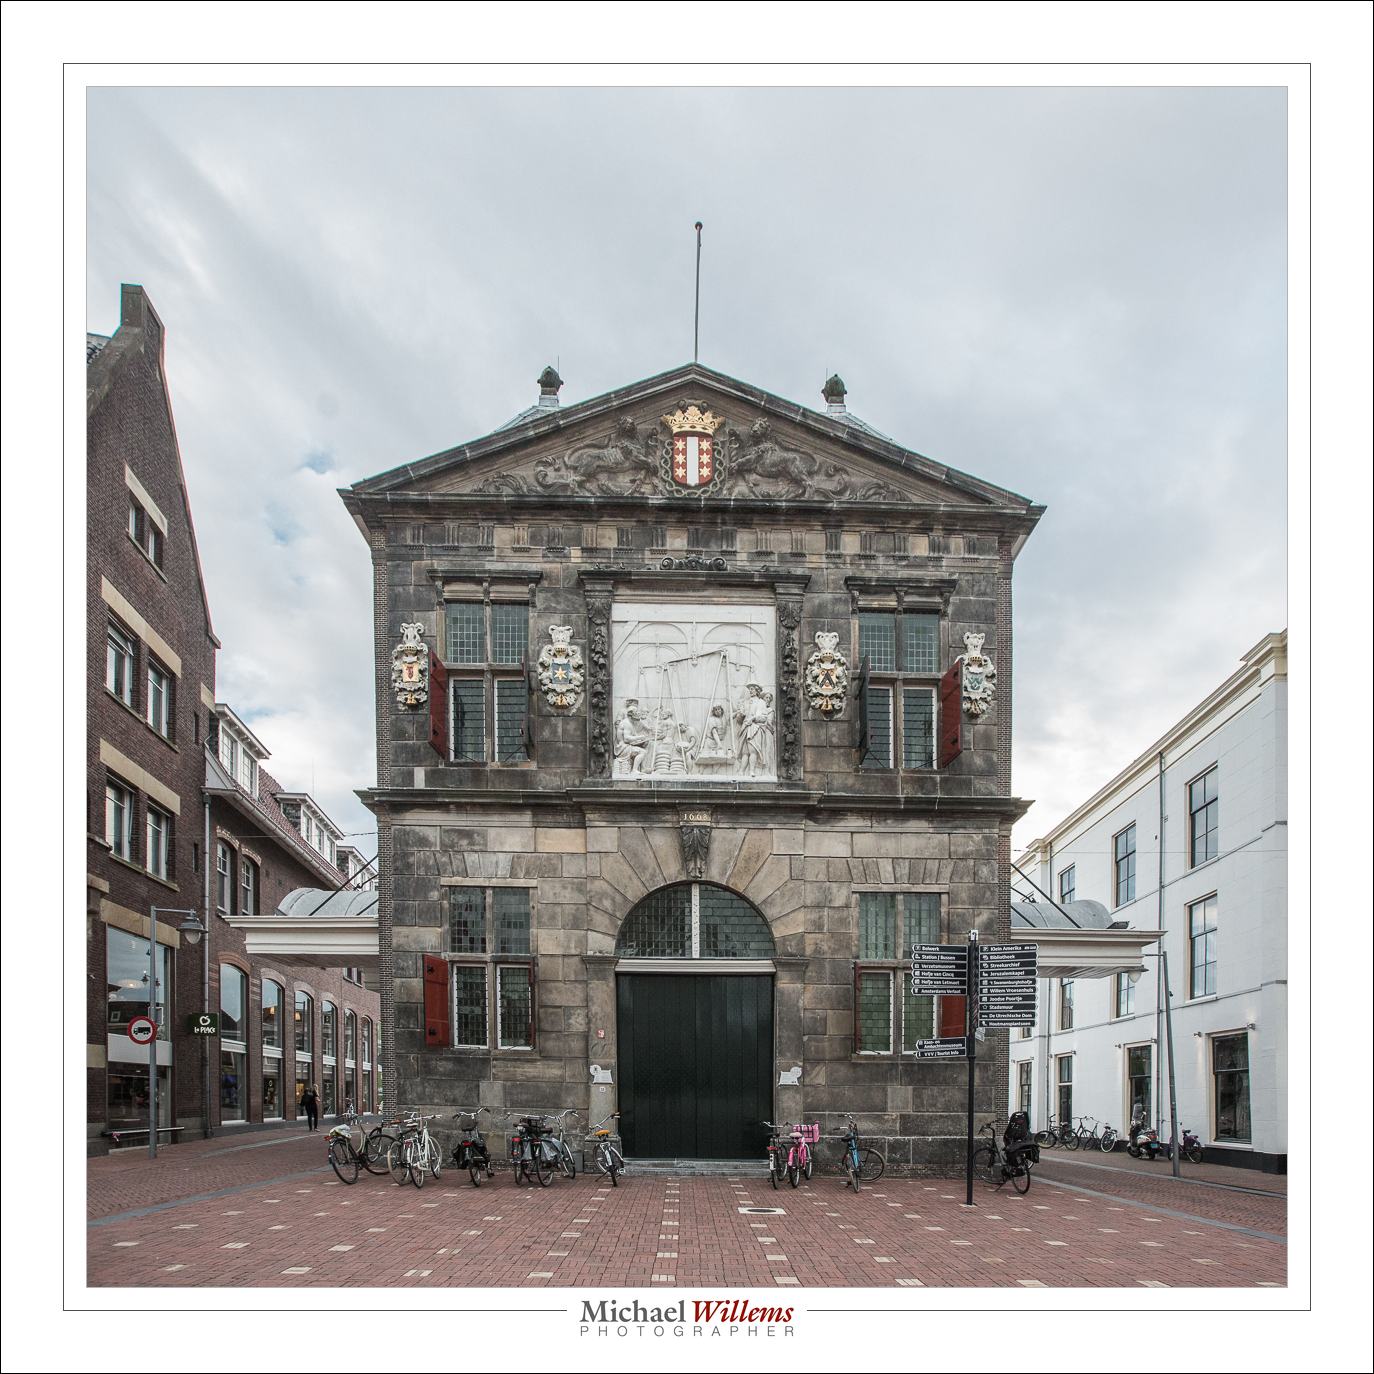
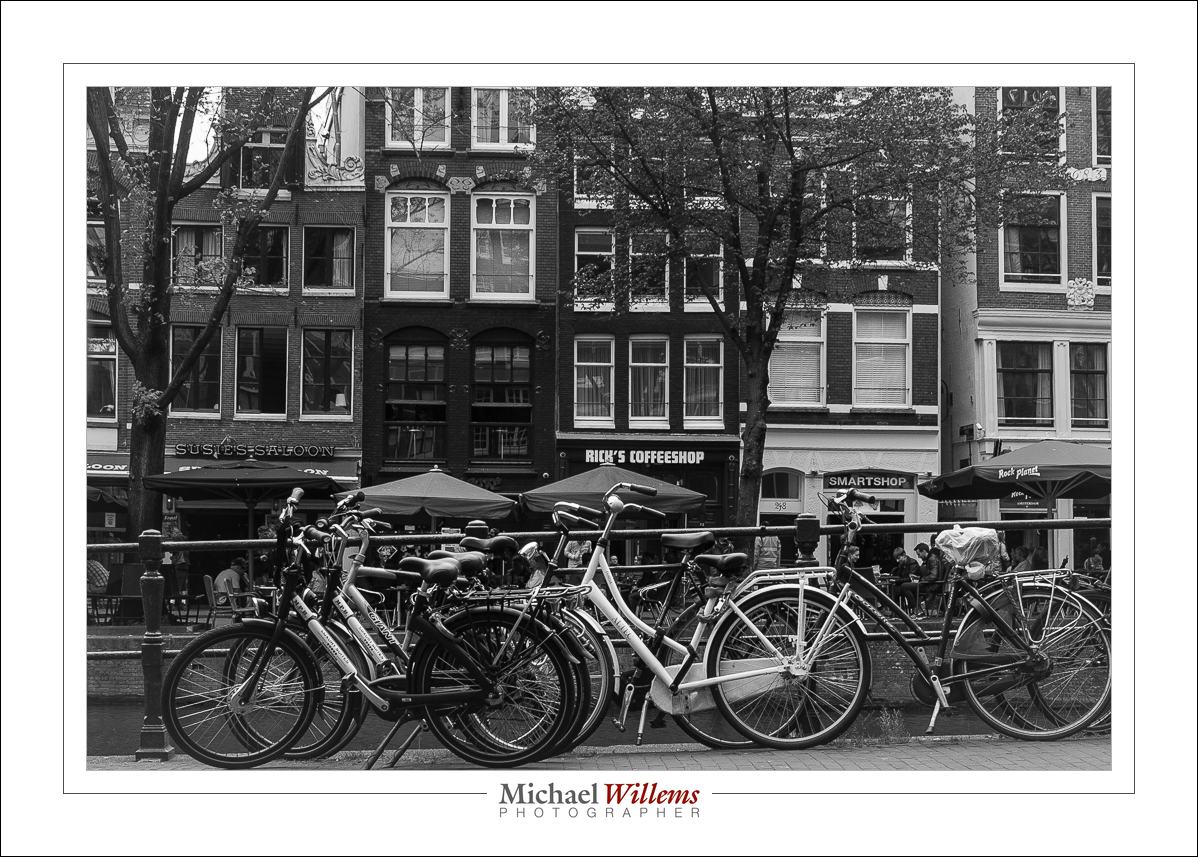
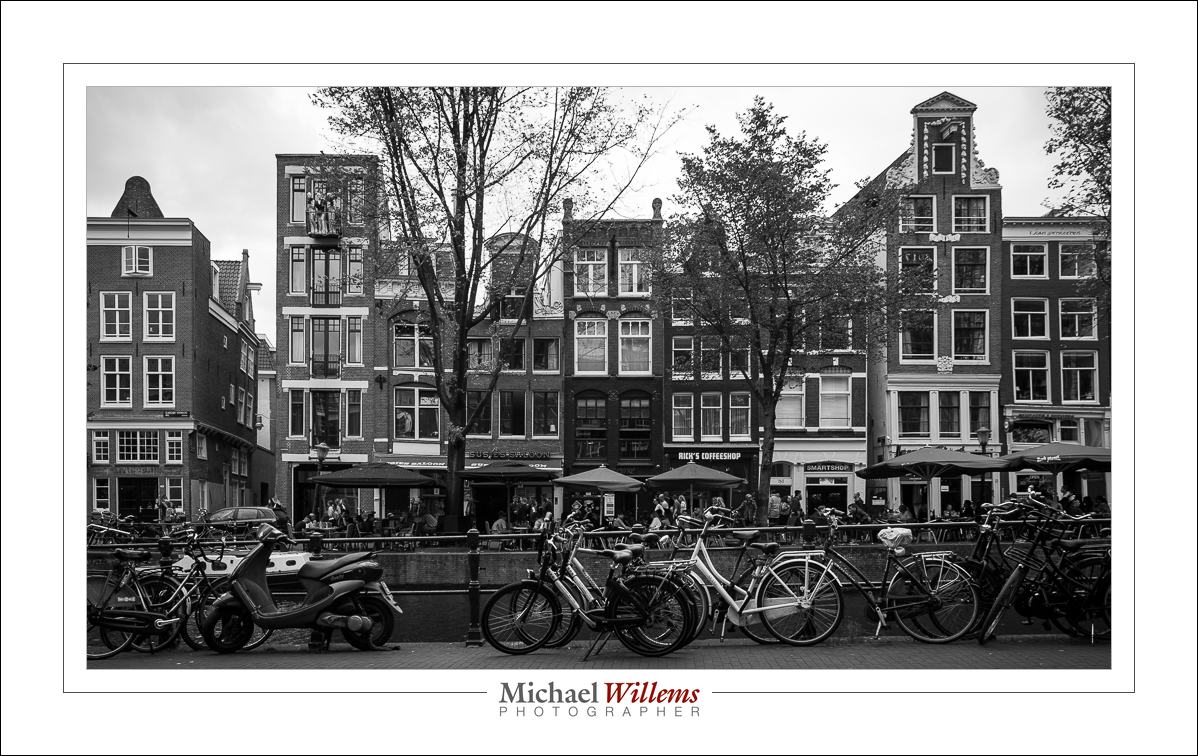
Gouda, the Netherlands, today.
Reply

Today, a further hardware tip.
One of the lenses I had looked at by Keno-san of Canada Camera Repair (see prior post) was my 50mm f/1.2L prime lens. It was never the sharpest, and I figured a $2,000+ lens should be pretty sharp even wide open. The inspection turned into a repair, but not a very expensive one – under $175 for the repair, including a new rear lens element.
Good news: it is indeed sharper than before: I can now use this lens in available light situations. (The lesson in this: lenses should last forever and a well adjusted lens is worth having – lenses are therefore worth inspecting and repairing.)
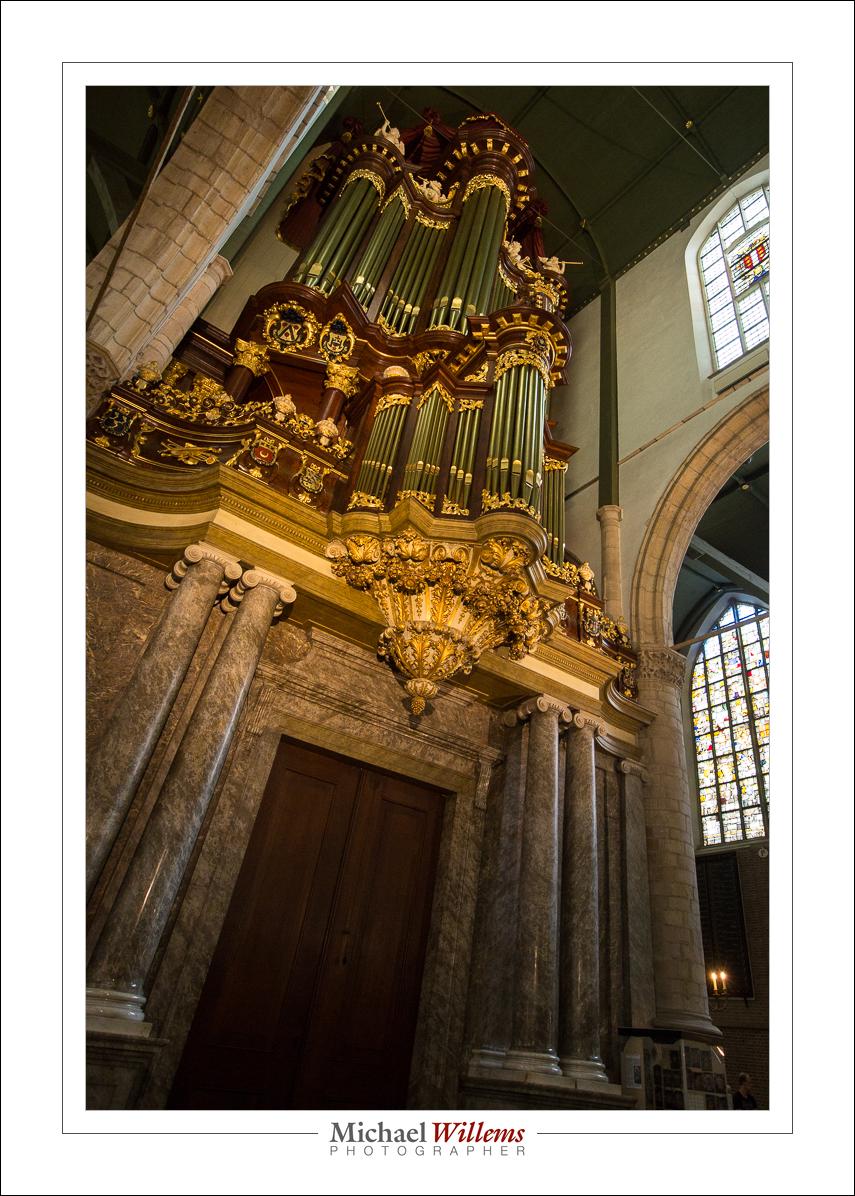
Here’s a handheld (both) shot at f/1.2:

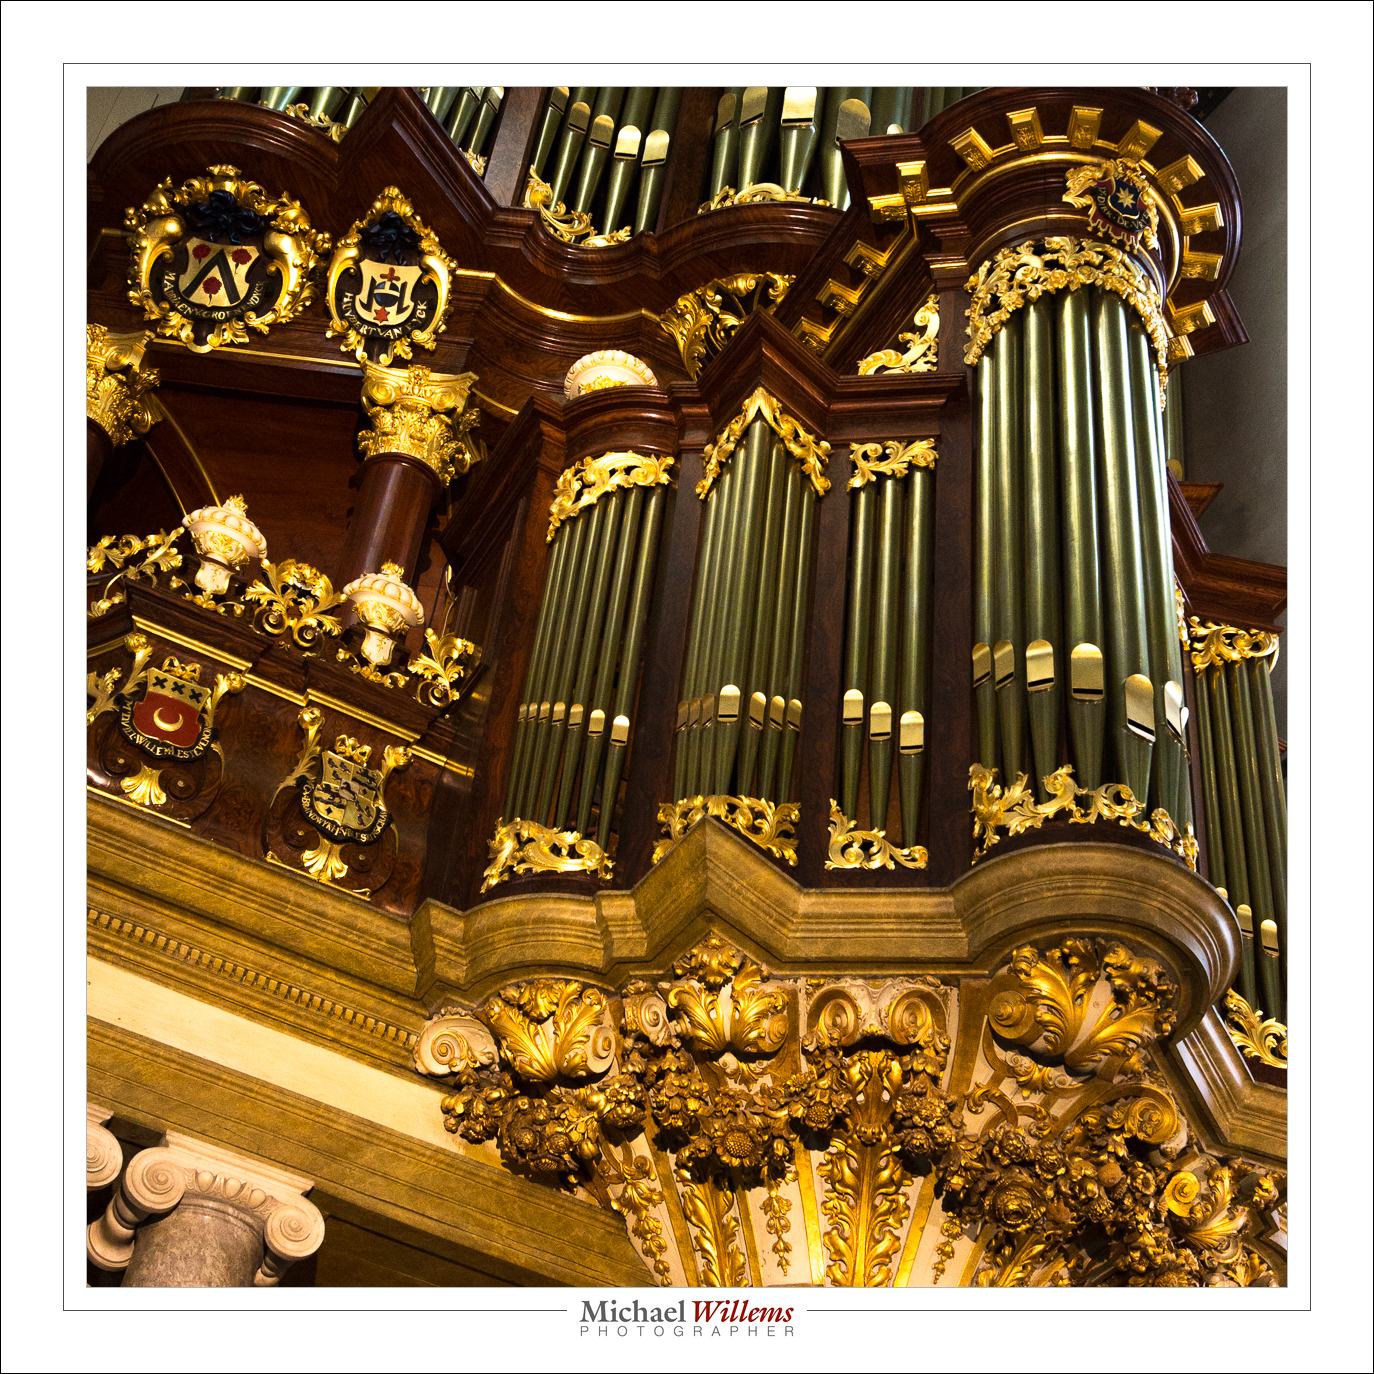
And detail:

The testing process also prompts me to remind you of a few important things:
I used this setup:

That gets me to a micro-adjustment of around -15 for close-by shots (on a scale of -20 to +20): I focused on the “o”.

As said, this is complex. I would keep it simple; avoid shooting too wide open, shoot at least 1 metre away, say; and adjust lenses to an average (for you) situation.
For my 50mm lens, the conclusion is clear: “When shooting wide open, if the subject is very close by, apply a -10 to -15 micro-adjustment. But for subjects far away, or for shots at f/4 or smaller, apply no auto-adjustment. By default, therefore, leave it off.”
Yes, this stuff is indeed complicated. But so is flying an airplane: complexity is sometimes necessary for best results.
Apologies, dear reader, for the delay in posting, of late. Circumstances beyond my control, etc etc—but rest assured, regular posts will resume shortly. In the mean time, read some old posts: a treasure trove of information!
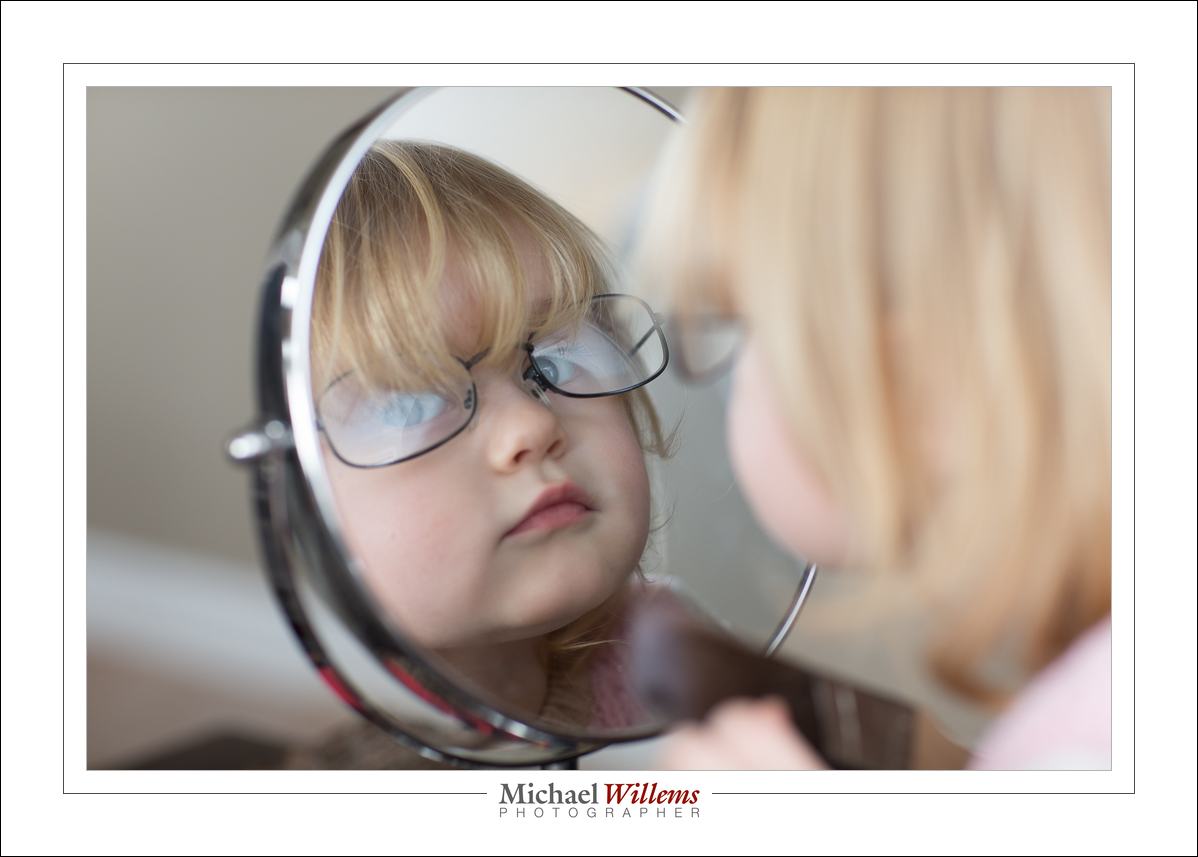
Meanwhile, granddaughter Addison:
And compare a beauty dish with a softbox:

Until soon!
Michael Willems
I spent Sunday night shooting pictures at a wedding—photo booth pictures, to be precise. And while some photographers think of this as a low-end endeavour, I love it, and I recommend it to all.
“Photo booth” means photos of people using props and funny poser, and printing images on site.
This needs a computer and special software:
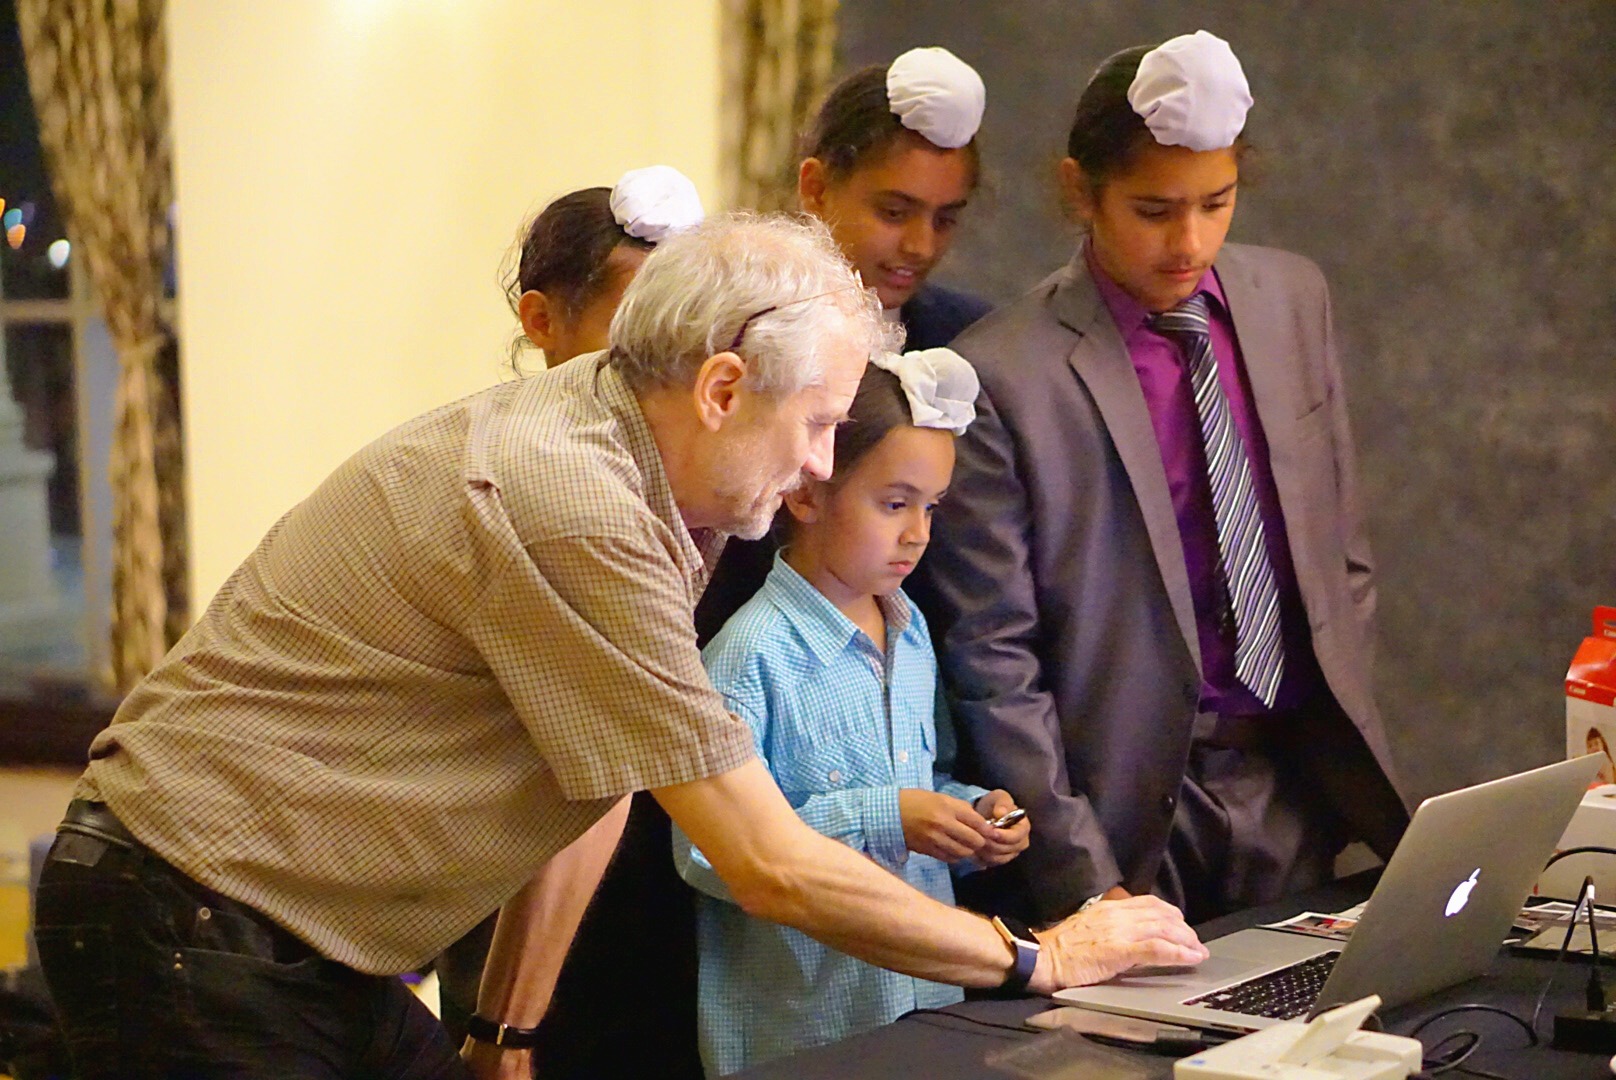
And a tethered camera with a studio-type lighting setup:

And, ofcorse, props…:
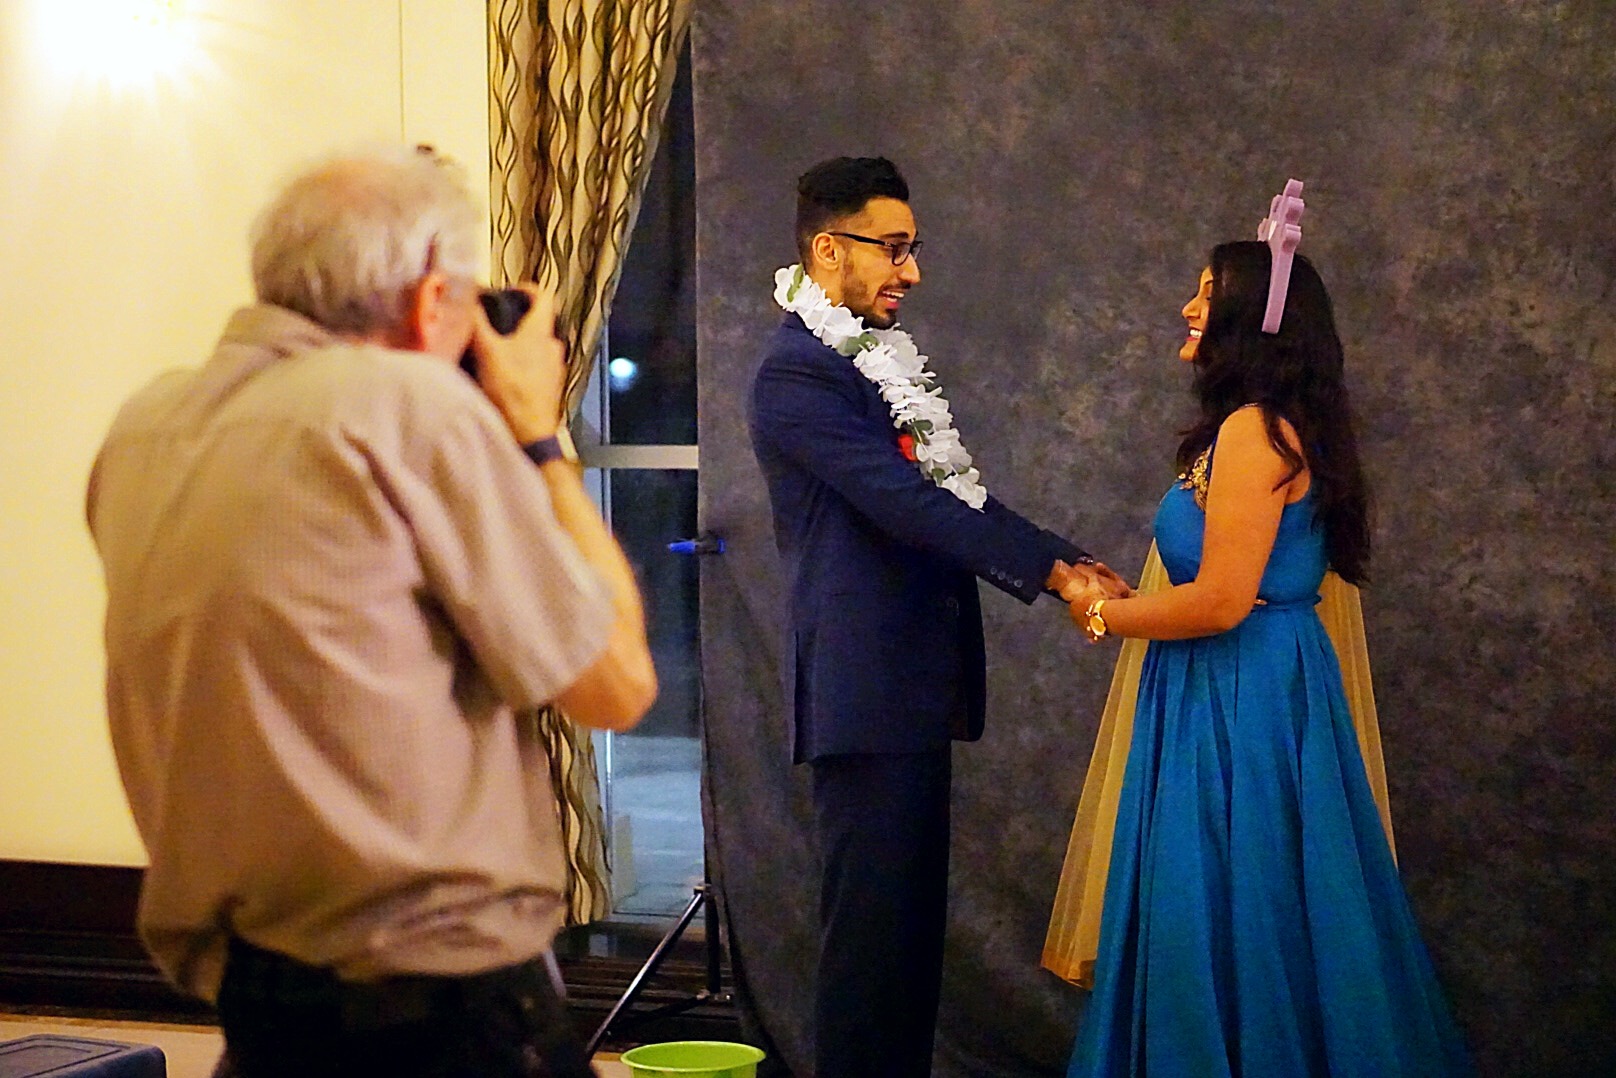
And finally, technical knowledge as well as people skills.

The printouts people are handed look like this:
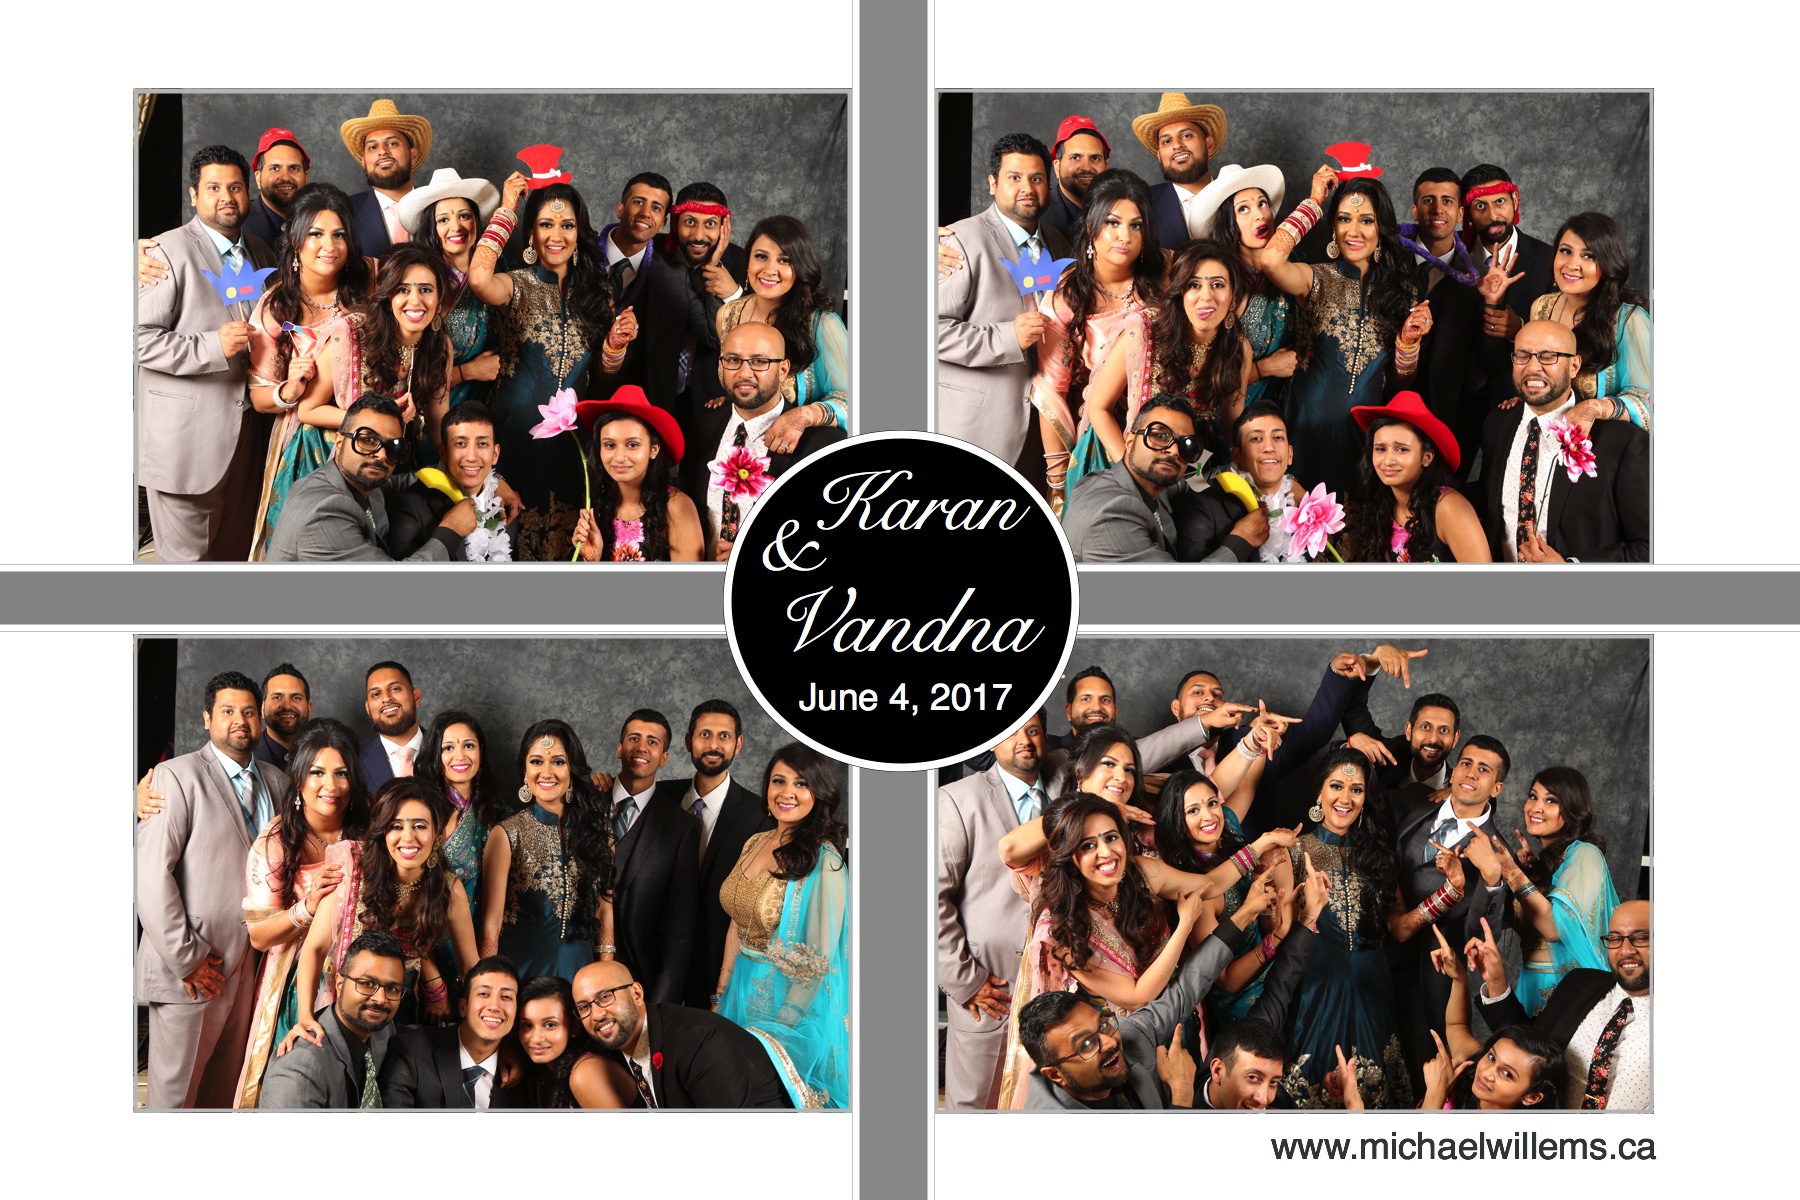
Look, by the way, at that last picture. How do you fit around 15 people in front of a backdrop meant for two? Here’s how!
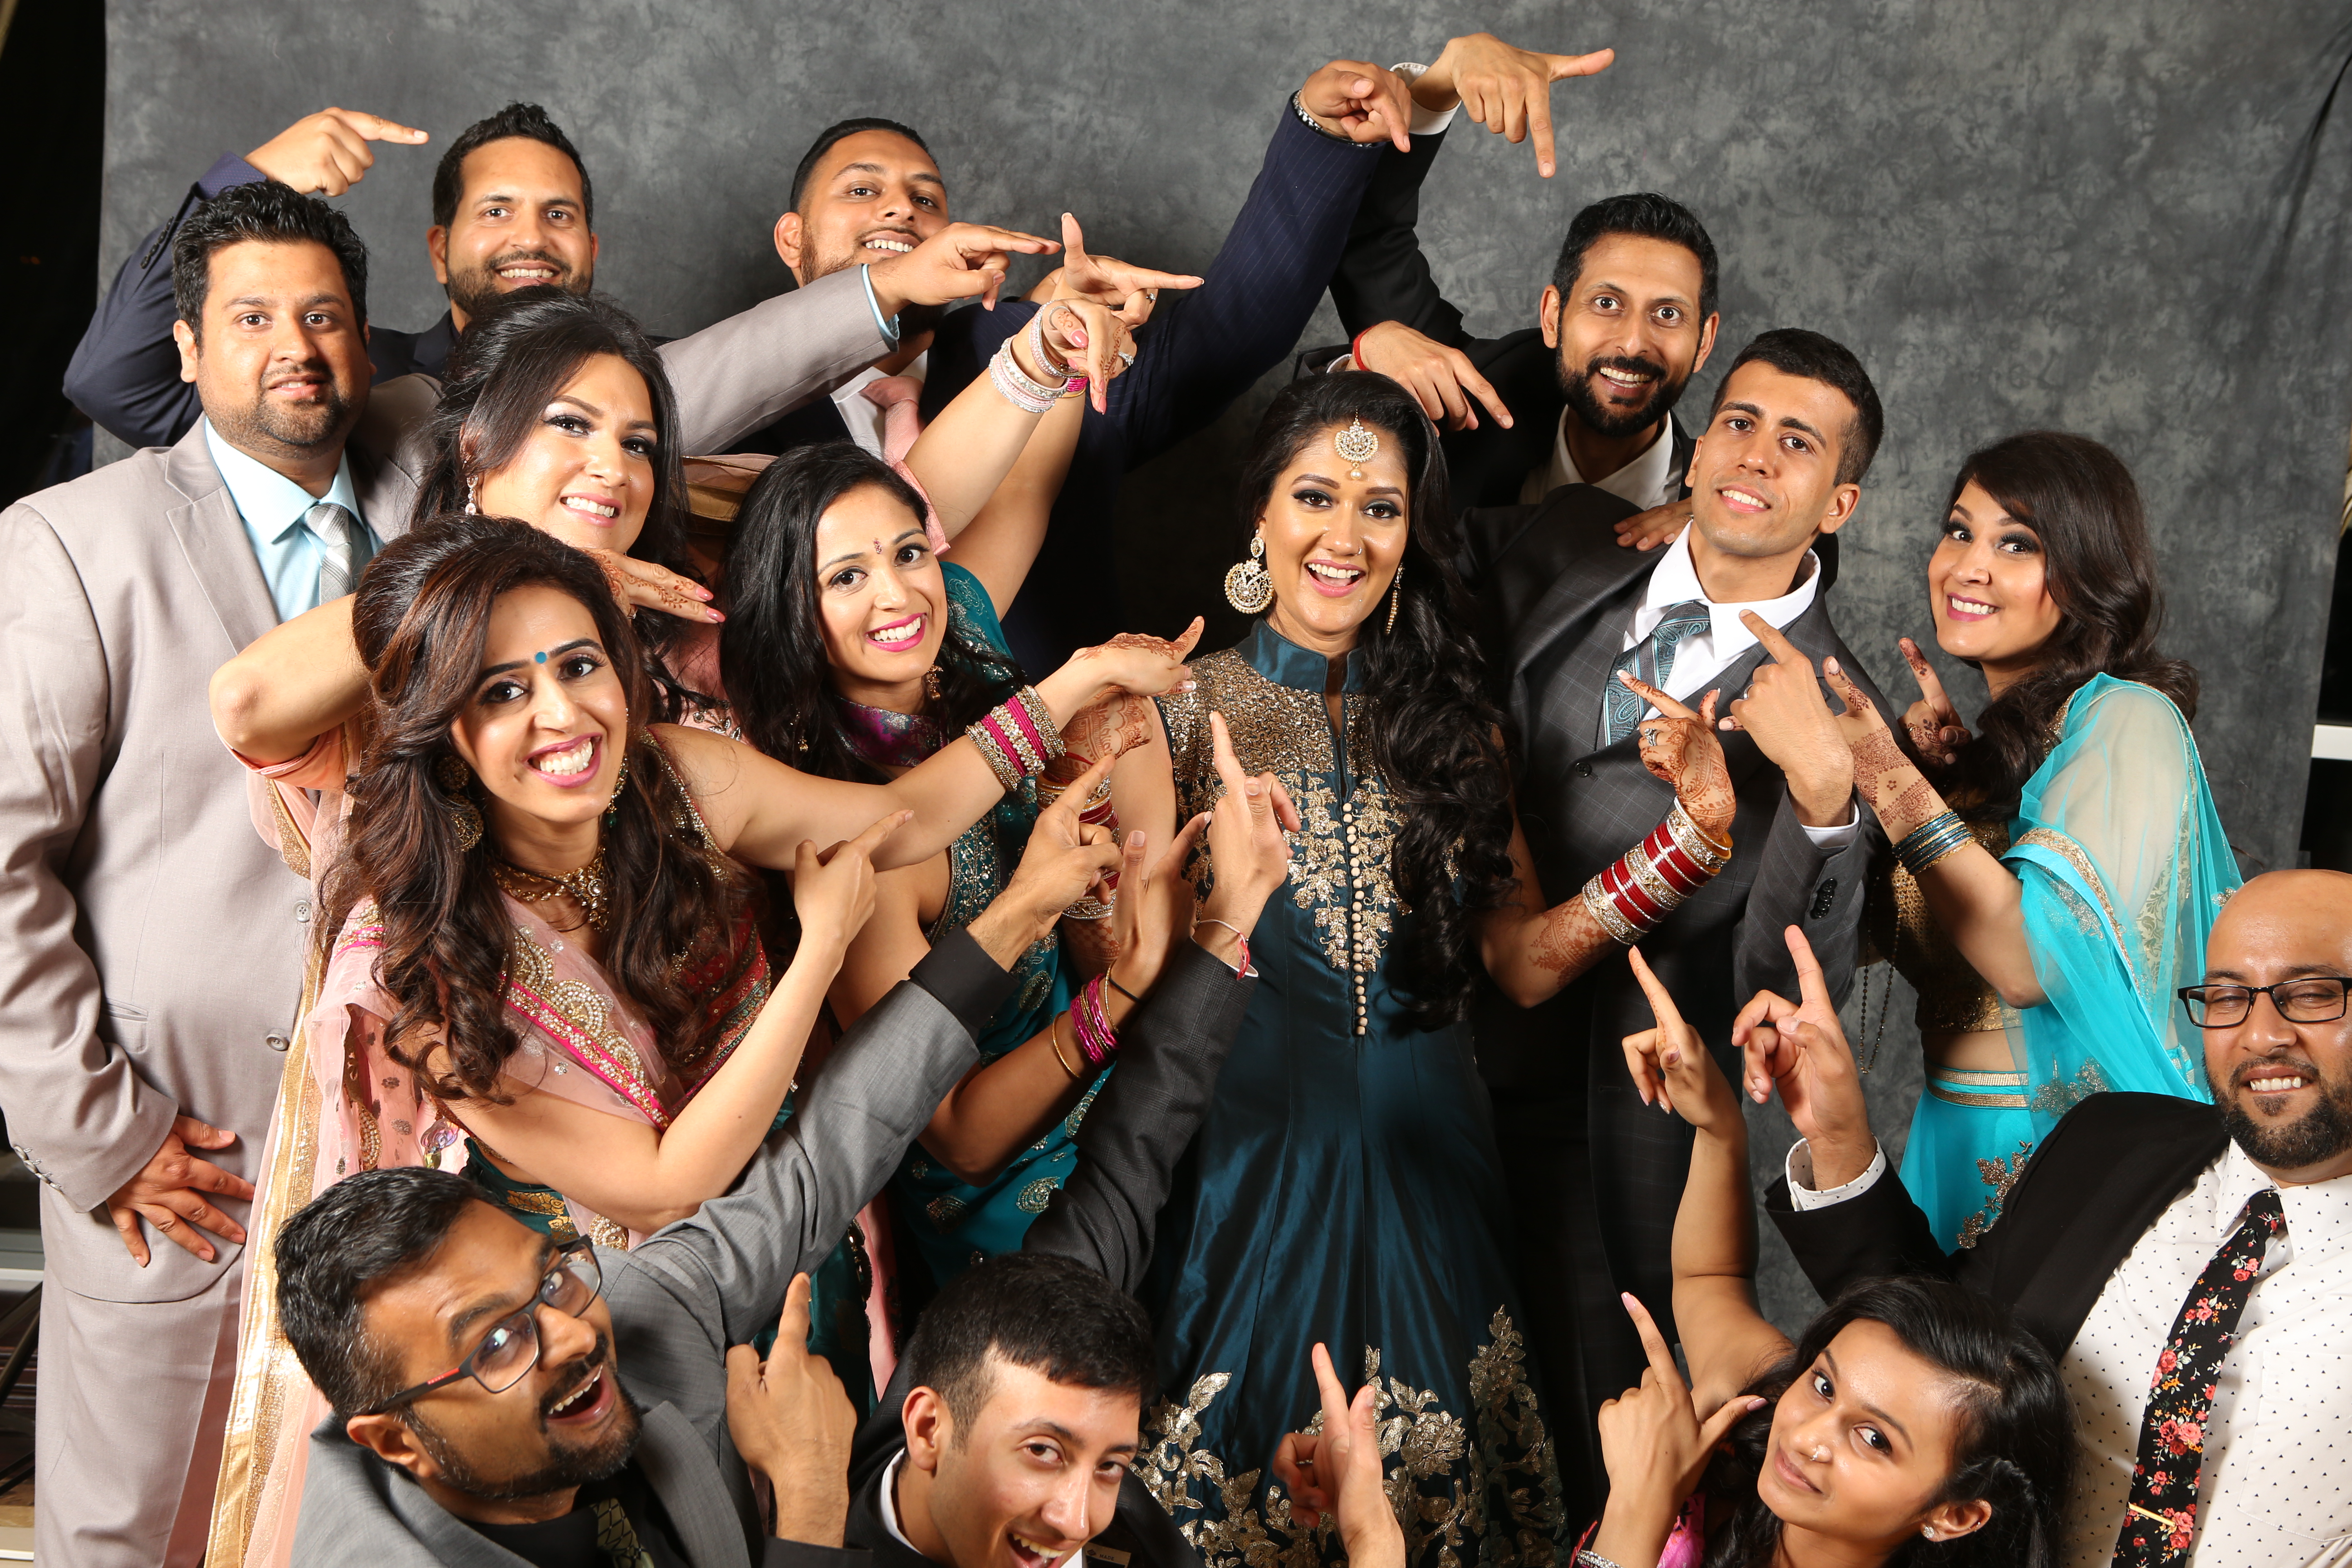
And that’s why I love booths: all my varied photography knowledge comes together for this single purpose.
The result: as the bride told me: “They will remember this wedding because of the booth photos”. If that isn’t the best compliment ever, I don’t know what is.
Tonight, I am addressing the Trilllium Photographic Club on the subject of “Composition and Light”. See www.trilliumphotoclub.org if you want to be there!
The Trillium Club is an outstanding club, whose members range from total beginner to established pro.
East Plains United Church, Pearl Hall,375 Plains Road East, Burlington, ON L7T 2C7
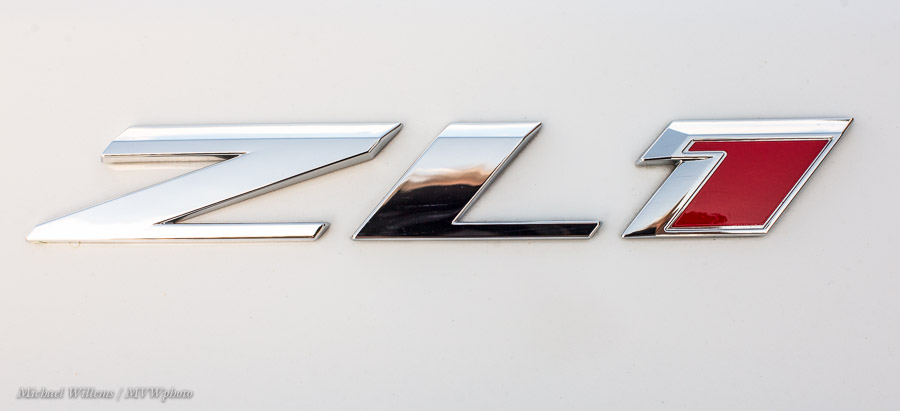
Car pictures. Always fun. Including snaps:
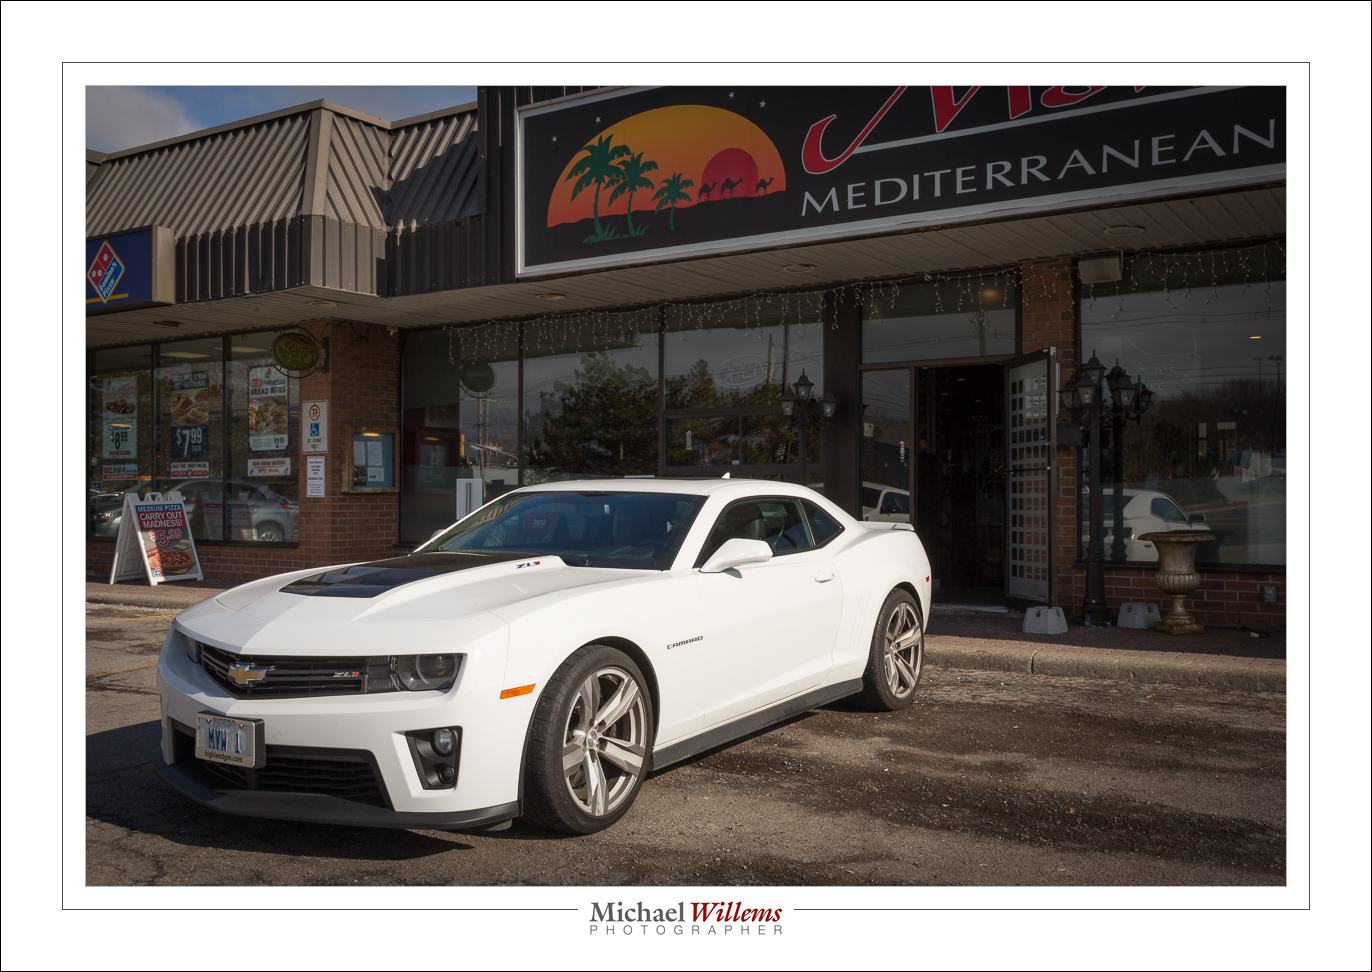
That’s my Camaro ZL1, at 400 ISO, 1/400 sec, f/16.
Does anything occur to you when you see those numbers?
Yes, it’s the Sunny Sixteen rule.
Anyway, the car has a lot of detail, like the badges:

So here is my all-new Camaro. Flash TTL, flash bounced behind me,
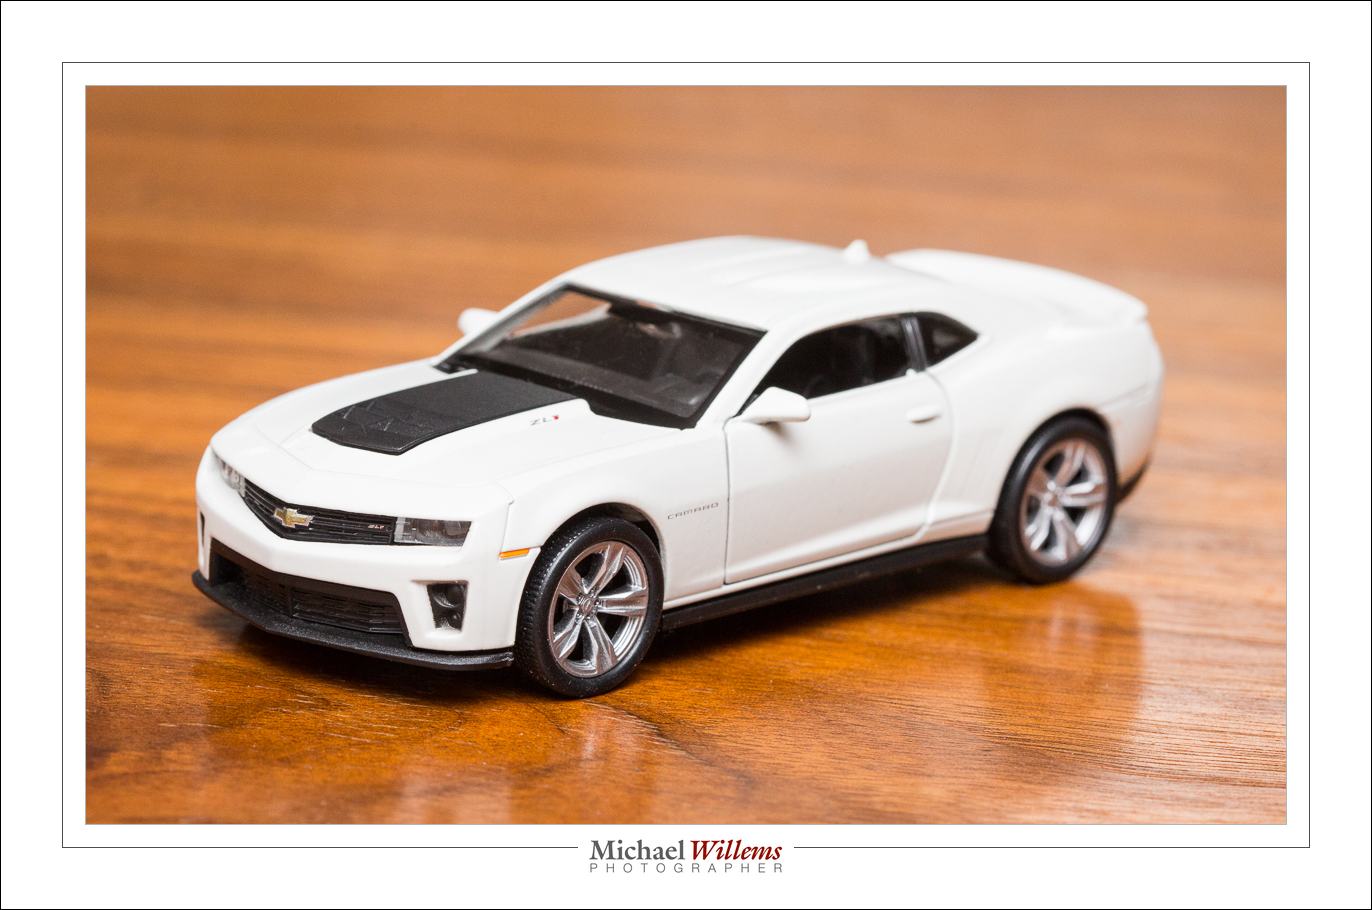
That is right, a little toy. And it’s my car’s exact colours, too. And that toy has surprising detail. The same badges, for a start.

Note: Over the next while, long term that is, I plan to use this toy as a prop in pictures all over the place, so stand by!
Always carry a camera dept: drinks in the above restaurant, and they looked pretty enough to take a snap:
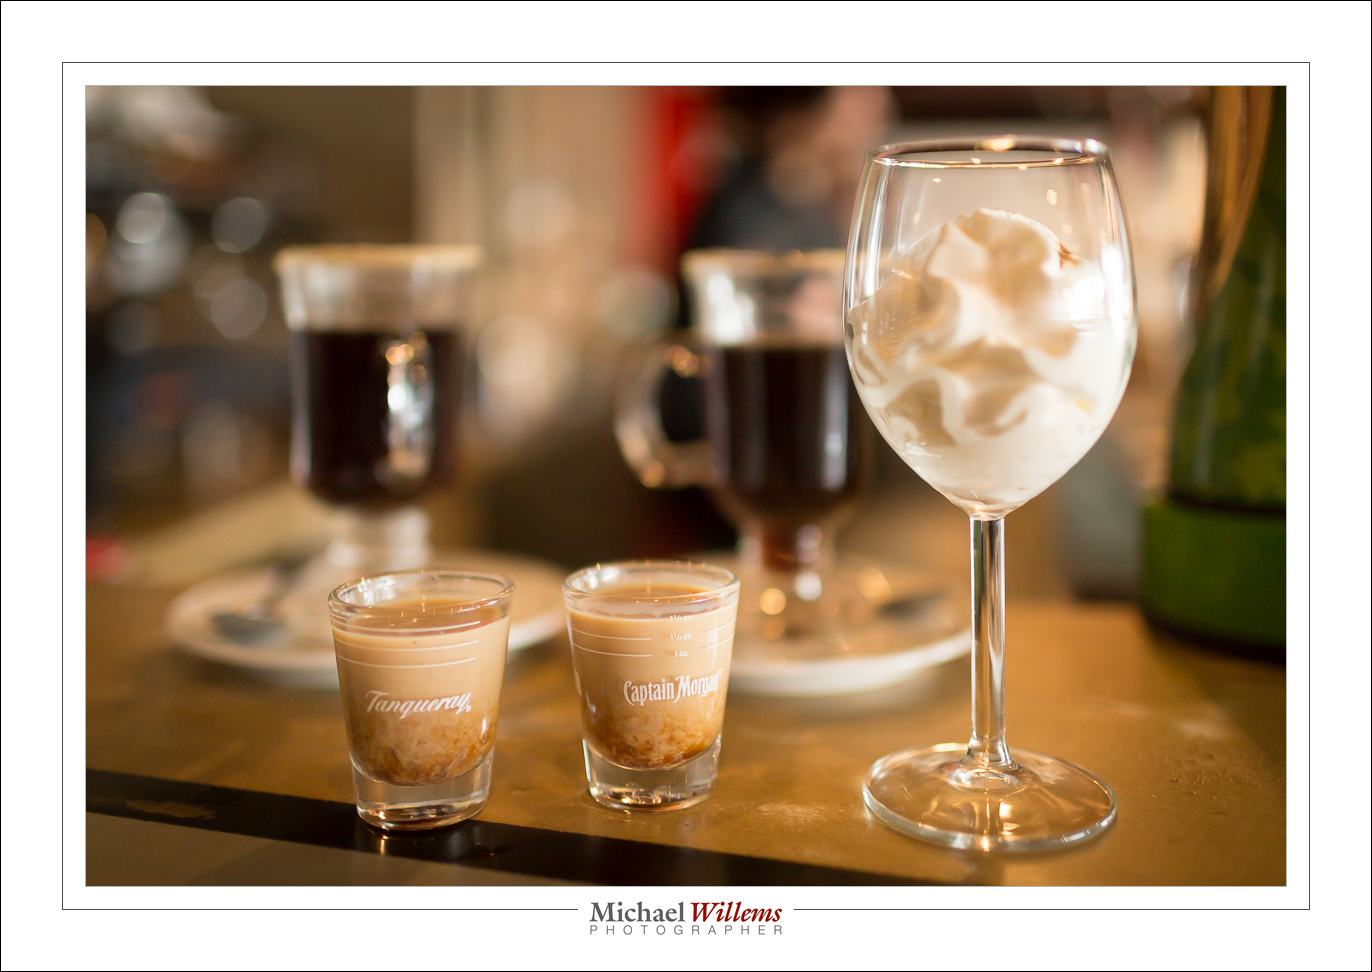
(35mm lens, manual mode, 1/320 sec, 1000 ISO, f/2.2.)
There will be more Toronto workshops: See www.cameraworkshops.ca. Tomorrow, there will be links to the e-store, so you can book (if you want to pre-book, text me).
There will be more, and the subjects will vary. Please let me know any subjects you would like to see covered.
There will also be more Brantford work.shops, and the subjects will vary there, too. Please let me know any subjects you would like to see covered.
It’s exciting, when you get organized, isn’t it.
Today, a reminder of one if my magic “Flash Recipes”. Namely, the “Reception Recipe”. Otherwise known as the “Willems 400-40-4 setting”.
It goes like this. Camera on manual. Flash bounced, and aimed 45 degrees up, behind you.
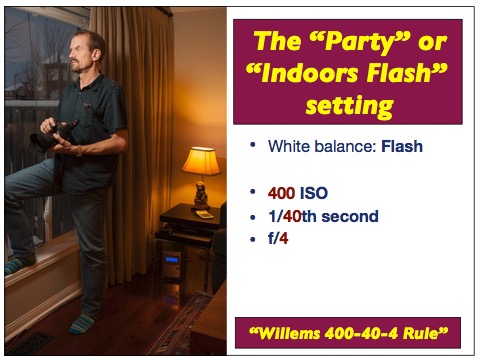
400 ISO, 1/40 Second, F/4. (the numbers only fit one way: try!)
In most indoors environments that gives you great balance of background and foreground, as in the image above. If the ceiling is high or dark, increase the ISO as needed. Ideally, use a 35mm lens (24mm if you are using a crop sensor camera).
And that’s all. Great party pictures from now on!
Today, a repeat of a 2015 post that is particularly useful for travel photographers.
With the camera on a tripod and exposure set to manual, I can take pictures like these, one by one:


…and on on. As said, I am using a tripod, so the only thing that varies is me (I used a self timer).
And then I can use Photoshop or the GIMP (the latter is a free equivalent) to do things like this very easily:

Or even this:

OK.. so a cool trick. You do this with layers and masks. Hellishly complicated user interface, but once you know the silly UI, the process itself is very simple. It’s the only thing I have the GIMP for.
So. Why would I think this is useful, other than for fun?
Well…. think. You can also use it the other way. Instead of replacing the wall by me, replace me by the wall. And now you can perhaps see a benefit looming.
No? Think on. You are at the Eiffel Tower. Or the Grand Canyon lookout point. Or whatever tourist attraction you can think of. What do you see? Tourists. Right. It attracts them: that’s why it is a tourist attraction.
But not in the same spot all the time. So all you need to do is the same I did here: take a bunch of pictures. Say 10-20 of them. So that you have each spot of attraction at least once without a covering tourist. Then you put them into layers—one each—in PS. And then you manually remove tourists. One by one, poof.. they disappear.
Or if you have the extended or Cloud version, you go one further: you use function File > Scripts > Statistics. Now choose “median” and select the photos. And you end up automatically with an Eiffel tower without tourists, a Grand Canyone without other onlookers, and so on.
Cool? Yes, very. That warrants four backspaces and a “–ful”, in my opinion. And those of you as experienced as I am in IT (I am avoiding saying “as old as”) know that ^H (Control-H) is a backspace.
So there.