Sharp and crisp

Repeat after me: “Bright Pixels Are Sharp Pixels” (Willems’s Dictum).

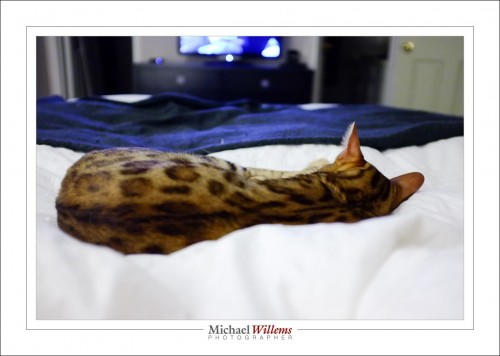
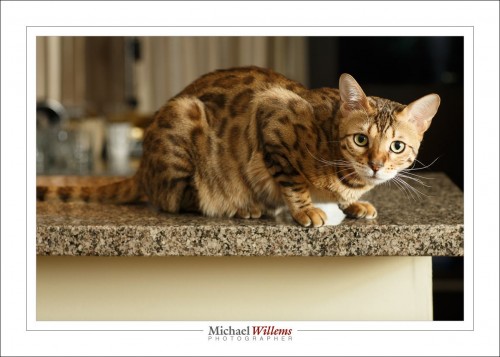
And that is one reason Shiva is sharp here (see original size to really tell):

A major additional reason, which is touched upon in this article also, is the use of the flash: a flash gives us great light and high contrast; and it fires at 1/1000 sec at full power, so at quarter power, which is what my flash was set to, it takes just 1/4000 sec to light up the subject. That leaves little room for motion.

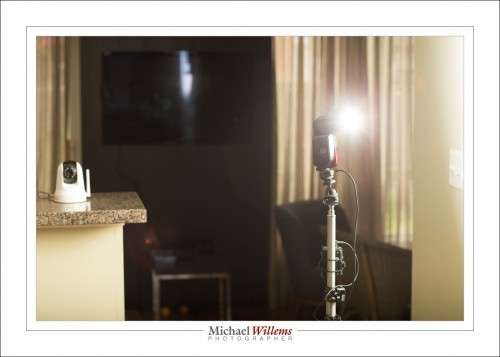
So I used a flash on a light stand:

As you see I bounced the flash off the wall. Flash fired via Pocketwizards, set to manual at 1/4 power, which on the camera needed f/4 at 1/250 sec, ISO 400 to light Shiva the cat properly. I used no light meter; just trial and error.

And that, as they say, is that.


Cast of thousands

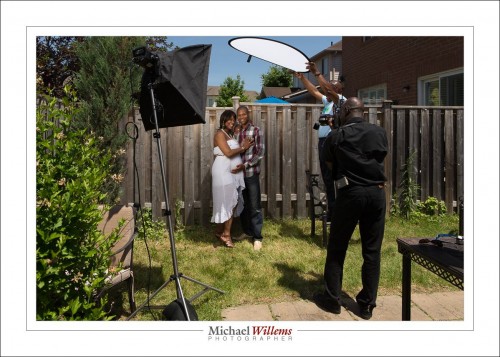
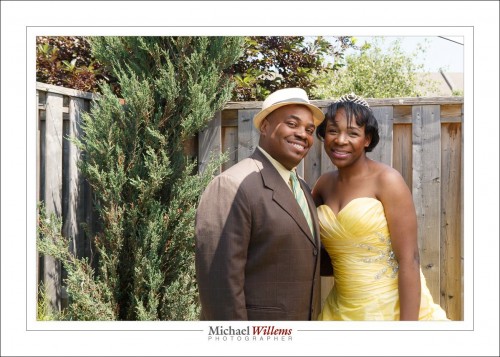
OK… cast of three. Three photographers, namely my friend Howard, his friend and fellow photographer, and myself, is what it takes to quickly do portraits in the sun. As we did today.

Here’s the setup:

Camera Settings—The camera is set to Manual mode, as follows:

  • ISO 100. Always use this value, in bright sunlight.
  • 1/250 sec. Always use this value, in bright sunlight. (Or whatever fastest shutter speed your camera can handle when using flash)
  • And the adjustable value is the aperture… to get the right saturated (i.e. darker) sky etc I set it to f/10.

The flash is a studio strobe with a battery kit; fitted with a softbox. It is 45 degrees above the subject, off to one side. It is fired via Pocketwizards and adjusted manually to match the f/10 value. A sandbag stops it from toppling over, which otherwise it would, in the slightest breeze.

Using A Scrim—A scrim (a reflector without the cover, making it a translucent area that lets through light but softens it) is used to stop direct light falling onto the subject. Look at these two: first without scrim, then with.

Look at the face and neck, and now look at face and neck in the “with scrim” sample:

Need I say more?

Why I Used Flash—if I had not used a flash, I would have needed three stops more light, and the picture would have looked washed out—the snapshot aesthetic:

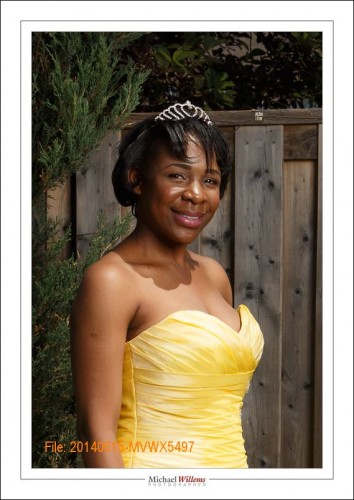
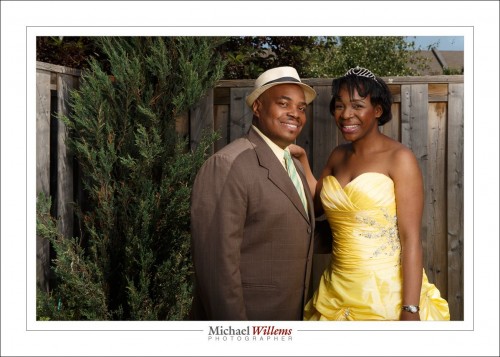
It’s not bad, but it’s not great. My style is very different:

With a few minor adjustments to the flash direction:

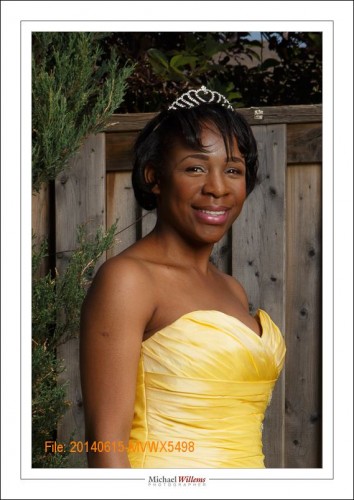
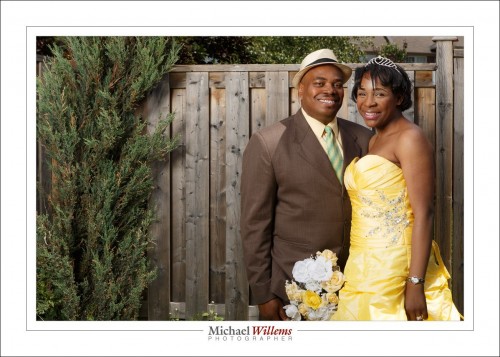
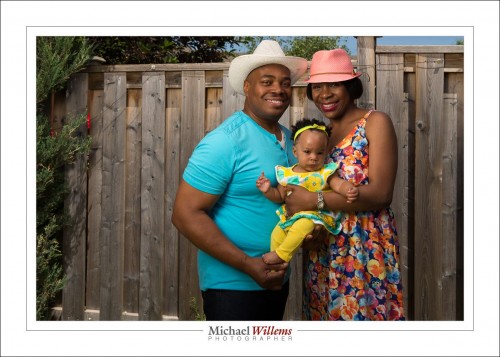
And there you have it. Straight out of camera, a nice portrait. And one more for good measure:

Mission accomplished: nice portraits made, portraits that reflect the subjects’ great, happy personality and as an extra, their excellent dress– and colour–sense. And portraits that elicit a “wow”, and that do not look like Uncle Fred’s work. And it’s all done in camera, not in Photoshop/Lightroom.

__________

You can learn this stuff too—see www.learning.photography and contact me to set up a training date.


Keeping it simple

Today I shot some photos of the tenth Toronto Annual World Naked Bike Ride. So if nude human bodies offend you (and I truly hope they do not: I cannot see why they should), you do not need to read on.

If, however, you want to learn a little sunny day snap technique, read on.
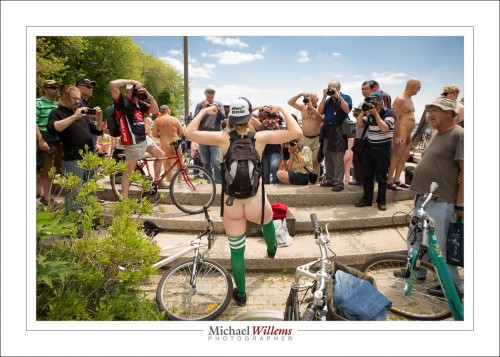
Above: the snappers snapped. I photographed the “getting ready” part, in Coronation Park, right at the lakeshore in downtown Toronto. There are always curious people at an event like this who come out with their DSLRs to snap something that apparently they have never seen: “nude!!! women!!!”. My advice to those people: grow up, or at at least gather up some courage and get naked yourselves, too.

As a lens, I chose the 24-70 f/2.8 zoom. A zoom for convenience, and that one because it is razor sharp. Camera was the 1Dx.

And it was a mainly sunny day. Easy, therefore. Right?

No. Sunny days give contrasty light, ugly hard shadows, and washed out colours.  I want the opposite.

And to get that I want to use, you guessed it, my flash. That enables me to make the background a little darker, meaning saturated colours; and it fills in the shadows. Even a bare on-camera flash. So that is what I used. Without a flash I would have had to expose faces etc with ambient light, and the backgrounds would have had to be very bright. And washed out.
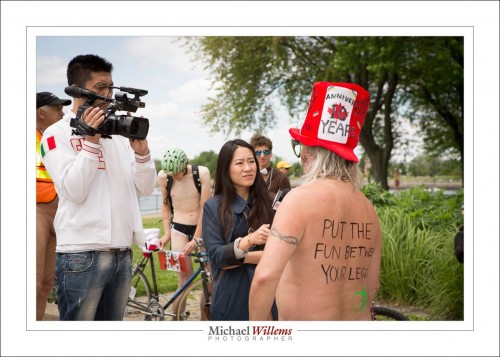
I want to not have too dark a background when I am using an unmodified on camera flash. So my technique is:

  • Camera on manual.
  • Flash in TTL mode, aimed straight ahead. I used a 600EX flash.
  • 100 ISO
  • 1/250th sec (synch speed)
  • Now choose an aperture that gives you a slightly dark background. Depending on cloud cover, this can be between f/5.6 and f/16. If your subject is not in direct sunlight, i.e. if you manage to find a little shade, you may well get away with f/5.6.
  • Constantly watch the light. If clouds cover the sun, be ready to go down in aperture number.

My aperture was between 5.6 and 11 for most of the day.
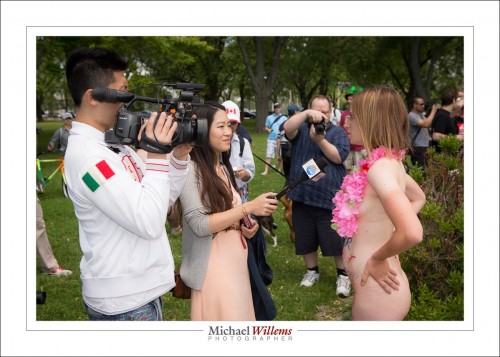
And as you see, the pictures have a nice vivid look. Without flash, I could not have done that. Take this:
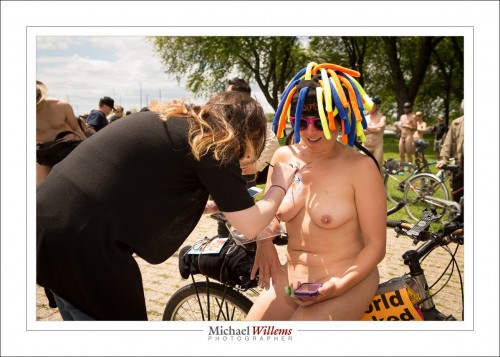
1/250 sec, 100 ISO and f/6.3. If she had been entirely in the sun, I would have needed a higher f-number.

One more, and again you see the vividness, and the nice saturated colours, that only flash can help you achieve on a sunny day:
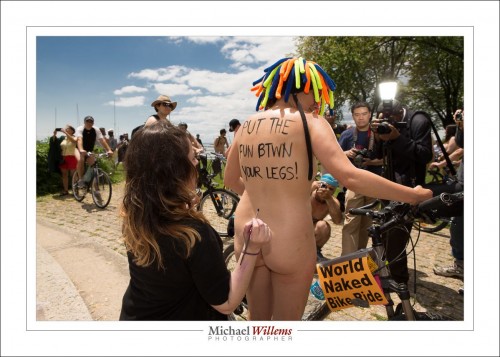
That was 1/250th, ISO100, f/9. So again, I watch the light constantly and adjust the f-number only.

Here, I am using f/5.6:
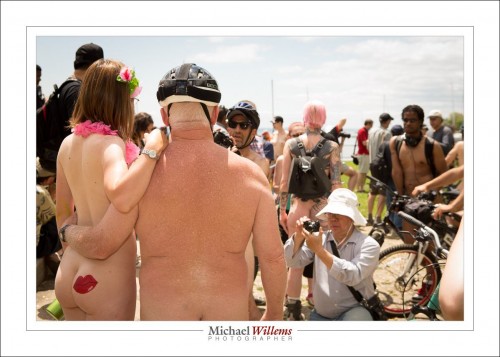
I.e. here I have a little more ambient light, for a lighter look. Each picture can be different; you need to get a feel for the light.

So in conclusion: for sunny day snaps, you’ll do better if you have a flash available. And in that case use ISO 100, 1/250th sec (or 1/200, if that is the maximum your camera handles with flash), and then just vary aperture from 5.6 up. Flash on TTL, perhaps dialled down a little (note: I say may because a Canon camera does this anyway if you have bright ambient conditions: it assumes that you want simple fill flash.)

Enjoy. (And I hope Naked News TV uses the interview they did with me!)

FOOTNOTE: last day for the Father’s Day Specials. Please check http://learning.photography for them. Portrait, lesson and book discounts for dad. Got to buy by tomorrow!

 

Manual or TTL?

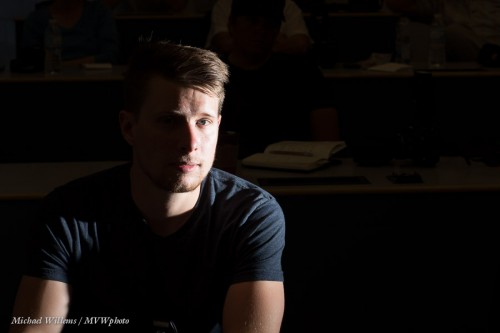
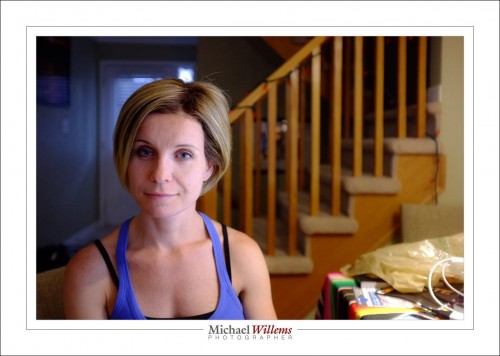
For chiaroscuro shots like this, of a Sheridan student Monday night, I prefer manual flash power settings to TTL (automatic flash metering).

(1/125 sec at f/10, ISO 200.)

Why? Because TTL may try to average this and will therefore overexpose the bright areas. If I do it manually, once it is set correctly, it is set correctly, period.

Unless, that is, I change the distance between light source and object that is being lit. Closer gives me this:

And farther gives me this:

That’s because of the Inverse Square Law. The brightness decreases with the square of the distance. Twice as far means 4x less light. 3x farther means 9x less light (since 3×3=9).

And

  • 1.4 times farther means 2x less light, i.e. one stop less, since 1.41 (the square root of two) times 1.41 is 2.
  • 0.7 times closer means 2x more light, i.e. one stop more, since 0.7 (1 divided by the square root of two) times 0.7 is 1/2.

So—and remember this: every time I want one stop more light, I move a flash 30% closer (to 0.7x the original distance); and every time I want a stop less light, I move the flash 40% farther (to 1.4x the original distance).

See? Math can be useful! Who’d have thunk.

Scarlett Jane

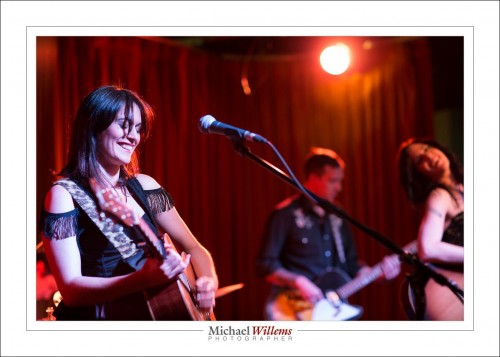
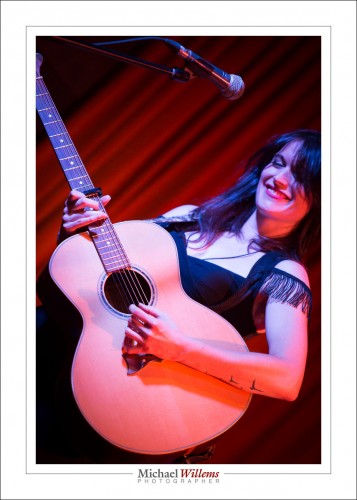
Last week I shot Scarlett Jane at a gig they did in Toronto:

That shot prompts me to say a few things.

First, the moment. “If it smiles, shoot it”: the mood is captured well by this moment. Moments are important. Look for them, wait for them, grab them!

Then the light. It was pretty light at the venue, but that is relative. Light is not really light: I used an 85mm f/1.2 lens set to 1/80 sec at f/2.0, ISO 3200. Fortunately, my camera, a 1Dx, allows that.

But I found the primes almost impossible to focus. Most shots were way out., whether I focused using one AF point, or manually. My experience is that focus on digital cameras is tough in the dark. So I shot most of the rest with f/2.8 zoom lenses like the 70-200.

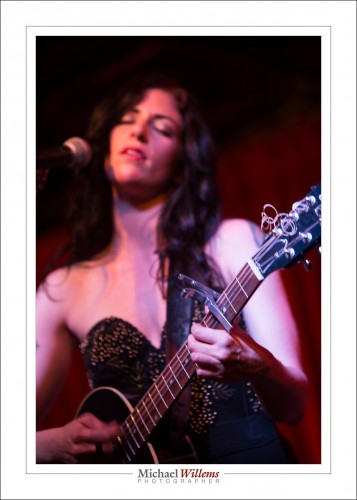
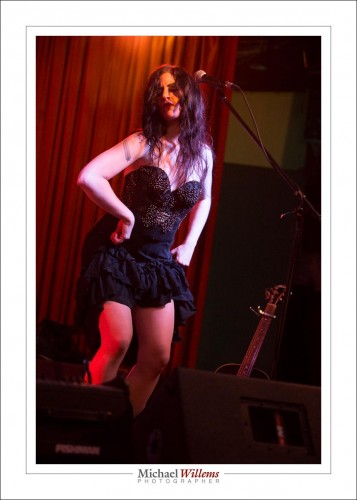
Here, a couple more:

..and again, as you see, the quality is good (here it’s 1/60th at f/2.8, ISO3200), but the moment, the mood, is most important. And these ladies had fun!

OK… one more to prove the point.


Colour

How do you make colours pop, I was asked today?

(Fuji X100, 1/50 sec, f/2.0, ISO 1600, Velvia film simulation)

This  picture shows one of the ways: in the past it would have been “choose the right film”; today it is “choose the right film simulation”. You can do this in post-processing, or even in the camera if you shoot JPGs. The shot above simulates Velvia film. Velvia was famous for being beautiful and saturated.

Then, be lucky, patient, or clever, and choose the right light. Like this beautiful late, late afternoon Golden Hour light on a “mainly overcast” day:

If it has been fully overcast that would have been OK too: overcast is generally better than “sunny” for saturated colours, by the way. Direct sunlight kills colours.

Next, make sure you get your white balance right. Like here, where I used custom white balance:

Cat Chilling

And, essentially, do not overexpose. Expose less and colours will pop. If necessary, use a flash to light up the foreground as you saturate the ambient light by slightly underexposing it.

And finally, you can do some more saturation in Lightroom… but that is a last step, that you should use judiciously, and if you do, do not go overboard.


Another note on filters

A friend pointed out something that you should know, and that I did not point out again in my recent point about ND filters. Namely this: OK, so you need them for waterfalls. What else do you need them for?

The other reason you need them is to get blurry backgrounds outdoors, particularly if you are using flash.

Let me explain. Take a shot like this:

That was 1/4000 sec at 400 ISO at f/2.8.

  • It has the blurry background I wanted.
  • Which I achieved with the large aperture (low f-number).
  • That large aperture necessitates a fast shutter speed.

But – uh oh. When I use a flash (which I might well want, in a picture like this), I cannot go faster than my flash sync speed, namely 1/250 second (if you want to know why, buy the Mastering Flash e-book). So then I’d have to slow the shutter to 1/250th, and the picture would be overexposed.

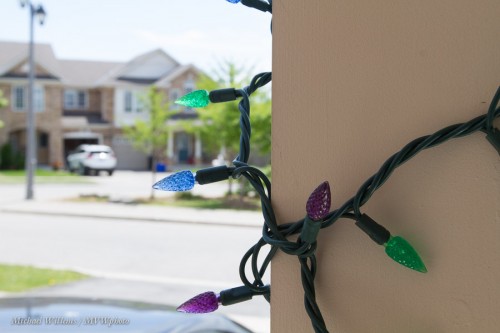
To prevent that, we can use not f/2.8 but f/11:

(400 ISIO, 1/250 sec, f/11).

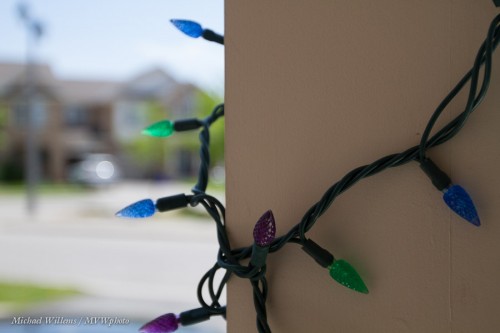
Fine. But—uh oh—now the background is not blurry enough. See:

So here comes the ND filter to the rescue:

  • If the ND filter cuts one stop of light, you need f/8 instead fo 11.
  • If it cuts two stops, you need f/5.6.
  • Three stops, f/4.
  • And finally, if it cuts four stops, you need f/2.8. And my filter cuts four stops of light.

So that gives us:

(400 ISO, 1/250th sec, f/2.8)

And  that is exactly what we want. Identical picture to the first one, but with a slower shutter speed, 1/250 sec instead of 1/4000 sec.

In simple words: an ND filter allows you to use a lower f-number without having to increase the shutter speed to a faster value (which you do not want to do because of flash).

(Do note this, however: the flash now also has to punch through that ND filter’s darkness. I.e. my aperture may be f/2.8, but as far as my flash’s amount of light is concerned, it looks like f/11. Meaning I may not have enough power to bounce, etc.)

___

Go get all five of my e-books now: Special deal. Go to http://learning.photography and before the last click, enter discount code “Speedlighter” for another 10% discount on top.


Anatomy of a flash

I often add a flash here, a flash there to my shoots. Easy peasy.

But if you have never set up a flash, that might not be so simple. Hence today’s lesson: how to set up a flash for some extra light.

From the bottom up, we have:

  1. A cheap light stand.
  2. A pocketwizard radio trigger. This just tells the flash “fire”. No intelligence.
  3. A cable, from flashzebra.com, to connect that pocketwizard’s “flash” output to any flash, via a hotshoe. That hotshoe is screwed onto the top of the stand. (Optionally, I would usually use a ball head between the light stand and the hotshoe).
  4. A flash (a.k.a. a speedlight). This can be any brand flash, as long as its power can be set manually.
  5. On the flash, a Honl Photo speedstrap (help on with friction).
  6. Attached to that Speed Strap, a 1/4″ Honl Photo grid, to be able to direct the light only where I want it.
  7. On that grid, a yellow gel: this turns the light into yellow light.

Now all I need is an other Pocketwizard on the camera (the transmitter, whereas this one is the receiver); then I figure out the power level needed; and I am done.

Save this picture if you want to learn studio stuff!


Flare as a good thing

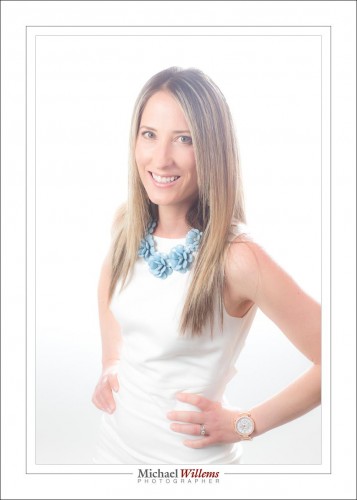
I did a portrait session yesterday, of another photographer, the talented and beautiful Tanya Cimera Brown.

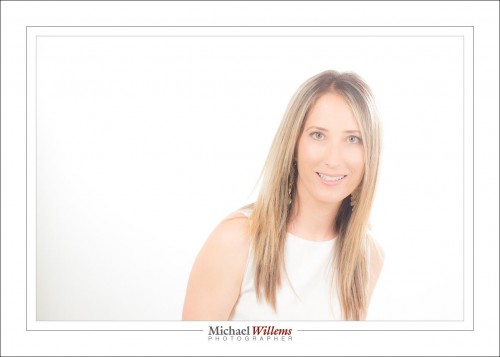
Tanya wanted a high key portrait with blown out background and flare. A portrait that looks like it was taken in front of a bright window.

Flare, eh? Like this?

Yes, like that.

So how did I get that?

Flare is basically “lens imperfections with strong incoming light”. Like bright back light. It gets worse with some lenses (like the 70-200) and conditions (like filters). But instead, I used my 85mm lens. Not much flare there.

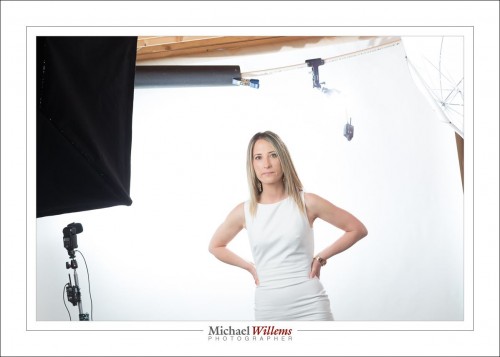
So I did it like this:

Five flashes: Softbox, umbrella, hair (strobes); then background, flare (speedlights). Flare? Yes, see that speedlight hanging down? Hardly visible? That is because it is shining toward me. And that with the bright background (speedlight left) gives me what I want, if my lens is in its light.

Done. A bit of logic always works. Logic rocks! Here’s one more.


400-40-4 reminder

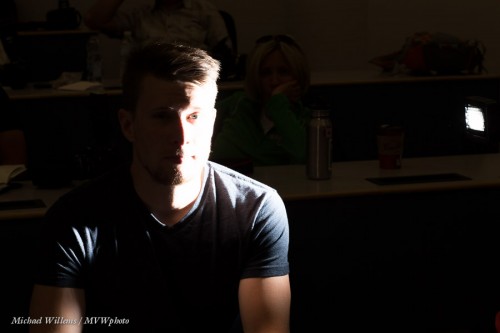
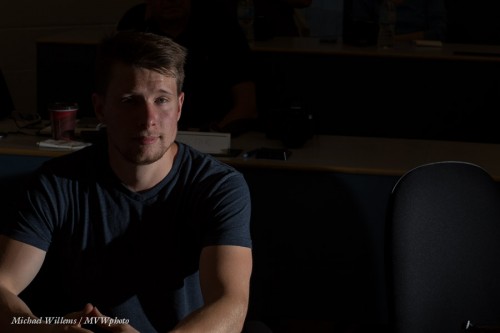
You remember the student I shot yesterday with split lighting? Well, here he is again, in the same classroom, a few minutes earlier, with the exact same conditions:

Compare the two.

Yesterday’s photo was made with the camera in “studio settings”, which makes indoors ambient go away. This one was shot using the well-known “400-40-4” settings of 400 ISO, 1/40 sec, f/4. The “indoors flash starting point“, if you will.

That makes ordinary indoors light a little brighter than it is (the room was fairly dark), but still about two stops below ordinary lighting; the subject is lit with my flash bounced behind me.

These two settings should be ingrained in your flash brain as good starting points for very different requirements. Study the two and associate each one with a setting.

___

Need to learn basic camera stuff? Do get my e-book “Mastering your DSLR”, which is available from http://learning.photography — and use the limited time discount code speedlighter on checkout for a 15% discount. Act now, temporary discount!