More “simple light”.

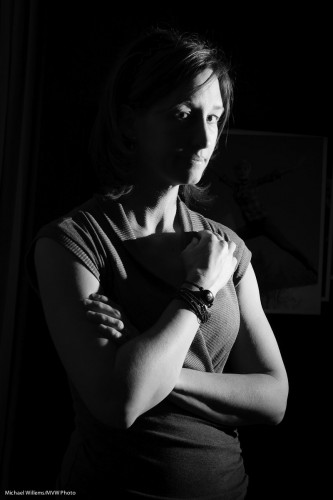
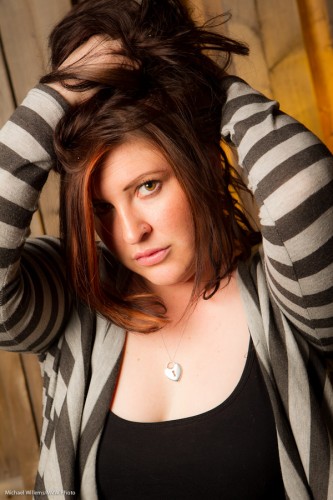
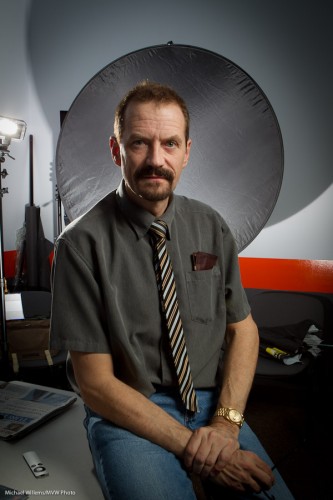
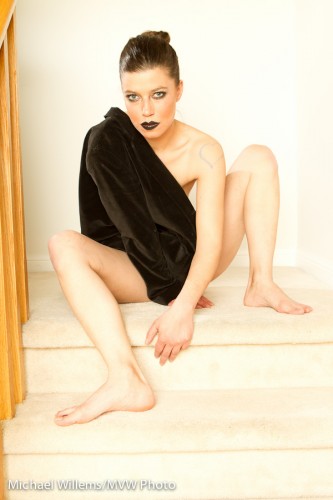
Here’s student Brittney, in a Seneca College workshop I did the other night:

Again: simple light: one off camera flash.

  • From yesterday’s post you will remember that I first thought about the background, then about the flash. In this case I set my camera (in manual exposure mode of course) to give me a very dark background. I wanted no ambient light.
  • And yes, you can use direct flash. I had a honl photo grid on a 430EX flash, driven by the camera’s 580EX.
  • The 580EX was disabled from contributing to the actual shot: all it did was fire commands.

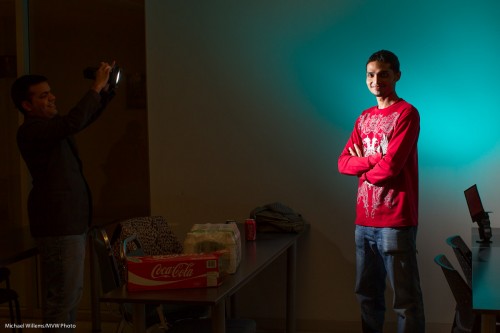
Another student – and here I added a background light too:

How did I do that?

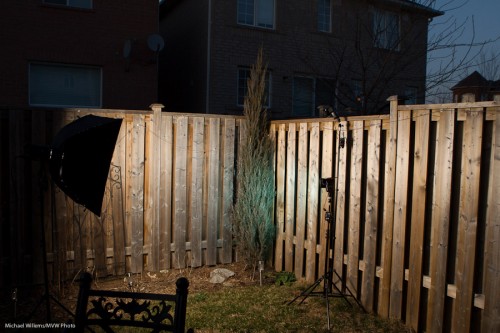
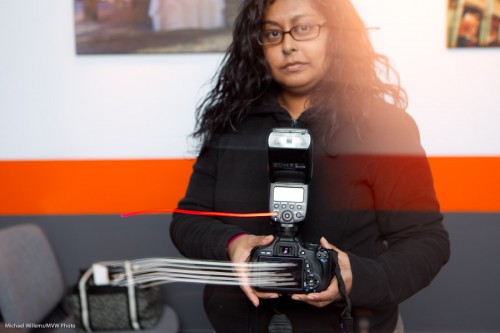
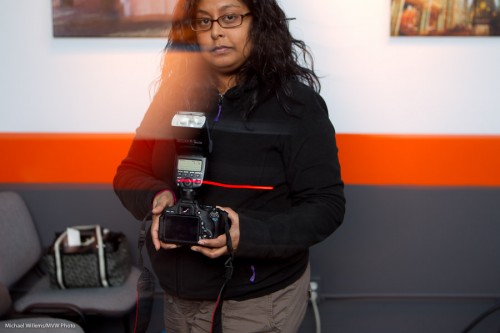
TIP: always do a “pull-back shot”, where you see your setup.

As you see, here I asked a student to hold the gridded main flash; then I used a second flash with a gel and, to prevent the color from hitting the subject or shining into my camera, a flag (a gobo – “go between objects” – the Honl bounce cards are also gobos/flags.


Who does the work?

First question I always ask myself when taking a flash picture is: “who does the work?”.

What I mean is: is the light in the image just from the flash? Or just from ambient? Or from both?

Clearly :

  • When it is just from flash, the ambient needs to be dark (so I set my exposure for that).
  • When it is mixed, I set the ambient so that is is the right level compared to the flash.
  • In a mixed environment, sometimes I want to turn ambient UP (as in a party indoors), and sometimes DOWN (as in a dramatic portrait).  The principle, however, is always the same: worry about what you need from ambient (from all-dark to bright), then worry about the flash.

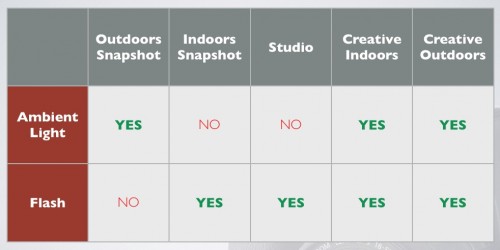
And mixing is essential. This is how I look at most of my images:

WHICH LIGHT DOES THE WORK:

As you see, in most creative work, I like to mix the two light sources.

If you do not think of this, you will get unpredictable results.

So before hitting that flash, always ask first:

In this picture, do I want to mix light, and if so, what should the ambient light look like?


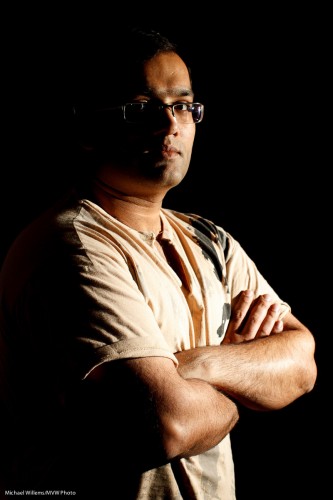
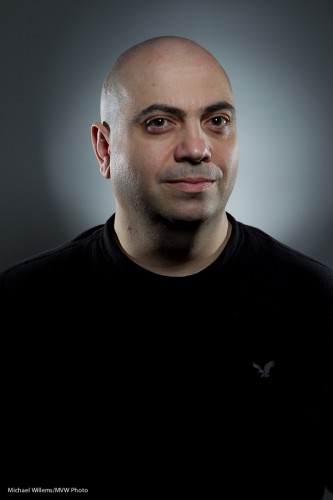
A simple chiaroscuro portrait or two

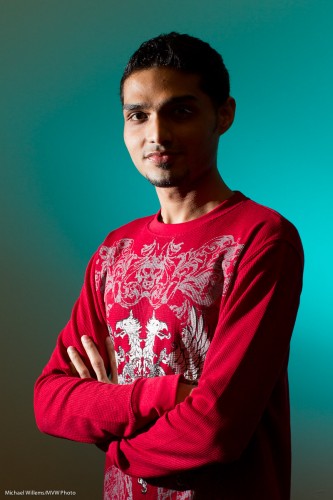
In the last few days I took two people’s portraits using just one off camera flash. Here’s Michelle and Adnan, respectively:

How did I take those?

First, I set the camera so that the ambient light looks dark. The room was not dark – it just looked dark to the camera, because I had set the camera up specifically to achieve that. 100 ISO, f/5.6, 1/200th second. You could use any combination of ISO-Apertyure-Shutter that gives the same brightness, but keep in mind:

  • High aperture or low ISOs mean the flash has to work harder, and it may not have enough light
  • The shutter speed cannot achieve 1/200th second; your camera’s fl;ash sync speed.

Then I added the flash. I used an off-camera speedlight on our right. I could have used TTL remote control or pocketwizards: I used TTL in Michelle’s portrait and Pocketwizards in Adnan’s. Light is light! Note that I put a Honlphoto Grid on the fl;ash, else the light would have lit up the background too. The flash (fitted with the grid) was aimed directly at the subject. To get the right exposure, I metered the Pocketwizard-driven flash, and I “flash exposure compensated” the TTL-driven flash.

Then I positioned the subject properly. I wanted the light to hit them just about from their front, with their face turned to get short lighting. I also wanted to see both eyes, even if one is only just visible.

And that was all. A one minute portrait, and a pretty cool one, no?


Challenges… and solutions: Low Light.

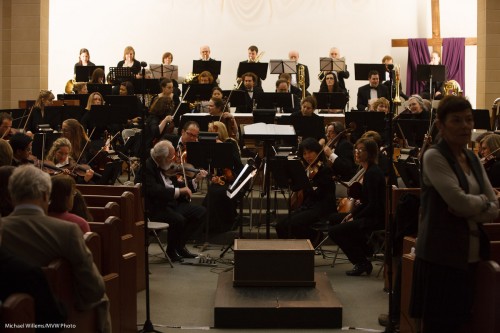
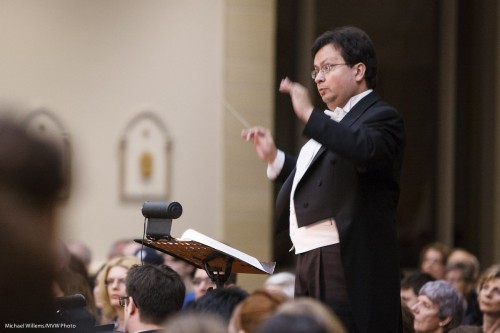
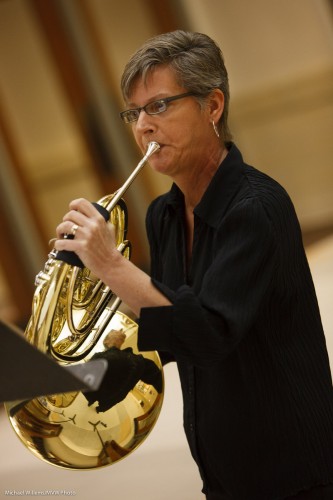
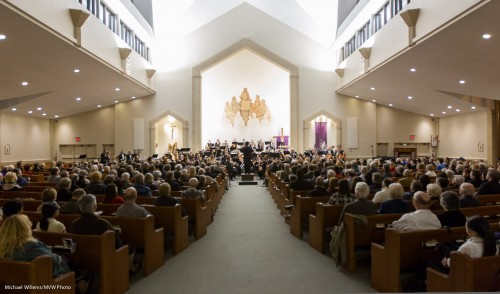
I shot a classical concert the other day (Mahler’s second symphony). Performance in a church, by Masterworks of Oakville.

The church had the worst light: dark, with bright back light. Ugh!

Terrible. So what can I do? Not use flash, of course.

But that is what photographers are for! So I use:

  • A fast lens – two, one wide (16-35) and one long (70-200), both f/2.8 lenses
  • High ISO: 1600 ISO
  • A slow shutter: 1/30th second
  • Stabilizer ON, on the long lens.
  • When needed, a little push in post (rather than slower shutter)
  • Patience – shoot the conductor when he is not waving TOO much…

All that gave me:

Not too bad, eh? What do you think?

This shows the importance of the right equipment.. the fast lenses were essential. This is why you hire a pro to shoot your event: you simply will not get the right results if you do it yourself, unless of course you have the same equipment and technique.


Light.. action!

I shot a few shots of Kelly, the hair stylist for a shoot the other night.

Here she is:

Nice. So how did I light that?

Here’s how.

I used my 1D Mk4 camera in manual mode, equipped with a Pocketwizard to drive the following flashes:

  • A 400 Ws Bowens light with a Bowens softbox. Powered by a battery (the Travel Kit); driven by a Pocketwizard.
  • A 430EX flash with a Honl Photo 1/4″ grid and a Honl Photo gel (green in the pullback shot above; egg yolk yellow in the real shot) to light up the background. This was also fired by a Pocketwizard, connected via a Flashzebra cable.

The other flash was a spare and I did not use it. I set y exposure for a dark background, then metered the flashes with a light meter. I used the speedlight to light up the background to provide hair separation, since I could not get it in the back aiming forward to light the hair, which I would otherwise have done.

A fairly simple setup for a nice shot, no?


Four flashes with David Honl

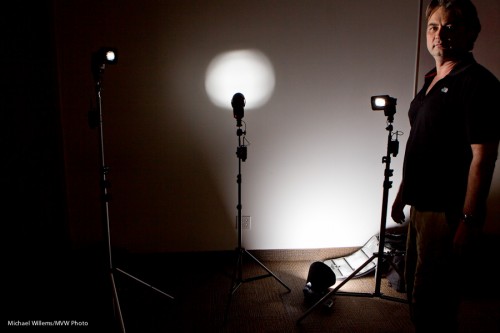
Last year, when I taught my flash workshop in Toronto I was joined by David Honl, of the excellent range of Honl modifiers I use. We set up a shot like this:

  • Background light with a short snoot;
  • Two gridded side lights (1/4″ grids) aimed forward from slightly behind;
  • One light on camera with a Traveller 8 softbox
  • All fired with Pocketwizards.

That looks like this (with Dave on the right):

And the resulting shot is this:

Now you know how those shots are done!


Beginner’s tip: exposure compensation

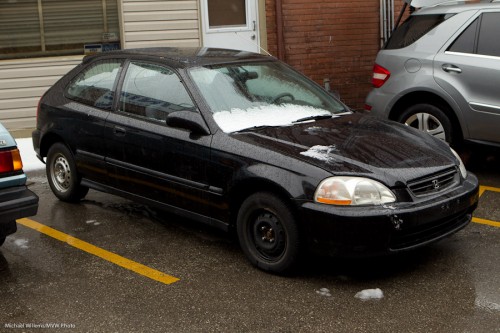
This I frequently repeat: your camera’s light meter assumes you are pointing it at a grey subject – grey in terms of brightness. The moment you point at a predominantly light or dark subject, you need to tell the camera that. By using “exposure compensation” (the +/1 control) if you are in an automatic mode, or by setting the meter to “not zero” when shooting manual.

Like in this shot of a car I  bought for my son:

To get the black car I needed to set exposure to minus 1 stop (-1). Else the car would have looked grey, not black.


Chiaro?

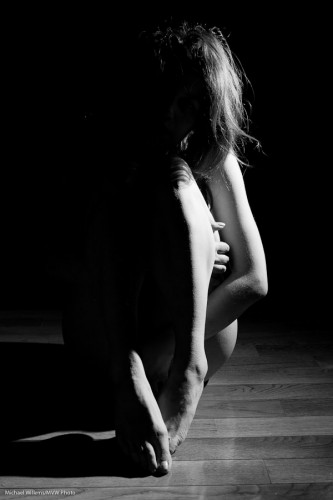
“Chiaroscuro” lighting, invented during the renaissance, means “bright and dark”. Like this shot of tonight:

This kind of lighting means you need to:

  1. Make sure your camera is set to ignore room light. Like 1/125th, f/5.6, 200 ISO.
  2. Put a flash off-camera and drive it with your on-camera flash using light control.
  3. Make sure the on-camera flash does not fire itself (except commands).
  4. Put the off camera fl;ash off to the side.
  5. Put a grid or some such on the off-camera flash to avoid light going “everywhere”.

That gives you creative and modeled, three-dimensional, and above all dramatic light.


The importance of rim lighting

Often, a portrait can be made much more lively by adding some rim lighting. Edge lighting, like this:

That was during a class I taught the other night.  The main light was a speedlight in an umbrella, on our right. The rim light was a speedlight behind me on our left, fitted with a grid, so the light would not spill everywhere.

As you see, this light edge adds a lot of liveliness to the picture. Simple and very effective.

You can see the gridded rim light better in this photo (with a third light added that shines onto the background):

Simple – I used speedlights with TTL control. (“Master/Slave”, as Canon calls it). I encourage everyone to learn how to use this – adding off-camera flashes often makes your images much, much better.

Another variant is the hair light, as in this image here:

Here, the rear flash has no grid: it lights up the background and also shines on the hair, lending it that shampoo-ad type “healthy looking hair” feel.


Curtain Call

No no – no worries, I am not going anywhere. This is about the first curtain/second curtain setting you have on your flash/camera combination.

First curtain sync means:

  1. the flash fires a preflash to measure the scene
  2. the shutter opens
  3. the flash fires
  4. wait…. the shutter stays open for its designated time
  5. the shutter closes

That gives you this, where the student at the School of Imaging class I taught last night is moving to our left in this slow shutter speed flash shot:

Odd. She is moving to our left? Then why is the trail off to the left? Simple – because the flash fired at the beginning of the long shutter speed.

Second curtain sync means:

  1. the flash fires a preflash to measure the scene
  2. the shutter opens
  3. wait…. the shutter stays open for its designated time
  4. the flash fires
  5. the shutter closes

So now the flash fires at the end. That gives you this, a much more natural looking light trail:

So now you know what that does. And no – this does not in any way make the light softer, or the backgrounds better, or anything like that.