The Gost of Parties Past

A persistent question I hear: “what about the unsharpness that occurs when you shoot using your famous recommend 400-40-4 rule“?

As said before. Yes – you may get some unsharpness, especially in the shape of ghosting, like in this shot – look at the hand:

Fair enough. BUT….

  1. Motion blur occurs mainly in the “background” area, where the flash is not lighting your subject. Else it is just a little “ghosting”.
  2. It’s only when there’s movement, really;
  3. Key point: it is still better than a badly lit image!
  4. And especially – it depends on your lens too. Wider is better.

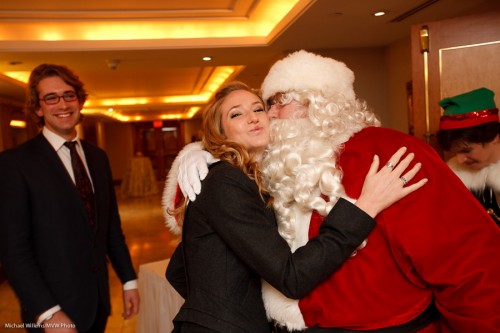
The shot above was 1/40th second (or course) at a recent event shoot with the 70-200mm IS lens. When I use a wide lens, this hardly happens – see here the 35mm (on a full frame camera, so this would be a 24mm lens on  a crop sensor camera):

Santa Kiss (Photo: Michael Willems)

So do not hesistae – you can shoot at slow shutter speeds.


Images taken at f/4, 1/40th second, 800 ISO – it was darker than usual, so an increase to 800 ISO was warranted to keep the background bright enough. This also gave my flash more durability and power.


Don’t overlight

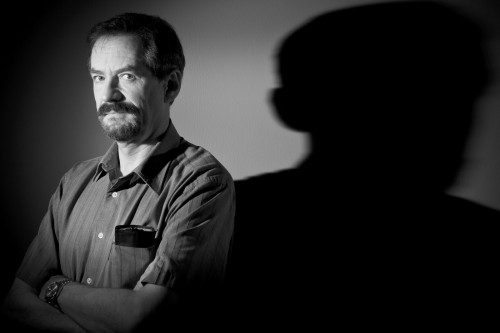
A very common mistake of a less experienced photographer is to “over light” the subject of the image. Sometimes less is better. Like here:

Michael Willems, Self-portrait

So for many portraits and creative shots I recommend you do not start with throwing light everywhere. Start with dark. Then add light -and colour- where you want it, bit by bit.

So that is why…

  • We avoid white studios and backdrops.
  • Or we use black reflectors to eat up light.
  • And we set our ISO/Aperture/Shutter to kill ambient light.
  • And we use softboxes, grids, snoots, and gobos, not just umbrellas.

If you think about these things, your creative images will be better – I guarantee it.


Manual, again

Another skill you may want to practice when using flash is to set the flash power to manual (instead of TTL), and see how you do. Push the “Mode” button on the back of the flash to “M”, and try various power levels.

Of course in a studio you always do this. But in an event shoot it is not usually practical. TTL is better. But still, knowing what kind of power level would work for you is a great skill, since it helps you know the possibilities.

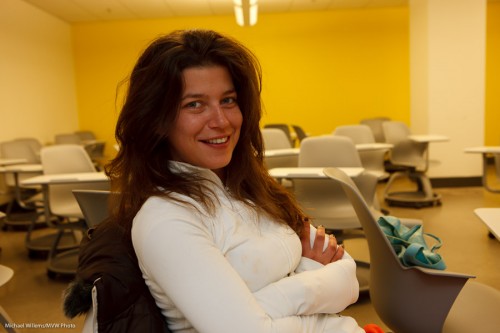
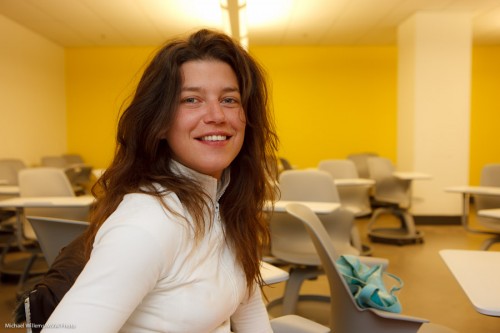
And it is fun when you get it right. The other day during a class at Sheridan College, I guessed that 1/4 power would be the right level when bouncing the flash behind me, for this image of the class’s star student:

Star Student, shot with manual flash (Photo: Michael Willems)

Pretty much aced that huh? So having an idea is good… it’s like being at the supermarket, where you need to have some idea of whether the bill will be $7, $70, or $700. Makes you a better shopper.


Beginner’s mistake

I don’t make those, right?

Of course I do – but then I fix them.

At a recent talk at Seneca College I shot my “assistant-for-the-evening” Kim in a test shot, using the usual settings (ISO 400, 1/40th sec, f/4; and the flash on TTL, aimed 45 degrees behind me):

Kim Gorenko assisting (Photo: Michael Willems)

Uh oh, too dark. What?

Oh. (Hits forehead)! White or yellow bright walls, a white top: TTL metering will of course get this wrong and will underexpose (just like ambient metering would).

So let’s set FEC (flash exposure compensation) to +1 stop and let’s try that again:

Kim Gorenko assisting (Photo: Michael Willems)

That’s a lot better! (And then you can fine-tune from there). Notice how the ambient is the same (background), but the flashed part of the picture (her) is now brighter.

Often, when people say “TTL flash metering is unpredictable” they mean “I haven’t quite thought it through”, and this was such a case. Problem solved, and I should have done this even before the first test shot – but then, that is why you take test shots!


Interested in lighting? Consider some private coaching, where I explain all, you get to practice and take actual shots, and all will become clear. The December/January special is still on: 10% off during those months.

The Willems Rule for Indoors Flash

So.. for indoors flash in a ‘normal’ environment (i.e. a room with not too much, not too little light), here is my new, “restated-as-an-easier-mnemonic” rule of thumb:

The 400-40-4 rule (a.k.a. the “4-4-4-rule”).

As a simple starting point, do the following:

  • Flash aimed 45 degrees up, behind you
  • 400 ISO
  • 1/40th second
  • f/4

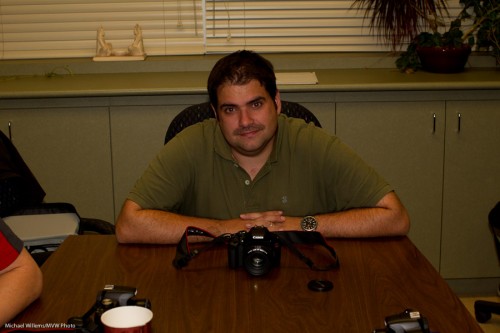
That will give you an ambient light exposure of around -2 stops. Which looks like this:

Of course if your background is now too dark, you can raise ISO, lower f-number, or slow down shutter. If on the other hand the background is too bright, lower the ISO, select a faster shutter speed, or increase the f-number.

Often, simple rules of thumb are the secret to success. And simplicity is key – “4-4-4” sounds simple enough to remember, no?


Studio setup

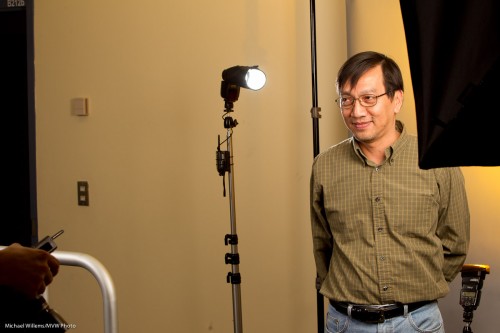
A few readers asked about the “background post” of the other day – how was it lit?

Here’s how:

Studio Light (Photo: Michael Willems)

Four lights:

  • A softbox strobe as main light.
  • An umbrella strobe (not pictured) as fill.
  • And two speedlights: one with a Honl Photo snoot as edge light, and one with Honl Photo gel as background light.
  • All manual
  • One strobe and both speedlights fired with Pocketwizards; the other strobe with its cell.

That’s a very standard setup for me, and yes, you can learn to do this too.


Background woes

Backgrounds. We like to have control over them in portrait shoots, don’t we?

One question I often get is “why can I not light up my background? Nothing I do works!”

This is quite simple. To light up a background, you need a colored light (a gelled flash?) shining onto a dark background.

So if the background is already light, you cannot easily colour it. As in this shot of a kind volunteer in my Sheridan College course the other night:

My main two lights are spilling onto the background, lighting it up.

So how do you get the background darker?

  • Use a darker backdrop
  • Move the subject farther away from the backdrop
  • Move the light closer to the subject, so the relative distance changes.

Any combination of those three gives you something more like this picture of another kind volunteer (in this case I moved the light closer to the subject, and then turned it down correspondingly):

And now I can add my background light, a gelled speedlight in this case, set to 1.4 power, which a nice bright gel – Honl Photo Egg Yolk Yellow:

Simple once you know, n’est-ce-pas?


Interested in lighting? Consider some private coaching, where I explain all, you get to practice and take actual shots, and all will become clear. The December/January special is still on: 10% off during those months.

Effective shutter speed

When you are using flash, your shutter speed is not necessarily really what you think it is.

A flash, you see, fires at 1/1000th second or faster.

So if the only light falling onto your subject is the flash (an important qualifier), then the shutter speed will effectively be 1/1000th second. Even if the shutter ia actually open for a long time. It’s like opening a bedroom door and flashing the light switch on for a short flash. Then whether you open the door for 1/10th of a second or for a second to do that flash, you will see the same.

If the ambient light also hits your subject, you wil get a mix. This leads to ghosting, like this:

The image was taken at 1/10th second with me moving the camera rapidly.

What all this means to you? That you can often shoot a picture slowly, say at 1/15th of a second, without materially adversely affecting your foreground, flash-lit subject. You’ll get nice light into the background, and the only thing that will really see motion blur is the background.


Consider a splash…

…of colour for visual interest?

Take this off-camera flash picture, for example (taken with speedlites, of course):

Good, because it is using off-camera flash. But you might try to add some colour by using gels. I use the excellent HonlPhoto gels, part of the Honl Photo small flash modifier systems.

No, not like that.

But perhaps like this:

Much better, I think. And all that is needed is a simple gel on the background flash (ask me about the Honl Photo discount, by the way, if like me you are considering those flash modifiers).


TTL magic

When you use an automatic, TTL (“Through The Lens”) metered flash, how does your flash know how much power to emit?

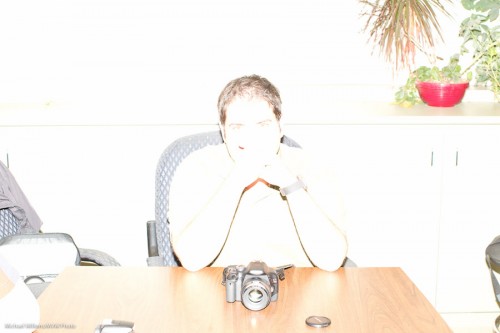
I.e. when I set my camera to , say, 1/200th second, f/5.6, and 400 ISO, now the camera needs a certain amount of power to come from the flash to match that. If the flash emits too little power, you would get this too-dark picture:

If on the other hand it emits too much power, you would get this instead:

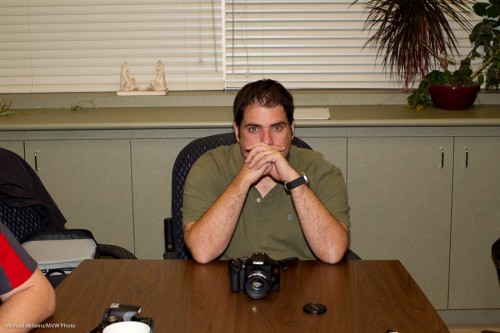
And yet, when you click, time and time again, you get something more like this:

So how does the camera magically know the power should be at that level for this shot? After all, for each shot it is different. Get closer to the subject, and you would need less power. Farther away, and you would need more.

OK – here is how the camera knows.

When you click, the following happens:

  1. The camera tells the flash to emit a little pre-flash.
  2. The camera measures the light returned from that pre-flash.
  3. It uses that amount of returned light to calculate the power needed for the shot.
  4. Only now does it raise its mirror and open the shutter.
  5. Then, it tells the flash to fire at that calculated power level.
  6. The flash does as it is told.
  7. Afterward, the camera closes the shutter and drops the mirror.
  8. Done.

A whole lot of stuff here to ensure you get correct flash exposures.

So yes – every time you see a flash, you are actually seeing two flashes, This also explains why you appear to see theflash through your viewfinder – you are seeing your preflash.