Light and lines

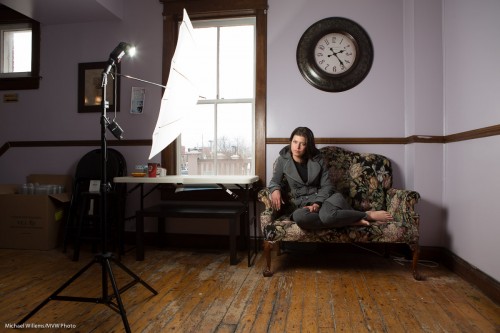
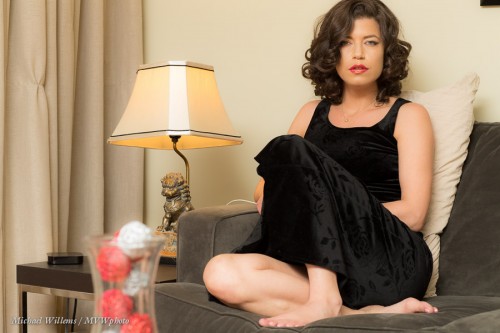
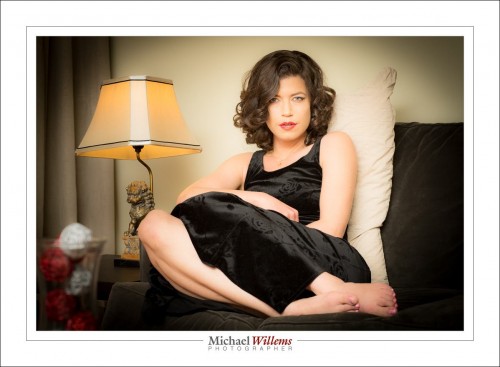
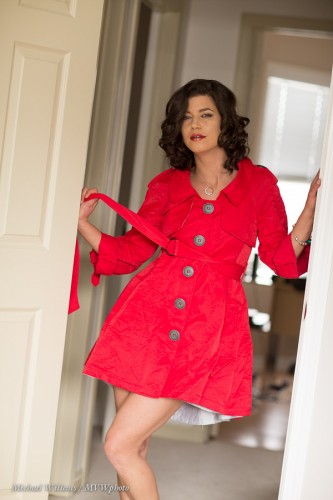
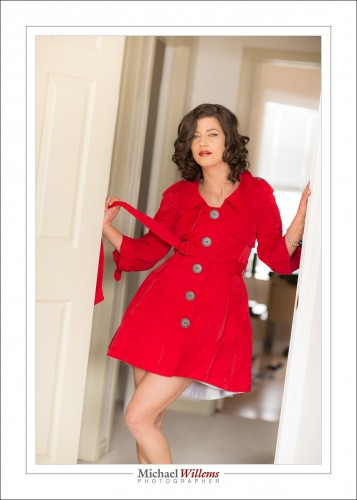
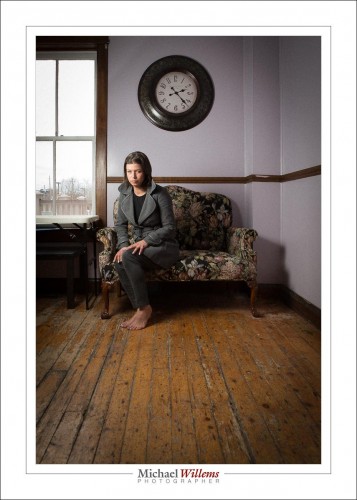
Shot of the day: Impatient Young Woman in Somewhat Victorian Setting, 26 April 2014 in Whitby, Ontario:

Canon 1Dx, 24-70 lens,. 200 ISO, 1/200 sec, f/5.6

A shot like this requires a few decisions.

One: the light. Available light? Easy, but if I want the window in the picture, it is difficult, because the model will be dark, or the window blown out. So I add a flash, so that I can get both done. I use an umbrella so that I get soft light, and I position it carefully to emphasize the subject. and not over-light the background. Meaning, close to the subject.

Then, the lens. Close, or wide? When I see lines like the lines on the floor here, I want to make them into converging lines leading to the subject.. so I use a wide lens. This gives me a wonderful composition where the environment plays a definite role.

The composition: I want to include that floor, but also the clock and part of the window. I want to use the Rule of Thirds. Knowing that, the composition falls into place.

The setup was like this:

The flash was fired with Pocketwizard radio triggers, and was set to MANUAL mode, at one quarter power. I can meter that with my flash meter, or use experience plus trial and error. Moving the flash 40% farther away is one stop less light; 30% closer is one stop more. (Why those numbers, math buffs? Answer after the line.)

Finally, post work. In this case, I think colour is called for:it adds to the image, so no black and white conversion is needed. I add a slight vignetting perhaps, and I straighten the verticals if needed, and if I get the settings right (which I did), then not much else is needed.

Continue reading

Towards The Light.

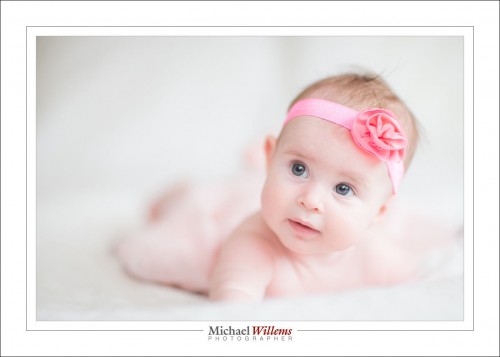
Baby pictures like this, taken just now, are nice, no?

Typical available light, right?

That’s what you might think. But no. Well, yes, but both flash and available. Bounced flash at +2 stops flash exposure compensation, while 800 ISO, f/1.4, 1/20th second also gave +1 on the meter. Without the flash, it would have been too dark on the non-lit side.

Back to my shoot!


Summer. Not quite yet.

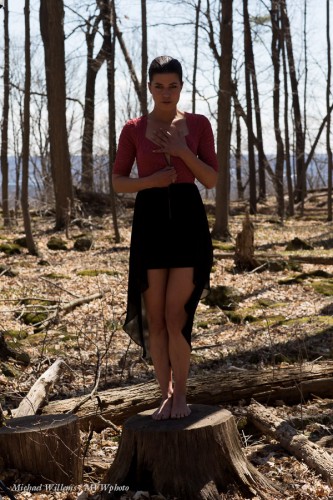
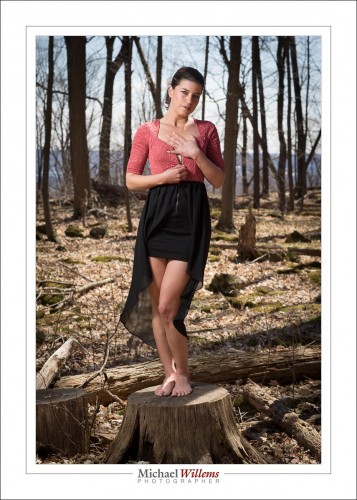
…but enough sun to shoot outdoors. So here was the outside today, in an Ontario that is still devoid of leaves:

Exposed for the background, that is 100 ISO, 1/250 sec, f/7.1.

Uh uh: obviously that does not work. What is the solution?

There are at least two solutions I could choose.

First I could brighten it all. There are many photographers who only do this and it is not a bad solution. It leads to images like:

That is not bad, but what if I wanted to see the background darker? I like to make my subjects the bright pixels. Bright pixels is where it’s crisp and clear.

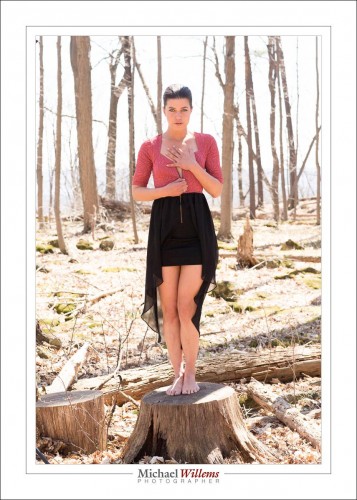
So the other solution, and you knew it: use a flash. If I shoot into an umbrella, I can get the flash close enough at half power to achieve this:

And that is how I do it.

Notes for this: I used an umbrella to shoot into. Using pocketwizards, I fired a 580EX flash at half to full power (I usually avoid going over half). I used a sandbag on the light stand, but even then it can blow over.

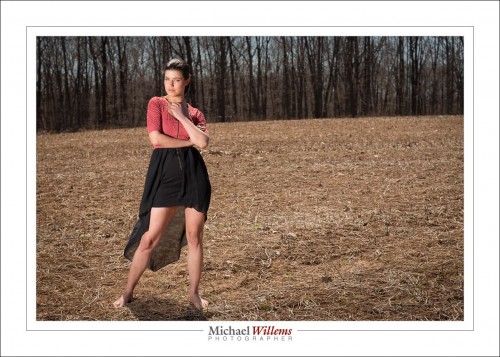
Later, I had to go direct. In this field:

100 ISO, 1/250 sec, f/8.

Why did I go direct? Because in an open field, an umbrella would be blown over even with a sandbag on the light stand. Sometimes it is that simple!

And as said here before: direct, unmodified flash is fine, as long as it is nowhere near the camera!


About exposing to the right

If you look at the ARTICLES above, you will see one about “exposing to the right”. Read it. And perhaps remember this as a “take-home” outcome:

Provided you do not actually overexpose any of the channels (Red, Green Blue), you can always reduce brightness in all or part of the image in “post”, and as a result of doing this increase the quality compared to shooting it darker in the first place.

That is why we expose to the right. I am not advocating doing this all the time, mind you: it would mean post-production work all the time, and we are photographers, not graphic artists. But sometimes you simply do not have the time to put up lights.

Like here:

When I shot that, I knew I would want the ambient light darker. But that would have meant getting out the softbox, boom, pocketwizards, and so on; and that simply was not practical at the time. So I shot like in the pic above, knowing that I could reduce—not increase— exposure in part of the image later by way of masking or vignetting.

With a little work, and I mean a little (perhaps a minute or two), that gives me something like this as an end result:

Now again, of course it is much better to actually shoot this way. But when you do not have a choicer, expose as highly as you can without overexposing either of the three primary channels; then, reduce locally later to taste.


That red jacket

The reminds me. When I was shooting the red jacket, the red jacket ended up, well, not red, at the bottom. More purplish. Look:

The reason: overexposure at the bottom, specifically of the RED pixels, when I expose enough to get the top lit. The model was too far from the window, so the light hit mainly her bottom half. Hard to see in person, but easy to see in the camera.

The solution: In Lightroom, in the DEVELOP module, go to the HSL pane; select LUMINANCE, and drag the RED Luminance slider leftward (minus). Now you get this:

Now that I am not blowing out the reds, I get a red coat!

Then the last step: I brighten the top with a graduated filter with exposure set to +1 stop. Now I get the final result:

This is all a matter of simply recognizing what is wrong. I was not able in time to fix it on site, but I knew I had enough leeway in my RAW files to fix it later. Sometimes, that is how it works.


New Beauty Light Technique

I have illustrated many lighting techniques here, from “Terry Richardson Amateur” to “Studio traditional”. Let me add one I use. I call this “bright-bright-blur”.

What I do here is use a bright room with reflected light. I then use settings, and flash to achieve three things:

  1. Bright ambient light
  2. Bright flash light
  3. Blurred backgrounds

I do that by first, setting my exposure so that the meter reads +1 stop. Yesterday that meant 800 ISO, 1/125th second, f/2.0. I wanted f/2 to blur the background. I wanted 1/125th sec to reduce motion blur. That gave me the need for 800 ISO.

Then, I put on a flash, aimed it behind me 45 degrees up, and adjusted Flash Exposure Compensation (FEC) to +1.3 stops. That gave me added flash to the already bright picture. That flash fills any of the darker areas. Great skin; great beauty light!

The pictures now look like this:

That is basically straight out of the camera.

Clearly, this is light suited to glamour and beauty, more than to my usual corporate headshots. The point is: it is yet another light type you can use; another tool in your creative toolbox. Master it, and then decide for each shoot what light type to use. photography is talking emotion. The more you master light, the more you can tell stories with your photos.


Shampooey Goodness

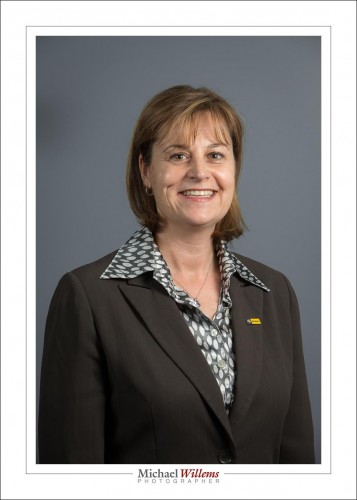
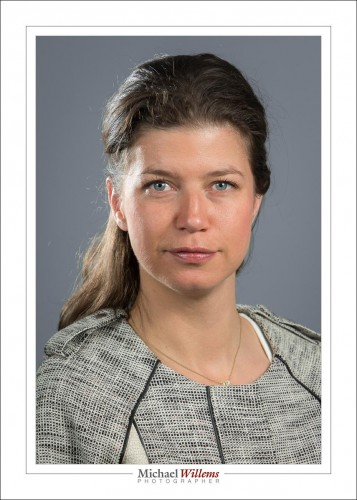
You have heard me talk about this many times. Without “shampooey goodness”, a standard executive portrait can look a little lifeless. This is straight out of the camera (“SOOC”) from yesterday’s executive headshots session in Toronto:

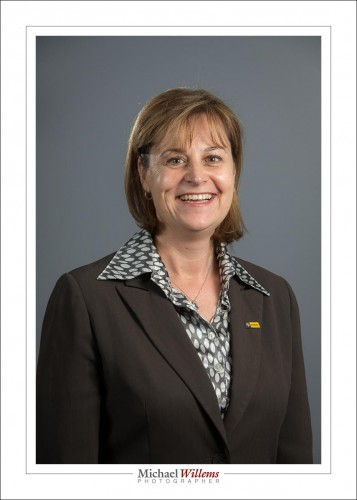
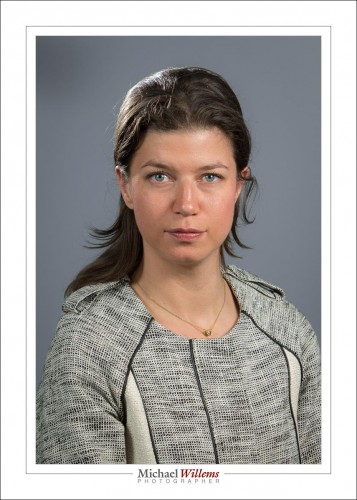
Add a hair/rim light and it becomes much more lively:

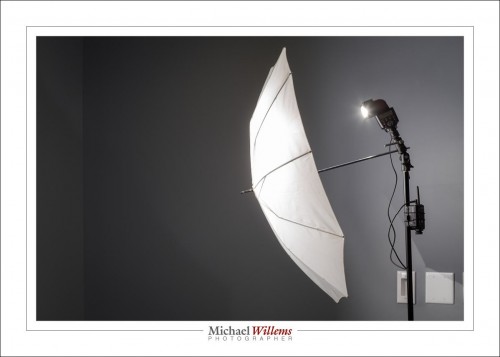
In these portraits, the main (“key”) light is on our right:

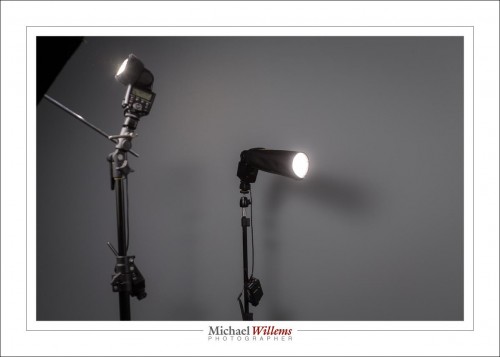
Fill light and hair light are on our left:

Now, it is important how you add that light. Very important. Aim it a few millimetres too far over and you get much spill onto the cheeks, as  you see in this test shot of my assistant:

For reasons of skin smoothness, I generally prefer to keep it on the hair:

That aiming is best done by an assistant, who fires the flash by means of the test button to see where the light hits the head.

And one more thing: when someone has no hair, you call it a “rim light”!


Closer

“If your pictures aren’t good enough, you’re not close enough” (Robert Capa)

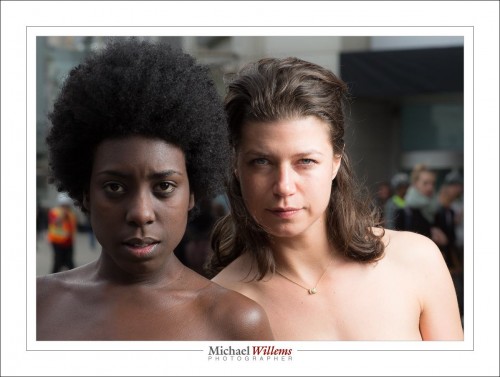
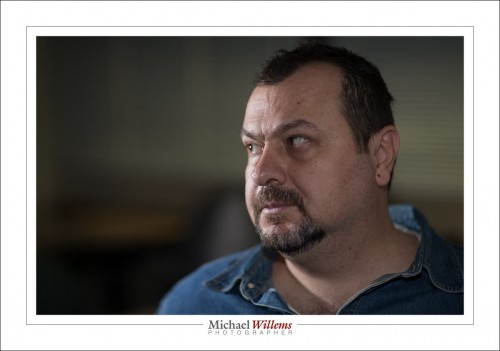
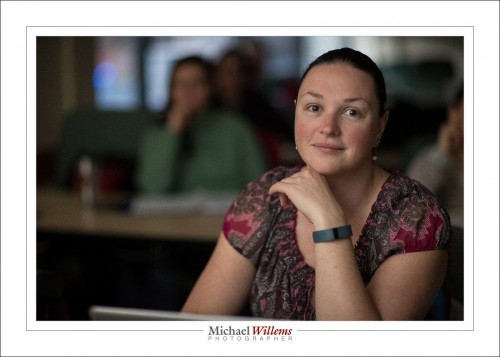
You have heard me on this theme many times. Getting close can often make your images better. You get close and intimate with the subject, your images have more impact. Like in these two, from that recent shoot:

Now of course you can do this by getting close. But be careful: closer than a couple of metres means you distort faces.

A better way is to use a longer lens. My favourite lens for this work is the 70-200, therefore. That has the additional benefit of not forcing you to be “in your subject’s face”. Yes, you have to have space, but that’s the entire point!

An alternate way is simply to use a somewhat long lens and then to crop for the rest. Those two were taken with the 85mm lens and cropped afterward. That is why you have all those megapixels, after all.

Next time you shoot anything, do yourself a favour and shoot the way you would normally shoot, but also shoot closer. Then when you look at the results, consider carefully which ones you like better. Where you like the close-up better: why? Where you like the wider view better: why? This is how you become a better photographer.

There’s still space on tomorrow’s Travel Photography session in Oakville, Ontario: 10AM-1PM, Sat 12 April 2014. $125 and it’s virtually private tuition!

What lens?

My current love, as you all know, is the 85mm lens. The Canon 85mm f/1.2L lens, to be precise, on my full-frame Canon 1Dx camera.

I love this lens for many reasons. One is that f/1.2 is great when I want to shoot in a classroom without using a flash or going to very high ISO values. As a bonus, I get great separation between foreground and background.

As in these three very recent shots of students:

This lens is the perfect length for half body shots like this; and it is long enough to get blurry backgrounds even at f/5.6. Witness this, at Yonge-Dundas Square in Toronto (see here for the whole story):

If I move farther back, it is usable for full body shots too, of course:

Because it is a prime, it gives me the consistency I love: f/6.3 is f/6.3, and 1/100th sec is 1/100th sec. (With a zoom, on the other hand, you have to get used to motion blur effect and blurred background effect being different at every zoom setting.)

With this lens, I need to remember to move back and forth, and to leave enough space. But the point is that you can do that easily enough.

If you use a crop camera, a 50m lens would give you a comparable effect.

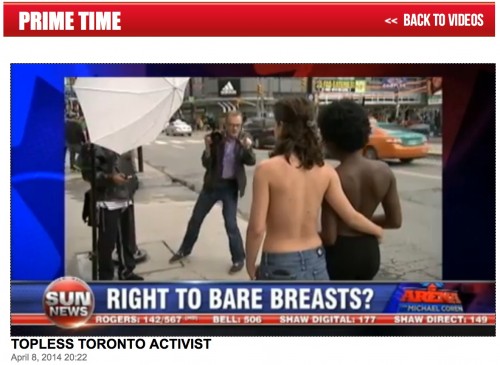
OK, and as a final shot, a screen shot from Sun News TV that aired two days ago, with the two Topfree Rights women and me taking photos of them:

Cheers!
Michael


Activism

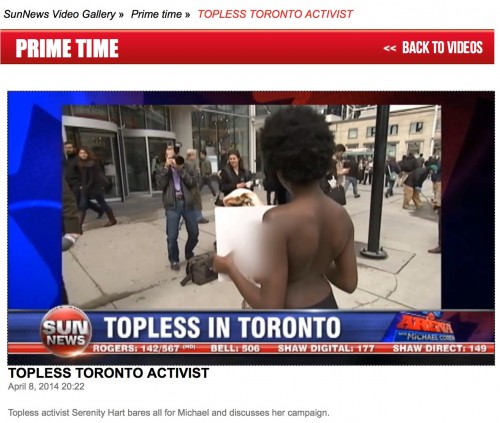
So today I shot Serenity Hart, the feminist activist who is touring Canada to emphasize women’s right to go topless. I shot her when she was being interviewed by Michael Coren on Sun News:

See here for the entire video, and see here for some still and a few portraits we took afterward (the latter contain toplessness, so if this is not your thing, do not click the link).

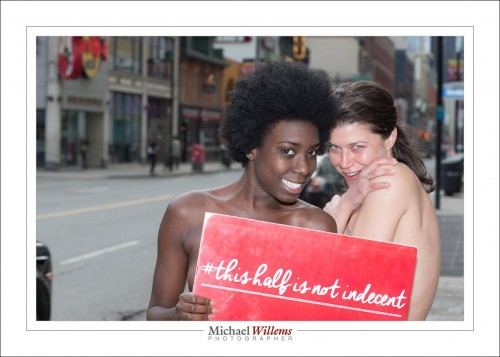
Here’s a “suitable for work” shot:

You can support Serenity’s tour via this link.

For most of today’s photos, I used a flash off-camera shooting through an umbrella.

  • No flash gives bright backgrounds and flat light.
  • Straight flash gives flat light and hard shadows.
  • Off-camera flash rocks.

To see an example or two of each of those lighting style, look at the pictures in detail: http://www.mvwphoto.com/naakt/20140408-SerenityKim/ — these contain toplessness).

More about the light:

  • For all these, I used TTL off-camera flash.
  • For the second set, by the boat, using the umbrella was impossible: too little light from a small flash. So I used the flash direct and unmodified. That gave me enough flash power. Just.

Good light is a necessity for good pictures, so when you are shooting, always think about the light. And I assure you that that is what I was thinking about today: not breasts, but light.