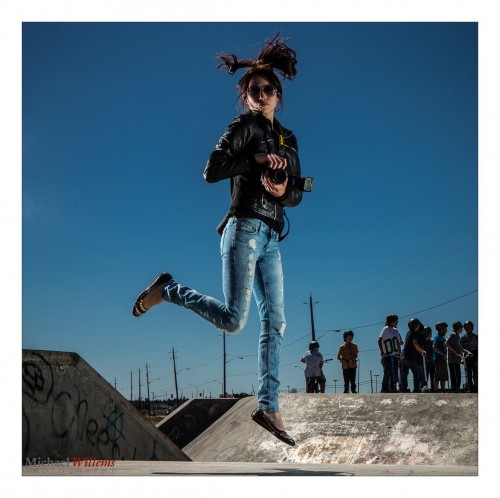
Check!

When you hire a pro, you get certain benefits. Like the ones in this list.

And when you shoot, why not behave like a pro also? Life’s easier  when you do.

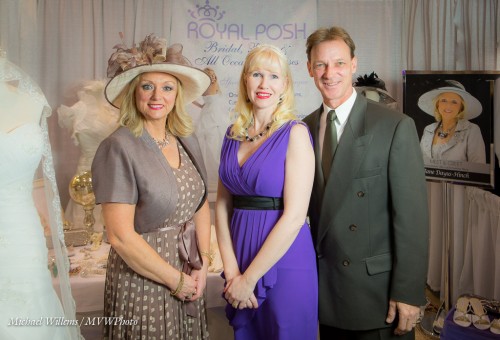
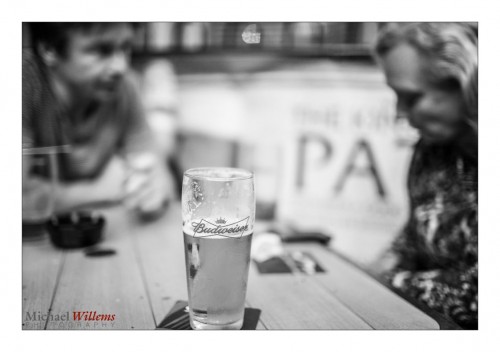
“After The Business Meeting, A beer” (June 2013)

For tomorrow’s shoot, an outdoors birthday party with family shots, I am beginning with a checklist. Here’s mine for tomorrow:

  1. Prepare the cameras  – at least two, since you must have a spare for everything you bring.
  2. Everything cleaned.
  3. Camera bag packed with all neede daccessories.
  4. Camera batteries charged.
  5. Flash batteries charged.
  6. Spare batteries packed.
  7. Strobe power pack charged,
  8. Large lights (studio strobes) packed.
  9. Light stands packed.
  10. Flash accessory bag checked and full. Including pocketwizards (with good batteries), modifiers, attachments, cables, and a light meter (including spare battery) . I have a separate checklist for that bag.
  11. Everything sitting by the door.
  12. Assistant arranged

Then I organize the shoot itself: I have a checklist for the shoot that ensures I know things like:

  1. Names, phone numbers
  2. Address of shoot
  3. Parking checked
  4. Car fuelled up prior to shoot
  5. Change, ID, etc packed
  6. Small items like comb, pens, note pad, etc packed
  7. Business cards packed

The small things make the difference. A shoot like tomnorrow’s, what do I bring in the way of lenses:

  1. Canon 1Dx with 24-70 f/2.8L
  2. Canon 7D with 70-200 f/2.8L

Then I bring a 35mm prime, a 50mm prime, and a 16-35mm f/2.8. Optionally, I bnring the 100mm macto and the 45mm f/2.8 tilt-shift lens.

The FIVE SUCCESS FACTORS for this type of shoot:

  1. Bring all sorts of stuff even if you do not expect to need it.
  2. Spares for everything.
  3. Checklists, on paper.
  4. Prepare the night before.
  5. Get there early.

Have fun!

Michael

PS those of you who say “but that’s a lot of work!” – yes, that is why you pay the pros for their work. It’s work, real work…!

 

150 for 5

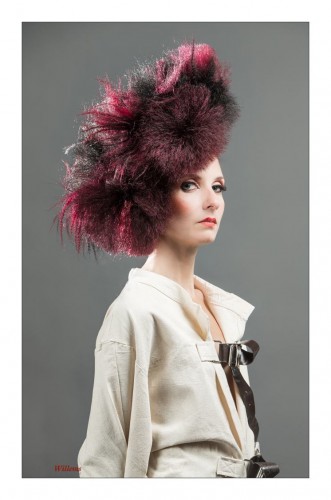
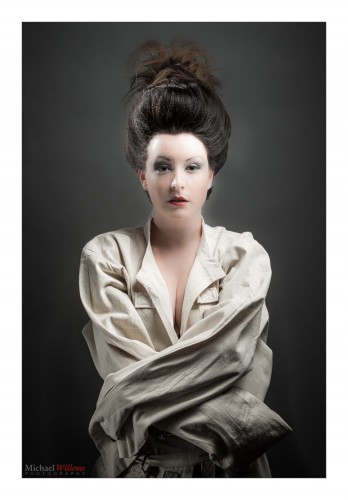
When I shoot a shoot like this – special hairdos – how many images do I shoot?

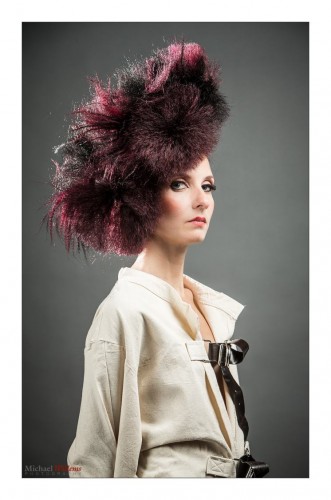
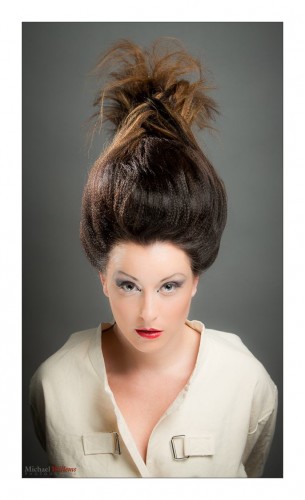
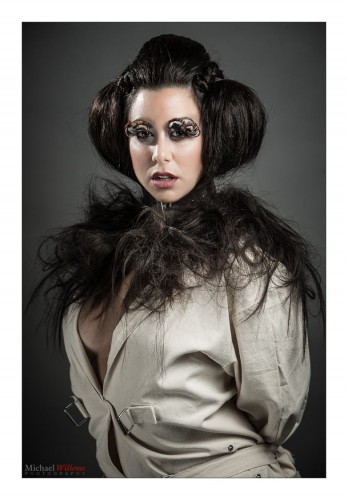
As so often.. it depends. I wanted various expressions to choose from, so I shot 150 images to get these 5 hairdos down. Then I selected just 10 (2 for each hairdo) to show the client, including the above and this:

After that, I usually await a final choice to do the final edit on those final choices only.

But do note that all 1590 images were technically good (except 3 blinkers) – that’s the beauty of studio-style shooting (100 ISO, f/5.6, 1/125th sec).


An interesting day!

Today marked the release of my second book – this one on Flash Photography.

In many ways this is an opus magnum: it is my main area of special expertise, and I spent years thinking about how to teach this most effectively. And how to compress a world of knowledge into 123 pages. I think I succeeded. Sales have been good, which I am delighted about, because so many more people will learn how to use their flash.

Here’s the link. And there’s a discount if you get both books. Let me know what you think.

Why flash? Because it is a way to control light. There is no such thing as “flash photography”, really: there is just “photography including flash”.

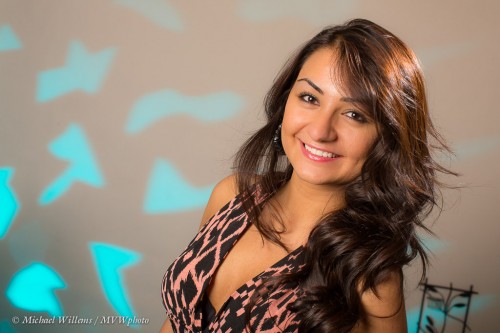
A picture like the one below looks like it is all Photoshop. In fact, the post editing was minimal: desaturation, and a little clarity. The rest is simply this: the use of an off-camera flash on our right into an umbrella. That allowed me to make the background darker and hence, saturated, so the model looks three-dimensional and “real”.

The technique is really rather simple, once you know it. Here’s your checklist:

  • Camera set to Manual mode.
  • 100 ISO.
  • 1/250th second.
  • Aperture as needed to get an exposure of “minus 1 – minus 2 stops” on the meter (f/8-f/13 depending on how bright it is outside).
  • Use an off-camera flash – your on-camera flash, if present, should do nothing except tell the off-camera flash what to do.

That’s all, and now you get wonderful light, and plenty of modeling – meaning, objects take on a three-dimensional shape. Without flash, this would simply not be possible.

And that is just one lesson from the book. Learning flash, however you do it, makes sense: if you prefer available light, I suggest you try techniques like this, and then you tell me which light you prefer. Saying “I don’t use flash” is like saying “I like to a priori restrict my light opportunities”.


It’s 2AM, or “a day in the life”…

…and I am back from an impromptu shoot. A friend and student needed some help with a commercial shoot for a high-end hair salon. 11AM-7PM they did the hair; 8-11pm my friend was shooting. Except it didn’t go too well. So I drove up to lend a hand.

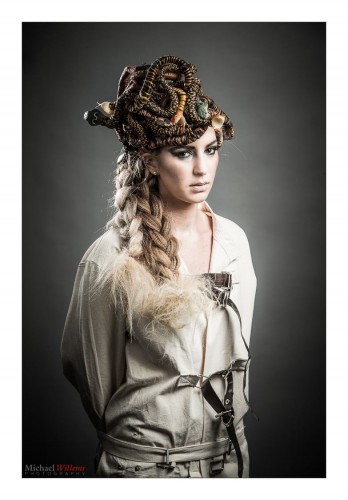
The salon owners are extremely creative. And Italian. That made this a very pleasant shoot. Here you go; Medusa in a straightjacket:

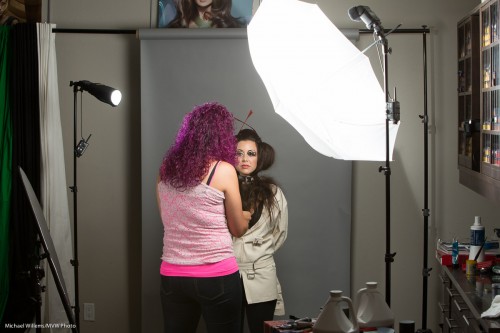
I had to first pack my portable studio into the car. Then drive 60km. Then quickly unpack, and quickly ask my colleague to set up a backdrop: I had brought the grey paper backdrop, because grey can be made anything from white to colours to black. Time was short by now.

Then the lights. I brought the strobes, but decided to use the speedlights. Lighter, smaller, quicker. A hair shoot means a main (or “key”) light shot through an umbrella, and a reflector for fill.  And, very important, a hair light through a snoot or grid for “shampooey goodness”.

For consistency, I used Pocketwizards and manual settings on the flashes. If this had been an event, I would have used TTL.

Here you see the setup:

Then, metering – flash set to half power gave f/7.1. At 200 ISO and 1/125th second. Done. Now I can concentrate on shooting the fabulous creations!

Part of the skill that goes into a shoot is in areas like problem solving and technical knowledge. But a larger part goes into deciding on the positioning. The people skills, in other words. My colleague is very good at those, so I am looking forward to seeing her work.

In any case: including the drive, five pictures took me about seven hours altogether to make; and that is not counting the post work – the pictures above have had minimal editing done. So now you know why pro photography costs money.

I would add more here, but it’s 2:15Am and I need some sleep!


Born to be punished

Pixels, as Frederick Van Johnson says, were born to be punished. While I do not always agree with this, it sometimes makes sense to alter images a little.

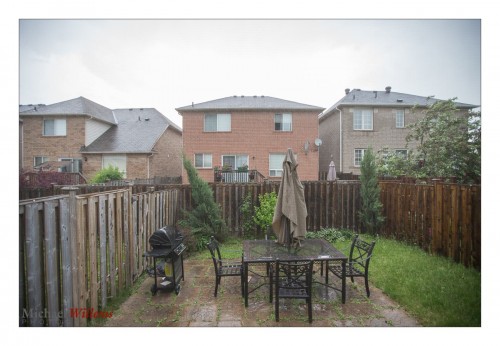
Take the rain outside, this past afternoon:

Nothing wrong: that’s what it was like outside my kitchen a few minutes ago.

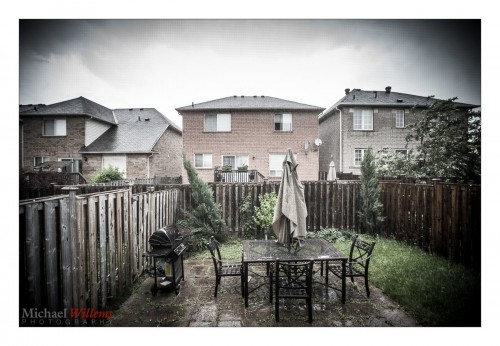
But I could make it desaturated with extra presence (basically, a one click preset adjustment in my Lightroom), to accurately reflect the mood I felt, “what I felt I saw”. Then it would look like this:

More stark and threatening – and severe thunderstorms do feel like that, don’t they?

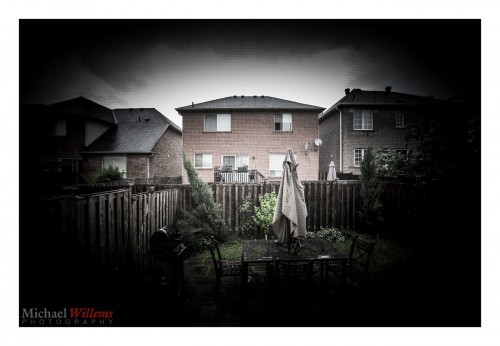
Or I could go to town and darken the outside completely. Now it doesn’t reflect what I saw – instead, it becomes something entirely new:

All three have merit in their own way, so let me reiterate my tips:

  • Do it in camera if you can! “Post-work” should not generally be a substitute for good technique.
  • That said, cropping is always OK. So is white balance adjustment, and so are small exposure changes.
  • Modify nothing (other than white balance, exposure adjustments, and cropping) if you are shooting news.
  • Do feel free to modify to get back to “what you saw”.
  • Do feel free to modify to be artistic.
  • That said, try to avoid trendy changes that you know will not be cool anymore in a few years time.
  • Realize that the more modifying you do, the less you are a photographer and the more a graphic artist.

And finally: do not forget to learn basic photography skills. No changes should be a substitute for knowing those skills. But once you know those skills – you can go crazy and edit, or do the minimum.

Now go have some fun. Learn Lightroom!

___

Did you know I can teach you Lightroom? Come to me for a 2-4 hour session and we will fully set up your Lightroom and file storage and backup strategy; and I will answer all your questions. $125 per hour.


Blink. No, don’t!

Today a reminder, prompted by my recent Montréal visit.

If your subjects do this:

…that is because:

  1. The flash is aimed straight at the subject (remember, outside, since you are majorly mixing flash with available light, you can get away with this if you need to); and
  2. TTL flash uses a pre-flash for metering. Then, a few ms later, when the shutter opens and the “real” flash goes off, your subject is already in mid-blink from the preflash.

Yes, you will recall there is a solution. Flash Exposure Lock (FEL, Canon) / Flash Value Lock (FVL, Nikon). This allows you to first press a button for the preflash, and then press the shutter for the picture and the “real” flash.

  • Canon: use the “*” button, unless your camera has a little “FEL” or “M.Fn” button; then use that.
  • Nikon: assign the FVL function to the Fn button (do this via the pencil menu). Note, D3100/D5100 cameras lack this function. Then use that button.

After pressing the button as per the above, you have a few seconds to fire the “proper” flash and take the image. Remember to warn your subjects there will be two flashes and the second one is the “real” one.

That little tip makes you a better photographer than uncle Fred. There. You’r welcome.


Magic Recipes

We all want simple starting points, Right? So here’s five of my simple flash “recipes” – great starting points. This post you may want to print!

The following are four great, simple to remember, starting points. They are no substitute for proper learning, but they are very good in the context of that learning. And you can try them today. Now. These recipes all have you using one or more small flashes (speedlights). Adjust them as needed!


I .Indoors Flash, Warm Backgrounds:

For this, you use the Willems 400-40-40 recipe as your starting point:

  • 400 ISO
  • 1/40th second
  • F/4
  • Flash aimed behind you upward at 45 degrees, bounced off a wall/ceiling
  • Increase ISO when needed!

II. Studio Style Flash (big flash):


  • 100 ISO
  • 1/125th second
  • f/8

III. Studio Style Flash (small flash/modified):


  • 200 ISO
  • 1/125th second
  • f/5.6

IV. Outdoors, Sunny Day, Dramatic Portrait:


  • 100 ISO
  • 1/250th second
  • f/11 – f/18
  • You may need to use a close-by. direct (unmodified) flash.

V. Outdoors, Sunny Day, Blurry Background:


  • 100 ISO
  • 1/2000th sec
  • f/4
  • High-Speed Flash / Auto FP flash enabled!
  • You will have to be close to your subject; if modified with a softbox, extremely close.

___

TAKE IT FURTHER: These are some quick start points. get into depth by having me teach you. And buy my “recipe book”: 52 recipes with tips and tricks. Click here.


The Graduate

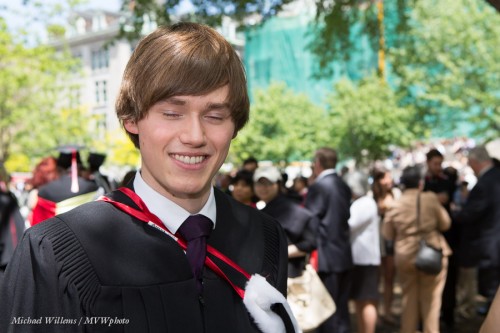
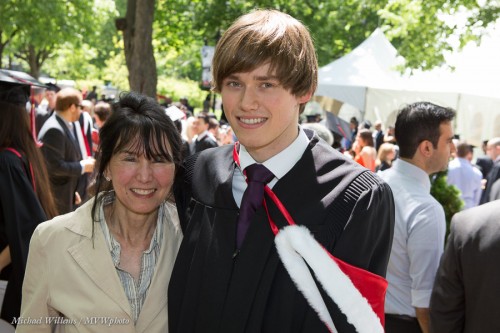
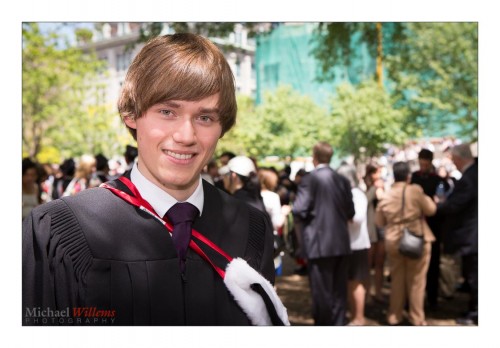
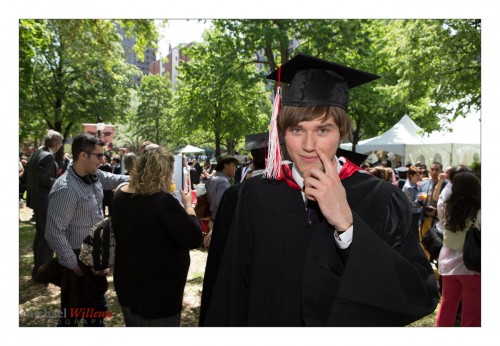
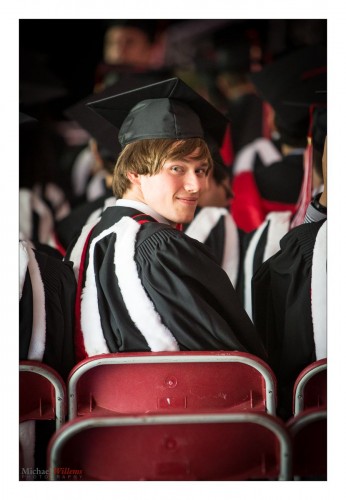
And here is my graduate son Jason, B.Eng in Montréal a few hours ago:

And how did I shoot this? With a direct, head-on flash, yes, and High-Speed flash enabled: 1/250th second, /f7.1, 400 ISO.

Yes, outside it’s OK to shoot head on if you have to. Not creative, but competent. And these settings were designed to give me DOF and a slightly darker background, so the subject stands out.

Here’s an inside-the-tent shot:

I shot at f/2.8 to f/3.2: in fact, the tent was the right brightness to use another mnemonic: 32/32/32, or “3200 ISO, 1/320th sec, f/3.2”.  Namely, 1/320th to freeze camera motion while I am using the long 70-200mm lens; f/3.2 to give me a little DOF for accuracy; ands 3200 to enable the two above. All photography involves a little thinking!

Lighting In Timmins

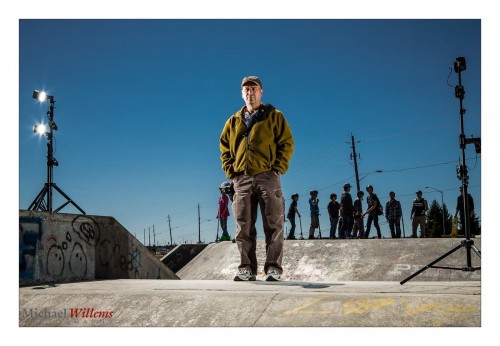
I am in Montreal, but take a look at this shot from the Timmins workshop on Saturday:

I use flashes – two on each stand:

  • Flash makes the subject stand out (I like a “darkground” -a darker background).
  • Side flash makes the subject three-dimensional.
  • More light is good. One stop more by doubling the light on each side.
  • Two, also to cover a vertical subject more evenly.

I used 1/250th and 100 ISO, obviously (why “obviously”?) – and that got me f/13.

Now off to shoot my son’s graduation ceremony at McGill – yes, I am in Montréal.


50 Ways

Outdoor flash:

The problem is all inside your head
She said to me
The answer is easy if you
Take it logically
I’d like to help you in your struggle
To be free
There must be fifty ways
To Use A Speedlight

There are; and sorry, Paul Simon.

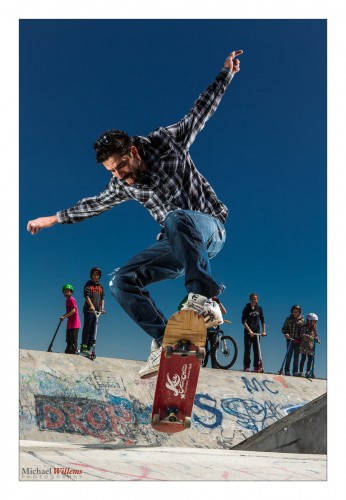
Outdoors you want to make the background “darker for drama”. So you go to 100 ISO (lowest you can) and 1/250th second (fastest you can if using a flash). Then f/13-f/18 will give you a dark sky. Simple recipe!

f/18 may not be possible because your flashes may not have enough power. So to figure out what to use, you do this:

  1. Use two flashes on the subject’s left, and two on the right.
  2. One slightly higher; one lower.
  3. Both slightly behind subject aiming forward.
  4. Set them to manual/half power, say (full power is too much usually; flashes may overheat).
  5. Use them straight on – modifiers “eat” too much power.
  6. Fire them using Pocketwizards or similar radio triggers.
  7. Move the flashes as close as you can to the subject, and see what aperture that gets you (use a light meter or trial and error).

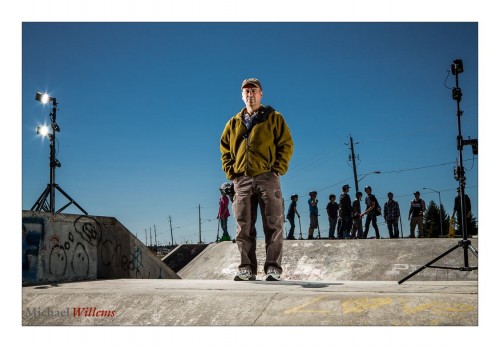
Today, for me, with two flashes on each side of the subject, this was f/13. Here’s the setup:

And that gets us:

Not bad, eh?

Remember to pre-focus, and then use manual focus; also, go low enough so the subject is high; then, make sure you click when the subject is at the predetermined point.

Easy, and I can teach you how to do this, as I taught the Porcupine Camera Club today here in Timmins, Ontario. There must be fifty ways to Use A Speedlight, and especially outside, these are fun!