How you shoot Black and White

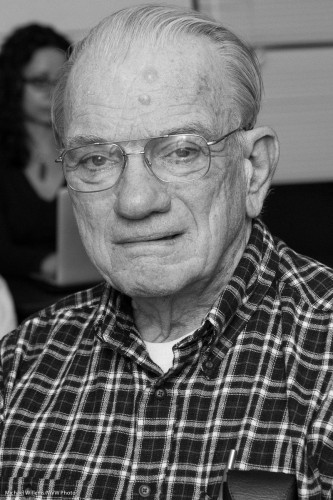
Shoot Black and white often… but shoot it in RAW. Why? How?

  1. Shoot in RAW
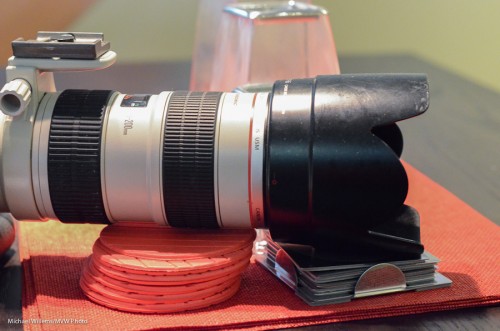
  2. Set your image style to B&W so the preview you see approximates what you will get.
  3. Then in Lightroom, you can change the weighing of the colours.

What do I mean by point three?

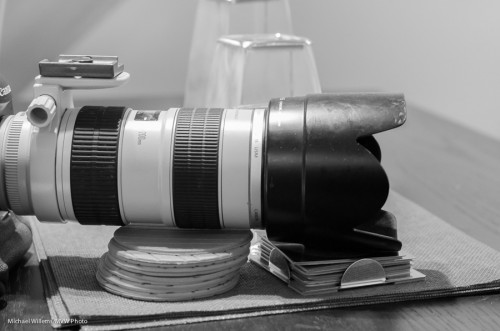
Made into B/W, that gets you:

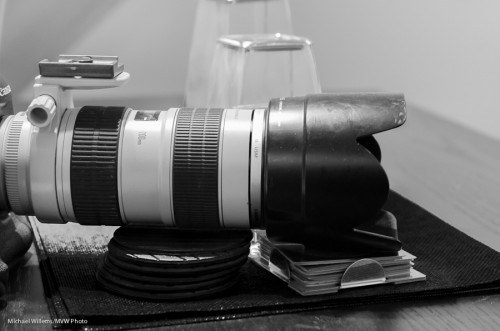
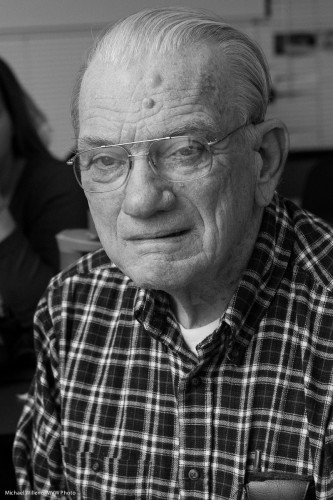
But now you can play with “filters”. Like by turning down red:

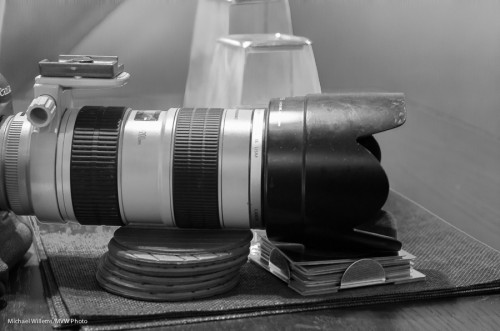
Or by turning UP red and turning down the background slightly:

…and so on.

That is why you must shoot RAW: if you shoot JPG, the conversion is done in camera and you cannot change it.

B&W is a very powerful way to shoot. With RAW conversion, it becomes an amazing tool. Go try!


Available Light

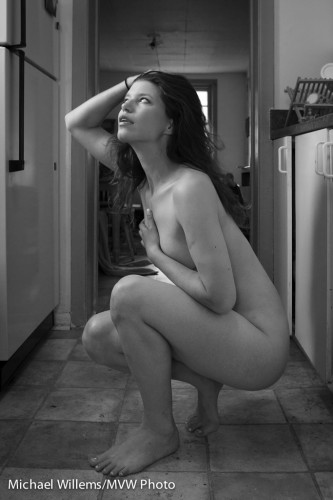
I am The Speedlighter – but I also of course use available light sometimes. Like in this shot, from my Tumblr feed:

That is an available light shot that works because:

  • There is a window with reflected light – not direct sunlight. This means a north-facing window, for instance; or in this case, an east-facing window in the afternoon when the sun is in the west.
  • I have placed the model in the “cone of light” that descends from this window, so the light hits “the face first, then down from there”.
  • I have exposed well.
  • I have positioned the model to take advantage of that light in the way it lights up her face.
  • The background is fairly simple (I cropped very carefully while taking this picture).
  • The opposite side is light enough (sometimes you need a reflector to achieve this).

Shots like this can really work. And they are easy – all you need is a window as described; a suitable lens; and away you go. remember tho use a high enough ISO so your picture is not shaky.

Of course you can mimic this effect with flash – and I often do – but do try to also use available windo light sometimes!


Bouncing and long lenses

When shooting an event, you would usually use a somewhat wider lens (a 35mm, say, or a 24-70) and bounce the flash behind you, upward – you have read this here many times.

But when you take candid shots with a longer lens, behind you does not always work: to get the righ angle of attach of the light to your subject, you have to bounce forward. I have mentioned this here too, but let me illustrate with an example.

Straight on is not good: hard shadows and “deer in the headlight” eyes. Even when combined with lots of ambient light to minimize this effect, it’s still not great:

But sometimes, bouncing behind is just too far. When you are far away, 45 degrees up but forward is better – but the problem is that some of the light goes straight to the subject:

See the hard shadow under the chin, in the picture above? Especially if there is a wall behind the subject this will be unacceptable.

So then you block the direct path with a bit of a flag (your hand right in front, or a reflector with the black side used to eat up the forward light – so it sticks jus a little above the flash head. You now get this:

So.. when you take flash pictures, just as in yesterday’s lesson: remember where the light goes!


Portable Studio

Your on-camera flash is a portable light studio – provided you use it right. That means:

  1. Finding the right balance between that flash and ambient light. In many cases I want the ambient light to be the fill light, so I set it to -2 stops. My flash will be the key light.
  2. Bouncing the flash.
  3. While bouncing, aiming the flash to get the effect you need.

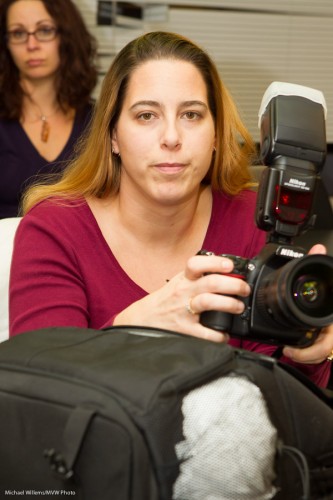
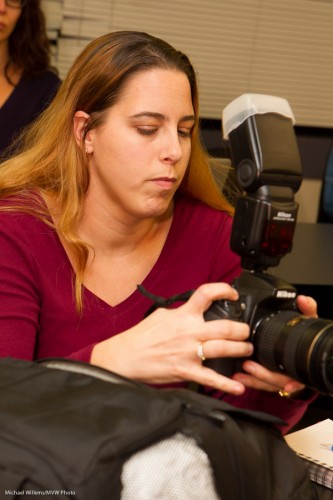
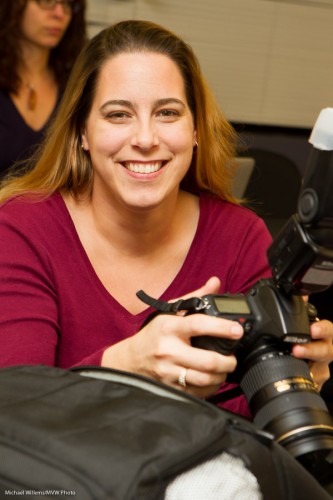
That third step is essential. To see why, look at the two examples below, of a kind volunteer in yesterday’s Sheridan College class.

Picture one – I am aiming the flash behind me. That’s just like having a large umbrella behind me: butterfly lighting:

And in picture two I swing my flash to the left, still behind me. Now that is like having an umbrella on my left, behind me. This results in broad lighting, which gives the face some modeling, some dimensions, some roundness: in other words it is now a three-dimensional face, not a flat face:

See what I mean? Beginners often fail to think about where they aim their flash, while this is one of the most important steps. Try!


More “simple light”.

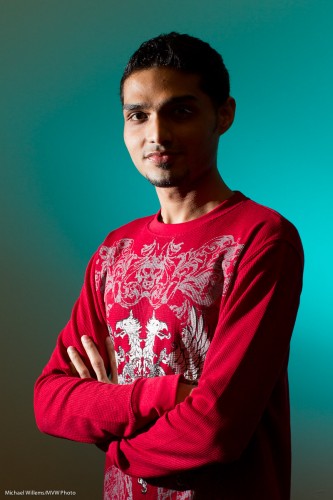
Here’s student Brittney, in a Seneca College workshop I did the other night:

Again: simple light: one off camera flash.

  • From yesterday’s post you will remember that I first thought about the background, then about the flash. In this case I set my camera (in manual exposure mode of course) to give me a very dark background. I wanted no ambient light.
  • And yes, you can use direct flash. I had a honl photo grid on a 430EX flash, driven by the camera’s 580EX.
  • The 580EX was disabled from contributing to the actual shot: all it did was fire commands.

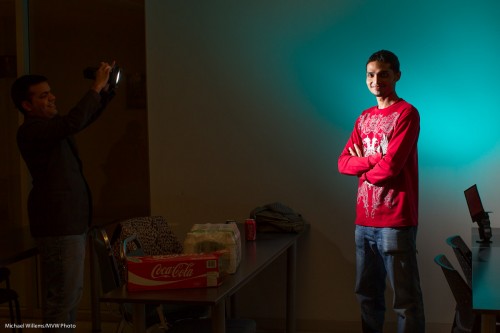
Another student – and here I added a background light too:

How did I do that?

TIP: always do a “pull-back shot”, where you see your setup.

As you see, here I asked a student to hold the gridded main flash; then I used a second flash with a gel and, to prevent the color from hitting the subject or shining into my camera, a flag (a gobo – “go between objects” – the Honl bounce cards are also gobos/flags.


Who does the work?

First question I always ask myself when taking a flash picture is: “who does the work?”.

What I mean is: is the light in the image just from the flash? Or just from ambient? Or from both?

Clearly :

  • When it is just from flash, the ambient needs to be dark (so I set my exposure for that).
  • When it is mixed, I set the ambient so that is is the right level compared to the flash.
  • In a mixed environment, sometimes I want to turn ambient UP (as in a party indoors), and sometimes DOWN (as in a dramatic portrait).  The principle, however, is always the same: worry about what you need from ambient (from all-dark to bright), then worry about the flash.

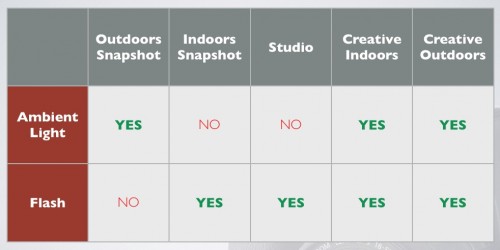
And mixing is essential. This is how I look at most of my images:

WHICH LIGHT DOES THE WORK:

As you see, in most creative work, I like to mix the two light sources.

If you do not think of this, you will get unpredictable results.

So before hitting that flash, always ask first:

In this picture, do I want to mix light, and if so, what should the ambient light look like?


Challenges… and solutions: Low Light.

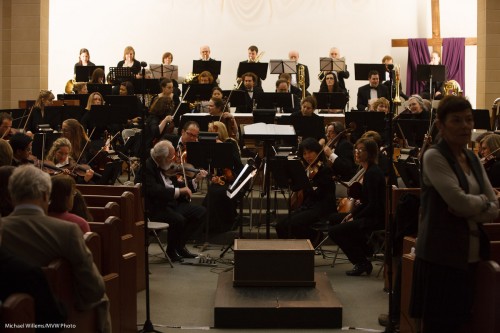
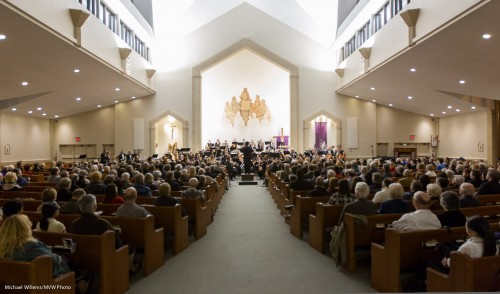
I shot a classical concert the other day (Mahler’s second symphony). Performance in a church, by Masterworks of Oakville.

The church had the worst light: dark, with bright back light. Ugh!

Terrible. So what can I do? Not use flash, of course.

But that is what photographers are for! So I use:

  • A fast lens – two, one wide (16-35) and one long (70-200), both f/2.8 lenses
  • High ISO: 1600 ISO
  • A slow shutter: 1/30th second
  • Stabilizer ON, on the long lens.
  • When needed, a little push in post (rather than slower shutter)
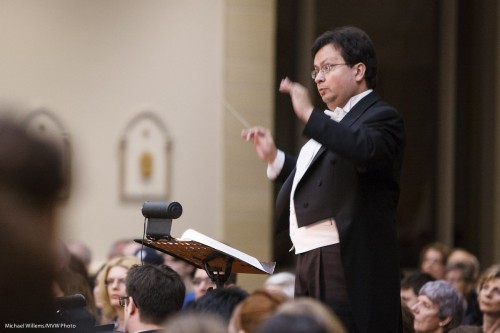
  • Patience – shoot the conductor when he is not waving TOO much…

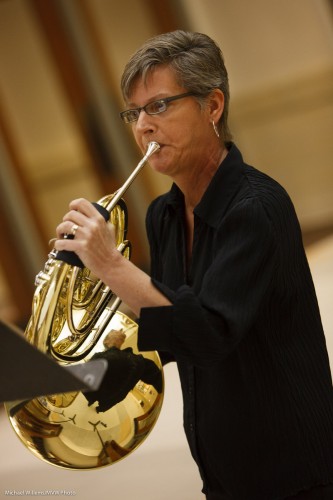
All that gave me:

Not too bad, eh? What do you think?

This shows the importance of the right equipment.. the fast lenses were essential. This is why you hire a pro to shoot your event: you simply will not get the right results if you do it yourself, unless of course you have the same equipment and technique.


DOF and small sensors

You know how small-sensor compact cameras do not allow narrow depth of field (DOF)? That is why you have a DSLR! On a small camera, everything is in focus and you cannot blur backgrounds.

Yes… but!

The “but” is that small cameras also allow very close images to be taken. And as you know, proximity means shallow DOF.

So that is how I can take a picture like this one yesterday with my new iPad (and as sensors go, they don’t come much smaller):

Look at the top left corner: is that blurry, or what?

So when we say that a small sensor does not allow shallow DOF, we mean “from the same vantage point”. That much is true. But if you can get close, you can still get very shallow DOF.


Light.. action!

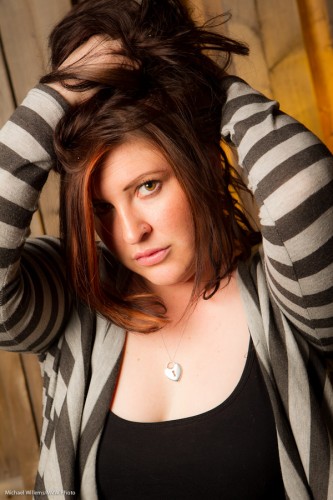
I shot a few shots of Kelly, the hair stylist for a shoot the other night.

Here she is:

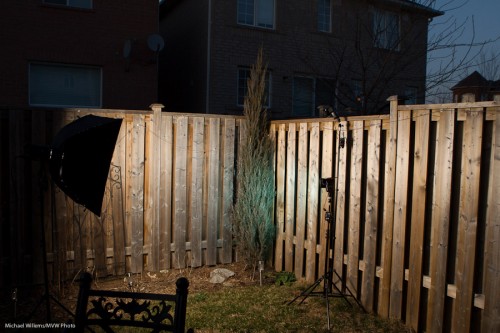
Nice. So how did I light that?

Here’s how.

I used my 1D Mk4 camera in manual mode, equipped with a Pocketwizard to drive the following flashes:

  • A 400 Ws Bowens light with a Bowens softbox. Powered by a battery (the Travel Kit); driven by a Pocketwizard.
  • A 430EX flash with a Honl Photo 1/4″ grid and a Honl Photo gel (green in the pullback shot above; egg yolk yellow in the real shot) to light up the background. This was also fired by a Pocketwizard, connected via a Flashzebra cable.

The other flash was a spare and I did not use it. I set y exposure for a dark background, then metered the flashes with a light meter. I used the speedlight to light up the background to provide hair separation, since I could not get it in the back aiming forward to light the hair, which I would otherwise have done.

A fairly simple setup for a nice shot, no?


Another suggested technique…  following up from yesterday.

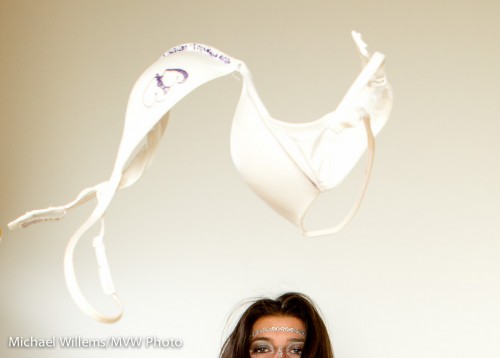
Try this: have people throw something during the shot.

Your flash takes around 1/1000th second at full power. So whatever is thrown will be frozen in mid air. Like this piece of clothing:

Again, as in yesterday’s shot, you will need to pre-focus, hold the shutter half way down, and then press when the item is where you pre-focused. A little tricky but worth it when you get unusual photos as a result.

For this to work, make sure your camera only sees the flash light. Manual exposure mode, 400 ISO, 1/125th second, f/5.6 should do it indoors. Test this by shooting with the flash turned off: your photo should be black.