Tricksy…

Here’s a trick. Oops, I mean technique!

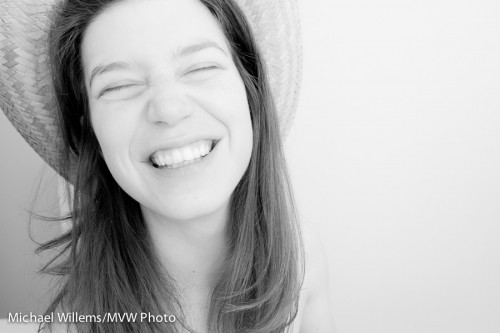
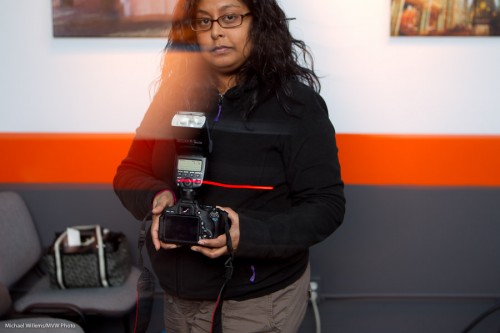
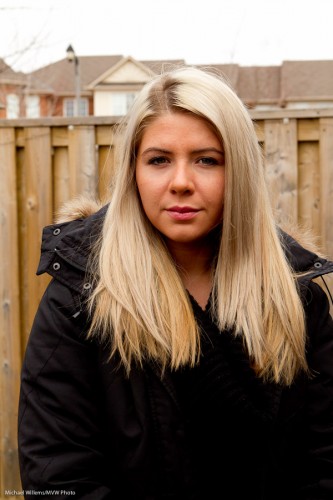
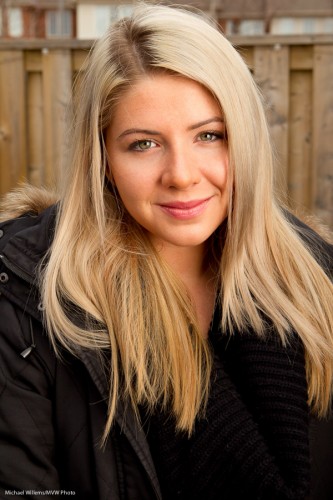
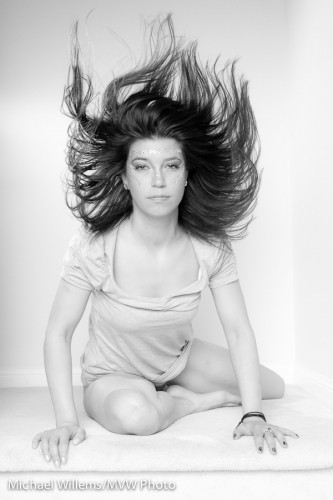
When shooting long-haired people using flash, for effect try to have them throw their hair every now and then and shoot when their hair is in the air.

It takes a little practice, and you need to pre-focus where they will be when you click. With a little patience, you will get something like this:


Can’t be bad…

During a coaching session with a talented student last night, I tried to make a bad picture of him, to show him what not to do.

Problem is, I just could not do it. Here’s the picture:

Even when trying, subconsciously I…

  • Tilted the camera.
  • Used a lower f-number (a wider aperture) to blur the distractions in the background.
  • Aimed my flash behind me.
  • Composed for the rule of thirds.
  • Used the Willems 444 rule (400 ISO, 1/40th second, f/4) to get a nice background.

You see, these simple rules aren’t about how great I am. They are simply good guidelines to follow, which, when we follow them, make things better. And with practice, these will become automatic, like when you drive to work.

So… learn the rules, and then shoot a lot.


Beginner’s tip: exposure compensation

This I frequently repeat: your camera’s light meter assumes you are pointing it at a grey subject – grey in terms of brightness. The moment you point at a predominantly light or dark subject, you need to tell the camera that. By using “exposure compensation” (the +/1 control) if you are in an automatic mode, or by setting the meter to “not zero” when shooting manual.

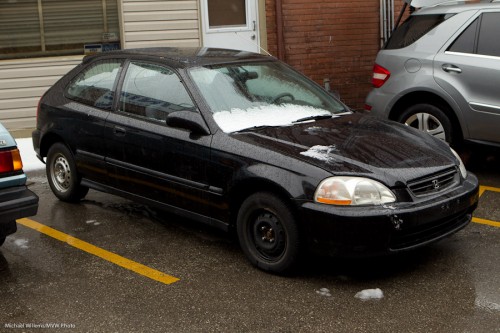
Like in this shot of a car I  bought for my son:

To get the black car I needed to set exposure to minus 1 stop (-1). Else the car would have looked grey, not black.


Black and why?

Why do we still shoot (or rather: process) in black and white?

Here’s why.

  1. Black and white (B/W) takes away distractions: you concentrate on the subject, nothing else.
  2. Grey tones are beautiful.
  3. In black and white processing, you can apply “filters”, in effect making any colour show as light or dark (you can turn a yellow shirt into white, black, or any in between).
  4. Skin tones are easier to fix – you can get rid of skin imperfections by brightening the red and orange parts of the original image in the B/W conversion.
  5. Mixed colour light (eg tungsten mixed with flash) is no problem in B/W.
  6. Finally: black and white is much more forgiving. If you have under-or over-exposed, you can fix it in B/W without showing much degradation.

That’s why.

And as to how: I strongly recommend that you shoot in RAW and convert to B/W after the fact, on your computer. That way you can decide on your “colour filters” later (in Lightroom, Photoshop or Aperture – but I recommend Lightroom), and you can try different settings.

My suggestion: go convert some images to B/W now!


Chiaro?

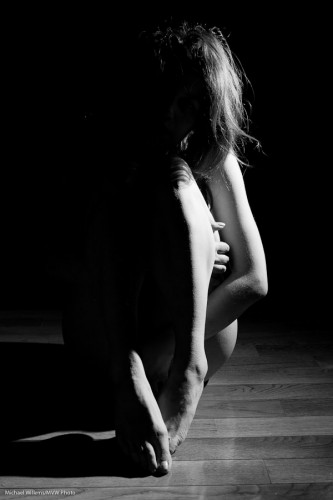
“Chiaroscuro” lighting, invented during the renaissance, means “bright and dark”. Like this shot of tonight:

This kind of lighting means you need to:

  1. Make sure your camera is set to ignore room light. Like 1/125th, f/5.6, 200 ISO.
  2. Put a flash off-camera and drive it with your on-camera flash using light control.
  3. Make sure the on-camera flash does not fire itself (except commands).
  4. Put the off camera fl;ash off to the side.
  5. Put a grid or some such on the off-camera flash to avoid light going “everywhere”.

That gives you creative and modeled, three-dimensional, and above all dramatic light.


Curtain Call

No no – no worries, I am not going anywhere. This is about the first curtain/second curtain setting you have on your flash/camera combination.

First curtain sync means:

  1. the flash fires a preflash to measure the scene
  2. the shutter opens
  3. the flash fires
  4. wait…. the shutter stays open for its designated time
  5. the shutter closes

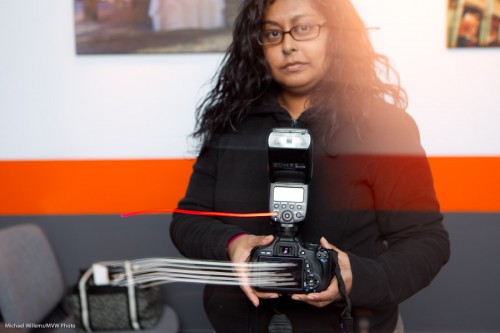
That gives you this, where the student at the School of Imaging class I taught last night is moving to our left in this slow shutter speed flash shot:

Odd. She is moving to our left? Then why is the trail off to the left? Simple – because the flash fired at the beginning of the long shutter speed.

Second curtain sync means:

  1. the flash fires a preflash to measure the scene
  2. the shutter opens
  3. wait…. the shutter stays open for its designated time
  4. the flash fires
  5. the shutter closes

So now the flash fires at the end. That gives you this, a much more natural looking light trail:

So now you know what that does. And no – this does not in any way make the light softer, or the backgrounds better, or anything like that.


Beginner’s Tip

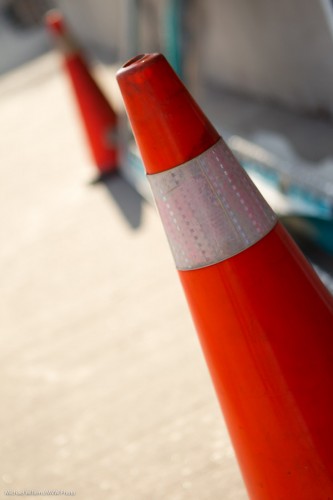
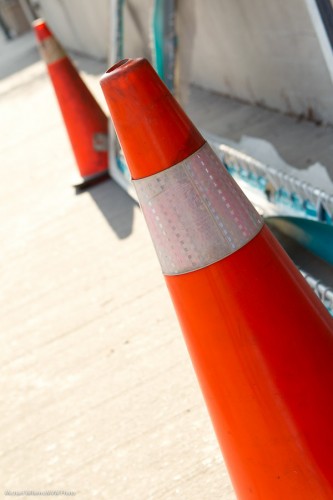
Beginner’s tip: you should want a blurred background to get rid of distractions.

To do this, go to aperture mode (A/Av) and select a low “f-number”). Here, I used f/2.8:

And just to show you what not to do, here I used f/8:

Can you see how much less the subject stands out in picture 2? A whole different picture.

To achieve the look in picture 1, you can also get closer and zoom in more. But you knew that, since you have been reading here for quite a while. Right?


Advanced on-camera flash technique

I usually advocate not doing this:
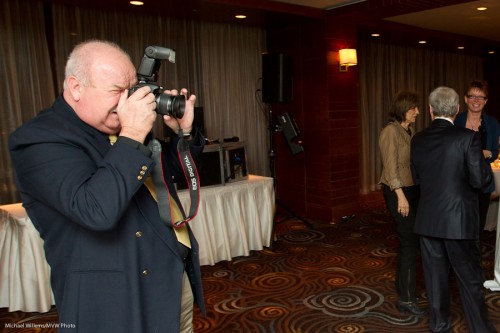
But this instead:
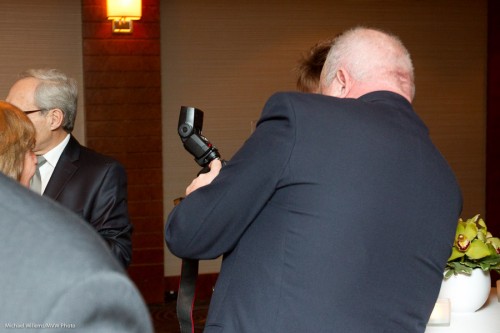
Flash backward, because you want the light to come from 45 degrees above your subject. That’s usually the way, since we usually use wider lenses for people shots, meaning we are close.

However, when you are using a long lens, like a 70-200, then to get to that same 45 degree point, you may have to aim the flash forward 45 degrees.

The problem with this is that with any flash angle that is even slightly forward, some light goes forward, straight from that flash to your subject. So you get this, horrible shadow:

The solution: Flash forward, but use a gobo/card, or even your hand, to shield the inch or two straight in front of your flash. So now the light can still go up to the ceiling, but it can no longer go directly forward to the subject. You could even use a grid but that eats a little more light.

You now get this:
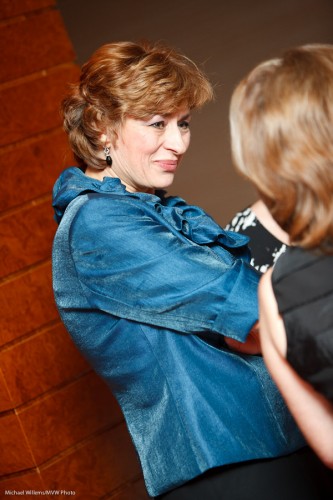
I used my hand here, holding it an inch or two in front of the flash to block the path straight to the subject. Result, a well lit shot!

 

Available Light

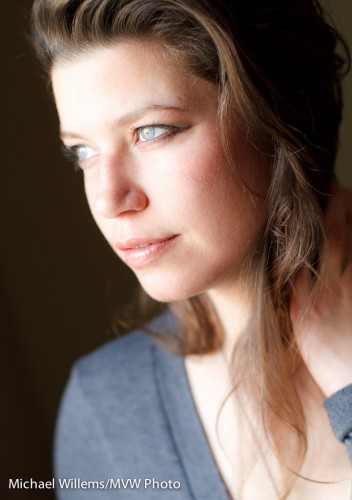
Here’s an available light portrait of the other day:

In a portrait like this, keep the following in mind:

  • Use a prime lens at wide aperture (like f/2.0) to get that dreamy look and to get the ability to shoot in this available light. A fact 50mm is great for that (I used my 50mm f/1.2 lens on a 7D for this shot).
  • Even so, use high enough ISO to ensure a fast shutter speed (say, 1/twice the lens focal length, so 1/100th sec on a 50mm lens). I used 400 ISO here, to get 1/160t sec at f/2.0.
  • Put the person next to a window with indirect daylight – not direct sunlight.
  • Ensure they are low enough for the face to be hit by the “cone of light” that comes from that window;
  • Turn the face toward the light for even lighting if that is what you want.
  • Use a reflector if necessary to open the unlit part of the face.

And that is how you do that. Could not be simpler. Try some!


Lighting

Here’s why you use proper lighting – with flash used for many outdoor shot too.

Say I shoot talented new model Anastasia outdoors using available light:

That is well exposed – but poorly lit. Even on an overcast day, there are shadows; no catch lights: not a great shot.

So now I do it again, with a big flash (a Bowens 400 Ws) with a softbox. I set the flash manually, using a light meter, as follows:

  1. First I meter, using the ambient light meter, for ambient light. I read, say, 1/100th second at f/8 at 100 ISO.
  2. I want the background to be darker than what I will light (remember Willem’s Dictum: “Bright Pixels Are Sharp Pixels”), so I actually set exposure to 1/250th second (still at f/8 at 100 ISO).
  3. I now switch the meter to flash meter mode. I set it to 100 ISO and 1/250th, and fire a test flash while holding the meter in the exact place the model will be. I adjust the flash level until the meter reads f/8.

That gives me this:

I think you will probably agree that this is a much better shot. And the procedure is simple. On an overcast day you can use speedlights too, if you prefer.