Low tech solutions can work, too.

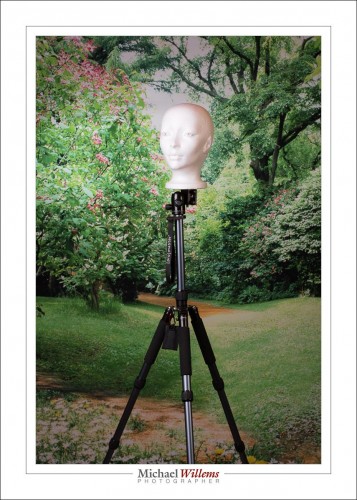
Say that it’s cold out, and you want to shoot a family photo. You would perhaps want to go to the forest, or to a park, to shoot something like this:

(If that’s your family, you have issues).

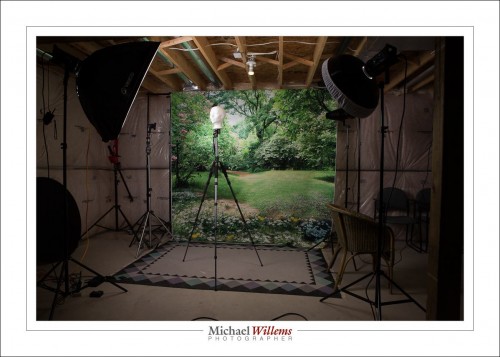
But going back to the subject for a moment: I didn’t shoot this in a park. Instead, it is in my comfortable studio. And I can shoot this during hurricanes, in the rain, in snowstorms, at 3AM: any time I like.

Now there are a number of ways you can do this.

  • Move to a park, and remove a studio wall.
  • Use “green screen”, then add the park in post-work, in Photoshop. (If you do not know how to do this, search for “green screen” using the search field above).
  • Shoot against anything and just laboriously remove the background using Photoshop.

Or there is the “brute force” low-tech way:

Buy a backdrop with the scene on it. Like so:

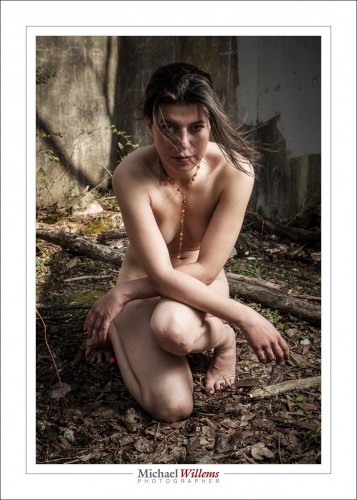
So… if you have always wanted to emulate my “nudes in nature” shots, like these:

…and you  never had the nerve (or have never been able to find a model with the nerve), then I guess I have just solved a huge problem for you. Donations welcome!  🙂


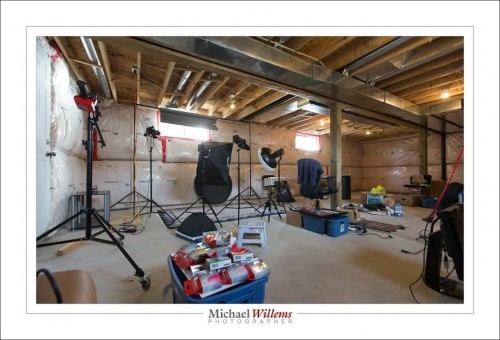
What a mess!

Let’s talk for a moment about your studio.

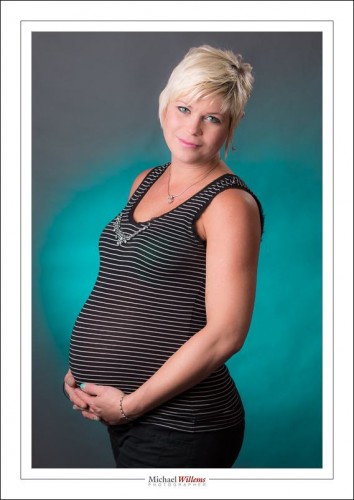
A studio is a space where you make photos like this typical studio shot of Evangeline just days before she gave birth to her son:

That’s straight out of the camera, unfinished.

And where was that made? Right here:

Messy eh! But that does not show up in the photo!

Studio requirements:

  • Large enough
  • High enough (hence my unfinished ceilings)
  • Power everywhere
  • Ability to hang backdrops
  • Ability to have things easily at hand. Things like light stands, flashes, modifiers.

My studio meets all those requirements, and then some. It is one large space, which is what I like most about it.

Sunday, I am doing a Meetup here: a free workshop for would-be pro photographers who live in or around Brantford. Check it out if you like here and want to learn about photography!


Brantford, listen up

Live in Brantford, Ontario, or nearby? And like photography? Then I am organizing a free learning meetup for you! See www.meetup.com/Brantford-Photography-School-Meetup/events/225583551/ and I hope to see you there. Limited space, just 10 people can be accommodated, and it is already half full as we speak. 🙂

I will brief all my readers on what I do in such meetups.  So that even those of you not in Brantford get benefit out of it.  And so that you can all, before long, make photos like this, that combine manual exposure, manual off-camera flash, using the sun as back light, good composition, and deliberate use of flare:

Hope to see y’all Sunday, 11AM. Right here, 48 Wilkes Street:

Logistics: There is street parking available. I will have water; perhaps if you like, bring a bottle of pop or something (of course at paid events, I will always have snacks and drinks available).


Not enough? Then add.

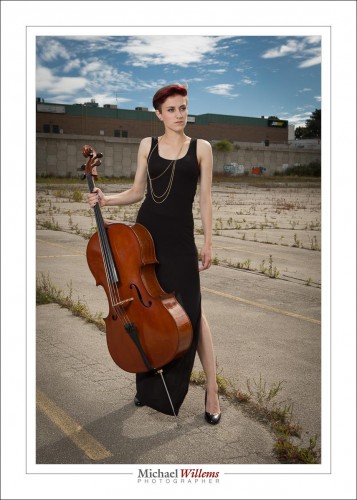
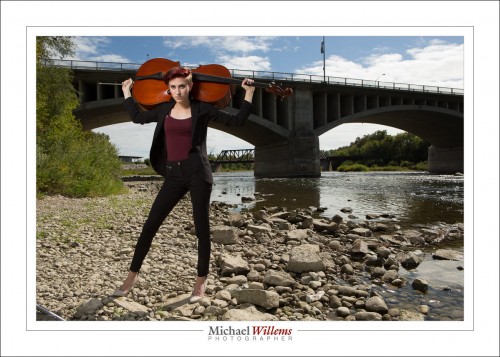
To do a photo like this, just now of talented cellist Kendra Grittani, you need a lot of flash light:

So if one speedlight into an umbrella does not give you quite enough light, you can:

– move the umbrella closer to the subject
– turn up the power
– add more flashes

I did the latter. One more flash at full power on a separate light stand, but aimed at the very same umbrella. It worked. One stop more light.

Pose.

I never say “posing”—instead, I say “positioning”. Instead of :”I am going to pose you differently”, it’s “I am going to position you differently”.

But we do pose. Models pose for a living, and they are good at it. My main model manages to position herself differently for every shot, even after we have done eight years of shooting together, and made tens of thousands of images.

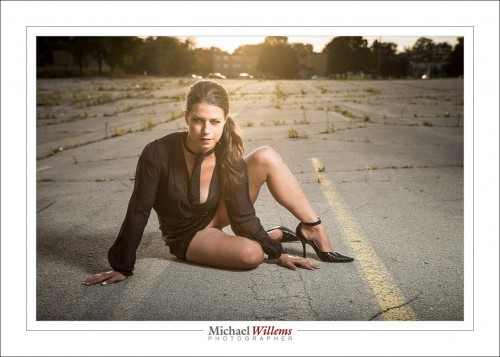
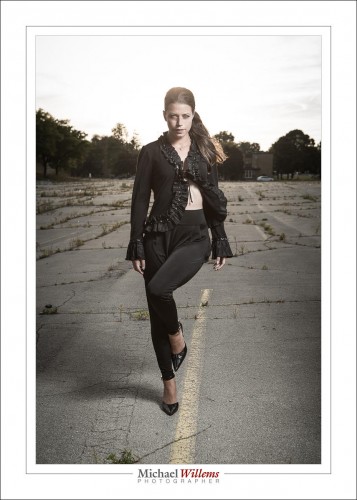
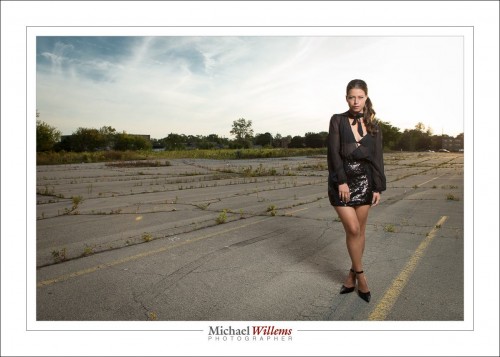
Images like this, yesterday in an abandoned parking lot in Brantford:

(125 ISO, 1/250 sec, f/5.6; 24-70 lens; full-frame Canon 1Dx)

A good model turns toward the light (unless otherwise instructed by the photographer), and changes pose after every click. He or she seldom smiles (smiling causes laugh lines, a.k.a. “wrinkles”.

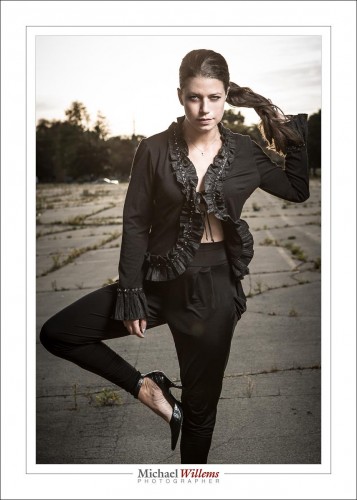
See the Rembrandt Lighting in the image above? One off-camera umbrella on our right, 45 degrees to the side of her face and 45 degrees up from her face.

Another note: as you see I am using deliberate flare in the image above. By shooting into the sun, basically. When you do this, you should probably remove any filters that you have on your lenses. If you can use a small aperture (e.g. f/16) you will get a starburst effect.

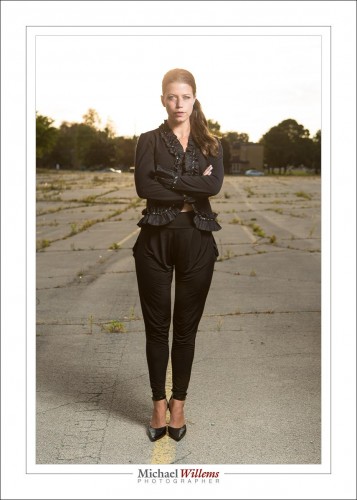
One of my favourites:

That soft shadow: beautiful. And the dark exposure beautifully shows the blue sky. And all I used is:

  • Camera,
  • A 24-70 f/2.8 lens,
  • Two Pocketwizard radio triggers,
  • A light stand,
  • A bracket on the light stand for the umbrella,
  • An umbrella,
  • A cable “from Pocketwizard to hotshoe”.

Easy to handhold and walk miles with. But I drove (remember: car parking lot?).

Flash outdoors rock, in case you have not picked that up yet from my writings.


Deal

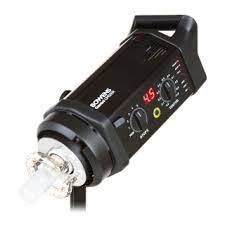
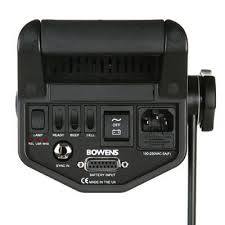
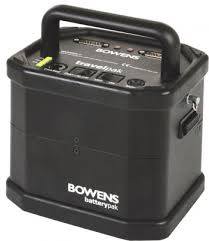
DEALS – DEALS – DEALS! A good friend is selling photo equipment. Here’s the next lot. If you are interested, let me know and I will forward your email/message to the seller immediately! (I love the Bowens lights, I use them too; and just for the record, I am not profiting from this sale in any way)

FOR SALE: Bowens Gemini 500/R TX UM/SB Kit with Battery – Lighting Kit

In mint condition. Used about 6 times. Bowens Gemini 500/R TX UM/SB Kit with large Bowens travel kit battery, 2 strobes and stands, softbox, bag, spare 3 meter cable, 3 year warranty and quick ring for softbox and upgraded to Westcott 45″ white satin w/black removable cover umbrella. Great for on location shoots – powerful. Paid $2600 in Sept/14. Asking $1900.

___

Email me at michael@michaelwillems.ca


Kiss

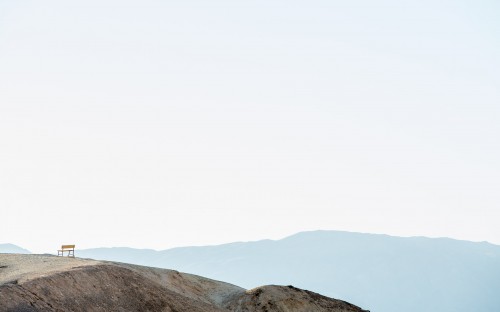
Keep it simple. A theme you have heard from me many, many times. Simple, like this picture, of Zabriskie Point in Death Valley, that uses “negative space”:

“Negative space” does not necessarily mean there’s nothing in the picture. It means there is “no further information” in most of the picture.

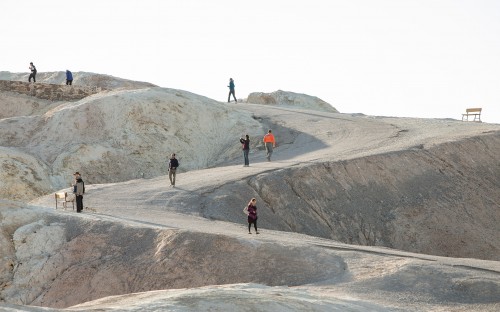
Nor does “simple” mean there is nothing:

Simplicity simply means that everything that is in your photo is there because you want it to be there; because it helps tell the photo’s story. If it doesn’t, it should not be in the picture.

It’s as simple as that.

___

Michael writes photography learning books: his seven e-books are available at http://learning.photography.


Magic

There’s several magic formulas I will teach you if you buy one of my books or come to a course here or at Sheridan College. Or if you, like today’s student, arrange a private training session with me. Well worth it: individual teaching of exactly what YOU need to know.

So here’s an example from today’s training session. Here is today’s student, three times (you may want to click to enlarge):
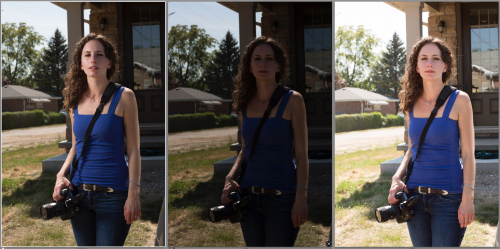
  • Photo 1: The magic. Flash. Flash into an umbrella on our left, set to “full power minus 1/3 stop”. Camera uses the magic starting point of: 100 ISO, 1/250 sec, f/8, in order to expose for the background.
  • Photo 2: Same exposure settings, but no flash.
  • Photo 3: Also no flash, but now exposed for the person.

In all three photos I got one essential need right: the sun is behind the person and thus becomes the shampooey goodness light (a.k.a. the hairlight).

But then, the differences.

As you will agree, the flash photo shows a real person. The face is not dimensionless and flat. I can get creative: I can position the umbrella to create split lighting, as I did here, or I could move it more towards me, to get first Rembrandt lighting, then loop lighting, and eventually butterfly lighting.

In the non-flash photos, the face is flat. So is the entire person, her clothing, etc: it’s all flash and featureless.

Also, in non-flash photo 1 the sky and the saturation of the background is fine, but the person is a shadow.  In the second non-flash photo, I exposed for the person—but now the background is overexposed, causing it to lose definition and saturation.

What do you need?

  1. Light stand
  2. Bracket to mount the flash and umbrella onto the light stand
  3. Umbrella
  4. Two radio triggers (I use Pocketwizards, the simple, non-TTL type)
  5. A cable to go from Pocketwizard to flash (see www.flashzebra.com)

And that’s it. Except for the camera, of course. So get the gear mentioned above and use the magic formula for outdoors/bright day (100 ISO, 1/250 sec, f/8; now vary just the aperture), and you can do great creative work.

___

Footnote: A friend in Burlington, Ontario is selling all her camera gear. Look at the list below and if there is anything you like, email me with “GEARSALE” in the subject line, and I will forward your email immediately.

Here’s her list:



The studio

A studio is all about convenience, I find. I can work without one, but in a studio I have everything set up and ready to go. This is my Brantford studio a day ago, before I had finished tidying:

Notice that a studio need not be tidy. It needs to be well organized, large, and it needs all the equipment ready to use. All the equipment being

  • Cameras and lenses
  • Backdrops,
  • Many small flashes, many strobes
  • One or two hotlights (for video)
  • A host of modifiers
  • Light stands
  • Reflectors
  • Gadgets, like brackets
  • …and so on.

In my studio, I have two stations set up permanently. One for traditional portraits like this:

(Standard Studio Setting: 100 ISO, 1/125 sec, f/8)

And one for edgy portraits like this, of my friend Adam pretending to be a pregnant woman:

(Standard Studio Setting: 100 ISO, 1/125 sec, f/8)

So do you need a permanent studio? Of course not. But it sure makes life easier and shoots faster to carry out. And it takes the guesswork out of photography.

My Brantford studio is now open for individual and class training, and portraiture. Just 20 minutes west of Hamilton, Brantford is centrally located, between the GTA, London, and Kitchener/Waterloo/Cambridge/Guelph. Come see me if you need a portrait for LinkedIn, a family portrait, or any form of photography training.


Photosensitive

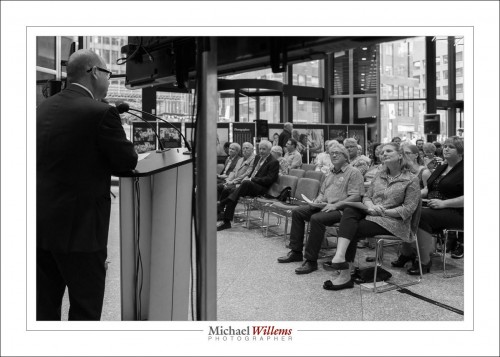
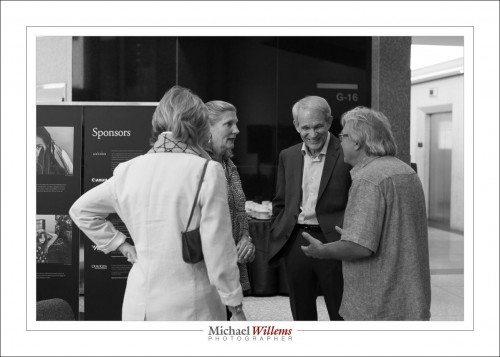
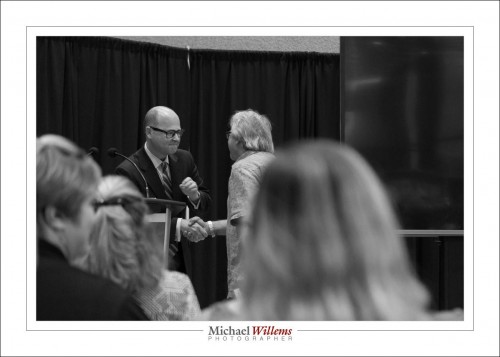
Tonight, I attended the 25th anniversary of Photosensitive, a collective of Canadian photojournalists.

I am honoured to be a member of Photosensitive, and I have contributed to the last two Photosensitive projects, “Picture Change” and “Aging”.

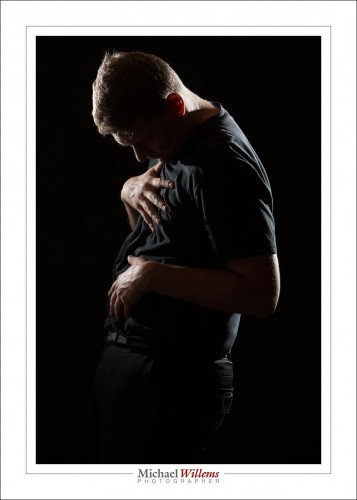
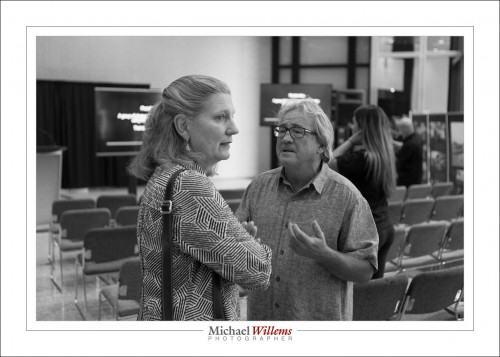
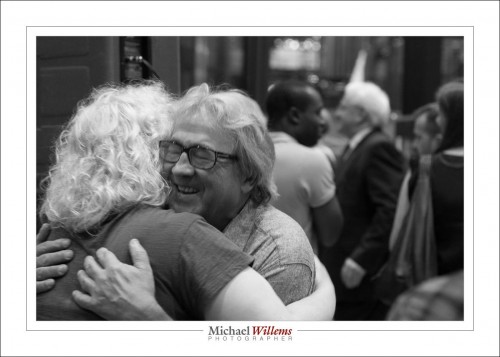
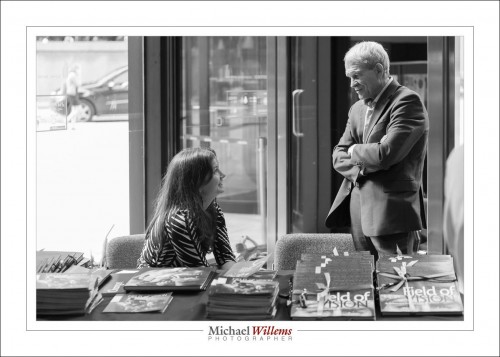
A few pics from tonight:

One lesson: don’t be dogmatic. No flash here; I merely used 1600 ISO, f/2.8 at 1/100 sec. When you work it out (which I will leave to you), that’s basically two stops brighter than 400-40-4, which makes sense, Normally, if I used a flash ambient would be –2 stops; this time, ambient has to carry the photo, so it’s two stops brighter.

Photosensitive does everything in black and white.

I used only available light and my 24-70 f/2.8 lens. Why? To shake it all up a little, that’s why!

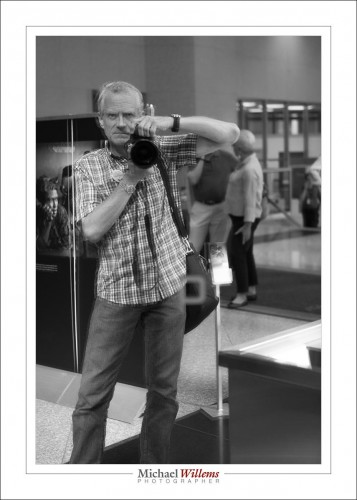
Me in the mirror…:

Black and white rocks for this sort of work. Look at the photos at full size.