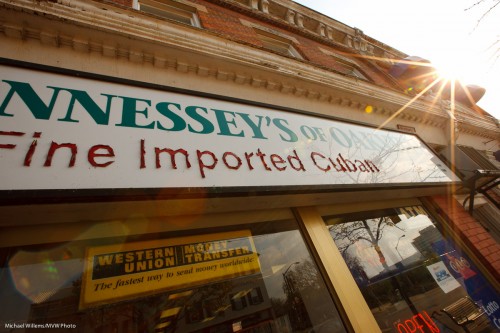
How do you create a “star burst” effect, like this, top right?

Fine Cuban (Photo: Michael Willems)

You will want to edge or window the sun or light. But the most important technique is very simple: use a small aperture (a high “f-number”). I used f/22 in this shot (and that gave me 1/50th second at 200 ISO). During the day, that’s all very well, but at night you need to make a conscious effort to get to a small aperture. Meaning, you will need to use a tripod.

In addition, you probably want to avoid to much flare. Take off any filters you have in the front of the lens. “Protection”, “UV”, etc filters introduce extra flare when conditions are tough, like here.

Also, make sure your lens is clean.

Yet another few little factoids to store away in your knowledge base.


Stick around with me and I promise many more – and for new readers, do consider reading the entire archive here – or quicker, come in for a course or coaching session. Remember: photography is time travel. Capture a moment, or lose it.

 

New opportunity…

…namely, my new online store, learning.photography, which is now fully operational:

To celebrate this, I am giving my faithful readers here a very special discount code for a week: 15% off. On the last checkout screen, enter discount code newstore and you get 15% off. Only until 7 May, and only for faithful readers and followers!

Check out the store. Books, training and seminars; photo shoots, photos: an expanding range of services and products. Tell me what you think.


Credit! Yaay!

I get asked regularly to work “for credit” because the magazine or publication or event is “unable” to pay for photographers.

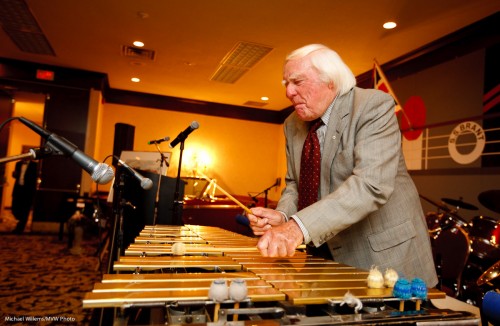
This image of Peter Appleyard, a large jazz festival wanted it. Large meaning hundreds of thousands of dollars in budget. Tickets cost $100 each. Supported by all levels of government. But when I asked for compensation, they said “oh no, we are unable to pay for photography”.. and they did not use it.

Here, that image again, this time stolen by a site called All About Jazz (click on the image to see it there):

Two things. First, “credit” has never led to any work by anyone for anyone. It’s nice to add to your portfolio, and I would not mind having a Guardian, NYT, or NatGeo byline, but it never actually leads to money.

And money is what I need to eat, and to learn, and to buy tens of thousands of dollars of equipment, and for gas to put in the car to get to shoots, and to buy memory cards, and to buy a new hard drive every few months, and to buy computers, and… you get it.

A post that puts it very well, so I do not have to repeat it, is here:

So This Just Happened

You should probably read that the next time you want to use a “free” photographer.


Light and lines

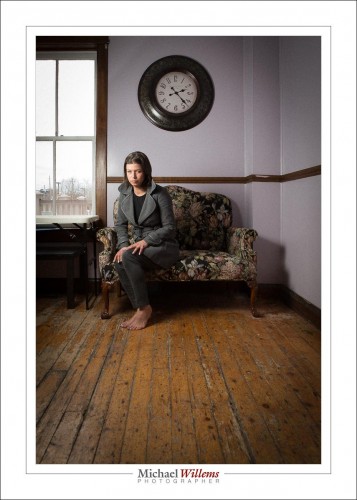
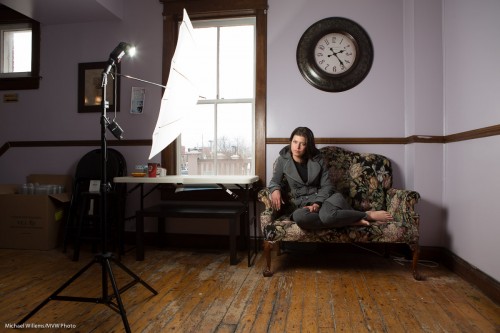
Shot of the day: Impatient Young Woman in Somewhat Victorian Setting, 26 April 2014 in Whitby, Ontario:

Canon 1Dx, 24-70 lens,. 200 ISO, 1/200 sec, f/5.6

A shot like this requires a few decisions.

One: the light. Available light? Easy, but if I want the window in the picture, it is difficult, because the model will be dark, or the window blown out. So I add a flash, so that I can get both done. I use an umbrella so that I get soft light, and I position it carefully to emphasize the subject. and not over-light the background. Meaning, close to the subject.

Then, the lens. Close, or wide? When I see lines like the lines on the floor here, I want to make them into converging lines leading to the subject.. so I use a wide lens. This gives me a wonderful composition where the environment plays a definite role.

The composition: I want to include that floor, but also the clock and part of the window. I want to use the Rule of Thirds. Knowing that, the composition falls into place.

The setup was like this:

The flash was fired with Pocketwizard radio triggers, and was set to MANUAL mode, at one quarter power. I can meter that with my flash meter, or use experience plus trial and error. Moving the flash 40% farther away is one stop less light; 30% closer is one stop more. (Why those numbers, math buffs? Answer after the line.)

Finally, post work. In this case, I think colour is called for:it adds to the image, so no black and white conversion is needed. I add a slight vignetting perhaps, and I straighten the verticals if needed, and if I get the settings right (which I did), then not much else is needed.

Continue reading

Engineers, and Thought For The Day.

If I were an engineer, I would use normal language.

Wait. I am an engineer. and I do use normal language.

But I am unique in that, it seems. Alas, the camera makers tend not to. Take this example. If I had a focus mode that does continuous focusing, I would call it “continuous focus”. D’oh. But if I am a Canon engineer, I call it “AI Servo”, because I assume that everyone knows that “AI” means “Artificial Intelligence”, and a servo-motor is an accurately controlled electrical motor with built-in negative feedback loop and positional awareness. Sigh. And we wonder why 90% of SLR users haven’t a clue how the SLR works or what it does?

So when your manual makes no sense, do not despair. It is not you. It is the manual.

What you can do is, of course, take one of my courses and read my e-books (see learning.photography, my new e-store; and yes, I would love feedback on that store please!). Or you can learn by reading this blog back to front. Or by figuring it all out yourself. Just remember: it’s not that complicated. It is often enough the jargon and the assumptions that “of course you know that” that makes this stuff complicated. Bear with it: you can learn pro skills!


Towards The Light.

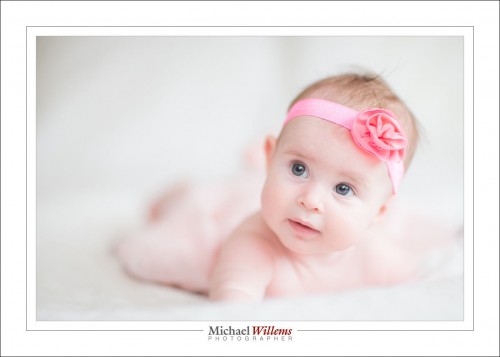
Baby pictures like this, taken just now, are nice, no?

Typical available light, right?

That’s what you might think. But no. Well, yes, but both flash and available. Bounced flash at +2 stops flash exposure compensation, while 800 ISO, f/1.4, 1/20th second also gave +1 on the meter. Without the flash, it would have been too dark on the non-lit side.

Back to my shoot!


Summer. Not quite yet.

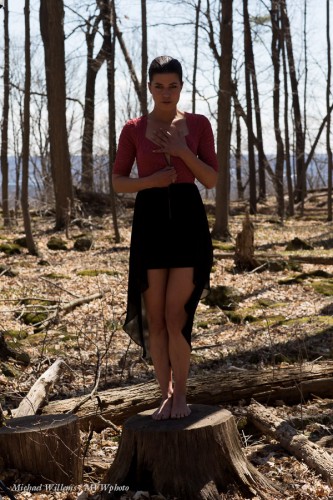
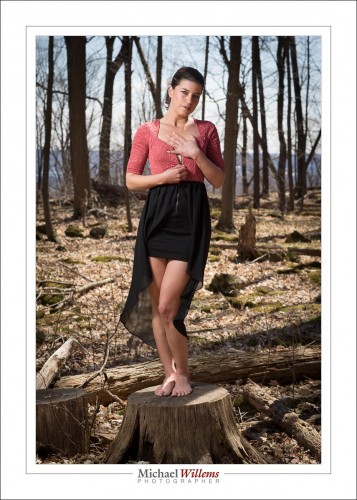
…but enough sun to shoot outdoors. So here was the outside today, in an Ontario that is still devoid of leaves:

Exposed for the background, that is 100 ISO, 1/250 sec, f/7.1.

Uh uh: obviously that does not work. What is the solution?

There are at least two solutions I could choose.

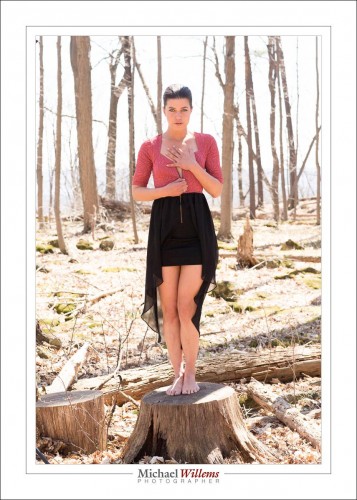
First I could brighten it all. There are many photographers who only do this and it is not a bad solution. It leads to images like:

That is not bad, but what if I wanted to see the background darker? I like to make my subjects the bright pixels. Bright pixels is where it’s crisp and clear.

So the other solution, and you knew it: use a flash. If I shoot into an umbrella, I can get the flash close enough at half power to achieve this:

And that is how I do it.

Notes for this: I used an umbrella to shoot into. Using pocketwizards, I fired a 580EX flash at half to full power (I usually avoid going over half). I used a sandbag on the light stand, but even then it can blow over.

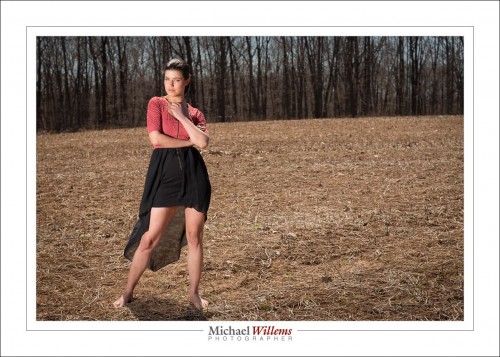
Later, I had to go direct. In this field:

100 ISO, 1/250 sec, f/8.

Why did I go direct? Because in an open field, an umbrella would be blown over even with a sandbag on the light stand. Sometimes it is that simple!

And as said here before: direct, unmodified flash is fine, as long as it is nowhere near the camera!


About exposing to the right

If you look at the ARTICLES above, you will see one about “exposing to the right”. Read it. And perhaps remember this as a “take-home” outcome:

Provided you do not actually overexpose any of the channels (Red, Green Blue), you can always reduce brightness in all or part of the image in “post”, and as a result of doing this increase the quality compared to shooting it darker in the first place.

That is why we expose to the right. I am not advocating doing this all the time, mind you: it would mean post-production work all the time, and we are photographers, not graphic artists. But sometimes you simply do not have the time to put up lights.

Like here:

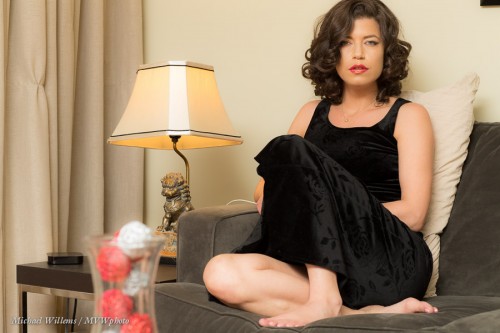
When I shot that, I knew I would want the ambient light darker. But that would have meant getting out the softbox, boom, pocketwizards, and so on; and that simply was not practical at the time. So I shot like in the pic above, knowing that I could reduce—not increase— exposure in part of the image later by way of masking or vignetting.

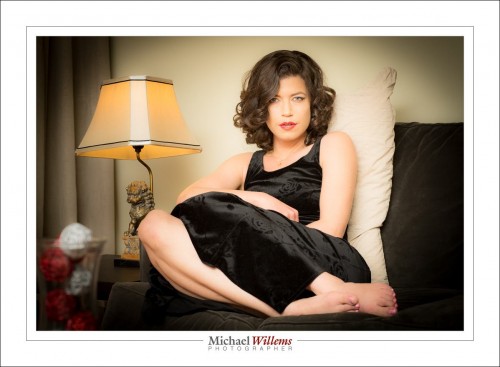
With a little work, and I mean a little (perhaps a minute or two), that gives me something like this as an end result:

Now again, of course it is much better to actually shoot this way. But when you do not have a choicer, expose as highly as you can without overexposing either of the three primary channels; then, reduce locally later to taste.


EASTER SPECIAL

EASTER SPECIAL, ONE WEEK ONLY: my four e-books all for sale at a special reduced price. 25% off each book, or 50% off if you buy all four, This week only.

Four e-books to cover many aspects of photography. Photography is not difficult. Amateur or pro, you will benefit from:

  • Mastering Your Camera
  • Impactful Travel Photography
  • Advanced Flash
  • 52 Photographic “recipes”

See www.michaelwillems.ca/Book_Special.html and learn the secrets of professional photography—today. Act Now: This special is only valid for one week, after which prices will revert to their regular level.