Looking for Textures

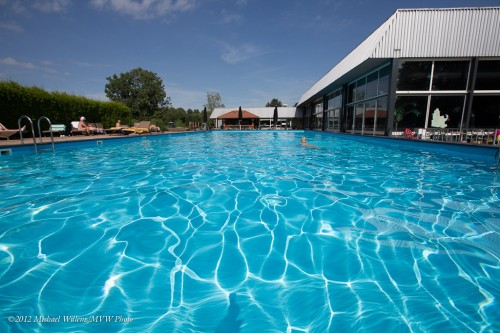
A shot from a shoot I did the other day for a magazine shows how important textures and patterns are:

Without the wonderful sun/wave texture, the picture of such an uncharacteristically nice day for the Netherlands would have been rather boring.

We find textures and repeating patterns everywhere – when I am a travel photographer, I make a point of looking for them.

In this case:

  • I used the wide angle lens
  • I pointed it down to give me that feeling of being surrounded by the water.
  • I exposed carefully, down a little to get the saturated colours.
  • Using a wide lens allowed the entire picture to be in focus even at f/5.6.

The lens also served to make the people in the shot small and hence unrecognizable, which given that they are nude is probably a good thing.

You see that even for a picture like this, some thought goes into it. Ask yourself questions and you will come up with the answers!

Flash!

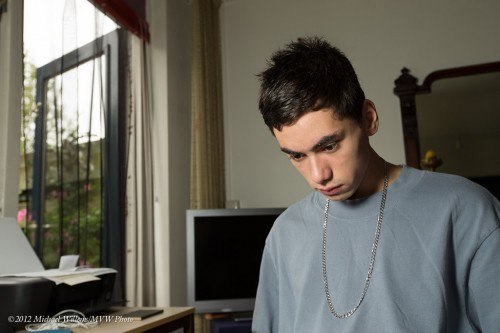
Here’s a flash with a small 8″ Honl softbox:

Sometimes, bouncing is not the solution. For a snap like this, you would:

  1. Decide on the desired brightness for the background
  2. Set your aperture, shutter and ISO accordingly
  3. Turn on your off-camera TTL flash
  4. Hold it “where the umbrella would be”
  5. Click.

The key here is to use an off-camera flash – even in a simple snap of your child, this would lead to a better simple snap.

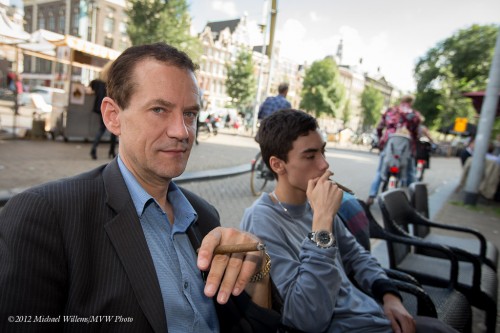
Here’s one with direct unmodified on-camera flash, of me and the same son smoking a cigar in Amsterdam (better than the alternative):

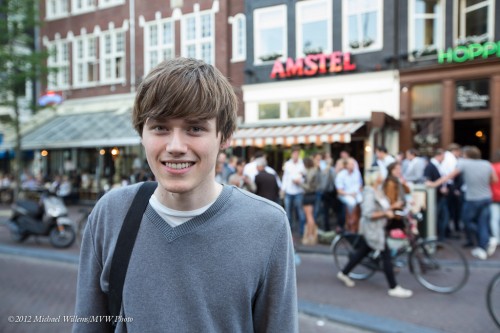
And sometimes you just use open shade only, as in this image of my other son in front of Café Hoppe in Amsterdam:

The important thing is to always think of light – “what do I need”.


Moment

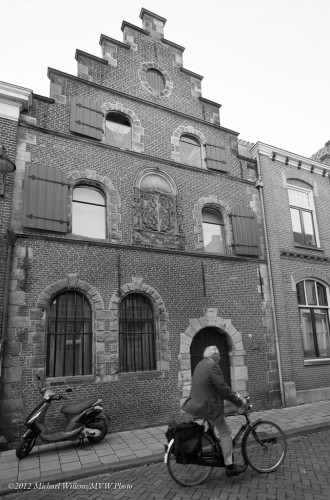
Can you see the decisive moment, in this shot of Schoonhoven’s corn storage house, designed hundreds of years ago to stop famines due to freezing corn?

Right. The man’s head in the arch. You need to pay attention to these details: moment is important.

Back to my expensive bandwidth.


Distillery

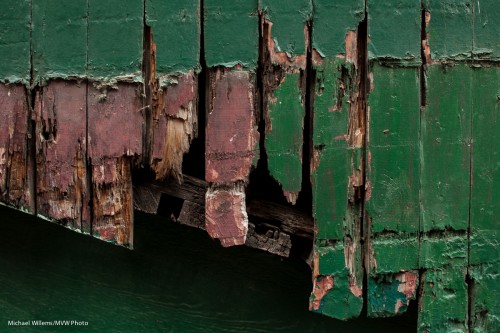
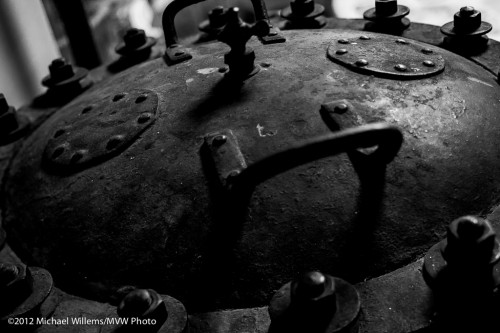
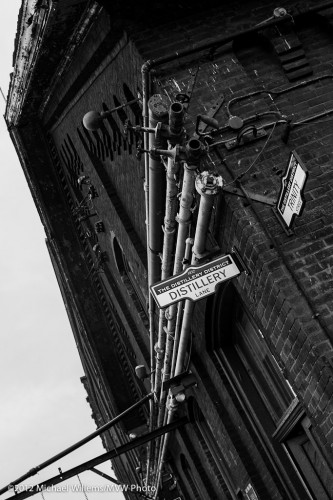
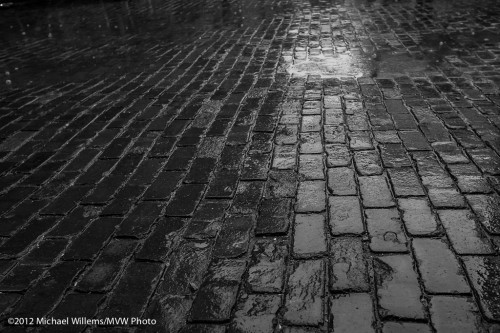
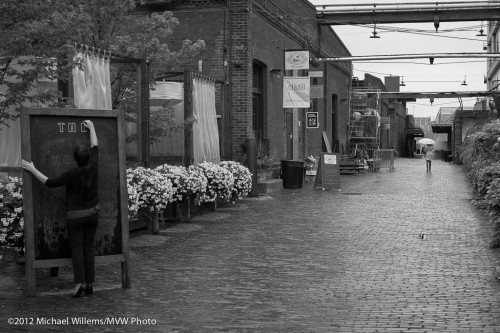
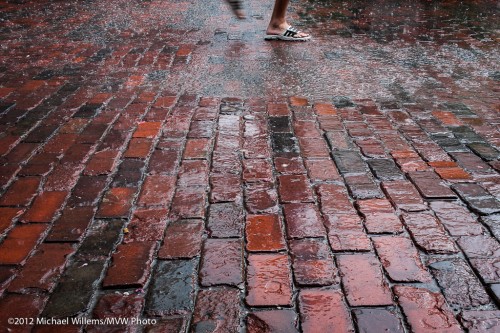
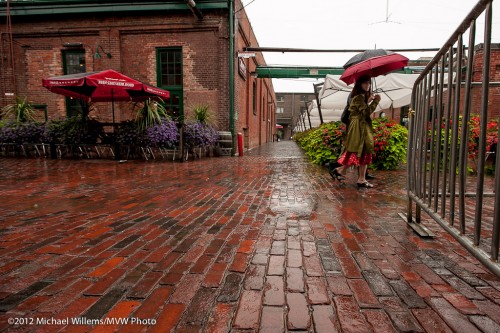
Today, a few more shots from The Distillery Historic District in Toronto. This time, decay, remnants.

I often find to helps me to think “what is my theme”, when I do urban photography. And as you can see, the theme for today’s pictures was “remnants”. The passing of time, if you will. This fits well with

  • Rain
  • Sombre black and white images.
  • Contrast (the shot with the pipes uses a blue filter effect).
  • Detail shots.
  • Lone items, no people.

When you have decided your theme, see what kind of photography would suit that theme: and things fall into place by themselves. Pretty much.


I am on a trip

You can guess where.

Today, no lesson, just snaps:

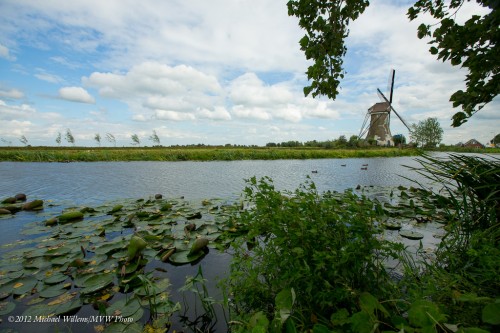
Haastrecht and the Rule of Thirds:

Gouda, by the St Jan cathedral:

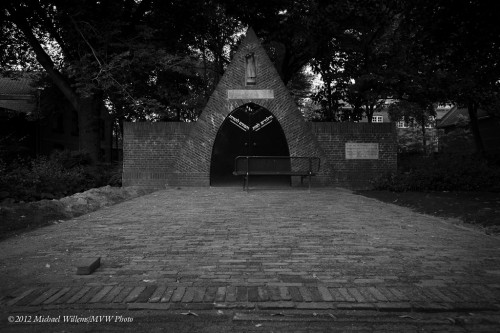
Behind it, the sombre Jewish Cemetery:

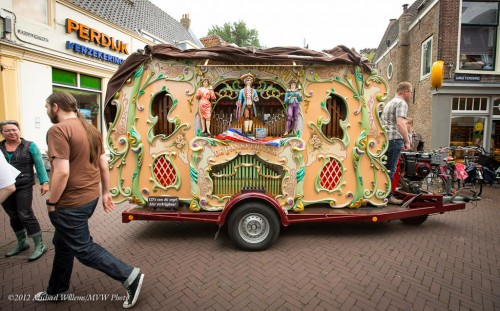
On Kleiweg, a traditional street organ:

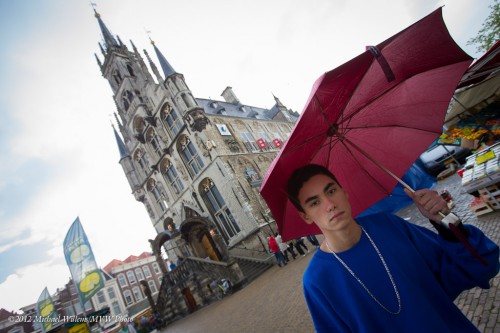
And my son Daniel at Gouda’s Town Hall, in the rain:

Yes, wide angle lenses rock; yes, you can use them in the rain; yes, you can tilt; yes, you look for storytelling details, and yes, exposure is critical – shoot RAW. And yes, use the Rule of Thirds.

And yes, most of these images would have been much easier if I had had my speedlight on the camera.

And finally, yes, even no-flash grab shots can be worth taking. Document your life!


Peripheral People

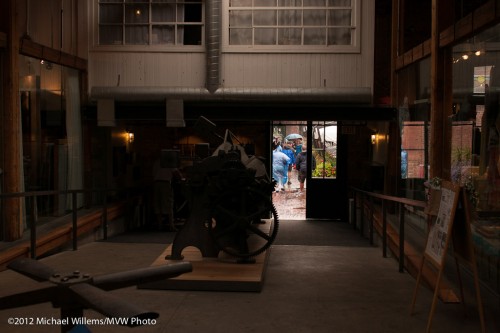
Today, a few more recent shots from The Distillery in Toronto.

This time, showing the interaction between people and The Distillery. But in a way where the people have only a “sideline” kind of importance. They are almost peripheral to the streets and buildings, and rather than masters, they seem to be merely tolerated by the eternal.

When shooting, it pays to think “what am I shooting”. If you can answer that, you will be able to produce photos that depict what you are trying to say.

As Yogi Berra said” if you don’t know where you;re going you sure won’t get there” (everything witty and true in America was said by either Yogi Berra or Mark Twain).

So decide where you are going, and get there.


Roller Derby II

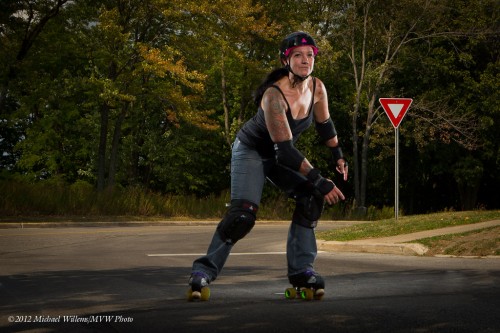
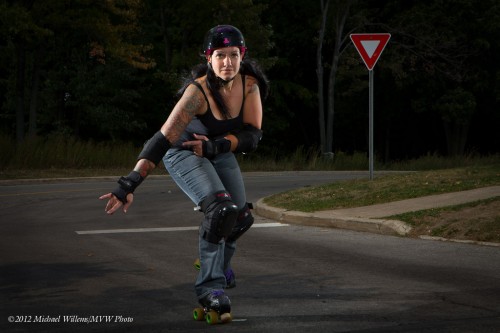
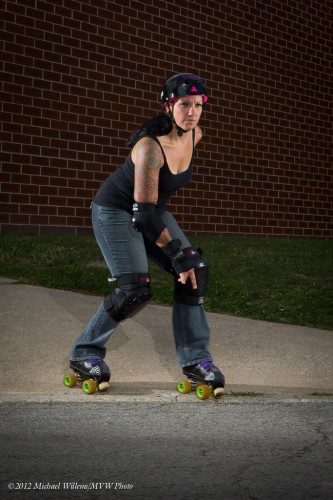
Here’s the Roller Derby Chick again, from the Niagara School of Imaging course i taught:

To give you specifics: those were taken at 200 ISO, 1/250th sec, f/16, with the flashes about 6ft away on each side, set to quarter/half power.

  • Q: Why is the second one darker? Because the sun disappeared.
  • What could I have done to get the background brightness back? Reduce the shutter speed. Not the aperture and ISO – those would also affect foreground.
  • How do I focus? I prefocus, then set to manual focus.
  • How? By aiming at the “X marks the spot” piece of masking tape.

Simple, once you realize how it is done.


Are you in the Netherlands or nearby? Sign up for my flash course in Rotterdam on sept. 1: seee www.cameratraining.ca!

Fun with lights

As regular readers here know, you can use speedlights for cool edgy shots that look photoshopped. Like these, taken today at my 5-day course at the Niagara School of Imaging at Brock University:

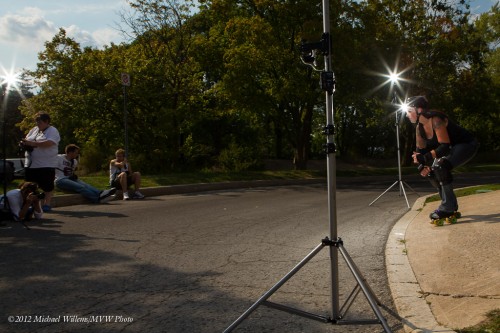
Those shots need you to take your time setting up, because you need equipment. But it can be simple equipment. like:

  1. Two lightstands with four speedlights driven by Pocketwizards: one right, one left, slightly behind the model. No modifiers.
  2. A lightstand with one speedlight, driven by Pocketwizard, behind the photographer. No modifiers.
  3. A pocketwizard on the camera to drive it all.
  4. You set your camera to ambient minus 1-2 stops, eg 200 ISO, 1/250th second, f/16.
  5. You set the speedlights to whatever power level you need to achieve f/16.

Like this:

Of course you need the brackets and cables and ball heads that are needed to connect the equipment together. But that is not rocket science.

Have a go – or come take one of my courses. Flash is wonderful light!


Technique and Simplicity in a shot

This is one of my students in today’s class at Niagara School of Imaging (held at Brock University).

Awesome, no?

How did I shoot that? Simple.

  1. A camera set to manual; 200 ISO, 1/200th sec, f/8. This makes the background go away, and 200 ISO and f/8 is enough to make the background look dark (it was a normal classroom).
  2. My 24-70mm lens.
  3. A Pocketwizard II Plus (Tx) on the camera.
  4. A second Pocketwizard II Plus (Rx); connected via a Flashzebra cable to a Canon 580EX II flash (any flash will do).
  5. The flash set to manual power, 1/16th.
  6. This flash is on the table, on our right; with no modifiers at all, aimed straight at the subject’s face.

Once you know, it’s simple. 1/16th power was my first guess, and it happened to be right. If it had not been, I would have adjusted.

Simple can be good enough – it can be great!


Trixies

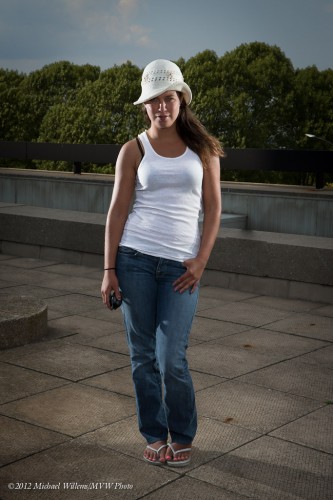
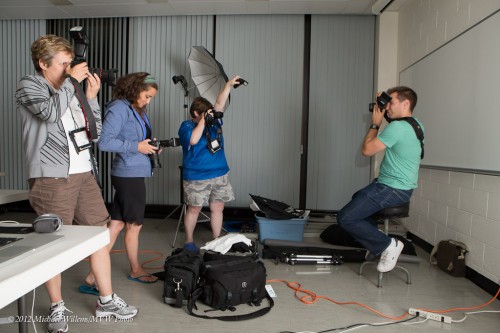
Some students today, at my five-day “Demystifying Digital Flash” workshop at Niagara School of Imaging:

Here an example of a simple one on-camera flash high key portrait: one flash on the camera aimed behind the photographer. And flash exposure compensation +2 stops.

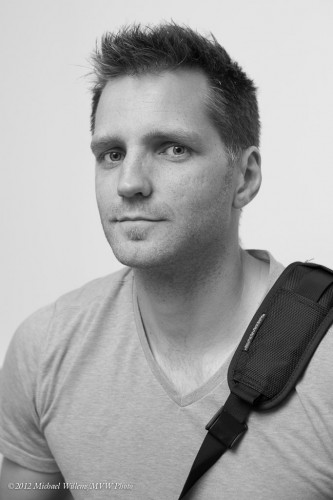
Here is another student:

Now I convert it in Lightroom to Black and White using the BW setting.

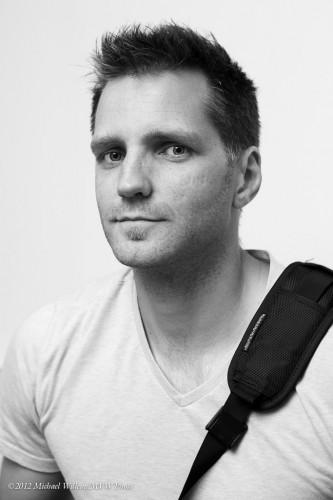
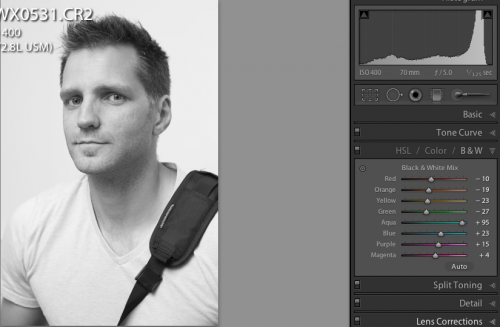
But wait. I wanted high-key? Then in Lightroom I can change the weighting of the shirt’s sea-green colour up by a few stops:

I do that as follows: I select the BW dropper, put it in the shirt area, and drag UP:

Here is the finished shot:

Powerful and simple: high key even if the subject was not wearing a white shirt. We made it white!