Landscape

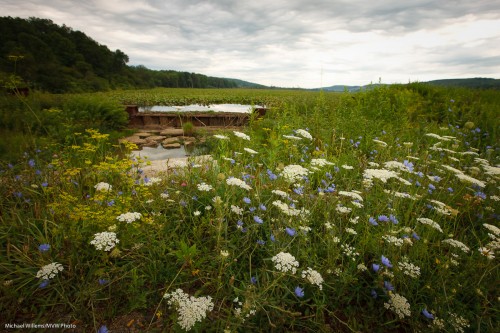
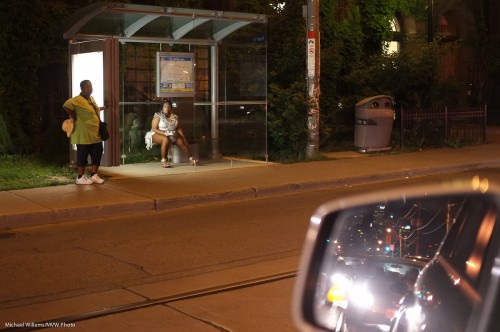
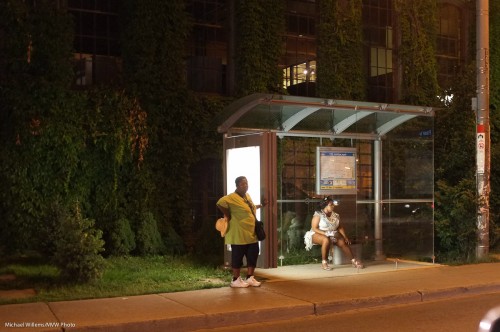
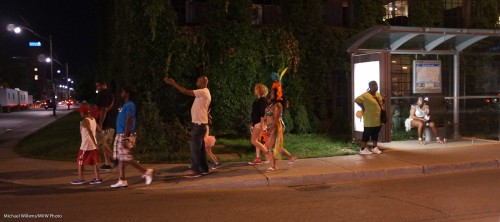
Why use wide angle lenses for landscapes like this?

Machias, NY (Photo: Michael Willems)

For various reasons. I have gone through them repeatedly, but here again, all at once:

  1. The wide angle lens gives you a feeling of being surrounded by the environment. That is because of simple geometry – if I look left, lines I am travelling along will look horizontal, while ahead of me they look vertical.
  2. I get more in.
  3. I can get depth into the image (get close to something and you get the “close-far” depth effect).
  4. It is easier to focus on “everything” – the wider the lens, the more extended depth of field.
  5. It is easier to shoot slow – a 200mm lens may need 1.200th second to be sharp, while a 16mm lens may be able to do a sharp picture at 1.15th second.

That’s why I always carry my 16-35 lens (on a full frame camera).


Excuses, excuses. Eat!

Every time I have dinner, I try to use that as an excuse to do some food photography, before I eat it.

And often I can. In those cases, as on the evening of August 10, I do the following:

  1. I whip out my 35mm or 50mm prime lens;
  2. I go to manual or aperture mode;
  3. I set a very large aperture – a small “F”-number, like f/2.0, or in this case, f/2.5;
  4. I compose carefully, to remove distractions. So I tilt, get close, move things, and blur out backgrounds, all to get a simple image;
  5. I get close! Cutting off half the plate is good. Fill the frame!
  6. But I include some of “plate, fork, glass”: things to indicate that this is food in a nice setting.
  7. I expose well, ensuring a fast shutter speed;
  8. I turn the plate, or reposition the food on the plate if needed;
  9. Ideally, I want open, soft light, and backlight. So I reposition the food to obtain that, if at all possible.

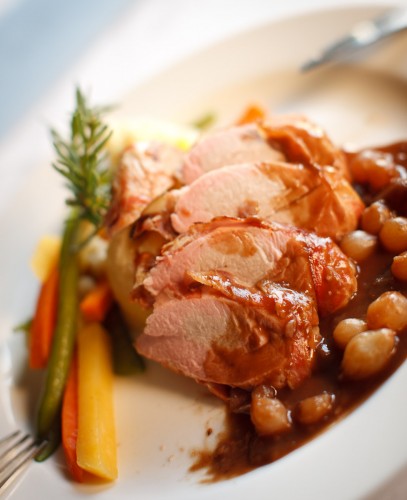
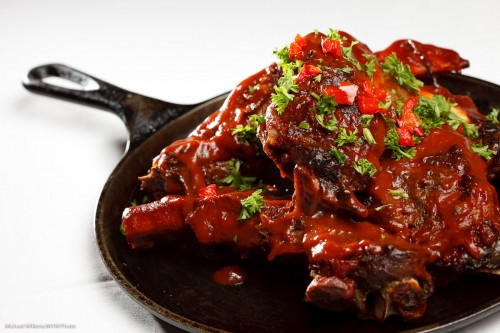
If I do this right, I now get this:

Pork Tenderloin ( ©2011 Michael Willems Photography)

And then I eat (Pork Tenderloin – yum).

And while the food lasts mere minutes (knowing me, seconds), the image lasts forever. I thus see restaurant food as an investment. I eat, and I get a stock photo into the bargain.


Trivia Question of the day: Why a “Stop”?

Q: Why is a stop called a stop?

A: Because on older cameras, the adjustments for shutter and aperture would “click”, ie come to a stop, for each halving or doubling of the light. Say from 1/125th second to 1/60th, or from f/8 to f/5.6. Click – click – click. This made it easier to adjust your exposures a known amount, just like a guitar with frets is easier than a violin with “continuous” adjustments.

Oh and bonus question:

Q: Why f/2.0, f/2.8, f/4.0, f/5.6, f/8.0, f/11, f/16, and so on?

A: First, note that it is not “f 8”, but “f/8”, meaning f (the focal length) divided by the subsequent number. And like the “main” shutter speed numbers, these main aperture numbers are also chosen to give you double, or half, the light with each subsequent number. And to halve the light coming through a circle you need to divide the radius not by 2 (that would give you a quarter of the light) but by the square root of 2, or 1.414. (Since area = Π r ²). So the ratio between these funny numbers is that, 1.4. Meaning each larger number (because we are dividing by this number) gives you half the light entering the lens.

And

Yesterday

A student took this snap of me yesterday:

Photographer Michael Willems

He did this as follows:

  • He used his Canon 60D with my 50mm f/1.2 lens.
  • He used his new 580 EX II speedlight, bounced off the ceiling behind him.
  • The camera was set to manual exposure, f/5.6, 1/30th second
  • He selected 400 ISO.

Typical “indoors flash” settings.

The 50mm lens was set to f/5.6, so that means you could have done the same with any lens in the range of 50mm. This kind of lens length (meaning 80mm on a full frame body) is great for portraits. Which is why the 50mm (crop body) or 85mm (full-frame body) are such popular lenses.

If you do not yet own a 50mm prime lens, go get one. 50mm f/1.8, or if you can afford it, f/1.4 – or go all the way as I did, and get the 50mm f/1.2, but you will not using it at f/1.2 much.


Classy!

Fuji – I love your X100 camera.

I also love Fuji’s Canadian outfit. Who just sent me a certificate for a free 13×20″ mounted art canvas print, just for buying the X100!

And who iterated their service level: it is free, and better than Canon Canada’s CPS (which I no longer use because it costs money).  Fuji promises two hour email/phone support. Two business day repairs. Free shipping. Loaners if repairs take time. Wow!

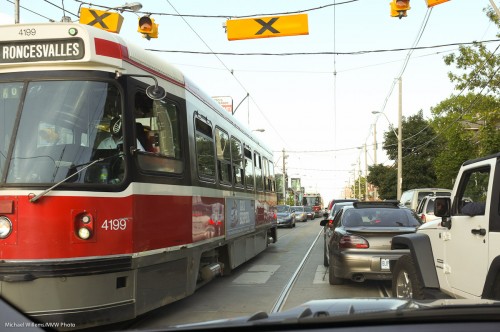
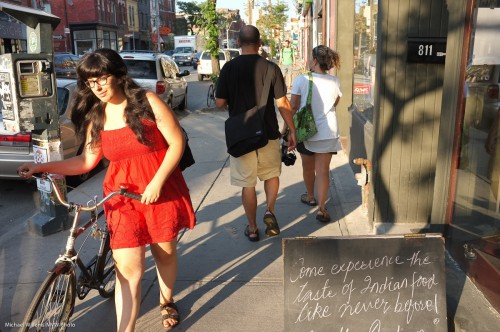
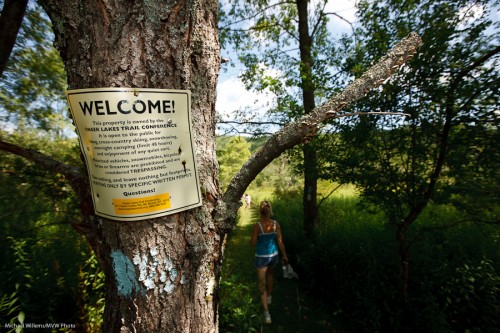
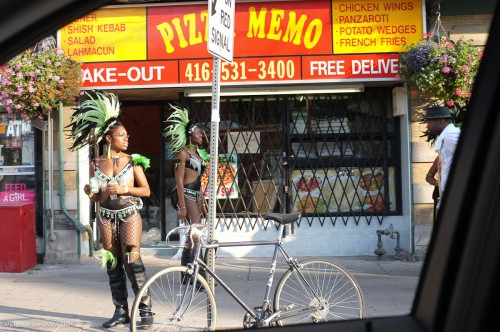
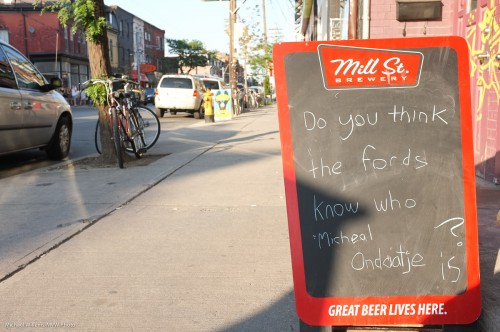
Here’s a few more snaps taken with this little camera recently in Toronto and Niagara, respectively:

Tip of the day: For an entire day, shoot with one focal length, namely 35mm on a full frame camera or 24mm on a “crop” camera. You will see this enforces a certain discipline of compositional thought.


Open wide

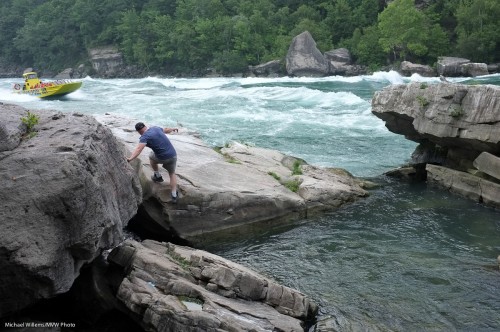
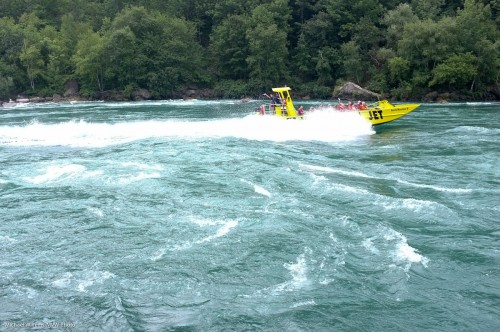
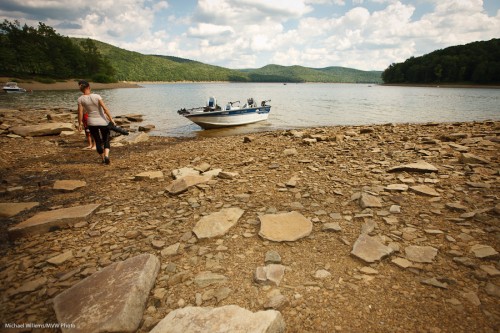
I have said it many times: wide angle lenses are under-rated. Few of my readers even have one.

I mean a wide angle lens in the range of 16-35mm if you have a full-frame camera like a 5D or a D700, or 10-20mm on a crop camera like a digital Rebel, D90, 60D, or D7000.

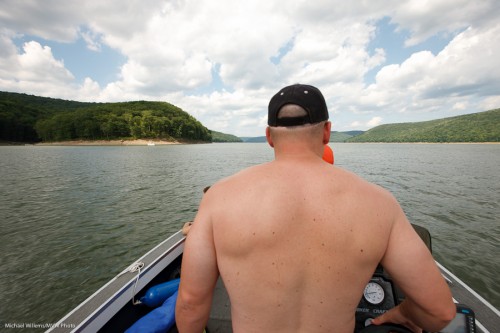
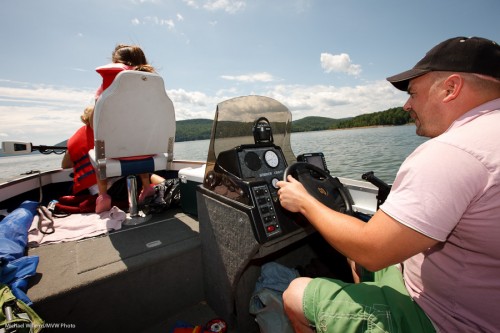
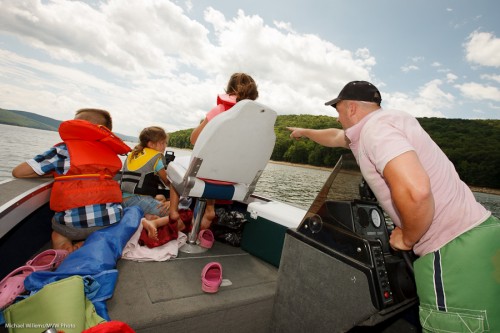
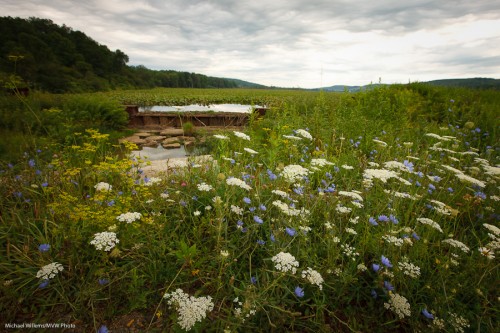
A wide lens, as I said yesterday, makes the scene wrap around you, or around the close by object.

Upstate New York (Photo: Michael Willems)

Upstate New York (Photo: Michael Willems)

Upstate New York (Photo: Michael Willems)

Boating in upstate New York (Photo: Michael Willems)

Frequent readers here will know the following:

  • Do include a close object (even the ground, as in picture #1 above)
  • Do not put people in the corners – they will be distorted, sinc eanything near the edges will look larger.

Use a wide lens and get close, and your pictures will look unlike others’.


Wide angle diffuser tip

Tip: if you use a wide angle lens – and I hope you are, because you will get pictures like this, that look very three-dimensional, with the scene “wrapping around you”:

Upstate New York (Photo: Michael Willems)

…then you need to know about your flash’s wide angle diffuser.

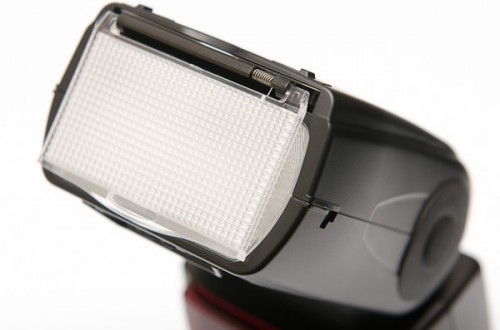
This is the piece of plastic that you can pull out, that looks like a diffuser:

It looks like a diffuser, but it is not. All it does is make the light go to a wider angle, when you are using a lens wider than the flash’s internal zoom mechanism can handle. Else, you would get vignetting.

When you shoot with a lens wider than around 24mm (on full frame), you need it to ensure the entire picture is lit. Like in this 16mm (on full frame) image, the sign would not be lit if I had not used the adapter.

Upstate New York (Photo: Michael Willems)

But here comes tip 2: you can also choose not not use it, when shooting with a wide lens. This might be a good choice if you want vignetting, or if you are short of power, like on a sunny day, and your subject is in the middle. Then why waste power lighting up the side?


One more food note

Another note about that recent food shoot (see post of 29 July).

How do you get a shot like this – what are the important factors?

  • Good lighting: diffuse from front, hard from back. That gives it that lively, alive, shiny, yummy, vibrant, fresh look.
  • Good colour – white balance correct.
  • Good colour – add green to red, if you like – the garnish is essential here.
  • Good exposure – “to the right”.
  • Good composition.
  • “Food make-up” – again, that garnish. If food is older, use a brush with olive oil – that sort of thing.

Oh and that was a hurried shot – high-pressure shoot, no prep time. One reason you hire a pro is to ensure that he or she shows up, and that the shoot gets done as well as possible even if conditions are adverse.


Note that I teach specialized subject like this to interested individuals all over the continent. And also note, Joseph Marranca and I will do a “preparing and eating food” workshop this year. Stay tuned!
 

Simple portrait with background

A simple portrait recipe for a portrait with background:

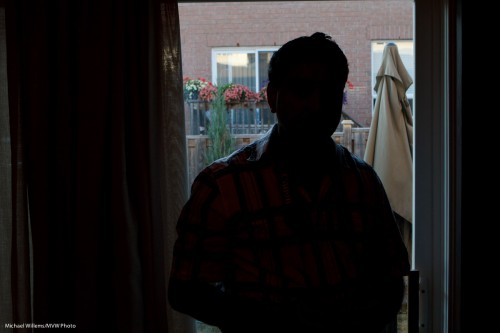
Find a background. Then, using manual mode, set your ISO, aperture and shutter to expose for that background – like here:

Balwinder (Photo: Michael Willems)

As you see, the outside is well exposed. The inside part will come later.

Now:

  • Remember to keep the shutter below your sync speed.
  • Exposing for the background means your subject is dark, if it is inside. So you will need flashes to light up that subject.
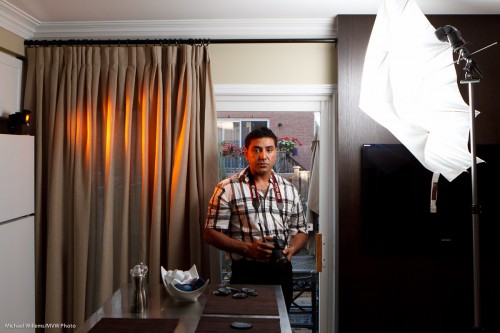
  • First,  add a main light, diffused – in my case through an umbrella, on our right. Measure that, and ensure its brightness is good.
  • Then add an edge light – in my case, a rust-coloured edge light, using a Honl Photo “Rust” gel, and a Honl Photo 1/4″ grid.
  • Remember, an umbrella does not have to be all the way open.
  • For the main light, shoot-through is best.

All that gives me this:

Balwinder (Photo: Michael Willems)

Note the curtain.

And the finished image.. now crop judiciously. Avoid reflections. And note the use of the rule of thirds in my image here:

Simple, takes a minute to set up. You can meter, or you can use TTL (I used TTL, with an A:B ratio).

The point here is not that kitchen portraits are the thing to aim for – the point is, a background adds (both the curtain texture here and the garden), and a portrait like this is easy to set up and quick to do.