The importance of rim lighting

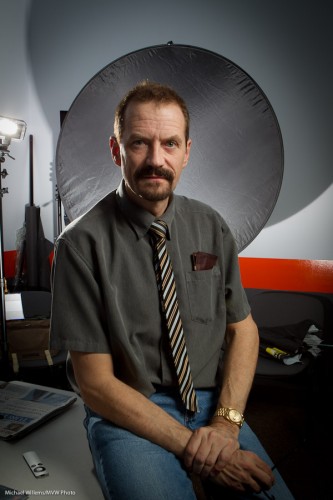
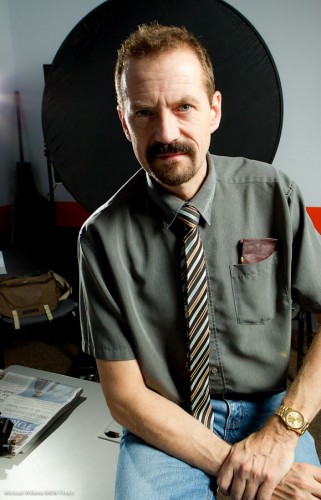
Often, a portrait can be made much more lively by adding some rim lighting. Edge lighting, like this:

That was during a class I taught the other night.  The main light was a speedlight in an umbrella, on our right. The rim light was a speedlight behind me on our left, fitted with a grid, so the light would not spill everywhere.

As you see, this light edge adds a lot of liveliness to the picture. Simple and very effective.

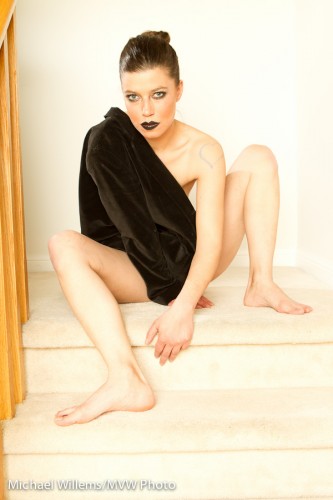
You can see the gridded rim light better in this photo (with a third light added that shines onto the background):

Simple – I used speedlights with TTL control. (“Master/Slave”, as Canon calls it). I encourage everyone to learn how to use this – adding off-camera flashes often makes your images much, much better.

Another variant is the hair light, as in this image here:

Here, the rear flash has no grid: it lights up the background and also shines on the hair, lending it that shampoo-ad type “healthy looking hair” feel.

 

Curtain Call

No no – no worries, I am not going anywhere. This is about the first curtain/second curtain setting you have on your flash/camera combination.

First curtain sync means:

  1. the flash fires a preflash to measure the scene
  2. the shutter opens
  3. the flash fires
  4. wait…. the shutter stays open for its designated time
  5. the shutter closes

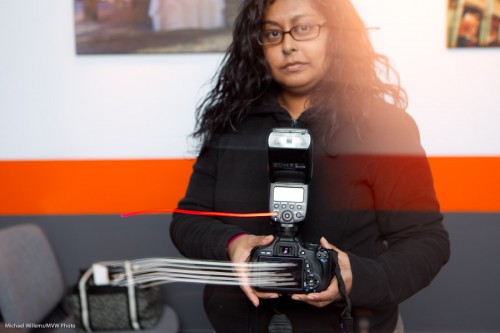
That gives you this, where the student at the School of Imaging class I taught last night is moving to our left in this slow shutter speed flash shot:

Odd. She is moving to our left? Then why is the trail off to the left? Simple – because the flash fired at the beginning of the long shutter speed.

Second curtain sync means:

  1. the flash fires a preflash to measure the scene
  2. the shutter opens
  3. wait…. the shutter stays open for its designated time
  4. the flash fires
  5. the shutter closes

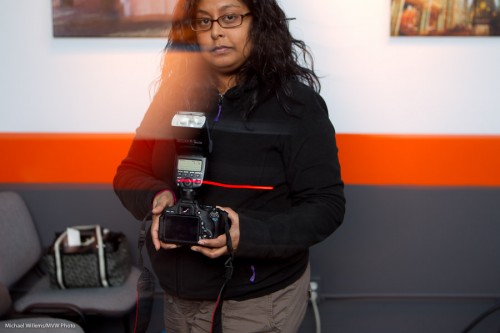
So now the flash fires at the end. That gives you this, a much more natural looking light trail:

So now you know what that does. And no – this does not in any way make the light softer, or the backgrounds better, or anything like that.


Canon 5D MkIII

The Canon 5D Mk 3 has been announced, and many of you are pre-ordering (just like I pre-ordered a 1Dx). Google it: the details are all over the web.

Yes, nice, and I note that in particular the focus system has received a major update.

But let me caution you, and point to an opportunity.

The 5D MkII is very good also – yes, older focus system, true, but since we usually just use one focus spot, and we seldom shoot at f/1.2, that is not an issue. The camera is not the picture – the lens determines the picture quality much more than the camera, and the photographer does so even more.

So instead of putting down $3,500 for a camera, how about instead buying a good used (or even new, discounted!) 5D MkII? These will be available in droves as everyone upgrades.

So unless you truly need the new camera, I advise it might be wise to save your money and use the difference to buy a fast “L”-lens, and some pro training. Better pictures will result.


Beginner’s Tip

Beginner’s tip: you should want a blurred background to get rid of distractions.

To do this, go to aperture mode (A/Av) and select a low “f-number”). Here, I used f/2.8:

And just to show you what not to do, here I used f/8:

Can you see how much less the subject stands out in picture 2? A whole different picture.

To achieve the look in picture 1, you can also get closer and zoom in more. But you knew that, since you have been reading here for quite a while. Right?