The importance of rim lighting

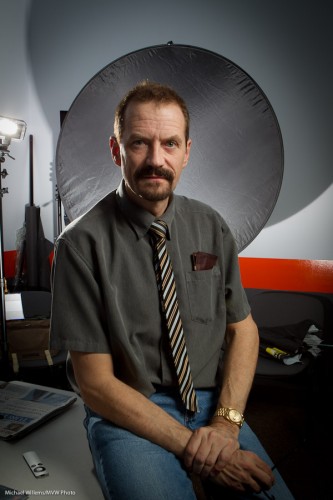
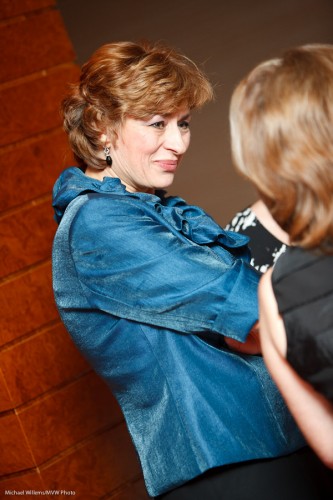
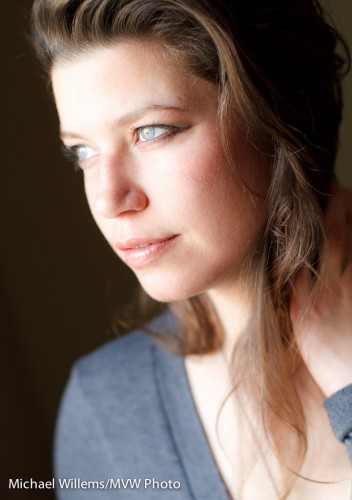
Often, a portrait can be made much more lively by adding some rim lighting. Edge lighting, like this:

That was during a class I taught the other night.  The main light was a speedlight in an umbrella, on our right. The rim light was a speedlight behind me on our left, fitted with a grid, so the light would not spill everywhere.

As you see, this light edge adds a lot of liveliness to the picture. Simple and very effective.

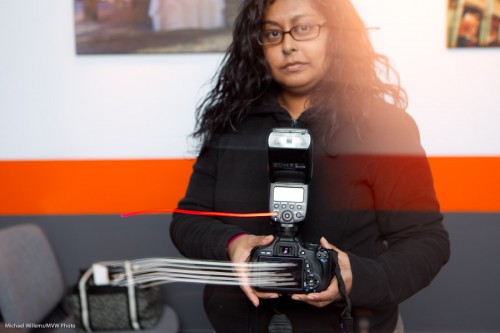
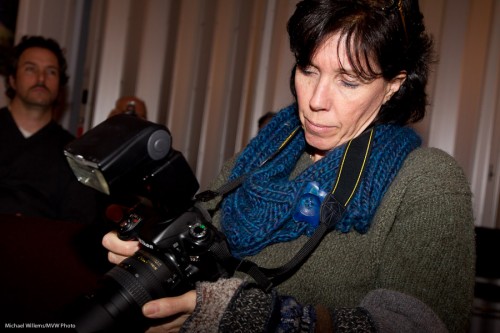
You can see the gridded rim light better in this photo (with a third light added that shines onto the background):

Simple – I used speedlights with TTL control. (“Master/Slave”, as Canon calls it). I encourage everyone to learn how to use this – adding off-camera flashes often makes your images much, much better.

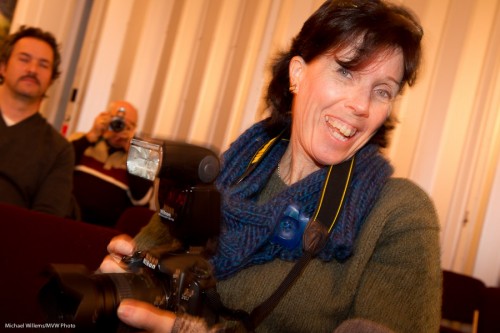
Another variant is the hair light, as in this image here:

Here, the rear flash has no grid: it lights up the background and also shines on the hair, lending it that shampoo-ad type “healthy looking hair” feel.

 

Curtain Call

No no – no worries, I am not going anywhere. This is about the first curtain/second curtain setting you have on your flash/camera combination.

First curtain sync means:

  1. the flash fires a preflash to measure the scene
  2. the shutter opens
  3. the flash fires
  4. wait…. the shutter stays open for its designated time
  5. the shutter closes

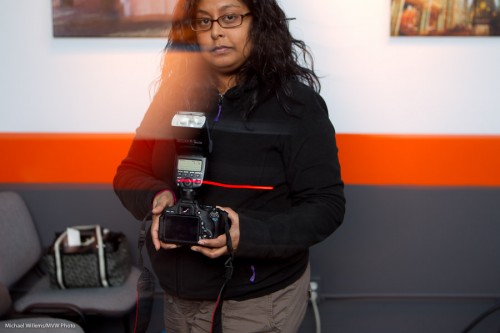
That gives you this, where the student at the School of Imaging class I taught last night is moving to our left in this slow shutter speed flash shot:

Odd. She is moving to our left? Then why is the trail off to the left? Simple – because the flash fired at the beginning of the long shutter speed.

Second curtain sync means:

  1. the flash fires a preflash to measure the scene
  2. the shutter opens
  3. wait…. the shutter stays open for its designated time
  4. the flash fires
  5. the shutter closes

So now the flash fires at the end. That gives you this, a much more natural looking light trail:

So now you know what that does. And no – this does not in any way make the light softer, or the backgrounds better, or anything like that.


Canon 5D MkIII

The Canon 5D Mk 3 has been announced, and many of you are pre-ordering (just like I pre-ordered a 1Dx). Google it: the details are all over the web.

Yes, nice, and I note that in particular the focus system has received a major update.

But let me caution you, and point to an opportunity.

The 5D MkII is very good also – yes, older focus system, true, but since we usually just use one focus spot, and we seldom shoot at f/1.2, that is not an issue. The camera is not the picture – the lens determines the picture quality much more than the camera, and the photographer does so even more.

So instead of putting down $3,500 for a camera, how about instead buying a good used (or even new, discounted!) 5D MkII? These will be available in droves as everyone upgrades.

So unless you truly need the new camera, I advise it might be wise to save your money and use the difference to buy a fast “L”-lens, and some pro training. Better pictures will result.


Beginner’s Tip

Beginner’s tip: you should want a blurred background to get rid of distractions.

To do this, go to aperture mode (A/Av) and select a low “f-number”). Here, I used f/2.8:

And just to show you what not to do, here I used f/8:

Can you see how much less the subject stands out in picture 2? A whole different picture.

To achieve the look in picture 1, you can also get closer and zoom in more. But you knew that, since you have been reading here for quite a while. Right?


Turn baby turn, or: point of view

Tip of the day: You should always feel free to tilt, and to chance your point of view, for more exciting photos.

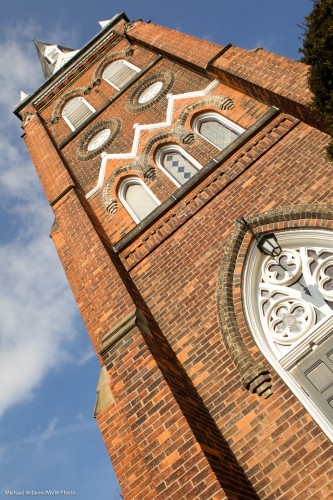
Here’s a tilt, an looking up, yesterday afternoon in downtown Oakville:

I tilted to simplify, and to get the top into the corner of the photo symmetrically.

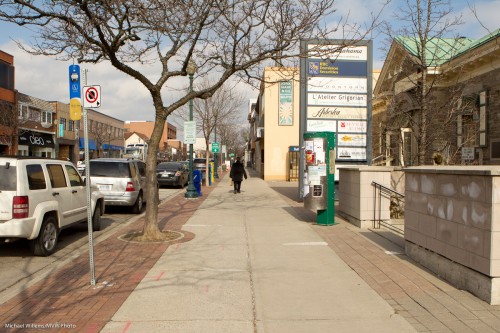
Here’s a street in Oakville, normal point of view:

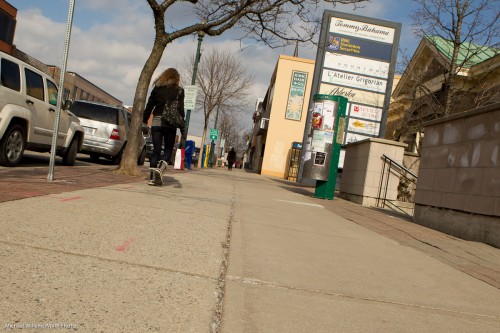
And the same street tilted and low to the ground:

Much different. Go and tilt and choose viewpoints today.


Advanced on-camera flash technique

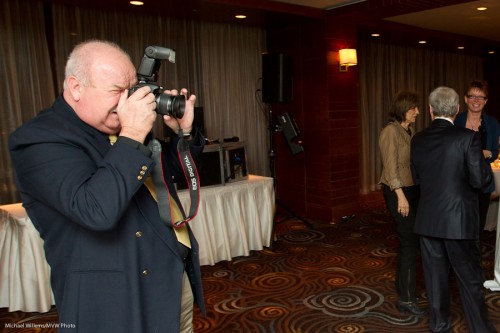
I usually advocate not doing this:

But this instead:

Flash backward, because you want the light to come from 45 degrees above your subject. That’s usually the way, since we usually use wider lenses for people shots, meaning we are close.

However, when you are using a long lens, like a 70-200, then to get to that same 45 degree point, you may have to aim the flash forward 45 degrees.

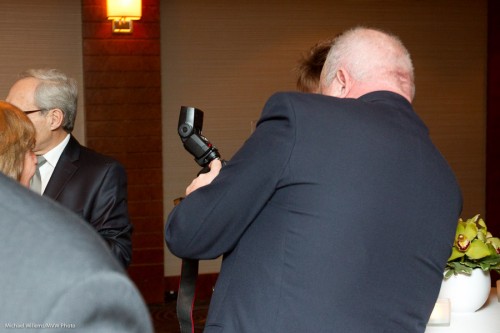
The problem with this is that with any flash angle that is even slightly forward, some light goes forward, straight from that flash to your subject. So you get this, horrible shadow:

The solution: Flash forward, but use a gobo/card, or even your hand, to shield the inch or two straight in front of your flash. So now the light can still go up to the ceiling, but it can no longer go directly forward to the subject. You could even use a grid but that eats a little more light.

You now get this:

I used my hand here, holding it an inch or two in front of the flash to block the path straight to the subject. Result, a well lit shot!


Timing is everything?

I would like to repeat a very important aspect of flash photography here, namely the following.

The background brightness, when there is any background light, depends on the shutter speed of your photo. Yes, also on the aperture and ISO, but these latter two also affect the flash brightness (assuming your flash power is constant).

This means the following.

If I want to mix in background light, I use a slower shutter.

Consider these two photos, both taken with a flash aiming straight into the student’s face (not great technique, but it was to demonstrate this fact), and at 400 ISO and f/5.6.

Picture 1 is at 1/60th second – and note, usually your simple modes like P and the scene modes, will restrict you to that speed or faster:

.

Typical “brrr, flash” picture.

The second shot was taken at exactly the same settings, except with a much slower 1/4 second shutter speed:

Clearly that is slow, but the face is still sharp due to the brief duration of the flash.

Backup tip

An advanced computing tip today on speedlighter…:

Have a Mac or UNIX-like computer? Then you can use a simple little command to synchronise disks. Let me explain.

I have two hard disks next to the Mac. Two 3TB disks (I just upgraded them).  I work on one: all my images and Lightroom files and office admin files live there. Then I have the other.

Whenever I work, as soon as I am done on one and am sure it’s all good, I run the following command on my mac:

I.e. the following is the actual commands; the lines preceded by # are just comments:

rsync -a –verbose –progress –stats –delete /Volumes/MVW-3TB-1/Lightroom/ /Volumes/MVW-3TB-2/Lightroom/

rsync -a –verbose –progress –stats –delete /Volumes/MVW-3TB-1/MVW-Docs/ /Volumes/MVW-3TB-2/MVW-Docs/

rsync -a –verbose –progress –stats –delete /Volumes/MVW-3TB-1/Photos/ /Volumes/MVW-3TB-2/Photos/

The rsync command intelligently compares the two disks and adds anything to disk 2 that was added to, or changed on, disk 1, while deleting anything from disk 2 that was deleted on disk 1. A perfect backup in seconds (the first time can take a day of course, depending on how full your first disk is).

Using the nano text editor, I put these commands in a little text file called “syncdisks”, and I make that file executable using the chmod command (chmod 755 ./syncdisks). I then call that file by typing .syncdisks every time I want to run it.

I could automate further but this is good for me – and it shows the power of the command line, doesn’t it? Of course you would modify this to reflect the names of your disks and your folders to be copied.

(If this was all a bit techie for you, ignore this post and move on to tomorrow!)


Lightroom tip!

In Lightroom, the catalog (the .LRCAT file) contains all your edits. But what if it gets corrupted?

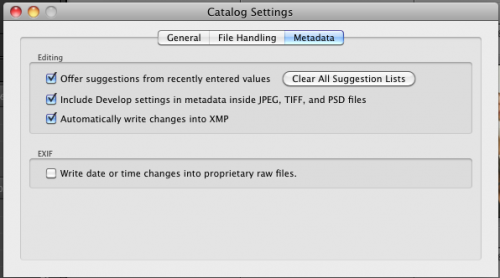
In that case you can retrieve edits – eg edit the file in another app,like Photoshop – from small XMP “sidecar” files – IF you make these! This is off by default – turn it on in LIGHTROOM – CATALOG SETTINGS:

If that third tick mark is OFF in your Lightroom, then I advise you turn it ON right now!


Available Light

Here’s an available light portrait of the other day:

In a portrait like this, keep the following in mind:

  • Use a prime lens at wide aperture (like f/2.0) to get that dreamy look and to get the ability to shoot in this available light. A fact 50mm is great for that (I used my 50mm f/1.2 lens on a 7D for this shot).
  • Even so, use high enough ISO to ensure a fast shutter speed (say, 1/twice the lens focal length, so 1/100th sec on a 50mm lens). I used 400 ISO here, to get 1/160t sec at f/2.0.
  • Put the person next to a window with indirect daylight – not direct sunlight.
  • Ensure they are low enough for the face to be hit by the “cone of light” that comes from that window;
  • Turn the face toward the light for even lighting if that is what you want.
  • Use a reflector if necessary to open the unlit part of the face.

And that is how you do that. Could not be simpler. Try some!