Student Help

This blog is for general readers who want to learn professional photography skills (hi, everyone) and pros who wants flash knowledge (hi, guys). But it is also for my students – previously at the School of Imaging; now for my Sheridan College and private students (and stand by for more news). So here I repeat things I have talked about in classes, to support the class.

Such as this: The difference between background and foreground in a mixed flash/ambient image.

Easy to learn with some practice!

You need to remember the basics:

  • The flash power determines the brightness of the foreground.
  • Your “Triangle” settings (Aperture-Shutter-ISO) determine the brightness of the background.

You also need to learn the main restrictions:

  • Flash power may not be enough. Aperture affects flash too, so for darker backgrounds, try to keep aperture low and shutter fast. Or get closer.
  • Note, shutter speed cannot exceed 1/250th second (roughly)

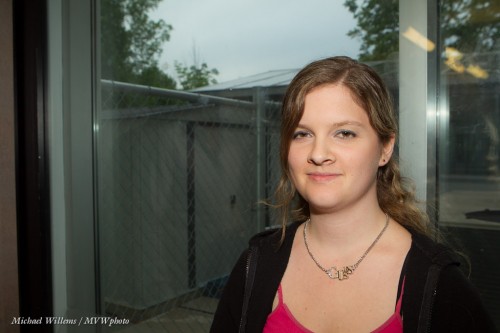
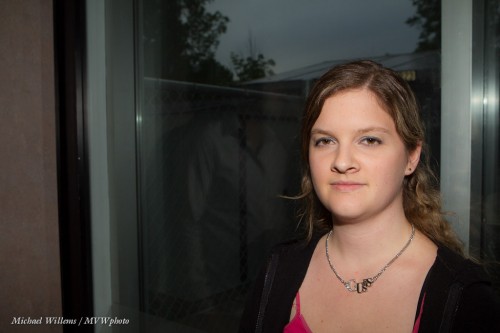
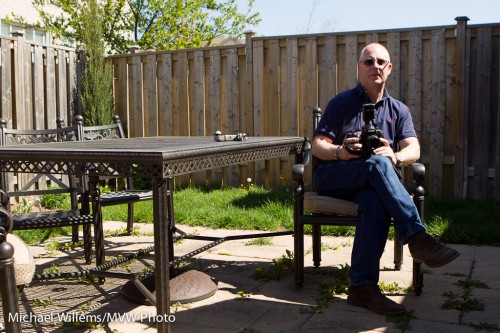
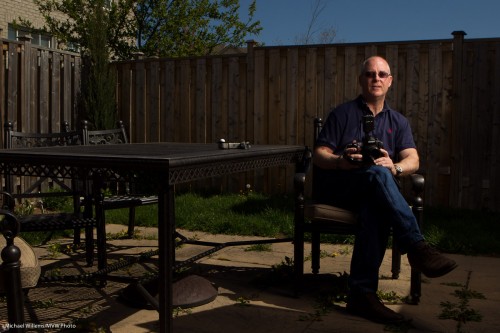
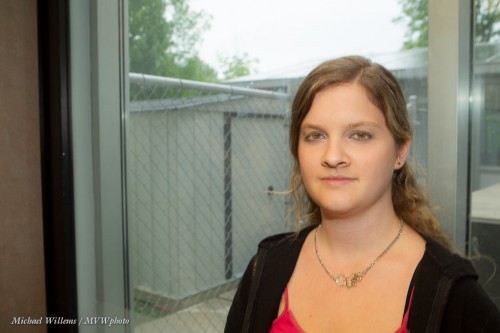
Look at these examples, of a student at Sheridan College yesterday:

I changed the background by setting my shutter to 1/15th second, 1/50th second., and 1/250th second, respectively. The flash part is roughly the same, since the flash power remains the same – but the background is najorly affected by this.

So remember, in any flash picture, you always start by asking “what will the background without flash need to look like”? That could be totally dark (studio); middle (dramatic outdoors), or bright (a party). But it’s always your first question.

Clear? (Pun intended).

___

PS: I have a special on for private or small-group training June – just $75 plus HST an hour instead of the usual $95. Email me!

 

Silhouette How-To

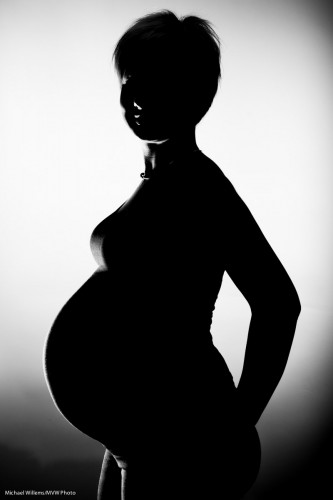
How do you shoot a silhouette, like this one from yesterday’s maternity shoot?

Really quite simple:

  1. Have a simple background (wall, or backdrop).
  2. Ensure that the background is light (flash!) and the foreground is not (avoid light falling “everywhere”: I used grids on my flashes).
  3. Expose for the background, and add a few stops.
  4. If necessary, do the last adjustments in Lightroom (or whatever software you use).

I used an additional edge light here to emphasize the tummy.

Go try it today!


Wedding Crowd

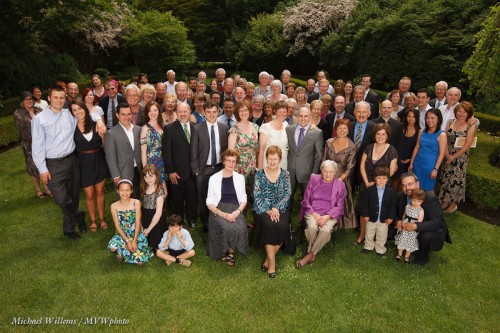
A great crowd today at Matt and Lucy’s wedding in Toronto.  And so Kristof B and I, who shot the wedding together, thought of a crowd shot:

For this shot, I used:

  • Two strobes (big flashes), one on the left and one on the right; powered by a battery.
  • To overpower the sun we set the strobes to full power, which gave us f/8 at 1/250th second and 100 ISO. That’s dark enough to get a nice dark background even in full sunlight!
  • I used a wide angle lens (16-35mm on a ful frame camera)
  • And finally, I used a stool to stand on. That gave me an angle which allowed all the crowd to be visible.

Great crowd, great wedding, great light. And I hope you agree, a great shot.


Outdoors Light

Outdoors, a flash, a powerful one, will often make good images into great images. Because you can make the background darker:

Here’s how we took a shot at a creative light workshop last year:

Which leads to this shot:

As always:

  1. Get the background right first; remember to keep the shutter speed below your maximum flash sync speed (like 1/250th sec).
  2. Then add flash.
  3. Set the flash power to the aperture you have gotten to in step 1.

Really simple, no? Provided that you have a powerful enough flash to overpower the sun, of course.


Shot of the day

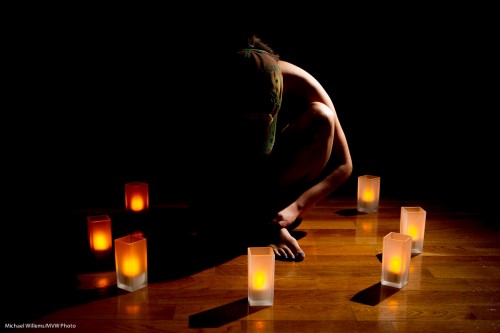
Here’s my Picture of the Day, taken last night:

For a picture like this, what are the challenges?

First and foremost: to get the exposure right for the candles, while still keeping the room dark. The usual “flash only” setting of 100 ISO, 1/125th sec, f/5.6 will not work: the candles would be dark. Too wide open, and the entire room would be bright. You have the find the right “in between” setting: in my case, 1/30th sec at f/5.6, 400 ISO. Room lights were dimmed slightly, to avoid dark areas from becoming light.

Second, to avoid flash hitting the entire room. I fitted the single flash, an off-camera 580EX, with a Honlphoto 1/4″ grid. This lit up the side of the model, and the centre of the floor, only. (You can work out where the flash is by seeing where the shadows converge.)

Third, to aim the flash correctly. This is of course a matter of taste: I like side lighting to emphasize round shapes (the arm, leg, and toes in this picture).

Finally, to get the flash to the right level of brightness. I used TTL with flash compensation, though normally I would have used manual flash power setting for a creative flash shot like this.

Try a shot like this, if you are up to the challenge!


Sunny Sixteen

You have heard me talk about the “Sunny Sixteen” rule before. This is a rule of thumb that says:

If your shutter speed is set to 1/ISO (e.g. 125 ISO at 1/125th sec, or 400 ISO at 1/400th sec), then on a fully sunny day at noon, f/16 will give you the right exposure.

Like this, at f/16:

And if it is not sunny?

f/16 Sunny Distinct
f/11 Slight Overcast Soft around edges
f/8 Overcast Barely visible
f/5.6 Heavy Overcast No shadows
f/4 Open Shade/Sunset No shadows

(Source: Wikipedia)

This rule is a rule of thumb, so feel fre to vary – I often expose two thirds of a stop higher – but since the sun is always the same brightness, it holds well. And it is nice to be able to expose without light meters, if only in order to be able to check your camera.

Bonus question: how do you expose the moon?

Answer: f/16. The moon at noon is as bright as the earth at noon- they are the same distance from the sun!


Creative light

Here for you are a few simple steps to a dramatic light portrait.

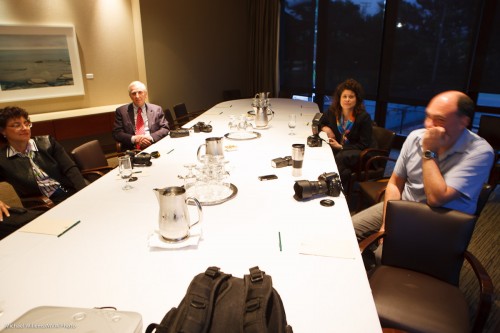
Step One: Start with a room. Like this one, with some of my students last night:

But for creative lighting we do not want to see the ambient light – it would just interfere.

Hence… Step two: make the ambient light disappear. You do this by selecting a setting for ISO-Aperture-Shutter that makes the room look dark. Like 200 ISO, 1/125th second., 200 ISO:

Yes, the room now looks dark, and no, I did not turn off the room lights. Your camera is a light-shifter.

Now we add the light that we do want to see. Step three: use an off-camera flash. All makes of camera support this: remote TTL works very well once you learn the ins and outs.

  • Nikons and some Canons can use the pop-up to drive the remote (“slave”) flash.
  • Others need a high-end flash on the camera to do this.
  • Ensure that the on-camera flash only issues “commands” to remote flashes but that its actual flash-during-picture function is disabled.
  • Use a modifier, like a grid (I use the Honl Photo modifiers) to ensure that light does not go “everywhere”.
  • You can soften the light with a softbox or fire direct at the subject. Yes, you can fire direct at a subject, as long as the light is not where the camera is.

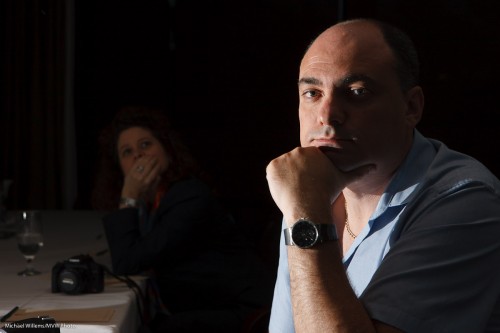
Now we get what we wanted:

This technique is also good to learn lighting scenarios (like broad, short, butterfly, or Rembrandt lighting).


Just a moment!

Photography is about Light, Subject/Composition, and moment.

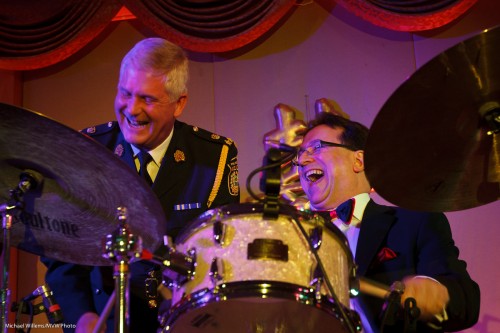
Like in this picture of Dan Bodanis of the Dan Bodanis Band, with Peel Region’s Acting Police Chief, the other night:

In a photo like this, “moment” is everything. A few tips, then:

  • If you take lots of pictures, you will succeed.
  • Look for moments.. “if it smiles, shoot it”.
  • During speeches, wait for a pause.
  • Do not shoot people while they are eating (or for that matter, while you are eating).

Sometimes it pays to simply shoot and not to worry too much about technicalities. In this case, I was bouncing a flash (behind me) while the camea was on kmanual, with settings chosen to capture enough ambient light (near or at the Willems 400-40-4 rule for indoors event flash: 400 ISO, 1/40th sec, f/4).


Inverse Square: It’s The Law

The “inverse square law” regarding light dropoff says that light drops off with the square of the distance. I.e. an object 4 times farther away gets 16 times less light, and so on.

This law needs to be part of your DNA!

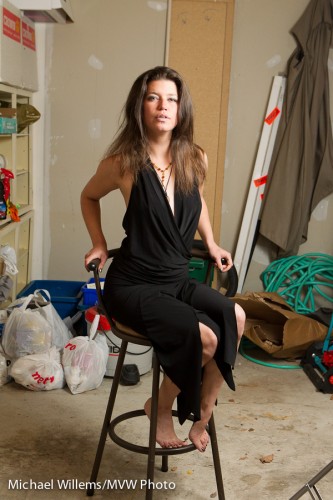
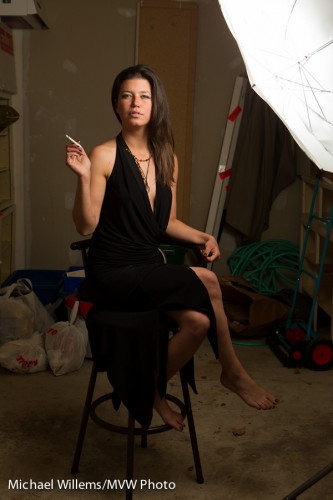
Why? Because it explains those dark flash backgrounds. And because it helps, too. Take this shot of my model Kim in a grungy garage, using an off-camera TTL speedlight through an umbrella on our right:

Fine. But what if we wanted a darker background? Remember Willems’s Dictum: “bright pixels are sharp pixels”.

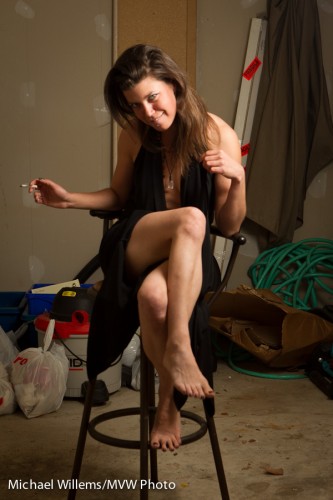
The solution is simple: move the umbrella closer to her. Then the background is farther away in relative terms, so it gets darker with the square of that ratio. So now we get:

And if we move ourselves to get the umbrella out of the picture, here is what we end up with:

Simple solution to a vexing problem if you like dark backgrounds!


Before and After: Why we use light

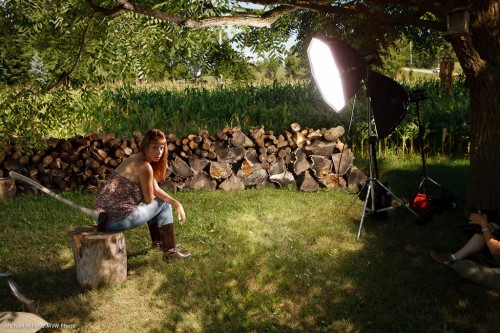
The following shots of yesterday’s student are a good example of why we use flash to create dramatic portraits outdoors, on a sunny day.

Say you take a snapshot, in automatic mode, of a person on a sunny day around noon. You get this:

A snapshot. Composition is fine, but the person is half overexposed, half underexposed; the sky is washed out. It’s why people say you cannot take photos at mid-day on a sunny day.

But flash comes to the rescue.

  1. Set your aperture, ISO and shutter speed to get a nice darker background. I like dramatic, so in my case this is a very dark background. Dark colour is saturated colour. Start by going to the fastest shutter speed you can use when using a flash (e.g. 1/250th second), then set aperture and ISO to get darkness. (I used manual mode, and set my camera to 200 ISO, f/13 in my case).
  2. Use a flash in a modifier – to “nuke the sun” (overpower sunlight). This needs to be a powerful strobe, or a speedlight very close to the subject. I used a Bowens strobe with a softbox, powered from a Travel Kit battery.
  3. Now meter the flash, using a flash meter (or trial and error). Adjust the strobe until you read the same aperture you just set.

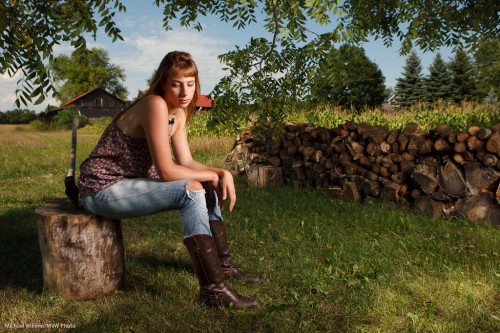
Now you get this:

Isn’t that much better? The subject is now the “bright pixels”. And bright pixels, as you know, are sharp pixels!