Indispensable tool!

My new product of the month, just received from Hong Kong, is going to be indispensable to me, I can see that now.

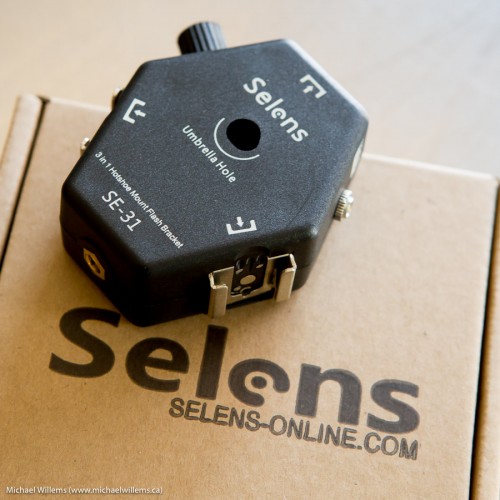
Here it is:

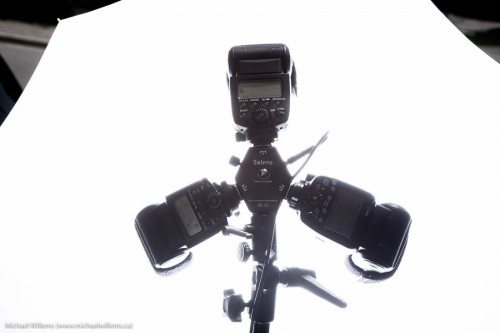
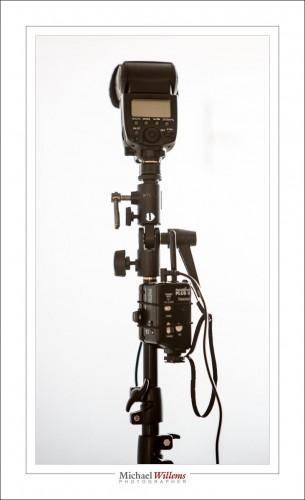
A “3-in-1 hotshoe mount flash bracket”, made by www.selens-online.com (link fixed). This bracket allows up to three flashes to point into one centre-mounted umbrella, as follows:

Better still, it allows ONE connection from your radio trigger (in my case, a pocketwizard) to all three flashes at once. You need just one simple 3.5mm to 3.5mm cable (i.e. the connector is the same as on the pocketwizard itself). And that saves both radio triggers and hotshoe cables. That, for me, is the killer feature. Up to today, I had to always connect three pocketwizards and three cables.

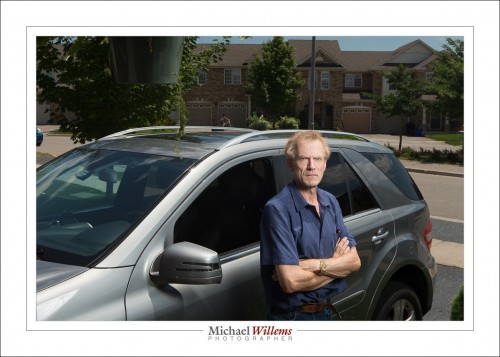
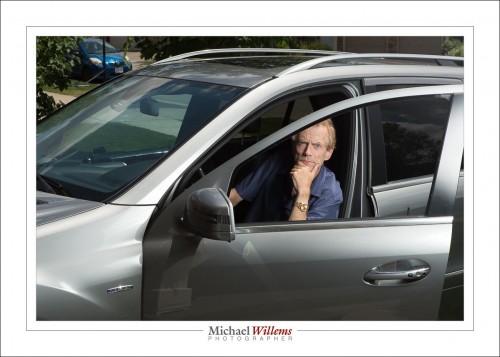
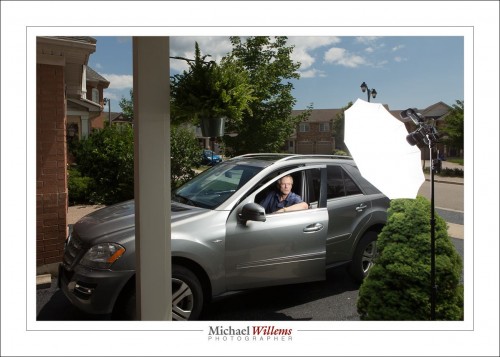
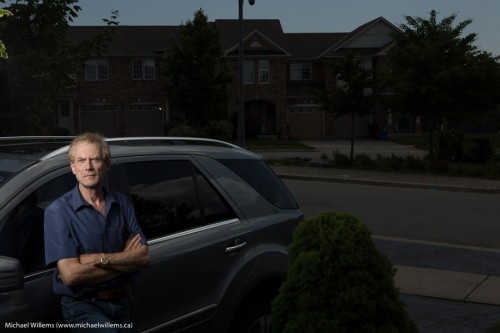
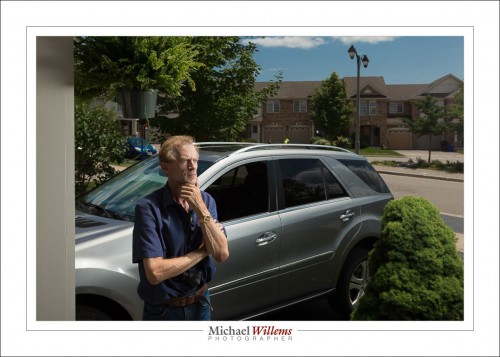
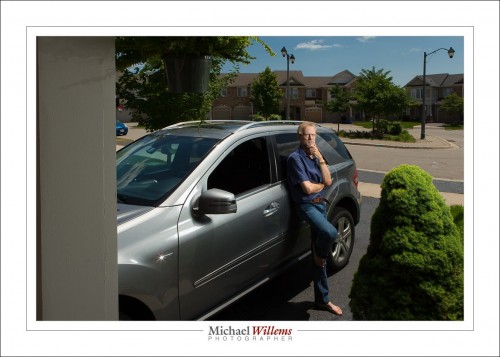
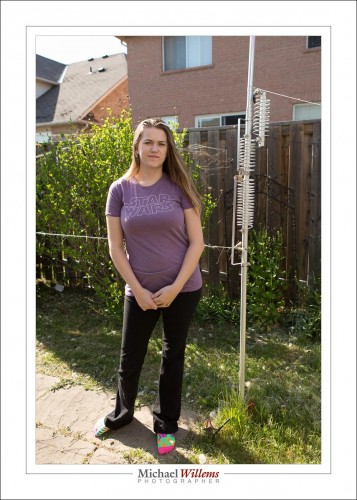
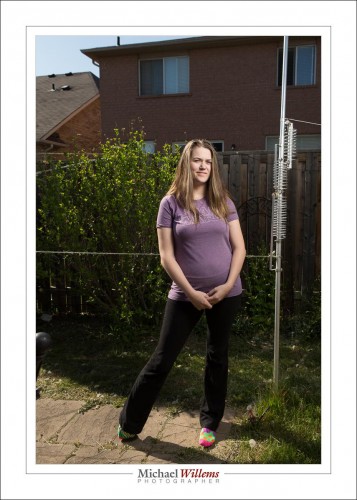
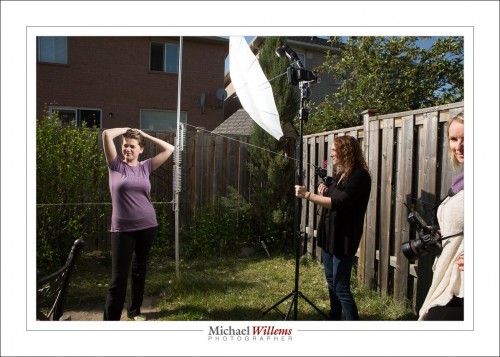
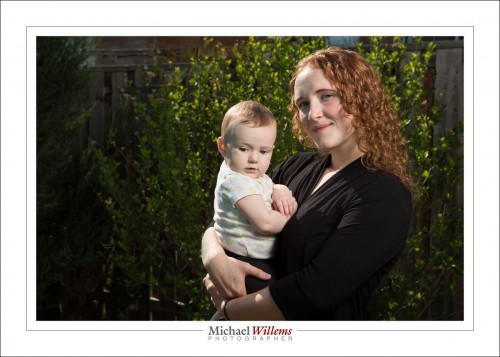
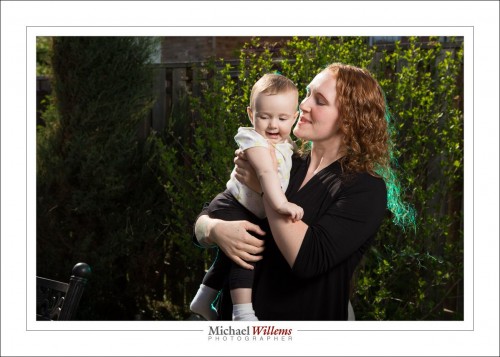
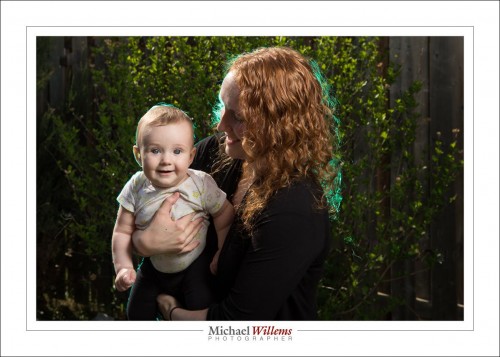
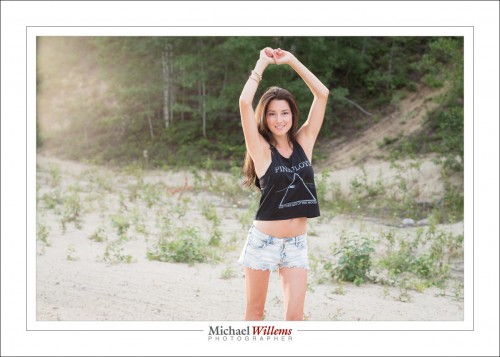
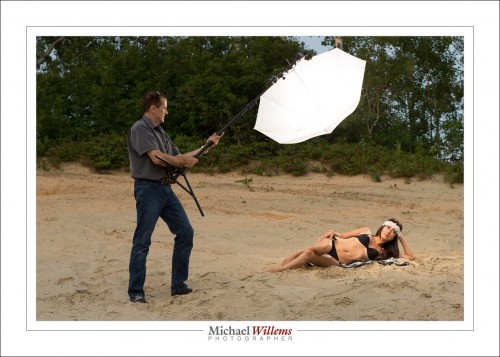
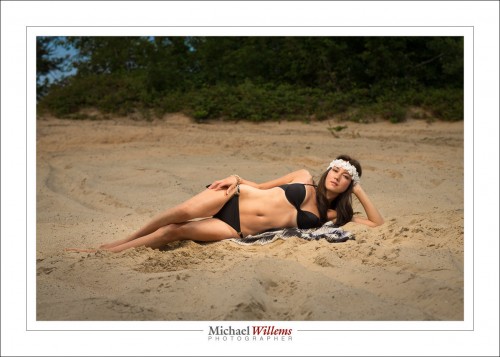
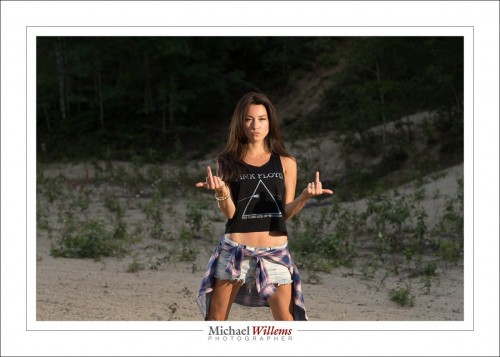
So here’s a few photos. The last one is a “pull back shot”, where you can see the lighting setup.

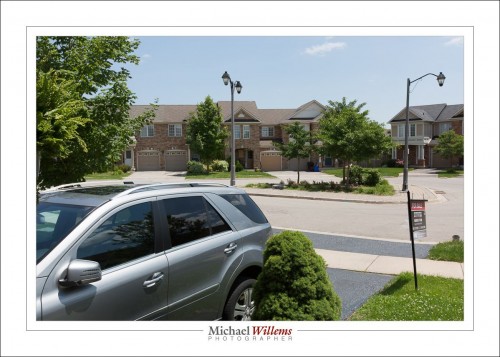
As for these photos: the day was like this (a snapshot):

That is fine, but I prefer my subject to stand out more, and I want the sky to be more saturated.

So here’s the recipe. For daytime outside flash pictures, you go to 1/250 second (or whatever fastest sync speed your shutter allows) at 100 ISO and then use f/4—f/16 depending on how bright it is. Start at f/8 and vary from there.

This is f/16:

A little dark and dramatic for this particular portrait, so f/11 is more like it:

But the point is that f/16 is even possible, with three speedlights (580EX and 600EX) into one umbrella. Normally, I would have to use a studio light for this.

This was with all three flashes at full power. Normally, I would shoot at a maximum of half power if at all possible. That way, the recharge time is shorter and the flashes do not overheat.

Ordering from user mkstudio-us, via ebay, was simple. I paid under $20 for each of the three brackets I ordered. Shipping from Hong Kong was free, but it did take several months (“slow boat from China”—literally). If you are in a hurry, order elsewhere, but if time does not matter, order from these guys in Hong Kong. Excellent value.

An excellent tool that will allow you to fire three flashes with one Pocketwizard, easily and conveniently. This will be in my flash bag forever, and my firm prediction is that I will make use of it all the time.

___

Postscript: a few people asked “:why not just use a strobe”. Well, a strobe is big and heavy, and its battery even heavier (lead-acid contains… yeah, lead). The fact that I can do it all with speedlights is amazing… and yes, you do need this much light pretty much every time in bright sunlight. The flash manual, and the tables in the checklist manual, explain and help. (See http://learning.photography)

Pictures of the day

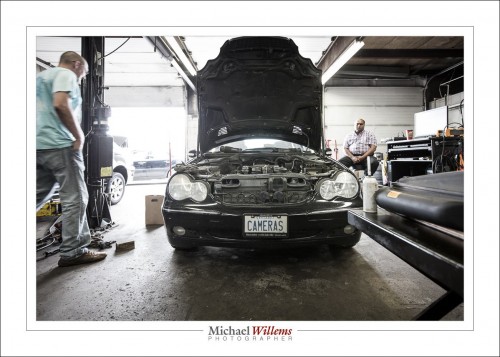
With some minor post, a 16mm (on full frame) wide angle photo becomes this, namely one of my cars in the process of receiving new spark plug wires, the other day:

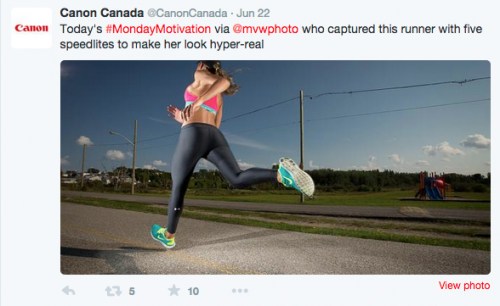
And without post, this, which was shared in a tweet by Canon Canada as part of yesterday’s #MondayMotivation:

No post work, but five speedlites (two 580EX’s and three 430EXs)!


Respect the click

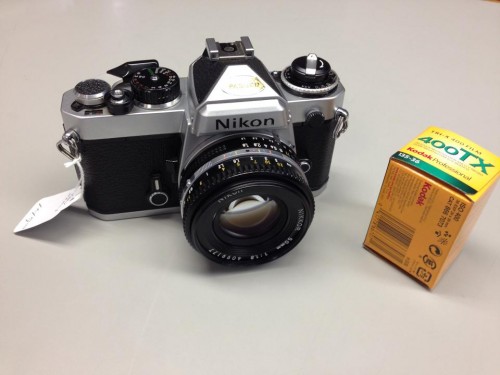
I am old enough to remember the film days. And while the digital era is better in almost every way, there were a few things that did work better in the film era. And those things were to do with what I would call “respect for the click”.

My film camera—a Nikon FE

Today, it is no longer necessary to respect the click. So instead of making a portrait, for instance, we take 100 photos and scan through them hoping to find a good one. And instead of setting white balance, we just leave it on “whatever” and sort it out later, on the computer. Instead of getting exposure right, we shoot, adjust after looking at the screen, then shoot again, and repeat until exposure is OK. In the film days, we could not do these things: each click cost a dollar, and after each click we had to wait several days to see the results.

In the broadest sense, this means that today we do not think about the photo. And that is a shame. This prevents us from becoming a better photographer, and it gives us more work to do at the other end, after shooting. It also devalues the photo.

Fortunately, there are several ways to get the old discipline back.

One way is to turn off the automatic display at the back. That way you have to click on playback specifically to see an image. If you do not, you do not see a preview. And try not to look after every photo. Finally, try to have the self-discipline to not “just” try things. By all means correct if you have to, but give it a couple of seconds of thought to get as close as you can, before you actually shoot.

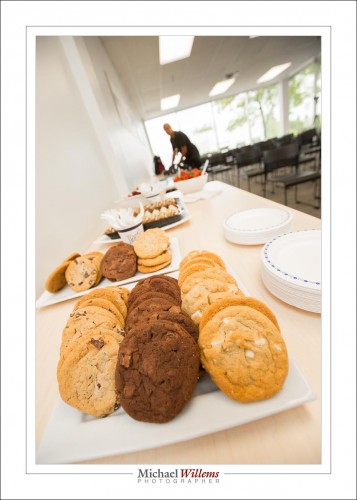
Cookies – 16mm, full frame

One great way to do that: shoot the odd roll of film. If you want to be a really good photographer, you should buy an old film camera—a good one like the one above should cost you between $100—$150. And then shoot a roll of film every month. You will be surprised how much more respect you will have for every photo.

And that is a good thing, because lack of respect for the click results in snapshots.


Open up opportunities

I am often asked “do you always use flash?”.

The answer is “no, but I always consider using flash”. In other words, flash gives me so many more options that I feel it would be a mistake to ignore those options.

One of yesterday’s students in the sun, the way you would have to do it without flash:

But with flash, we have options. Like this:

Isn’t that 100 times better? Emphasis on subject, saturated colour, modeling with light. And the setup is not complicated:

You may notice that I have two flashes shooting into the umbrella. That way, I can get both of them set to half power, which is a lot better than one flash at full power: full power tends to overheat flashes, and the recycle time is slower.

Camera settings for the “proper” shot were: manual mode, 100 ISO, 1/250 sec, f/8.

A couple more examples:

The green gelled flash was there to show it could be done. In a “real” photo I probably would have aimed that green gelled flash at the darker area in the background.

And even with one off camera flash you can have fun:

So now that the summer is here, bring your flash, take a lesson and learn to use it—and have fun creating images that you can be proud of; images where you are in charge of the light.


Light and dark

Ciaoscuro is all about the play between dark and light.

Take this student at Vistek, the other day. Lit from where the camera is, you get this:

Fine, I suppose… competently lit, just barely.. but is that creative? Not really.

Now, lit from the side, with a simple flash with a grid on it, no other modifier, we get this, instead:

I think you will agree that’s a lot better, and for several reasons. One is that there is less stuff. Only what’s important is lit: the rest is simply not lit at all. Second is that the face is now shaped (modeled) by the light. Third is that what is important is lit; what isn’t is simply not lit. Light direction as well as distribution and quantity are now totally under your control.

(Note that the grid is essential: without it, the flash light would spill onto the walls and ceiling and floor and from there to the rest of the room: no black room)

What I used? A 5Diii with a 600EX flash on the camera set to be master (but not to fire itself); and a 430EXii slave flash on our left. that’s all. “Studio setting” (1/125, 200 ISO, f/8) ensures that the ambient light is black.


Setup for outdoors flash pics.

A student just asked me:

When you were at the London Camera Club, you had your usual stand/flash holder/umbrella combo on display. Unfortunately, time didn’t permit me to ask about it. Would you mind mentioning what brands the components are – I would like to have a similar set up for my Speedlight.

I use the following setup:

So that is:

  1. A Light stand. Any brand is OK if it is sturdy enough.
  2. A mount that sits on top of the light stand and swivels. The flash sits on top of this mount. My mount is a Manfrotto,
  3. A pocketwizard receiver. I use the simple Pocketwizard PlusX: $180 for two of them.
  4. A cable between the Pocketwizard and the flash hotshoe. This cable sits on top of the mount, and the flash on top of it.
  5. An umbrella that goes through the mount (you can see the hole in the photo). This should be an umbrella with a removable cover, so you can shoot into the umbrella as well as through the umbrella.

Because this is non-TTL, the flash can be any flash. Any make, and type, as long as it has a manual power level setting and you can disable any timeouts (otherwise it turns off every minute or two).

To a large extent, these are commodity items. There are many brands. Nikon has a kit of mount plus stand plus umbrella for just over $100, for instance, but anything that looks sturdy enough will do fine.

As for radio triggers, I use Pocketwizards because they are the industry standard and rugged, and they use AA batteries; but any other non-TTL trigger will work just as well.

The setup above serves me well: it is what I use for up to 90% of my outside pictures.

Like this scene, the way it looks to my eyes:

And here comes rescue, a.k.a. me and my umbrella:

…which results in:

And the lovely Vanessa from Timmins has a sense of humour:

The good news: this type of dramatic lighting is simple, once you know how!

___

Want to learn how to do this? I have a couple of spots open on my “Mastering Flash” workshop in Oakville this Sat 23 May, 1pm—4:30pm. This is a very small workshop: 3-6 people maximum. If you are interested, email me: michael@mvwphoto.com. You can book on http://learning.photography.


Add a splash.

There are many distinct ways to use gels. They include:

  1. Colour correction in mixed light
  2. Background Colour shifting
  3. Adding backgrounds
  4. General creative use
  5. Adding warmth

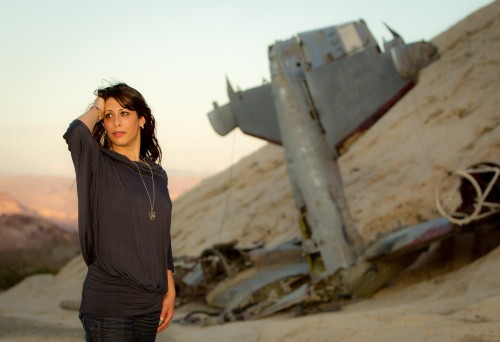
Type 5 is easy. Like here:

Nelson, NV, 2010

Indeed the sun was setting, so we have beautiful “Golden Hour” light.  But Yasmeen is in the shadow of a mountain, so she is not lit by this great light. She is on fact hardly lit at all.

Solution: I use a flash. On camera. Now she is lit. But I gel that flash with a CTO (Colour Temperature Orange) gel. Now it looks as though she, too, is lit by that setting sun light we like so much. And because I use the ultra convenient Honl photo gels, sdlapping on that gel takes less than a second.

The solution: a cool shot, where otherwise there would be no shot at all.


Flash and what you want.

Your background is what you want, not what it is.

Huh?

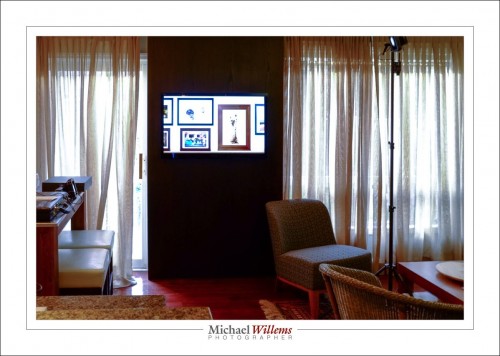
Take this example. My room looks like this, right now.

(0.5 sec, f/8, 200 ISO).

But when I set my camera to 1/250 sec, f/8, 200ISO, I get:

Dark. Even the TV is almost entirely dark.

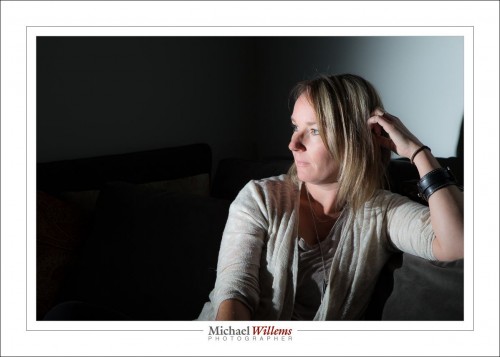
Why? Because that is what I want. I do not care that the room is pretty well lit; I want it to be dark. So what do I do? High f-number, fast shutter, low ISO. And that gives me not what there is, but what I want.

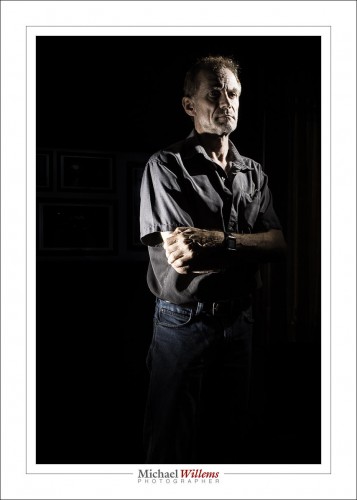
And when I crop that, decrease saturation, and increase clarity, then I have a low-key portrait.

…which is of course what I wanted all along.

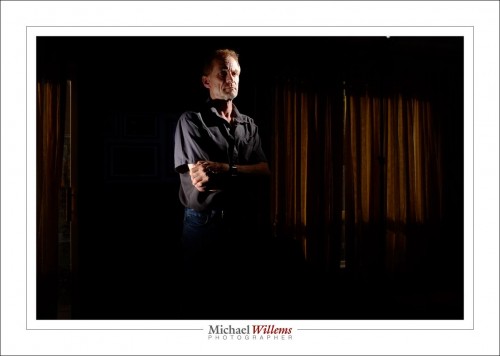
Note that I use two flashes to light me. They are set to manual at 1/4 power, my standard flash setting. I also have a grid mounted on each flash (a Honlphoto grid). These stop the light from spreading through the room. If it did, the room would be visible.

You can have serious fun with one or two flashes and a few radio triggers, and this is how. Make ambient go away , then use flash to light where you want the photo to be lit.


Lightroom 6

Lightroom 6 is the latest and greatest in the version history of Lightroom, the best thing since sliced bread. Asset management, editing, and production all rolled into one.

LR 6 is a worthwhile upgrade; as I mentioned in an earlier post, it has lots of new stuff. For me, the main features for me are:

  1. Face recognition. You can now recognize faces, so that all photos that feature uncle Bob can be quickly found. Remarkably accurate
  2. Panoramas. Stick together 2, 3, 4, or more overlapping photos that you have shot.
  3. HDR. Stake one normal shot, and one more more darker and one or more lighter, and pull them together to get either artistic “paint” effects, or just more dynamic range (i..e. the detail in the dark areas will be visible, as well as detail in the light areas).
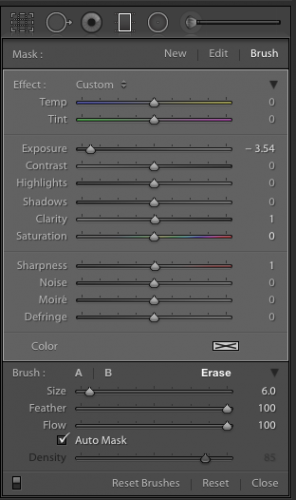
  4. Brush in filters: you can now use a graduated filter and remove it (or add it) in specific, brushed areas:

(The graduated filter here has the new BRUSH activated in ERASE mode, so I can delete part of the filter)

There’s more, especially the Mobile functions and the reputed speed increase, but I cannot comment on that since I have not observed or used them.

So, how to go about upgrading?

First, make sure that you have backups. And I mean good, verified backups. You never know. Don’t ever lose all your work… make backups and store them off site. Backups of both the photo originals and the work you have done on the (the catalog file, named <something>.LRCAT).

Then, the upgrade. Under “Help” select “check for upgrades”. Make sure that if you have the app, you keep getting the app, and not the “creative cloud”. Adobe really, really wants you to get the Cloud version, which works out much more expensive even in year one if all you use is Lightroom; and after year one the price will go up.  You will have to search the Adobe site; look for “All products”, and look for the price of around $80 for the upgrade. Not the $3-10 per month Cloud price. (Think about it: if the next upgrade is two years away, and I only use Lightroom, I pay $80 for those two years. Cloud users would pay significantly more: 24 times something is something big.)

Before you start, you will need to log in to Adobe, and under “My products”, find the serial numbers for previous versions. You will need the previous version’s serial number to qualify for the upgrade.

When, armed with the login and the serial number, you perform the upgrade, your catalog file will be converted. This takes time. On my catalog, with around 200,000 photos it took most of the overnight that I let it run.

At the end, when you can use Lightroom, you will have a new catalog. But your old catalog will also still exist. Just in case. I advise you keep that around for a little while. Just in case. You never know.

Also, make sure that when you want to use Lightroom you start the new app, not the old one. The new one is called “Adobe Lightroom” and lives in your app folder, inside a folder called Adobe Lightroom.

After the upgrade you will see that Lightroom works as it did before. But new functions have been added. Under “Photo” you can now, after selecting two or more photos, select Panorama or HDR (high dynamic range). Try!

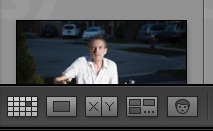
And more importantly, in the grid view you see a new face symbol as one of the following views. Bottom right:

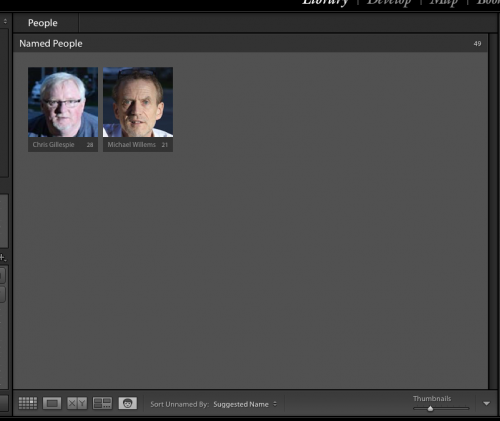
When you click that, you will see the faces Lightroom recognizes. Give them names. Over time, Lightroom gets better and better at naming faces. After you name them, you see:

Initially, of course, all faces are unnamed.

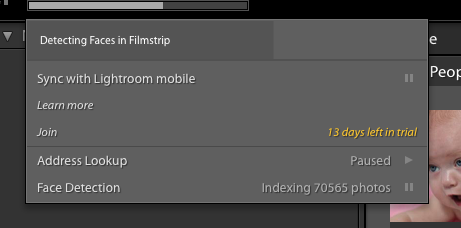
You can turn face recognition indexing off (paused) or on by clicking on the Lightroom Logo on the very top left of your screen. You see:

During this time, the application may be slow, not just when you are looking at the grid view, but also when exporting a picture, printing one, and so on. Allow plenty of time for the indexing to finish, and you can pause the indexing when you need speed. You can index per shoot, or per year, or all at once (though I would not recommend that when you have a large catalog, like mine).

I am still discovering new things, so there will be more blog posts about Lightroom 6. For now, though: recommended!

___

I also coach privately: bring me your laptop and I will not just teach you, but we will set up your own Lightroom installation in the optimal way. See http://learning.photography.