Slow down!

I have a useful mnemonic for you:

For a flow, go slow.

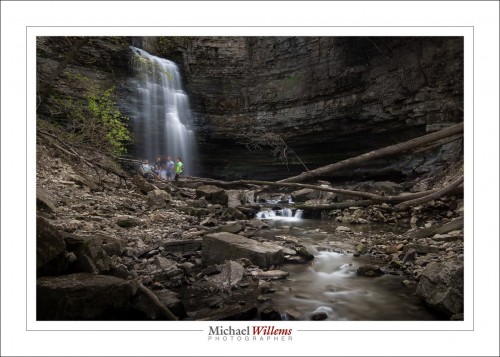
Meaning if you are picturing something that happens as a continuous flow, you should use a slow shutter speed, to capture it as that flow.  Like this, a few hours ago:

To do this I did the following:

  1. Defy death by climbing down an unofficial trail.
  2. Use a tripod.
  3. Use a wide angle zoom lens (16-35mm, on a full frame camera).
  4. Put a variable neutral density (ND) filter on the lens, set to its maximum darkness.
  5. Camera on manual. Use 100 ISO and a high f/number; in this case, f/20
  6. Now see what shutter speed I need (20 seconds).

And that’s it!

Notes:

  • You do not always need a slow shutter. For the waterfall, 1 second would have been fine too. But the river looks better at that slow speed.
  • At small apertures you will see sensor dust.
  • Use the 2s self timer, or you will shake the camera by pressing the shutter button.
  • Do not damage your equipment; it’s easy enough!

And you will get great pictures.

___

Footnote: two weeks from now, I shall be teaching “Landscapes” in Timmins, This will be part of that!


 

400-40-4 reminder

You remember the student I shot yesterday with split lighting? Well, here he is again, in the same classroom, a few minutes earlier, with the exact same conditions:

Compare the two.

Yesterday’s photo was made with the camera in “studio settings”, which makes indoors ambient go away. This one was shot using the well-known “400-40-4” settings of 400 ISO, 1/40 sec, f/4. The “indoors flash starting point“, if you will.

That makes ordinary indoors light a little brighter than it is (the room was fairly dark), but still about two stops below ordinary lighting; the subject is lit with my flash bounced behind me.

These two settings should be ingrained in your flash brain as good starting points for very different requirements. Study the two and associate each one with a setting.

___

Need to learn basic camera stuff? Do get my e-book “Mastering your DSLR”, which is available from http://learning.photography — and use the limited time discount code speedlighter on checkout for a 15% discount. Act now, temporary discount!

Light and lines

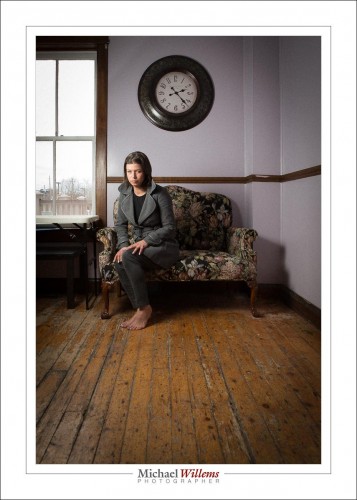
Shot of the day: Impatient Young Woman in Somewhat Victorian Setting, 26 April 2014 in Whitby, Ontario:

Canon 1Dx, 24-70 lens,. 200 ISO, 1/200 sec, f/5.6

A shot like this requires a few decisions.

One: the light. Available light? Easy, but if I want the window in the picture, it is difficult, because the model will be dark, or the window blown out. So I add a flash, so that I can get both done. I use an umbrella so that I get soft light, and I position it carefully to emphasize the subject. and not over-light the background. Meaning, close to the subject.

Then, the lens. Close, or wide? When I see lines like the lines on the floor here, I want to make them into converging lines leading to the subject.. so I use a wide lens. This gives me a wonderful composition where the environment plays a definite role.

The composition: I want to include that floor, but also the clock and part of the window. I want to use the Rule of Thirds. Knowing that, the composition falls into place.

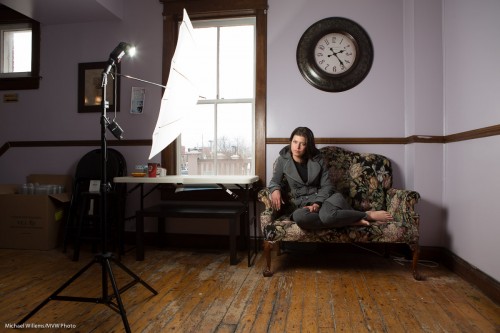
The setup was like this:

The flash was fired with Pocketwizard radio triggers, and was set to MANUAL mode, at one quarter power. I can meter that with my flash meter, or use experience plus trial and error. Moving the flash 40% farther away is one stop less light; 30% closer is one stop more. (Why those numbers, math buffs? Answer after the line.)

Finally, post work. In this case, I think colour is called for:it adds to the image, so no black and white conversion is needed. I add a slight vignetting perhaps, and I straighten the verticals if needed, and if I get the settings right (which I did), then not much else is needed.

Continue reading

Towards The Light.

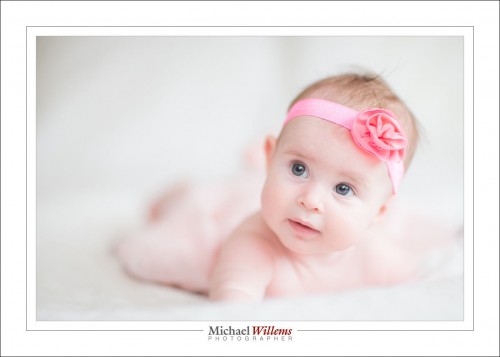
Baby pictures like this, taken just now, are nice, no?

Typical available light, right?

That’s what you might think. But no. Well, yes, but both flash and available. Bounced flash at +2 stops flash exposure compensation, while 800 ISO, f/1.4, 1/20th second also gave +1 on the meter. Without the flash, it would have been too dark on the non-lit side.

Back to my shoot!


Summer. Not quite yet.

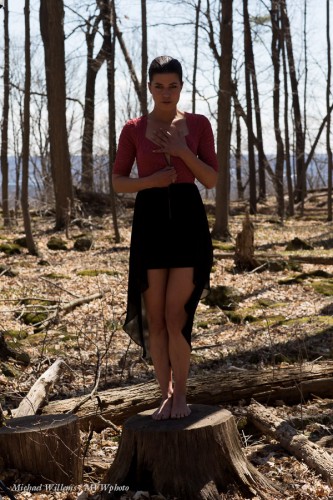
…but enough sun to shoot outdoors. So here was the outside today, in an Ontario that is still devoid of leaves:

Exposed for the background, that is 100 ISO, 1/250 sec, f/7.1.

Uh uh: obviously that does not work. What is the solution?

There are at least two solutions I could choose.

First I could brighten it all. There are many photographers who only do this and it is not a bad solution. It leads to images like:

That is not bad, but what if I wanted to see the background darker? I like to make my subjects the bright pixels. Bright pixels is where it’s crisp and clear.

So the other solution, and you knew it: use a flash. If I shoot into an umbrella, I can get the flash close enough at half power to achieve this:

And that is how I do it.

Notes for this: I used an umbrella to shoot into. Using pocketwizards, I fired a 580EX flash at half to full power (I usually avoid going over half). I used a sandbag on the light stand, but even then it can blow over.

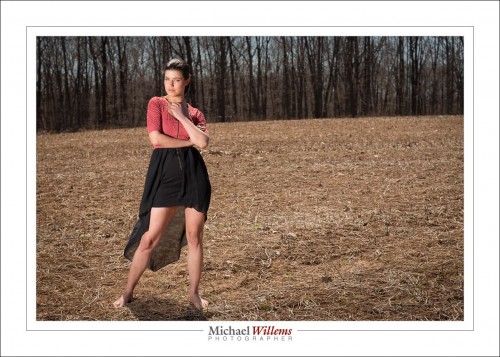
Later, I had to go direct. In this field:

100 ISO, 1/250 sec, f/8.

Why did I go direct? Because in an open field, an umbrella would be blown over even with a sandbag on the light stand. Sometimes it is that simple!

And as said here before: direct, unmodified flash is fine, as long as it is nowhere near the camera!


About exposing to the right

If you look at the ARTICLES above, you will see one about “exposing to the right”. Read it. And perhaps remember this as a “take-home” outcome:

Provided you do not actually overexpose any of the channels (Red, Green Blue), you can always reduce brightness in all or part of the image in “post”, and as a result of doing this increase the quality compared to shooting it darker in the first place.

That is why we expose to the right. I am not advocating doing this all the time, mind you: it would mean post-production work all the time, and we are photographers, not graphic artists. But sometimes you simply do not have the time to put up lights.

Like here:

When I shot that, I knew I would want the ambient light darker. But that would have meant getting out the softbox, boom, pocketwizards, and so on; and that simply was not practical at the time. So I shot like in the pic above, knowing that I could reduce—not increase— exposure in part of the image later by way of masking or vignetting.

With a little work, and I mean a little (perhaps a minute or two), that gives me something like this as an end result:

Now again, of course it is much better to actually shoot this way. But when you do not have a choicer, expose as highly as you can without overexposing either of the three primary channels; then, reduce locally later to taste.


Learning tip

Here’s a learning tip.

When you take a course or read a book (such as my e-books), you get all sorts of ideas. Great ideas that make you think “I must do that, next time I shoot”. Especially when travelling, the ideas can be very useful. Ideas like the use of negative space:

Or of using a close-by object (“close-far”) to introduce depth:

Great ideas. But you forget them, right?

So here’s the idea. Re-read your notes, or the book, and write down the 20 most important learnings. Make a list, whittle it down to about that number. Then write those 20 things down in shorthand, i.e. in simple form, on a piece of paper not much bigger than the size of a credit card. Have that laminated with plastic so it  lasts. Then carry it on you and before you shoot, look at the card for 20 seconds. Just 20 seconds. More is impractical: you’ll never do it. But 20 seconds is doable. That way, you refresh your mind when it matters. Namely, when you are about to shoot.

__

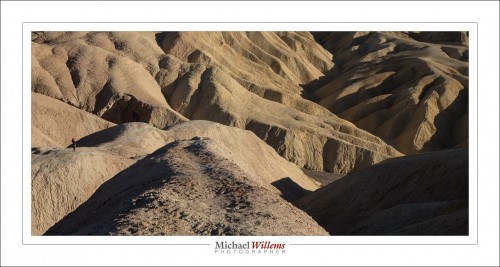
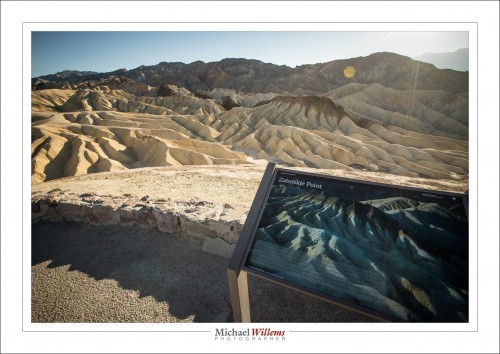
I made the first shot above in January at Zabriskie Point, Death Valley, California, using my Canon 1Dx camera and my 16-35mm lens set to 35mm. I was at 200 ISO, 1/400th second, f/11.

The second shot was the same except for the focal length (here, 16mm) and the shutter speed (here, 1/100th sec).


Shake it up

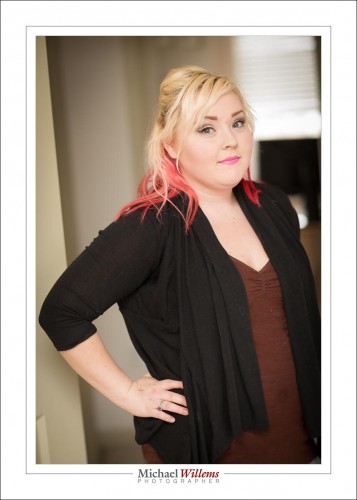
As you know, I was talking recently about shaking it up. And I constantly do:  From “drama” to “flash plus lots of ambient and large apertures”, as in this recent picture of the make-up artist and hair stylist at a shoot:

And you need to keep changing styles, or you ossify. I was recently told by a young person that people of my generation (i.e. people older than 30) could not possibly know anything about art. We like that boring grandmother stuff, like sharp subjects and blurred background. Today’s artists produce actual art, meaning edgy, shaky, unsharp, under- or over-exposed, real, imperfect pictures.

I refuse to believe that.

But I do believe that every generation brings in new ideas, and that if you do not shake things up, you will lose out. So while I am not asking you to expect unsharp pictures from me,I do think you will continue to see development.

As you should bring development into your own photography. Force yourself, if you must. Your comfort zone is a, well, comfortable place to be; but it is not where you should aim to spend all your time.

So here is your assignment  for next week: what is the technique, equipment or light you like least? Use that exclusively.


New Beauty Light Technique

I have illustrated many lighting techniques here, from “Terry Richardson Amateur” to “Studio traditional”. Let me add one I use. I call this “bright-bright-blur”.

What I do here is use a bright room with reflected light. I then use settings, and flash to achieve three things:

  1. Bright ambient light
  2. Bright flash light
  3. Blurred backgrounds

I do that by first, setting my exposure so that the meter reads +1 stop. Yesterday that meant 800 ISO, 1/125th second, f/2.0. I wanted f/2 to blur the background. I wanted 1/125th sec to reduce motion blur. That gave me the need for 800 ISO.

Then, I put on a flash, aimed it behind me 45 degrees up, and adjusted Flash Exposure Compensation (FEC) to +1.3 stops. That gave me added flash to the already bright picture. That flash fills any of the darker areas. Great skin; great beauty light!

The pictures now look like this:

That is basically straight out of the camera.

Clearly, this is light suited to glamour and beauty, more than to my usual corporate headshots. The point is: it is yet another light type you can use; another tool in your creative toolbox. Master it, and then decide for each shoot what light type to use. photography is talking emotion. The more you master light, the more you can tell stories with your photos.


Shampooey Goodness

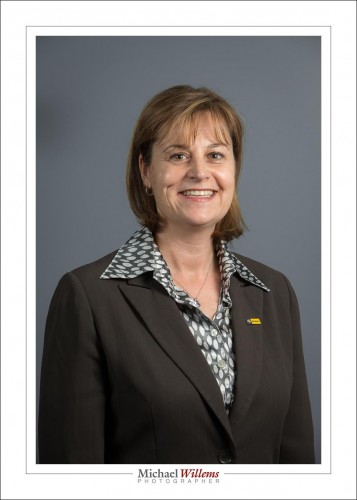
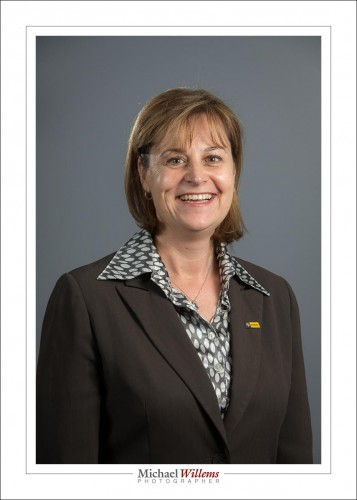
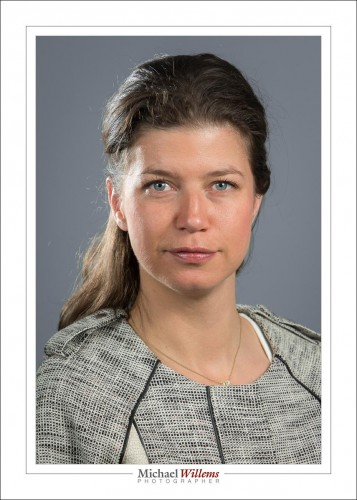
You have heard me talk about this many times. Without “shampooey goodness”, a standard executive portrait can look a little lifeless. This is straight out of the camera (“SOOC”) from yesterday’s executive headshots session in Toronto:

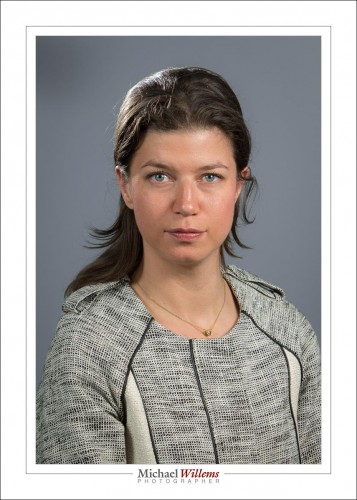
Add a hair/rim light and it becomes much more lively:

In these portraits, the main (“key”) light is on our right:

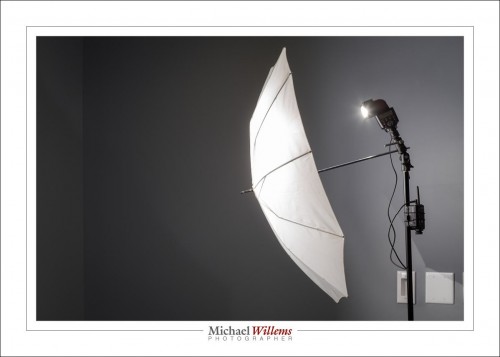
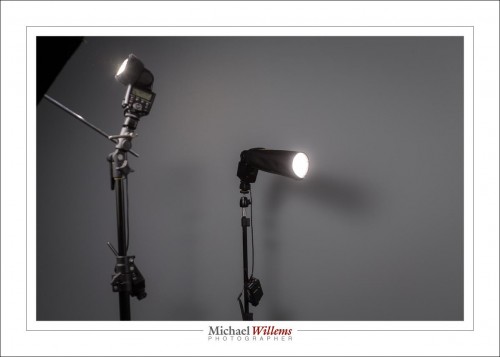
Fill light and hair light are on our left:

Now, it is important how you add that light. Very important. Aim it a few millimetres too far over and you get much spill onto the cheeks, as  you see in this test shot of my assistant:

For reasons of skin smoothness, I generally prefer to keep it on the hair:

That aiming is best done by an assistant, who fires the flash by means of the test button to see where the light hits the head.

And one more thing: when someone has no hair, you call it a “rim light”!