Easy does it

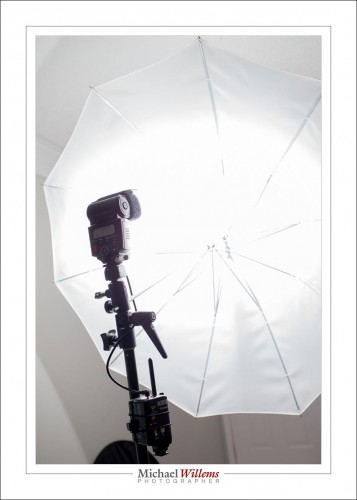
“Convenience” is one of the things that drive me. I want my life to be easy. That is why I use speedlights when I can, for example. So when I shoot, I often use this:

That is an off-camera flash on a light stand with a bracket, a shoot-through (or shoot into) umbrella, and a Flashzebra cable that connects the Pocketwizard to the flash.

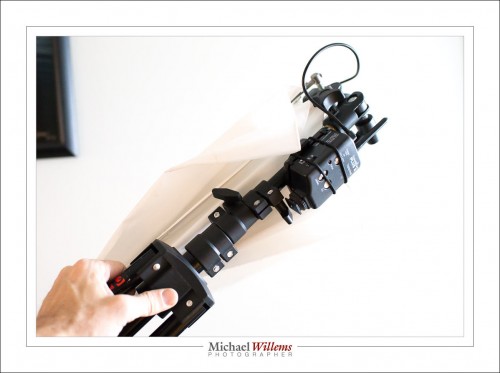
Look carefully and you can see all the individual components:

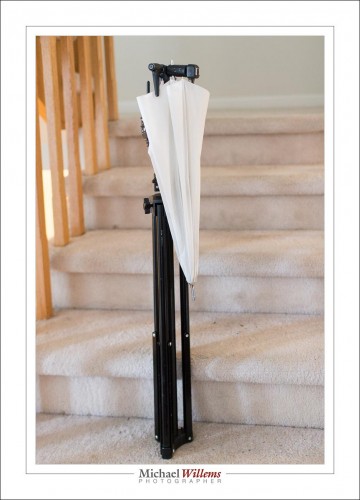
The charm is  that you can leave it all connected so it effectively becomes on integral unit. An easy-to-fold up unit:

Repeat Focus Tip

A repeat from July 30, 2014:

Another one from my trixie bag of tricks.

Have you noticed how difficult it can be to focus when you are in a dark environment? I notice that on my high end Canon cameras, not only does get focus slow or even impossible; it also gets inaccurate. Not good.

You have also seen that I use the Honl photo range of flash accessories, such as the Traveller 8 softbox and the reflectors and grids. And like the speed strap around all my flashes.

And here’s an all-new use of that speed strap:

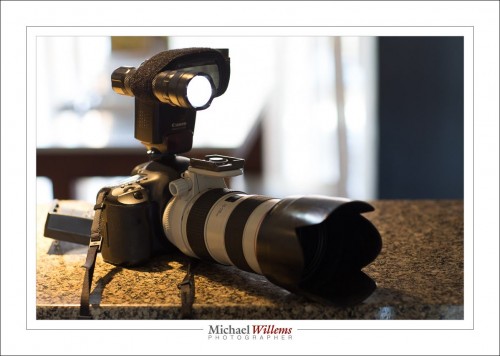
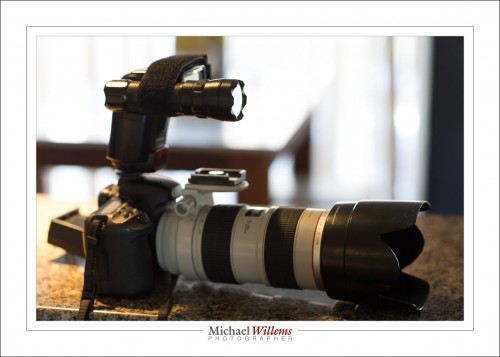
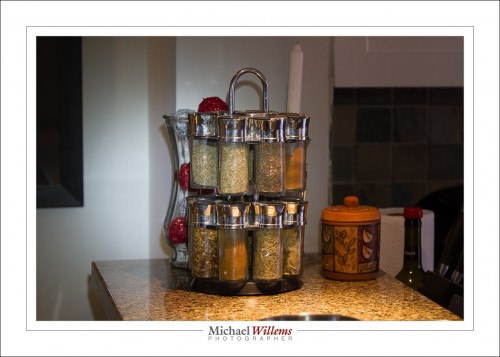
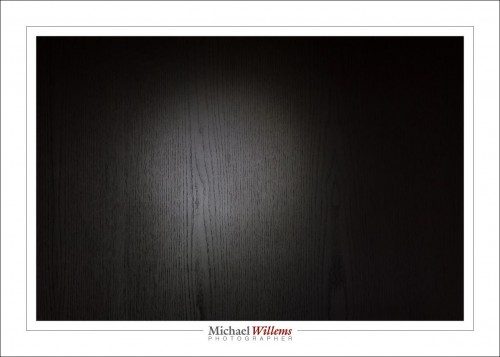
When it is dark, I use a spare speed-strap to temporarily tie a cheap and simple LED flashlight to the flash. It aims forward and I can now focus:

Of course you will want to make sure that the light does not show in your pictures as it does in the photos above. I use this when I am using flash, and ambient light is “turned off”. Or I turn off, or redirect, the flash after focus.

Alternately, you can ask an assistant to aim the flash. But then you need an assistant.


Zoom zoom zoom.

Your flash has a ZOOM function. This allows the light to be sent “where the lens looks”. If you use a telephoto lens, why send light to the sides, where the lens cannot see? This would waste energy.

Normally, the zoom factor is set automatically, depending on the lens. Look at the back of your flash and zoom your lens just after touching the shutter button: the flash will alter its zoom as you move the zoom lens through its range. No work for you. So the light goes only where the lens looks.

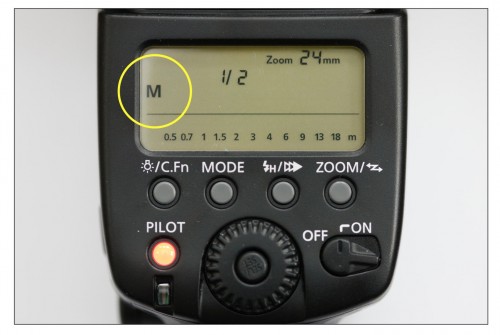
But you can override this. Set flash zoom to “M” (manual). Like here: Wide lens, but I zoomed the flash in as much as I could:

See? A small oval of light.

Why would I want to do this?

  • Sometimes, I do this for effect.
  • Sometimes I do it to get more power: A concentrated small beam is brighter than a wide area, of course.
  • And sometimes, I do it for correction.

Like here:

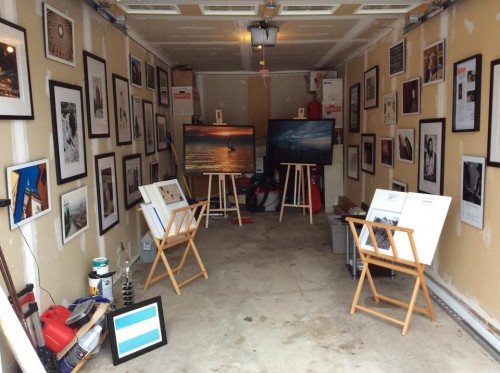
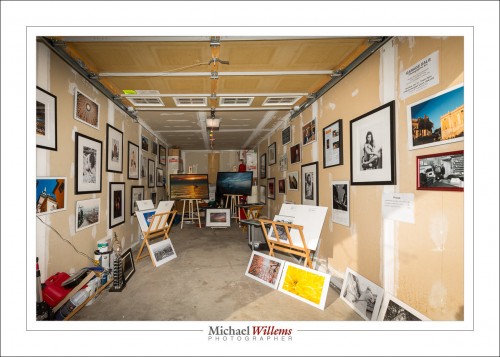
My garage during the recent garage art sale.

Without flash, it looked like this:

The back was dark, so I needed flash. But I did not want that flash to light up the close areas, which were already very bright. Solution: zoom the flash in manually. The lens was 16mm; I zoomed the flash to about 50mm if I recall correctly. That sent light only there where it was needed.

Problem solved. More even, without overexposure of the foreground.

___

Opportunity Knocks: Learn everything I know. See http://learning.photography for all my photography learning books. And decorate your home or office with wall art: the garage sale is permanent. Contact me if you want to see my prints.


Daily tip: Power

Flash TIP OF THE DAY:

Say that you are ready to take a TTL flash shot. Once you have set your camera to a certain ISO and aperture and flash exposure compensation, and you have decided how to point the flash, you can do your test shot.

Say it is too dark. Why? Is it “incorrect metering, subject too light, etc”, or is it just “not enough power at this ISO/Aperture” (the shutter makes no difference)?

To ascertain that, and to see how much reserve you have, set your flash to manual, full (1/1) power:

The example shows half power (1/2); you should select full power (1/1, or 100%).

If you now have an overexposed picture, you know you can do the shot. Go back to TTL (press “mode” until “M” changes to “TTL”) and try again, changing flash compensation until your picture is good.

But if instead, your picture is too dark still, then there is simply insufficient power available. So no amount of flash compensation or metering changes will help. Instead, you have to lower the F-number or increase the ISO until that is no longer the case. (Or you could move to a room with a lower ceiling, if you are bouncing the flash).

I.e. if I were to sum this up, I would say:

Never go to TTL unless in full power manual, your picture is overexposed.

Simple, no? But you would be surprised how many photographers struggle with this simple check.


Macro tip

A repeat post, from a year ago: because it still matters.

Whenever you take a close-up photo – and it does not have to be one taken with a special macro lens – try to ensure that your object is clean. That saves so much work!

Take this image (taken for my fourth e-book):

That may look fine, but if you click and look closely, you will see there is a lot of dust, as well as some scratches, hair, etc.

To make it usable, here’s the dust I had to “remove” in Lightroom: this work image shows one circular marker per bit of dust, etc, that I removed:

..which leads to this resulting final image:

Looks the same? Not when you zoom in. When you zoom in, you see that this one is really very much better.

I hope you take two things away from this. First, the obvious “clean things, especially black things, before you shoot them”. But second: what you see is not always what there was. A professional image often has a lot of work done on it before it is a professional image. There’s no such thing as “click and shoot”.

____

Michael Willems writes blog posts. He also shoots, writes books, and teaches. Check him out on his web site www.michaelwillems.ca, and check out the services and products on the online store, http://learning.photography. If you want to learn to shoot like a pro, or if you are already a pro, if you wish to shoot like a better pro, then you have come to the right place.


The Camera Puts On Ten Pounds

…or so it is said, in the case of TV, where the camera does really put on ten pounds. Why? Because TV is made with wide angle lenses.

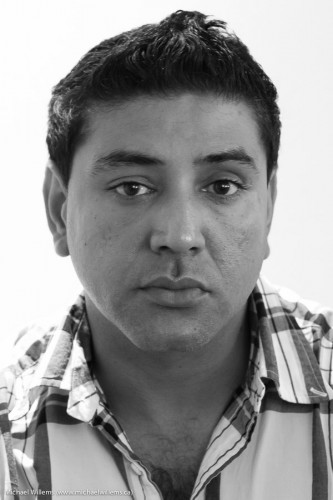
To illustrate this, let’s make a portrait using a 200mm lens:

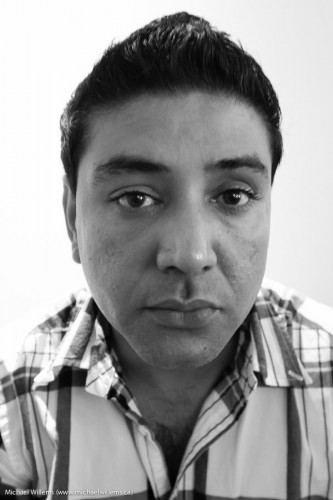
An undistorted view of the subject. Now let’s zoom out to 35mm. But then, wait….  the subject will be small, very small. So we will have to get closer to keep the subject the same size. It is that closeness that causes the subsequent distortion:

All distorted, and again, this is not because of the wide angle; it is because of the closeness that the wide angle necessitates. That is why we say:

“Do not use a wide angle lens for portraits”.

What we really mean is:

“Do not use a wide angle lens for portraits where the subject is large, because then you’ll have to be too close and you’ll get distortion as a result of that closeness.”

That does not sound quite so punchy though, does it?

Sometimes we can use that distortion for a deliberate comical effect:

I suppose the one thing you may want ti take away from all this is: know your lenses and when to use which one. Pay attention in particular to:

  1. Depth of field.
  2. Perspective distortion.
  3. Susceptibility to (or resistance to) motion blur.

All three of these have something to do with focal length. When you are learning photography, it is your job to figure out in which way.


Trick-repeat

I shall now repeat a flash trick I have mentioned here before several times, in 2011 and 2013. Time for another refresher.

You all know how important it is to avoid, at least when the flash is on your camera, direct flash light reaching your subject. Both in order to avoid “flat” light, and especially to avoid those nasty drop shadows, like this (don’t do this at home, kids):

But you have also heard me talk (and those who come to my upcoming flash courses will learn hands-on) that you should “look for the virtual umbrella”. For most lighting, this means 45 degrees above, and in front of, the subject.

So when you are close to that subject, you aim your flash behind you to get to that point. Good.

But what when you are far, as when using a telephoto lens? Then the “virtual umbrella” may be in front of you. And aiming your flash forward is a no-no, since the subject will be lit in part by direct light.

A-ha. Unless you block the direct part of that light!

Like this:

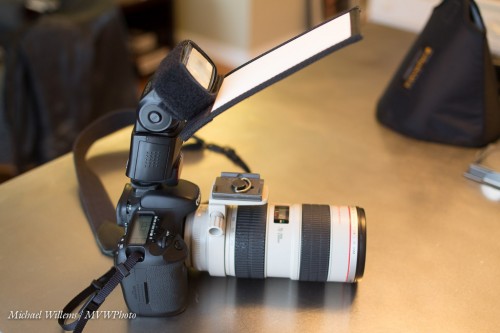
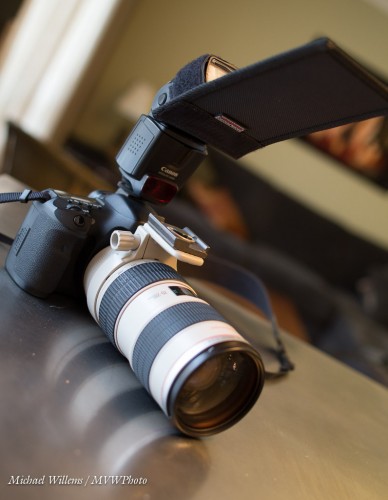
As you see, I use a Honl Photo bounce card/gobo to block the direct light. Simple, affordable, and very effective. I use either the white bounce side, or the black flag side, depending on the ceiling and position.

Simple, effective – done!

And one more thing. Direct flash is not bad per sé. Not at all. As long as it is not coming from where your lens is, it can be very effective, like in this “funny face” shot of a recent student (you know who you are):

Lit by a direct, unmodified flash. And the hairlight, the shampooy goodness? Yeah. The sun. Just saying.


De gustibus..

…non est disputandum. You can’t argue over taste.

As regular readers know, I like to shoot “in camera”, and keep post editing to a minimum. For the most part, my photos are basically SOOC: “Straight Out Of Camera”. But sometimes. I make exceptions.

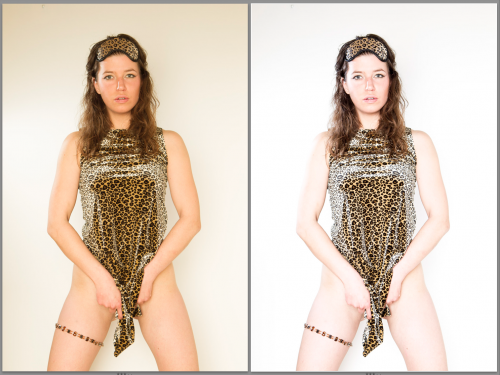
One is this style, a very bright, contrasty, cool, desaturated, sharp style that mostly loses everything into pure white, making eyes and other features stand out dramatically.

Here’s another example, before and after, so you can see what I did. Here’s the original, before the edit:

Shot at the following settings (press “i” in Lightroom repeatedly to cycle through the Information options):

After the enhancement:

Note: the “before” picture was not bad. I strongly believe that you should use techniques like this to enhance, not to fix.

I like this so much that I made it a User Preset. After making your adjustments, click on the “+” in the Develop mode’s preset panel on the left.

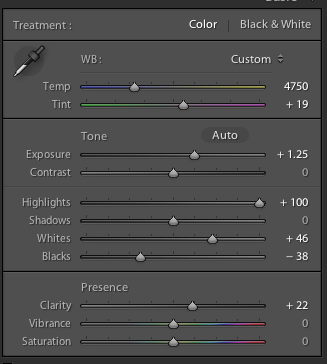
This preset consists of the following adjustments:

…in addition to which, I set “sharpening” (in the DETAIL panel) to +80 and “noise reduction” to +20.

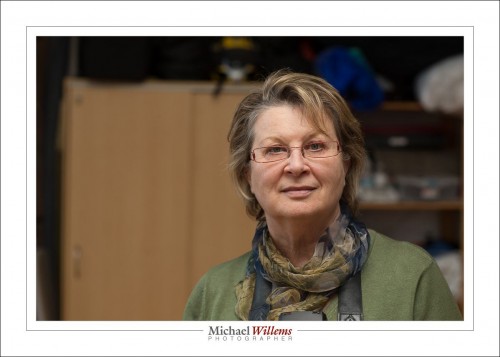
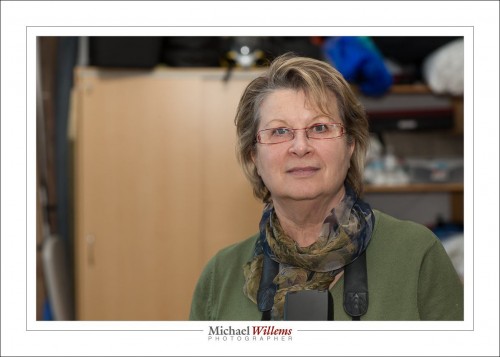
Here’s a side-by-side comparison of an image before and after:

I like that sharp look a lot.

Be careful not to overdo it and apply a particular “look” to all your work. Aim to do it in camera, and apply styles (via presets) only when needed, when they add something. As I believe this one certainly does.

___

BUT MICHAEL, I hear some of you say. “you are giving away your secrets”. Yes, I am. Because adjustments can be found anywhere. What cannot be easily copied is my artistic insight, people skills, $30,000 in equipment, and experience.

Would you like more secrets? Be my guest: have a look at the Christmas Specials on learning.photography: see http://learning.photography/blogs/news right now.

Take direction.

I took a few photos today of talented photographer Lisa Mininni, to demonstrate flash direction to her when bouncing; and I thought I would share them with you here.

I often see people, even pros, walk into parties bouncing their flash straight up, at 180 degrees. Here:

Not good: dark eyes. Because of the straight-up bounce, the light comes from straight above. So the eye sockets fill with, well, with darkness.

Next, I see people all the time with their flashes aimed 45 degrees up, forward.

What’s happening here is that the light lights up the subject’s forehead, and the ceiling above and behind them. As we go down, it progressively lights less.

Now, we use a reflector. I have seen those in use many times before. I get:

Not bad. But.. a little harsh. The light could be better.

And when I see “better”, I mean bouncing 45 degrees behind me. Provided there is a roof, cekling, wall, somwethign to bounce back light, you can do this. Even with high ceilings, as in the studio I made these in, where I would estimate they were at least 13 ft high:

Perfect. To really see the difference, view them large and download to your computer.

Now, keep in mind:

  • 45 degrees behind is merely a starting point. And a good one. But the real way to do it is to start with the subject’s face. From there, mentally draw a dotted line to “where the umbrella would be” if you were in a studio. Now continue that line, and where it hits a wall or ceiling, that’s where you aim.
  • What I am talking about here works—usually. But each situation is unique, so “never say never”. Sometimes, “straight up” or “forward” are the way to go.
  • I am mixing with ambient light. A good starting point for that, as regular readers know, is the “Willems 400-40-4 rule”: 400 ISO, 1/40 sec, f/4.
  • Watch your power. If the ceilings are too high, or if you need to use a small aperture like f/8, you may have to go to higher ISO values.

Using a flash is easy once you know how. Learn, and see how amazing the options are that are now open to you.


TIP: My courses and books will help: see http://learning.photography—special Christmas pricing applies. Joining the Facebook Speedlighters Forum on https://www.facebook.com/groups/SpeedlightersForum/ will also help: many people will help you learn.


High speed flash.

High Speed Flash. Also known as High Speed Sync, or HSS, or “Auto FP” flash. Your camera/speedlight combination probably has it. Let me explain what it is, why it’s good, and why it’s nevertheless seldom useful.

First, the term “High Speed” is a misnomer, since it is actually slow speed flash. Let me explain.

Normally, a flash lasts 1/1000 sec or less. At 1/32 power, it’s only about 1/30,000 second. Very, very fast.

But there’s a problem: the shutter cannot keep up. You see, the shutter needs to be fully open for that quick flash to be able to illuminate the whole sensor, but at speeds above 1/250 second, the camera makers use a trick to get faster shutter speeds: instead of opening fully, an ever narrowing slit of light travels down the sensor, so the shutter is never actually fully open.If you try to use flash, only part of your picture will be illuminated.

But there is a trick: HSS, or “Auto FP” flash. When using HSS, instead of flashing once, the flash goes FlashFlashFlashFlashFlashFlashFlashFlash very rapidly (at a rate of 30,000 times a second).  This makes it into what is effectively a continuous light. As the narrow shutter slit travels down, the FlashFlashFlash keeps going on and hence the flash illuminates the sensor gradually.

So, set your camera (Nikon: camera menu, select “Auto FP” flash sync) or flash (Canon: set flash to HSS symbol) to high speed and you are set to go. You can now use any shutter speed, up to whatever. 1/4000? Sure. Go for it.

The problem? HSS loses most of your power (you are illuminating the closed part of the shutter, after all), so your flash range is reduced. At 400 ISO and f/8, my flash has the following maximum range:

  • 1/30 sec:     9m
  • 1/60 sec:     9m
  • 1/125 sec:   9m
  • 1/250 sec:   9m
  • 1/500 sec:   3m
  • 1/1000 sec: 2m
  • 1/2000 sec: 1.5m
  • 1/4000 sec: 1m
  • 1/8000 sec: 0.7

So up to 1/250, varying the shutter speed, as you would expect, has no effect. But then HSS kicks in, and the range starts to drop dramatically. At 1/8000 sec, my flash, at full power, only reaches 70cm (about 2 ft). And if you are using a modifier, like an umbrella, forget that: you would be lucky to get a few inches.

So while HSS is a great idea, it is not very useful in most practical situations. Because you are most likely to need to need it when it is bright outside, but that’s also when you need most power and cannot afford to lose any. Catch-22, since HSS steals from Peter to pay Paul. Now you know.

Math buff note: can you see any math logic in the numbers above? Yes, every stop faster shutter speed loses you the square root of 2 (roughly 1.4)  in available range. So, two stops faster shutter means half the range.