It’s not rocket science.

Photography is not rocket science., But it IS a skill that needs to be learned, and if you want to do it well, just like a rocket scientist, you need to dedicate time to learning.

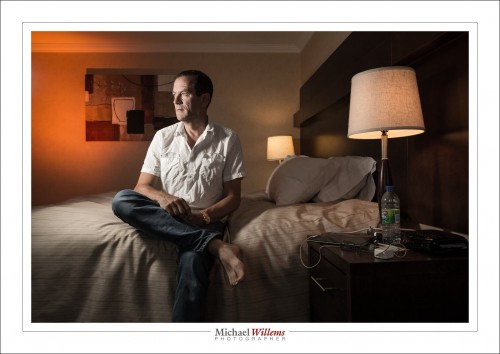
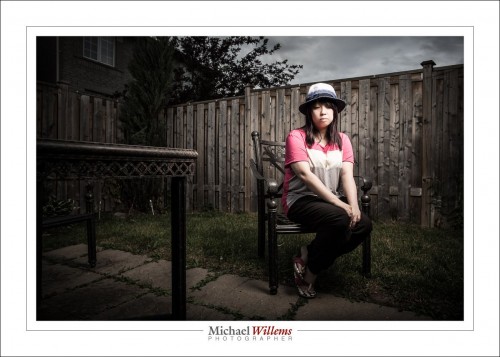
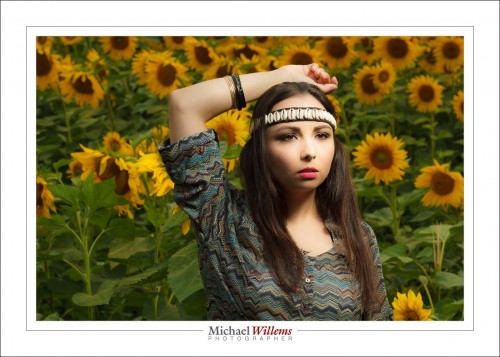
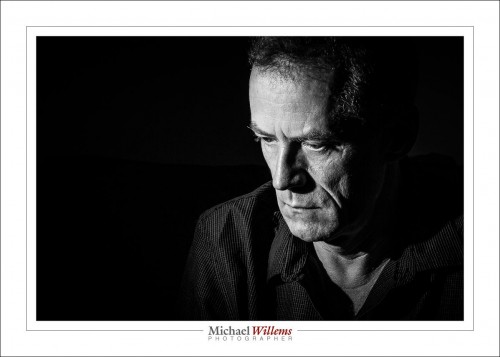
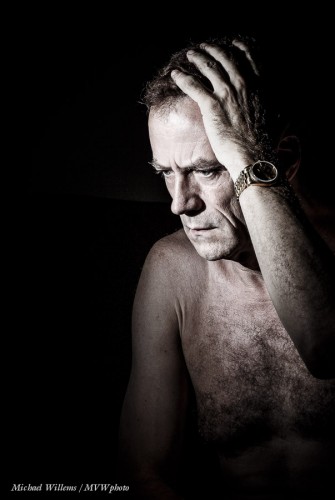
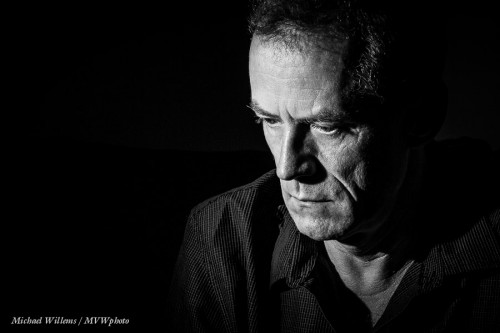
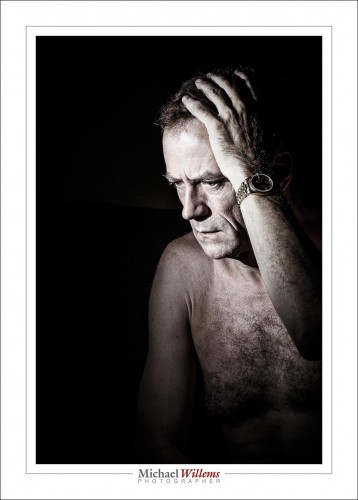
Followers of this blog know that I have a particular style; and my style is what I would call the dramatic portrait. Darker, saturated colours. I.e. like this:

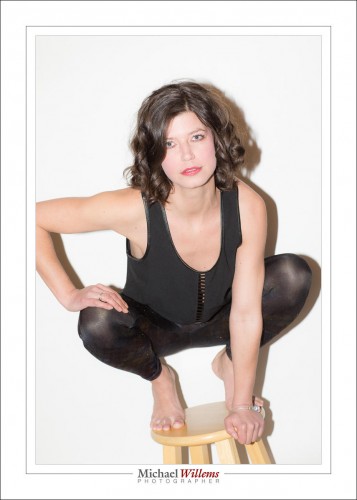
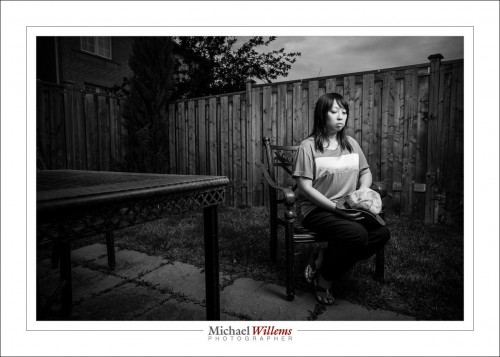
…rather than like this:

So. Which one is right? Both. Either. Neither. Whichever you like.

My personal answer is very clear: the first, for me. I don’t suppose I have to explain again: expose for the background, -2 stops as a target; THEN worry about flash. Read the flash book (buy it today at http://learning.photography) and take a course from me to learn how to do this like an expert.

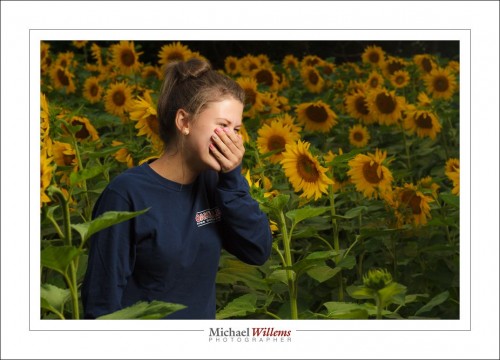
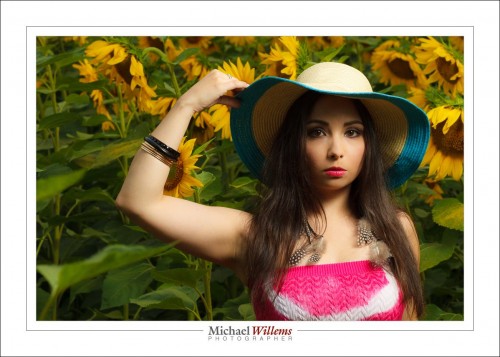
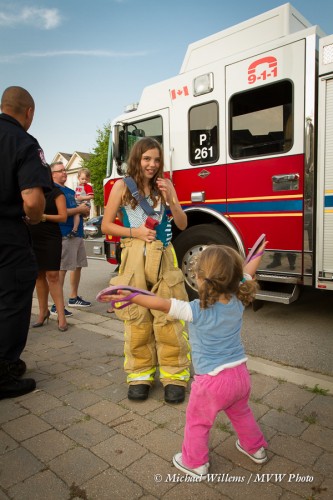
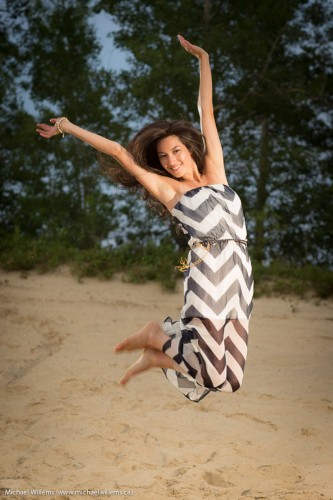
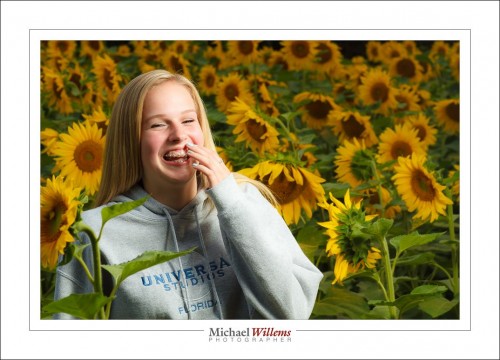
But look at the girl. Isn’t that a great picture of a tween? Silly, unable to be serious… during a recent shoot,  two girls and a set of grandparents turned up; I offered to take their picture, and did. Why do people not have pictures of their children like this? Surely not to save a few dollars…?

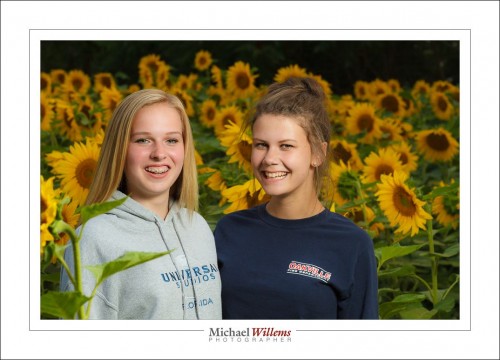
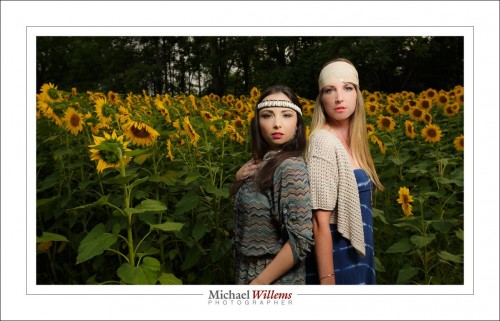
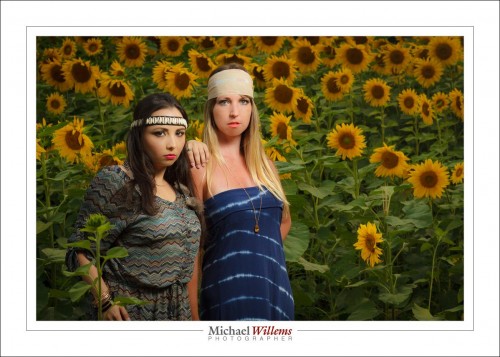
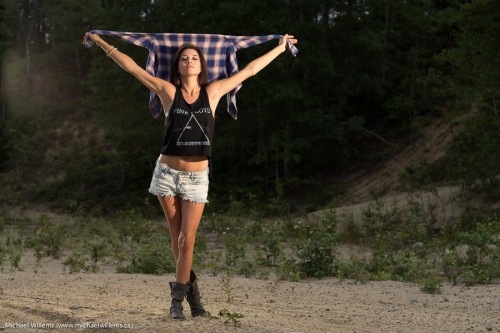
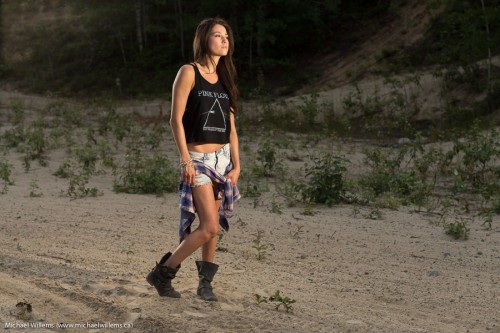
The two friends together:

And the girls themselves? When they’re all grown up, wouldn’t they want better pictures of their onetime bff than the iphone selfies they have (and will inevitably lose!) hundreds of? Please, have a pro do some cool pictures of your children. or learn how to do it yourself. Buy the book, take a course, and never look back.

And now back to regular programming.


A Business Portrait

Today, I shot another business executive portrait. Or rather, a series of portraits. I needed both formal and informal.

What are the needs for an executive portrait? What does a photographer need to be able to do them well?

Equipment—so I have a full studio in the car. And at least two cameras, five speedlights, four light stands, softboxes, umbrellas, and so on. Fast lenses, too. Clasps, brackets, modifiers, “thingies”.

Knowledge—clearly, you need to know your stuff. Especially, know about light; light direction; flash; standard portraits; portrait “gotchas”; and balancing flash with ambient.

Composition—this is the most important need: quickly spotting the opportunities in an office environment, which was not designed for artistic portraiture. If you can learn this, you can do successful business portraits. You need to be able to see context: an environmental portrait is also known as a “contextual” portrait. The “background” needs to be meaningful. This is what separates the men from the boys, i.e. where you use your experience.

Detail—you need to be able to see detail, especially “stuff to remove”. You do not want things coming out of your subject’s head, you need to avoid including garbage cans, and so on. Keep your eyes open!

People skills—you need to see what the person you are shooting is all about, what makes him/her tick. You need to establish a relationship quickly. Be reassuring and be confident: any hesitation will be seen as a sign of weakness. Exude the sense that you know your business.

Post—you need to know what you can do in post-production; and you need to be good, and quick.

So let’s take a look at today. The challenges were the usual: no space, no obvious places to shoot. No space for formal, and no obvious places for informal. The office was small, and there was no time for a long walk-around. Normally I would like an hour by myself to find good spots; but this time, the walk-around had to be done with the client showing us.

Challenges. But that’s why I am a photographer.

Of course we did “formal” using a door as the backdrop, a speedlighter/umbrella as key, ambient light as fill:
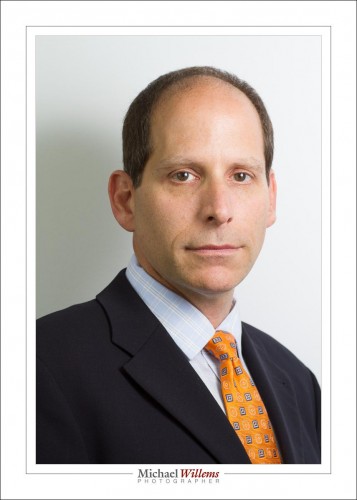
Good. Well lit, nice catchlights in the right place.

Now, the environmental portraits.

The first thing I noticed was a nice hallway with converging lines. I put my assistant, intern Daniel, in it, for a test shot:
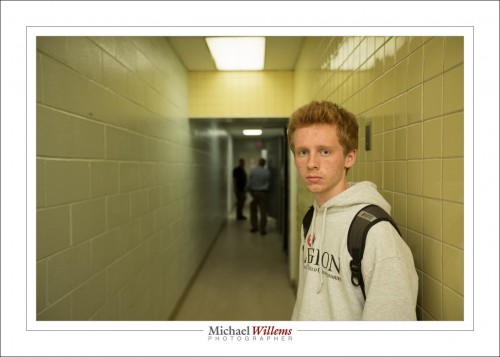
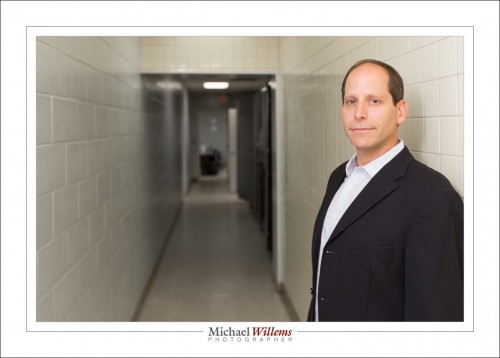
Yup. That works. That is not a finished product, but when I see that, I know what I can do. In the end portrait, I de-saturate the yellow, to get this:
But the other side appeals more, because of the visual interest and because of the “work” it implies: this is a manufacturing facility, after all. See that other side here:
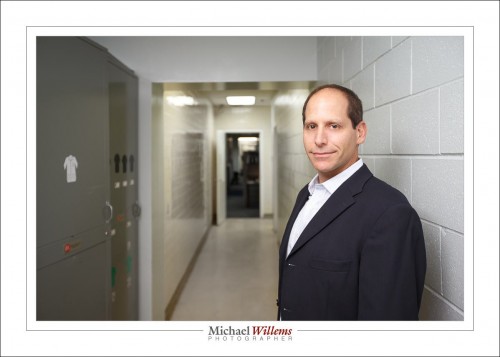
(1/200 sec at f/2.8, ISO 400, bounced-behind speedlight)

That I am happy with.

Next, more converging lines: the test kitchen. I did the same there:
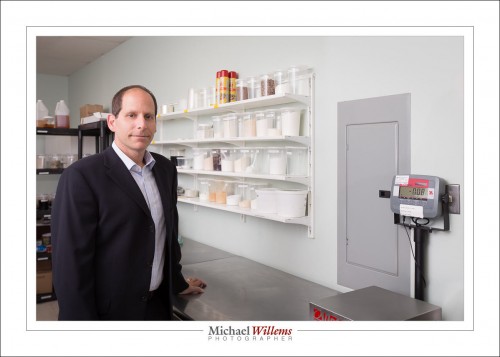
(1/250 sec at f/5.6, ISO 400, “bounced-behind-me” speedlight plus ambient)

Or vertical:
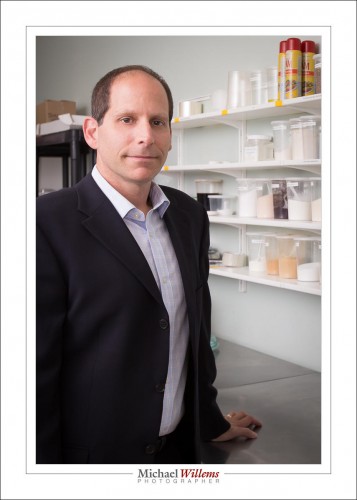

And finally, a more traditional office shot.
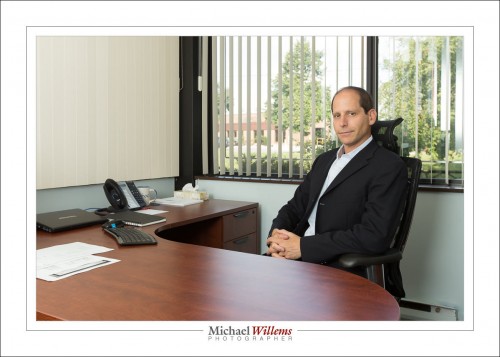
There, the challenge was to expose the green background properly. Not much of a challenge: all you need to do is pay attention. Expose for that background, then add flash. 1/250 sec at f/5.6, ISO 400.

As you see, a simple “executive headshot” shoot can actually be fairly complicated and can need a whole range of skills. On the plus side, this kind of shoot is fun, and can allow you to get really creative.

___

Want to learn this stuff? Yes! Take some private training from me, and read my books, from http://learning.photography.

 

Outside

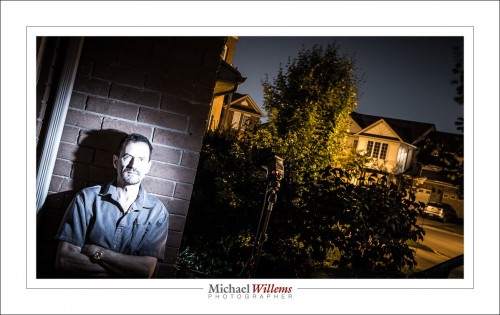
Outside the box, that is: Do not be afraid to think a little outside the box sometimes. Like here, me last night:

20s at f/7.1, ISO800. 50mm on Canon 1Dx.

The flash has a grid, leading to a circle of light, a spotlight effect. I am blown out by the flash, for an extra intense, eerie effect. The sky and houses have light due to a 20 second exposure. Post production made the saturation lower (“desat” effect). The “Dutch Angle” tilt gives it interest also.  And although the flash would take 10 seconds to remove in Lightroom using the healing tool, I prefer to leave it in for extra mystery effect. 50mm lens gives this a realistic, undistorted look.

Key in this photo? Balancing ambient (start with it!) and flash (add it afterward).

Now, off to a CEO shoot, which although it will presumably look very different will use the very same principles. Photography is an amazing tool.


Develop yourself

Today’s post is about style in photography.
There are many, many styles. And they are all very different.

For example, photojournalism (as I plan to be doing in Israel, see here) is very simple: no edits. Colour or, often. black and white. Flash is allowed, but other than that, it should look as it looked to the eye.

IV - Intravenous, by Michael Willems

Photojournalism: from "IV - Intravenous", by Michael Willems, on 180mag.ca

Or there’s this; I would call this “Annie Leibowitz’s style”:

Then there’s the “amateur aesthetic”, made popular by Terry Richardson. Harsh light with a direct flash, overexposed a little:

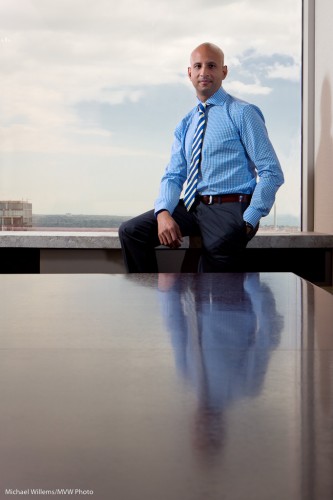
Or business “annual report style”:

Reflection, photo by Michael Willems

Reflection

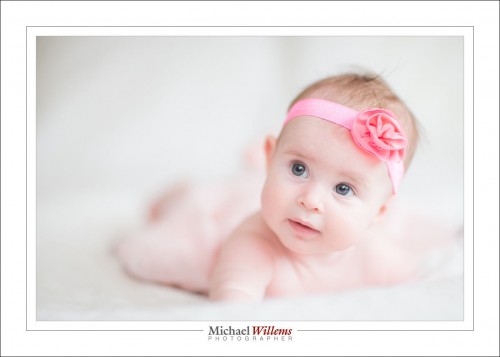
Or the natural soft light style we use with babies:

Or “desat”, very popular today:

Or my own “dramatic portrait lighting” style, which is an adaptation of earlier Dramatic Portrait techniques:

I could go on. There are almost as many techniques as there are photographers. Almost, not quite. And as a photographer you should be able to master any and all of them. “It’s just technique”, as a friend once said to me.

But it’s when we get beyond that that some of us are lucky enough to develop our own styles. My style is unique to me. And the last picture is a little more my style than the others are.

So the photographer who recently told me that my work was “wrong” and “it looks like your models are photoshopped in:” and “you must open the shutter for longer” is just plan incorrect. It’s my style, and it’s recognizable as my style, and you don’t need to like it. But if you do, great. Your style is yours. If others like it, good for you. If not, it can still be just fine, as long as you like it.

____

Need Help: Scroll to yesterday to see my Israel project proposal and go here to support it.. every bit helps.


You don’t need flash.

A photographer told me that the other day. “You don’t Need Flash. If it’s not night, you do not need flash”.
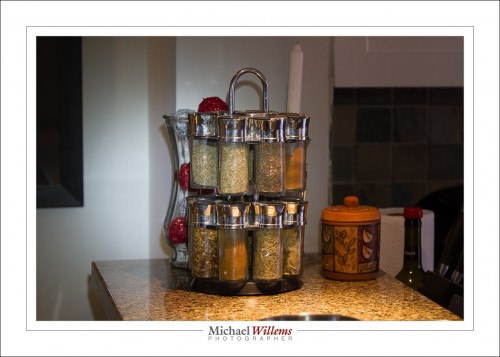
And here’s why he is so very misguided; even plain wrong.

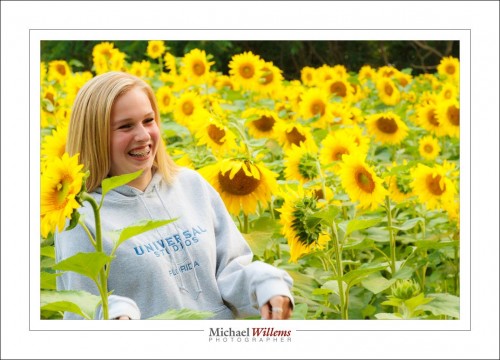
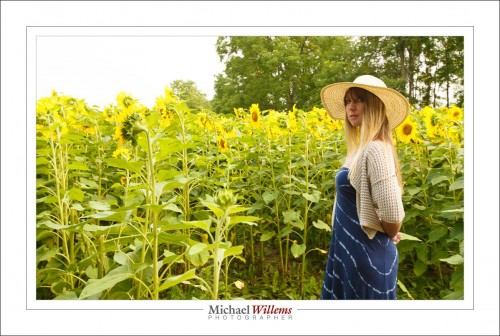
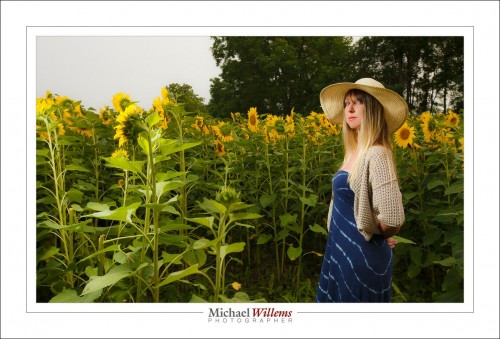
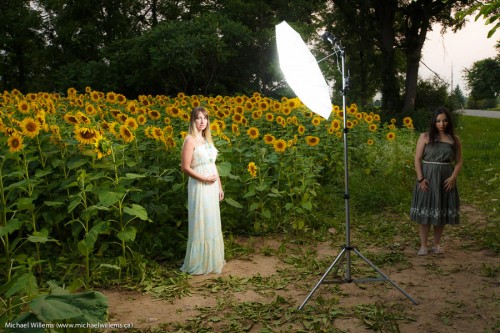
You don’t always need flash, sure. But sometimes you do, if you want creative options. Like yesterday, during a sunflower field with model shoot. I could have shot the models the traditional no flash way, i.e. a small enough aperture, or high enough ISO, or slow enough shutter, to get:

But instead I preferred this:

For that, I exposed the background to about –2 stops (meter displays –2, or if in an auto mode, you use exposure compensation to –2). (In fact I was in manual mode: 1/250th sec, 400 ISO, f/8. That showed as –2 stops on the meter.) Then I used an off camera flash with an umbrella to light the subject. I got the image above. Look at the model’s face: she is the “bright pixels”, and she is lit from where I want.

A couple more examples of photos from yesterday, also done with flash:

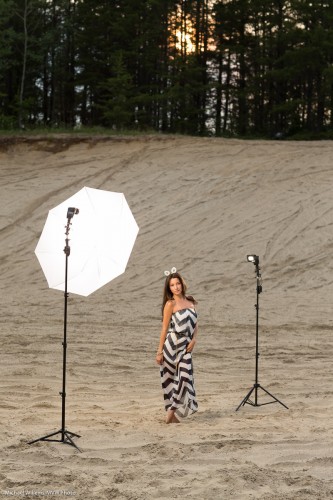
And all this was only possible because of flash. I set up the single flash as follows, firing through an umbrella:

QED.


Action…

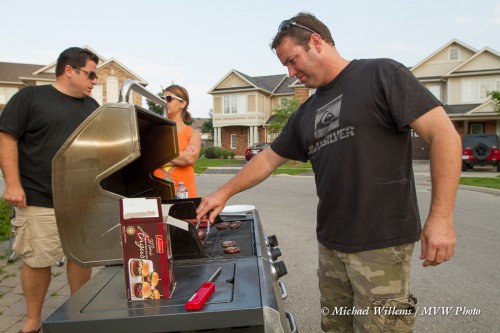
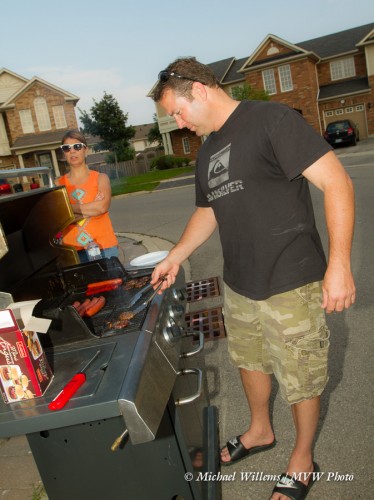
I shot some photos at a block party yesterday. A block BBQ, to be precise. And I would like to share a few of those here, in order to convey a few points you may find useful.

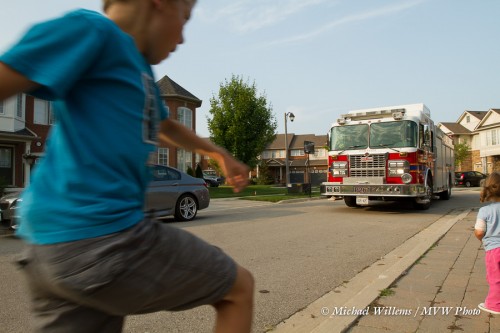
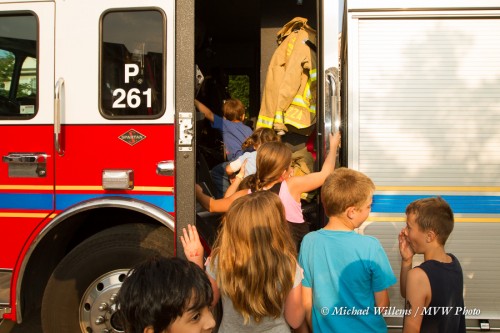
First, the colours. As you see, they are vivid. Did I pop them up in “post”? No. I used a flash. Using a flash allowed me to slightly decrease background exposure, which makes colours saturated. The foreground is lit by my flash. If you go two stops darker, or more, for the background, you really ought to use off camera flash. But up to about a stop and a half you can get away with on camera flash. (Manual mode, 1/250 sec, f/8, 250 ISO; TTL Flash). Yes, all 8 of these images involve flash.

It is for this reason that I am sad when I hear “I am a natural light photographer”, as I so often do. Many photographers say that—some, famous and experienced. In my view, at worst, saying this means “I do not understand flash”. And it always means “I am deliberately and knowingly depriving myself of half the creative options out there”. I can do available light or flash light. An “available light only” photographer can only use, well, available light on;y. That seems a shame, to deprive yourself of creative techniques you may in fact want, or even need, to use on occasion.

A few more examples:

You see the same here. All pictures in this post involved the flash.

You also see also that I made it easy on myself by using a fairly wide angle lens (mainly the 16-35, but on a 7D, so that means 24-50 in “real” numbers).

You will also notice that as much as possible, I shot with late afternoon sun (the “golden hour”). Not always possible, but when it is available, use it.

And above all, you will start to notice that the best shot are moments. Moments where something specific happens. Not just dead-looking poses.

The next time you shoot an event, try to use these techniques. You may not like them; you may say “that is so not my style”. Fine—but you do need to know them.  You owe it to your family, customers, whoever you are photographing.

___

Let me photograph you; your kids; your family. See http://www.tolivetolove.com and http://learning.photography for samples, prices, and more. Special offer this week for headshots: but with or without special offers, go for it and have your family captured forever in beautiful photos. Please do it… it is the only time travel you will ever do.


Flash Light Trixie

Another one from my trixie bag of tricks.

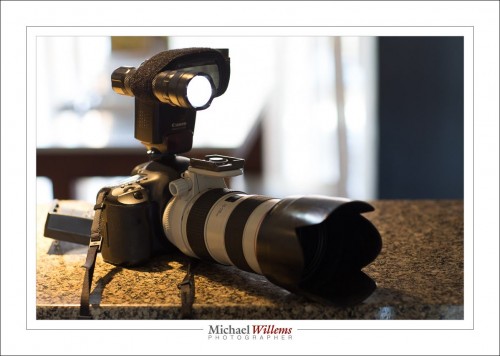
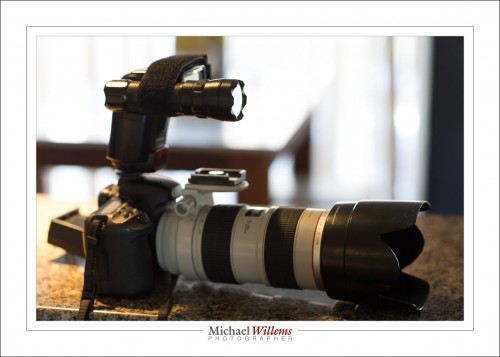
Have you noticed how difficult it can be to focus when you are in a dark environment? I notice that on my high end Canon cameras, not only does get focus slow or even impossible; it also gets inaccurate. Not good.

You have also seen that I use the Honl photo range of flash accessories, such as the Traveller 8 softbox and the reflectors and grids. And like the speed strap around all my flashes.

And here’s an all-new use of that speed strap:

When it is dark, I use a spare speed-strap to temporarily tie a cheap and simple LED flashlight to the flash. It aims forward and I can now focus:

Of course you will want to make sure that the light does not show in your pictures as it does in the photos above. I use this when I am using flash, and ambient light is “turned off”. Or I turn off, or redirect, the flash after focus.

Alternately, you can ask an assistant to aim the flash. But then you need an assistant.


Gelling!

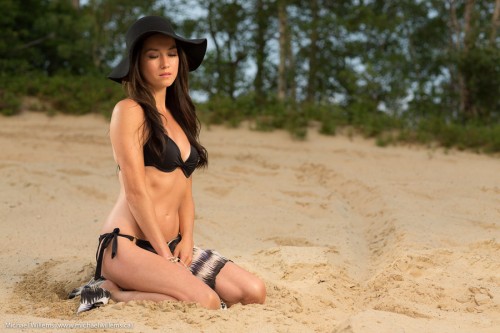
In yesterday’s shoot with Vanessa Scott in Timmins, Ontario, I used gels to recreate the sunlight that was fast fading below the hills. All shot with Canon’s amazing 85mm f/1.2 len.

(1/200th, f/4, ISO100)

Vanessa looks like she is in that light, because I put a CTO (Colour Temperature Orange) gel by Honlphoto on the main flash, like so:

You will see also that I am using a second flash, fitted with a grid, for the hair light. Two flashes driven by Pocketwizards—that’s all.

One more from this amazingly versatile young woman:

1/60, f/5, ISO100 — I had to adjust for fading light


Again, the flash allows me to offset the subject against the background, which I keep dark. Without the flash, I would lose the nice colour and I would have to make everything, including that background, very bright.

And that’s how the cookie crumbles.


Reflecting a mood

Today’s shoot was themed “Sad”. I have a student, Evelyn, who is a talented photographer herself, who asked for some help to learn how to shoot a sad portrait/self portrait.

So before she arrived, I quickly shot one of myself. It ended up like this:

The shot took just a few minutes to produce, and I will share the history of how I made it.

First, I decided to not use the studio, but the couch. The studio is too clinical for the subject to get into a sad mood. Sad mood makes me think things like:

  • hard light
  • lots of darkness
  • b/w or desaturated
  • extra contrast and presence and sharpness
  • no eye contact
  • eyes cast downward
  • using hands, arms, etc

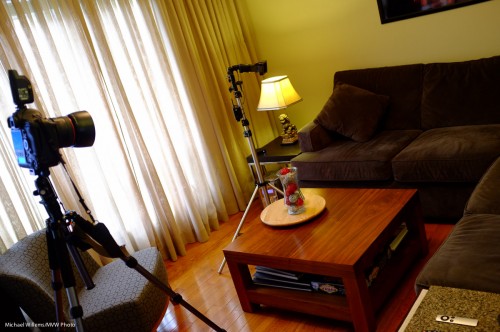
So I used one flash, off camera. The camera was on a tripod. I used pocketwizards. Here’s the obligatory “pullback shot”:

The camera was set to 100 ISO, 1/125th second, and f/8, standard studio settings, with the flash set to Manual mode, 1/4 power. Experience tells me that those settings will work at that distance.

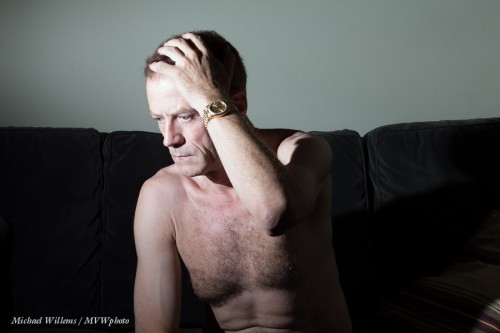
When I use that setup and those settings with a bare flash, I get this, straight out of the camera (“SOOC”):

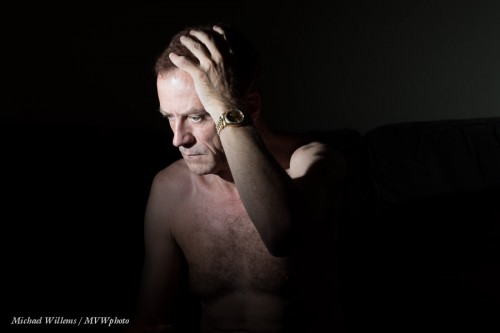
One of the elements of a sad picture is darkness. Lots of darkness—a metaphor for a dark mood. So I want a chiaroscuro picture. Hence, I do not want the wall lit up. The solution: a Honl Photo 1/8″ grid fitted to the flash does what I need. Here, also SOOC:

Better.

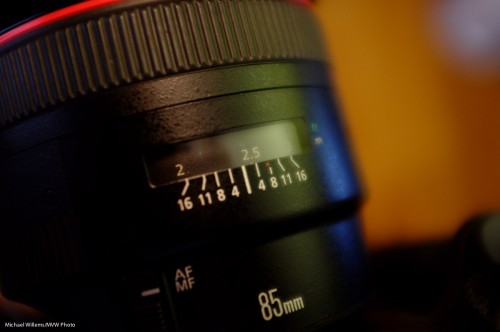
With the lens set to “M” (manual focus) I used the lens scale to manually set the focus distance to the distance between the camera and where I would be. That’s why you have that lens distance scale:

I checked by zooming in to 100%. After one slight adjustments, my pictures were razor sharp. I used the timer shutter release.

After I took the image, I desaturated it using my standard “Desat” develop preset, and I cropped the picture vertical:

I decided to go B&W for most. Here again is the winner:

Having that, I awaited my client and after she arrived, we shot some similar ones of her. All using the 85mm prime lens. Of you have a crop sensor camera, a 50mm lens would do great for these shots.

In the above image, the sadness is produced almost entirely by the person’s expression and body language. But sometimes the background is not absent, but instead is an essential active part of the mood-setting. That was shot two, made outdoors with a Bowens studio strobe powered by the Travel Kit.

I used my 85mm lens for the previous shots, but I used a 24mm prime lens for this shot. A wide angle, so the subject will be small in the image (else I get distortion). An environmental portrait.

Here it is, also desaturated, but otherwise SOOC:

And finally, one in B&W:

What do you think? Sad enough?

___

Want to learn this? Do a custom training session like this, designed for your unique individual requirements. Check out http://learning.photography and contact me to find out more. Whatever your level of knowledge, you will kick your photography into overdrive by filling in knowledge gaps and refreshing creative ideas. In person or via the Internet. Do it!


Opinions

I never use others’ materials, or criticize others, but this video is interesting and this person is 100% right in his criticism of Ken Rockwell:

https://www.youtube.com/watch?v=I38q5Ad5GaM

Watch the eleven minute segment segment that starts at 39 minutes. A segment that makes me feel roughly like this:

Canon 1Dx with 85mm f/1.2 lens; 1/125 sec, 100 ISO, f/8, Off Camera Flash at 1/4 power; Pocketwizards, HonlPhoto 1/8" grid.


Why am I sharing this? Because the presenter in this video is absolutely right, and if you believe Mr Rockwell, you will be setting yourself up for failure. Take it from me: Shoot RAW. Do not use auto ISO. Use good lenses. Doing anything else is recipe for disaster.

There is opinion, and there is silly opinion, and not all opinion is valid. You are welcome here for your daily dose of valid opinion. 🙂

Thanks to Steve Jones for forwarding this segment.