Macro Tip

Whenever you take a close-up photo – and it does not have to be one taken with a special macro lens – try to ensure that your object is clean. That saves so much work!

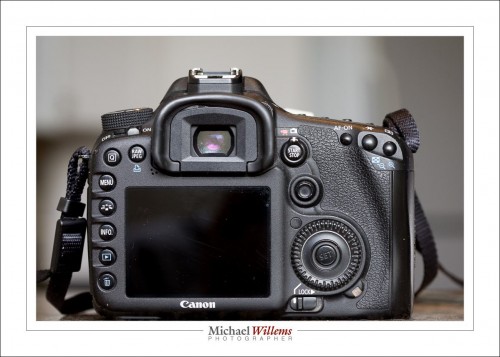
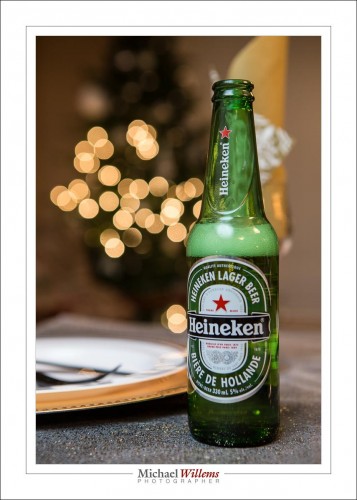
Take this image (taken for my upcoming fourth e-book):

That may look fine, but if you click and look closely, you will see there is lots of dust, as well as some scratches, hair, etc.

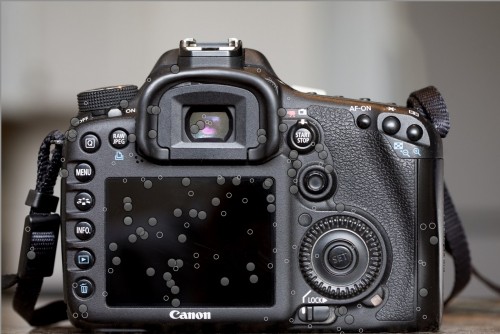
To make it usable, here’s the dust I had to “remove” in Lightroom: one marker per bit of dust, etc, that I removed:

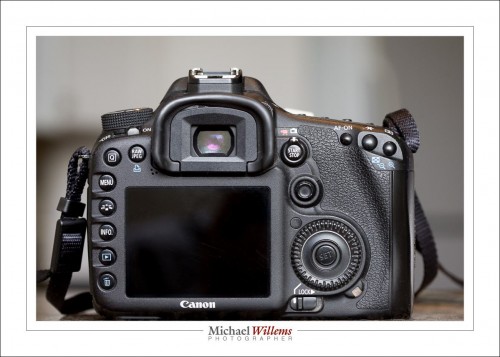
..which leads to this resulting final image:

And when you zoom in, you see that this one is much better.

I hope you take two things away from this. First, the obvious “clean things, especially black things, before you shoot them”. But second: what you see is not always what there was. A professional image often has a lot of work done on it before it is a professional image. There’s no such thing as “click and shoot”.

And with that thought I wish you a very happy Christmas eve day, if you celebrate Christmas; or a general purpose happy holiday if you manage to have the day or evening off and can spend it with family and friends.


Festive Day Tips

As I type this, I am sitting at my car dealership waiting while some preventive maintenance is taking place on one of my cars. And an ex student just said hello, and told me he was going to take some pictures over Christmas. Good!

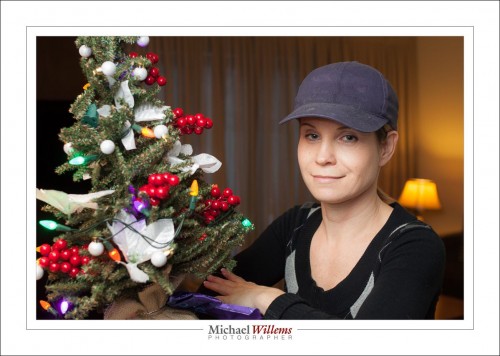
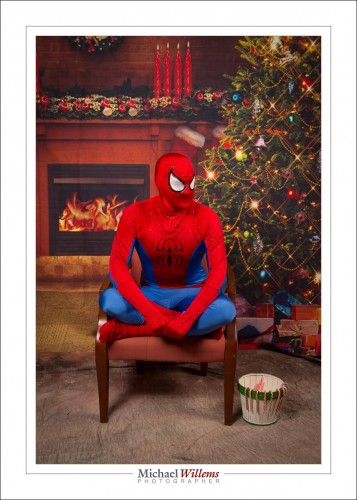
Picture, no doubt, like this one I took of a friend the other day:

And it occurs to me that he and I are not the only ones doing some photography. Hence, a few tips for you for the parties of the next few days.

  1. Make sure your camera and flash batteries are fully charged.
  2. Ensure you have a formatted memory card in the camera.
  3. For “party shots”, you may want a lens in the, roughly, 35mm focal length range, or 24mm on a crop camera.
  4. Put the flash on the camera and aim it upward behind you, if you can find a white or white-ish wall or ceiling.
  5. Use the “Willems 400-40-4 rule” as your starting point setting. That gives you a warmer, slightly dark background, as in the photo above. Adjust as needed.
  6. If your flash part of your photo is blown out and harsh, use “Flash Exposure Compensation” to decrease the flash power. Or inscrease it if it is dark (you may also need to increase your camera’s ISO).

Do these simple things and you will get good pictures, better than ever. And I am telling you this now so you have two days to practice. Enjoy!!


The Compulsory Adjective

This is a tip from my Impactful Travel Photography e-book, which will be released this weekend–in time for Christmas. Just sayin’.

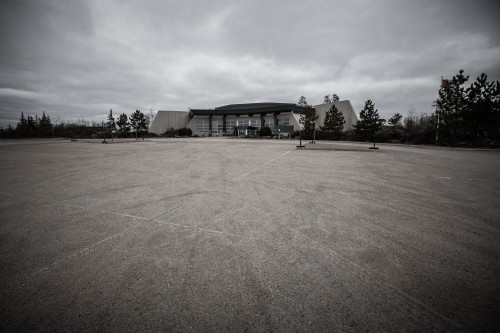
A trick for better travel photos. The trick is simple: when you press the shutter, ask yourself “what is the subject?” If it is simply nouns (“the Eiffel Tower”, “The Shania Twain Museum”, or “the Houses of Parliament”), then the photo will probably be boring. The subject needs an adjective, a descriptor; something you are trying to say. “The Very French Eiffel tower”, or “The Houses of Parliament as a tourist attraction”, for instance.

Or, as above, “The Failed, Abandoned, Shania Twain Museum”. That makes the viewer look and work out the story. It helps the photo tell a story. Most importantly, choosing the adjective helps you decide how to photograph your subject to achieve that story (like by using the empty car park in the photo above, with a wide angle lens).

Remember: your subject should be not a noun, but an adjective and a noun… and an adjective that your audience can guess!


Boom!

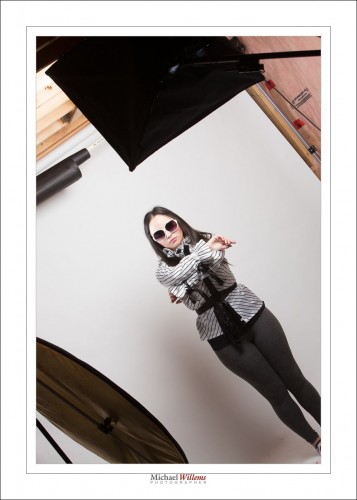
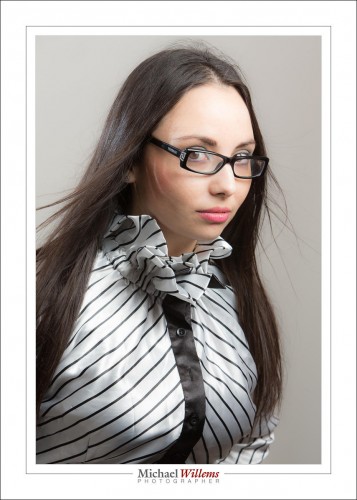
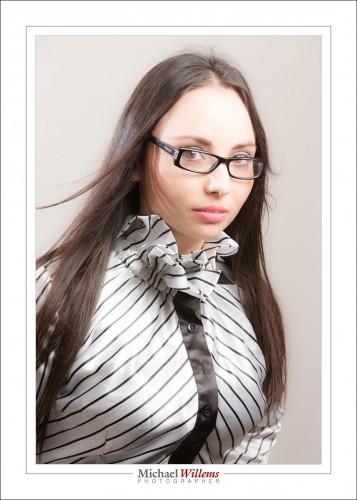
I used a simple softbox with a boom stand today for some portraits:

The softbox is held by the boom above the model’s head. And a reflector provides some fill light on the side I am on – I am shooting from the left, slightly. You can see it reflected here:

The boom means I can have the light directly above the model, in front of her, without me having to avoid the light stand.

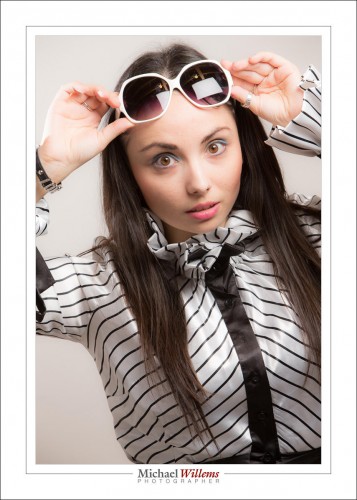
I now get simple butterfly lighting, but I can turn into into loop lighting by slightly turning the model away from the softbox:

A simple light source like this, perhaps with a reflector, can do really cool professional light; that is why we use it for fashion and beauty shooting. Add a hair light and you have everything you need:

And once you gave simple light, you can now concentrate not on light only, but on expressions, positioning. and even, dare I say, it, a little fun in your shoots.

But whatever you do, always remember: in studio shooting, you always need to be aware of the light. Where is it, how is it, what is it. If you do that, you will know what to do.

And now it is almost 2:30AM: time for bed.


A reminder for the festive season

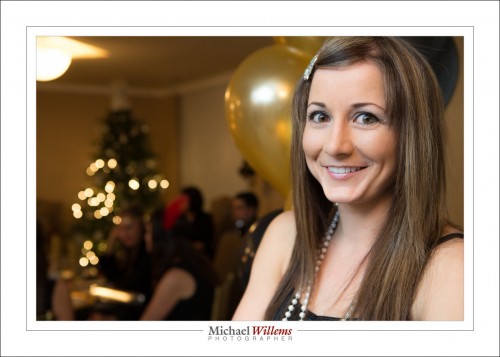
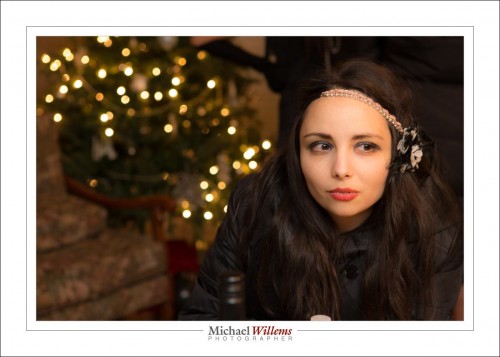
A reminder, with some pictures at an event I just photographed. You can use the pretty lights we see all over the place (Christmas tree lights, festive season decorations) as a wonderful background. Like this:

To do this, you need to really blur that background. This means:

  • Shoot wide open, or close to it.
  • Separate your subject from the lights (not right in front of them).
  • Zoom in.
  • Get close.

If you cannot do all these to the full extent, you can still get pretty lights – they just will not be quite as big. Still worth doing!

Even

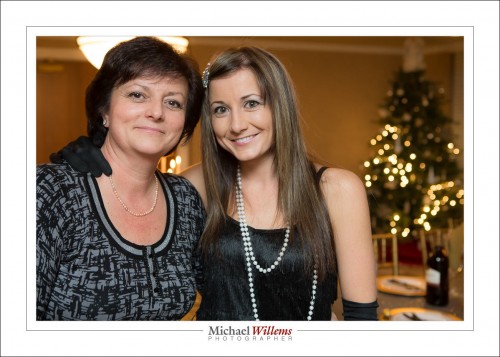
Even not quite as big, they are still nice. I shot these at f/2.8 and f/4 with a 24-70mm lens. And here’s one more, just one more:

Yes, this season affords a great opportunity for cool backgrounds to go with your cool foregrounds.


Friday the 13th.

..is not a bad day so far. I am shooting an event tonight; first, some more writing (the Travel Photography book: I am making good progress and I trust I will have it finished before Xmas), and some admin.

A quick note, today, about TTL flash. You can of course set up a studio setup with manual flash, and when you have time, you do that. But when you do not have time, use TTL for off camera flash. Remember:

  • Use flash exposure compensation when needed (when the camera decides to over- or under-expose the shot).
  • Avoid reflections.
  • Meter off something mid grey.
  • Disable your on camera flash (so that it sends commands, nothing more).
  • If you have two flashes, set them to “A” and “B”.

Now set ratios between groups (Canon) or adjust groups to taste one by one, by stops (Nikon).

I had two flashes here: main flash A on the left; hairlight B on the right.

A:B = 1:1 (Canon) or A and B both set to 0 FEC (Nikon):

A:B 8:1 (Canon) or B -3 stops FEC (Nikon)

A:B 1:8, or A -3 stops FEC (Nikon):

Although the way of setting them differs a little (ratios vs per-group adjustments), the end result is the same. And the benefit of using TTL for this is that it is very fast. TTL with some knowledge and some adjustments when needed, and Bob’s your uncle. Try it, if you have several flashes.


Leave some space!

One reason we use negative space is to show a subject in isolation; small person or object versus big world. But there are other reasons, like this one. We do it also to allow the placement of text, like this:

And that brings me to a related subject. OK, not all that related, but whatever. Namely this: If you are interested in shooting any kind of magazine cover page, I have a few tips for you.

  • First of all, be very sure that your work is 100% technically correct. Focus, lighting, exposure, grain: all have to be perfect, or forget it.
  • Ensure that your work is in keeping with the magazine’s culture and audience.
  • Shoot RAW. That way, colour space choices (sRGB, AdobeRGB, etc) can be deferred until later.
  • Shoot vertical (portrait orientation). Magazines are vertical, after all.
  • And finally: yes, do leave blank space. Text has to go somewhere.

Want to be in magazines? Start by creating a portfolio of great work. Then do the legwork – and there’s a lot of it to be done. And meet all the tech requirements, or you are wasting your time.


Direct can work

Another reminder, if you need one, that direct flash can work. Direct, unmodified flash. As long as it it not on the camera (with a few exceptions), this kind of hard light can be very effective for certain shots. As long as you aim it right.

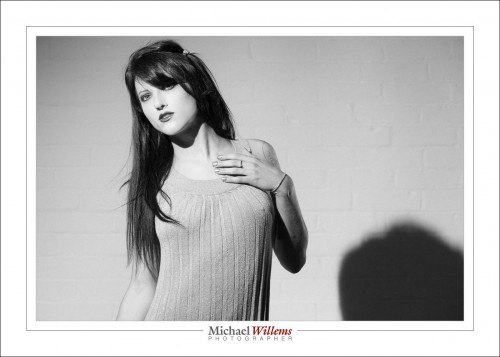
Here’s a studio photo of model Danielle from yesterday:

I wanted a shadow, and the way to get it is by using an unsoftened flash – I am using only a grid on the speedlight. Almost straight into her face: good light for a model.

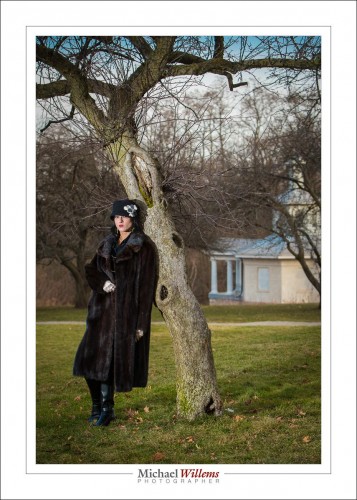
And earlier in the day, this: 1920s style.

And let me show you one more:

In all these photos, direct, unsoftened flash was good – because the flash was off camera, the model was young and had good skin, we want to brighten skin for best smoothness, and I aimed the light carefully.


Expressions Rule

When I shoot Santa pictures and the like, I really want to get a child’s personality into the picture (assuming it’s a good personality). So crying on Santa’s lap is fine, if that is the way it happens. After all, babies cry for a living – do not make the mistake iof always having them look great.

And moments. I look for moments like this (Sunday):

Isn’t that much better than forced, fake, smiles? Parents have been conditioned to expect the latter, but please, try to take the former. Moments and personality, not “necessary smiles”. Those are perfect for good business portraits (Friday):

So – think what the portrait’s message  should be. Real personality? A moment in the life? Then shoot those moments. Competence and trustworthiness? Then the latter picture is perfect.  Just try not to mix up the two.

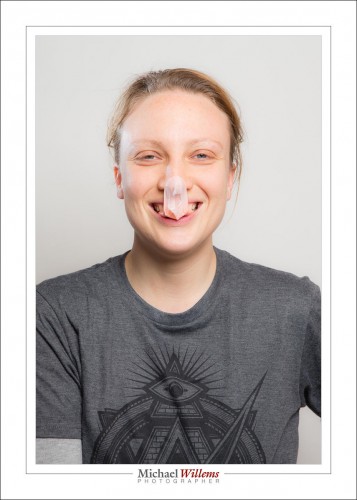
And never tell a boy “SMILE”. You can say “Laugh”, or much better, make them laugh.

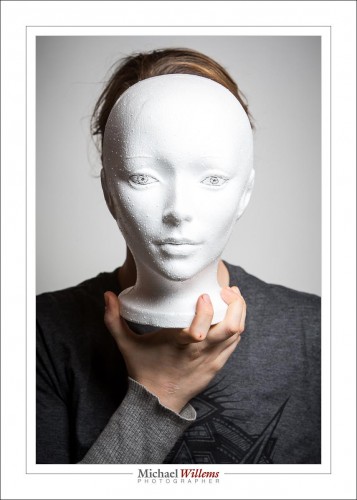
Sometimes, however, you just cannot get an expression.


Portraits today

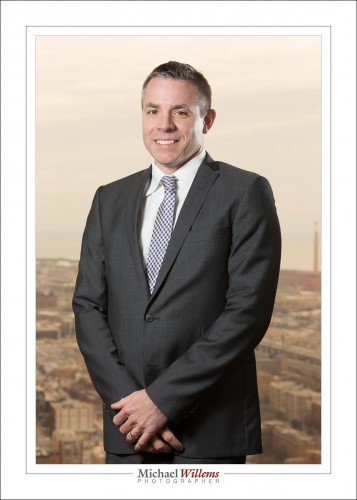
So today I did some portraits. Corporate portraits, like this, of a successful executive with Toronto in the background (shot from the 49th floor):
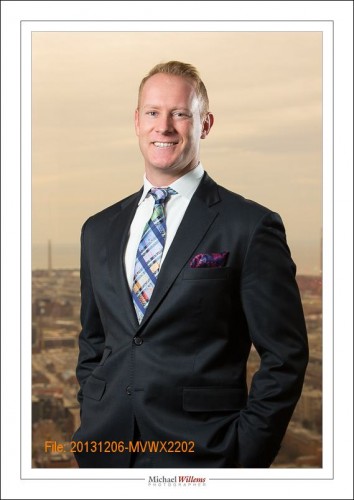
Yes, that is the city, not a backdrop.

If you need a business portrait, call me and we will set it up. It’s what I do.

But if you want to do your own, it occurs to me that it might be useful for me to talk through some of the work and some of the decision points that go into a shoot like this.

First, there’s the equipment and preparation. You will know enough about that if you have been reading this blog (if not: the e-books are still on a Cyber Week “both for the price of one” sale).  Decision one: what to bring. That’s simple: my flash bag (big roller bag) and my light stand bag (including a tripod); as well as two cameras. 24-70, 70-200, and just in case, 16-35 lenses.

Then the time. Some 90 minutes in traffic, and parking, and getting back. And setting up all sorts of lights and umbrellas, which took half an hour. And then waiting for the executives. And post work, and talking with clients about what to pick – altogether more work than you may at first have thought. It is not a “click and you are done” thing. And double that, since it involves me and an assistant (the talented and reliable Denise).

Then there’s setting up the flashes. After talking with the client, I decided to use the city below as background. As you will have seen in this post, that took some doing. It always does: you have to allow time for this. A tripod is quite essential, as is tape to “mark the spot”. As seen in that prior post, setting up the correct exposure, balancing my flash with ambient light outside, can be a lot of work.

Then positioning (not “posing”: people freeze). That too can take a while. Making a subject feel comfortable can take a while. One shot does not work; multiple shots to show good and less good sides, and to make really sure that you get a few with great expressions.

Then the same kind of decisions again for the group shot. A bigger group, so the hallway I used last time was going to be too narrow. So I used the wall “going off into infinity”. First, assistant Denise and I tried the geometry: “how will we fit it in”. Here, I am pretending to be four people:
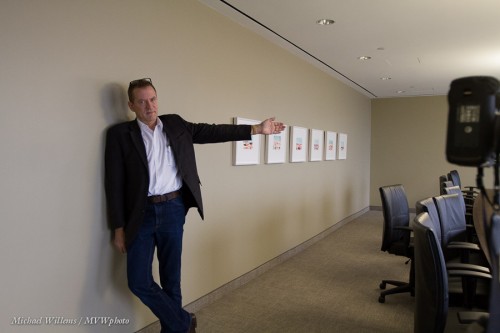
Then of course, moving furniture is also often needed.

The final group shot, lit with two speedlights in umbrellas and taken at 1/13th second, f/5.6, 400 ISO, and yes I was using the tripod, looks roughly like this:
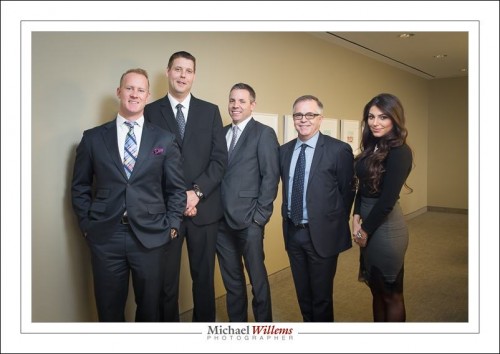
I say “roughly”, because (a) this is not the shot selected (that’s for the client); and (b) after being chosen, a shot then needs cropping, fine adjustment of exposure and colour, and removal of things like the ceiling artefacts (in the shot with me, they are still present).

I suppose in summary I would say that to do a good corporate portrait, you should first know your craft, and in particular know light; then you should consciously decide on the type of portrait – environmental or simple; what mood; who is the market for the photo. And then you should design the shot. And then execute it, re-tuning if things do not work the way you had intended.

Above all, allow yourself enough time, and make sure you think about the decisions. “Just doing stuff” seldom leads to good results. It also helps to have some “safe shots” that you know you can execute. Just in case your other plans do not work out.

Oh. And have fun. And if it’s a little much for you, ask me to come do it: I’ll teach you some tricks while we are at it.