Direct flash?

Can you ever use a flash aimed directly at the subject? I mean.. the victim?

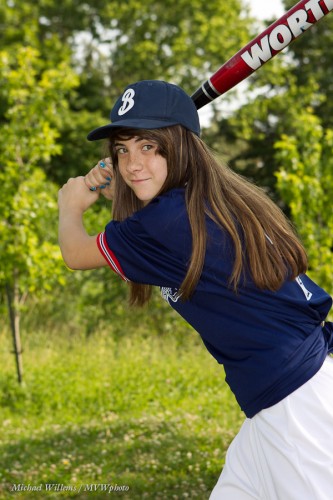
Yes. Outdoors, you can do this. Look at this shot from a recent softball shot:

To do an outdoors shot like this on a summer day (it is the first day of summer on the northern hemisphere, after all):

  1. Ensure the subject is not in direct light – sun behind them if possible.
  2. Go to the maximum shutter speed when using flash (1/250th sec on most cameras). If the light is fairly constant, I am assuming you are using manual mode, as a pro or someone who wants to shoot like the pros.
  3. Find a nice background.
  4. Now set the aperture for the correct background (around -1 stop on the meter perhaps). This was around f/5.6 at 100 ISO in the shot above.
  5. Then turn on the flash and shoot – with the flash aimed directly at the subject of you cannot bounce.
  6. Use flash compensation if you need (if the subject is too bright or too dark).

The awful “direct flash” effects are minimised by the available ambient light filling in the shadows: your flash is now the “key light” and the ambient light is the “fill light”, which fills in the shadows left by your flash.

Result: an OK picture even though you are not using modifiers like umbrellas. Yes, these would be even better but you can’t always use them.



Metering: The Light Meter Lives

Using a light meter, you say, is oldfashioned.

Not so!

  1. A light meter is fundamentally different from a camera-based meter. The former is an incident light meter and does not depend on the subject’s brightness. The camera based meter, on the other hand, is a reflected-light meter, and hence depends on the subject’s brightness. In fact the camera’s meter can only indicate the right number when you aim it at a grey card (and when using the spot meter, at that).
  2. For manual flash you can only use a light meter, a so-called “flash meter”.

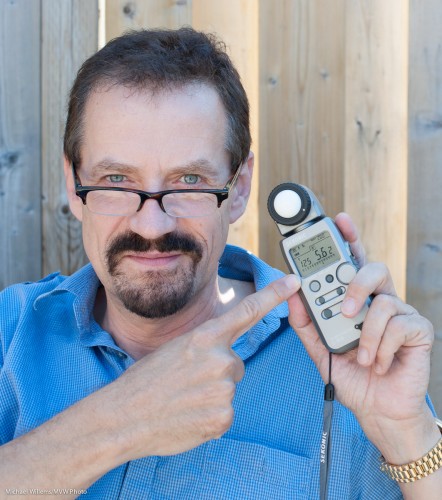
A modern meter like my Sekonic is both ambient and flash meter.

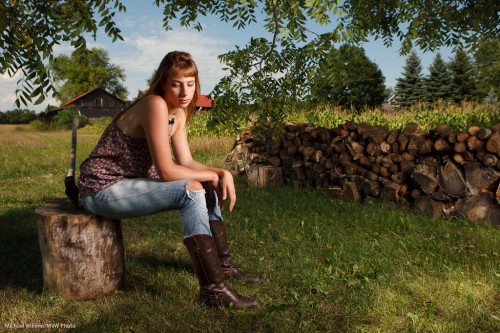
To use it for ambient light, as I did for the student photo above, do the following:

  1. Move the white dome all the way out.
  2. Turn the meter on.
  3. Using the MODE button, set the meter to ambient metering (the sun symbol). Select the mode where you set the aperture and the meter will indicate the shutter speed. (The F-number has a square around it on the Sekonic). You could also choose to set the shutter speed, and have the meter calculate the aperture instead. But let’s assume here that you choose the aperture and want the camera to calculate the shutter speed.
  4. Set the ISO to the ISO you choose to use on your camera (200 in the shot above).
  5. Set the meter’s aperture number to the aperture you have chosen on your camera.
  6. Hold the meter exactly where the subject will be, facing the camera. Ensure you are not blocking the light that falls onto the meter.
  7. Click the reset/measure button on the side.

And now you read the shutter speed you need with that ISO and that aperture. (You can change ISO and/or aperture and a new correct shutter speed will be displayed that match those ISO/aperture settings.)

Set that shutter speed on your camera – and you exposure is correct. Spot on.

You see, the benefit of using the meter is that you ace the exposure. Not like the camera meter, where you have to allow for darker-than-a-grey-card subjects (expose less than “0”), or lighter-than-a-grey-card subjects (expose more than “0”). With a light meter, no such adjusting.

Yes, you can use a grey card, and you can use the zone system. Sometimes you have to – mountains do not lend themselves to you running over to them with a light meter. But generally, if you have the time and the light is steady, consider using a meter and be a pro in terms of exposure.


Catch If You Can

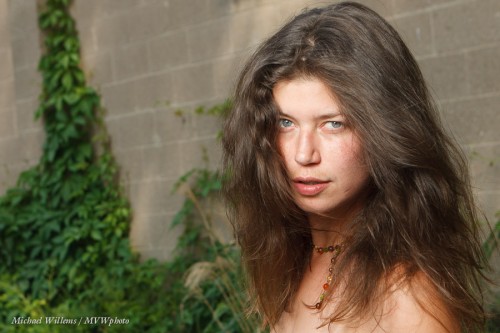
…and I mean catch lights. And you should always have them in portraits. Like in this one of model Kim that I took a few hours ago:

The catch lights are the little sparkles of light in the subject’s eyes. They make the subject look alive.

To get them, make sure there is a light source in front of the subject, above. This can be…

  • A reflector.
  • A natural light source, like a window with non-direct light.
  • A flash in an umbrella, like here.
  • Or a flash in a softbox – this gives you a square catch light.
  • A flash on your camera, bounced at the ceiling behind you.
  • A flash on your camera, direct or with a little bounce card.

The last option is not ideal since it will give you a small, centered catch light. Ideally, the catch light is high in the eye. Not in the middle of the pupil, and that is what direct flash gives you.

If your light source does not show in the eye, move it lower.

Like most things in photography, it is simple once you know it – nd especially, once you start paying attention to it! So from now on, look for catch lights in your subject’s eyes, and do what you need to get them if you are not getting them!


What to start with?

So you are outside and want to darken the background for a mixed light picture. You’ve heard me talk about this repeatedly.

What can you do? Yes, the triangle, of course. Aperture smaller, shutter faster, ISO lower. But which do I prefer?

Outside in bright conditions your flash is competing with the sun. So you do not want to reduce effective flash power. Yet both aperture and ISO do not just reduce the background: they also affect the effective flash power.

So in those conditions:

  1. You start with the shutter, always. As fast as you can, which is the shutter sync speed: 1/200th sec on cheaper cameras, 1/250th on most, and 1/300th on some (like my 1D  Mk IV). Go to that speed.
  2. Then, and only then, if you still need to darken more, start messing with higher “f-numbers ” or lower ISOs.
  3. If you now end up with insufficient flash power? Add flashes. Bring the flash closer. Use more powerful flashes. Zoom in with your flash heads. Or as a last resort, wait until the light is less intense.

Simple rules make the technical aspects of photography simple and that is what we want.

After the click, an image taken thus at 100 ISO at 1/300th at f/6.3. (It’s a slightly NSFW image so it is after the click. For those of you uncomfortable with the unclothed human body, like those of you in Anglo-Saxon or Muslim countries, or who buy at large photo retailers in Ontario: you may not want to click. Everyone else: click away, it’s entirely harmless!):

Continue reading

Silhouette How-To

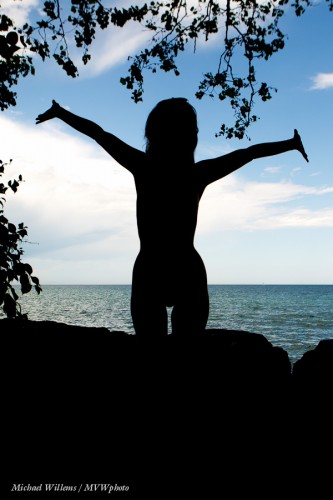
I have talked about silhouettes recently – let me share another one.

This was an accident: my flash had not charged yet so did not fire. It shows how to make an accident into a nice shot.

  1. Make sure your subject is in the shade, and the background is bright.
  2. Expose for the sky: aim your camera at the sky and set exposure to “0” for that on the meter if shooting in manual mode, or if in an automatic mode, press the Exposure Lock button (AE Lock, or on Canon, “*”).
  3. Recompose.
  4. Shoot.
  5. If you have to, in Lightroom drag “Blacks” to the left (if  you have LR4).

That is all – simple, and something you should sometimes do.

People techniques

As I have been saying for years in my Travel Photography workshop: when you shoot travel, you are in the business of “building-prevention”. Meaning – do not just shoot buildings, but shoot people.

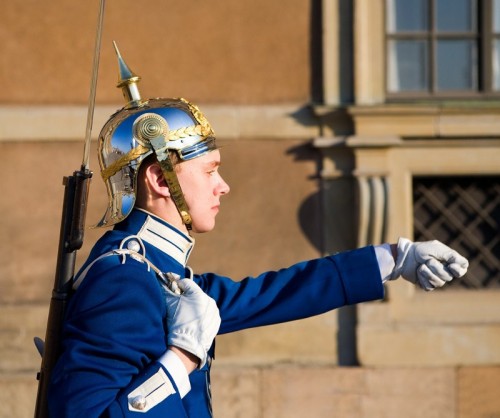
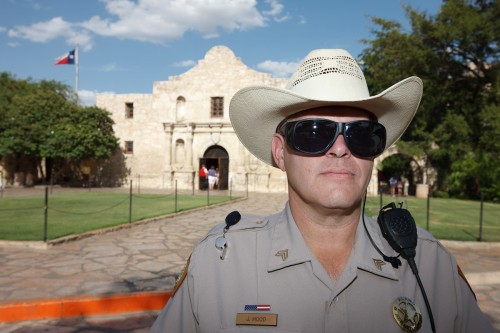
You can do this in various ways. One is to shoot events. Like the Stockholm Palace guard:

You can also use a wide lens (no-one notices what you dover) or a long lens (sneak a shot from afar). But those are last resorts.

The main way is: be a people person. Talk first, shoot later.  Talk. Laugh, Interact. Buy something. Admire. Then ask.

That’s how you get interesting travel photos!


No Show?

I was asked the other day while shooting: why do I not like to show clients my shots on the camera while I am shooting?

  • The display is not very good, on some of my pro cameras. That leads to bad previews.
  • Showing distracts me from shooting and uses up my battery.
  • The images may need cropping or adjusting, especially when shooting TTL flash.
  • I may want to have time to choose the one out of three identical portrats that I shoot – the one without the double chins.
  • Some images should never be seen (eg images of people eating).
  • No image looks great when one inch in size.

That is why I prefer to look at my images myself before showing – that way you get to see only excellence. Cool?


Silhouette How-To

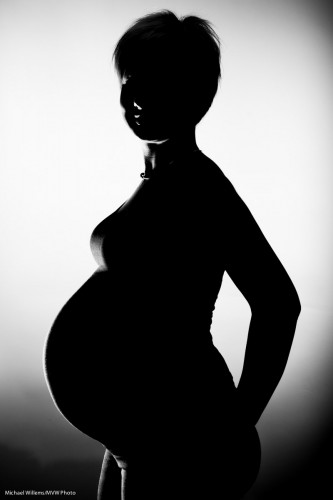
How do you shoot a silhouette, like this one from yesterday’s maternity shoot?

Really quite simple:

  1. Have a simple background (wall, or backdrop).
  2. Ensure that the background is light (flash!) and the foreground is not (avoid light falling “everywhere”: I used grids on my flashes).
  3. Expose for the background, and add a few stops.
  4. If necessary, do the last adjustments in Lightroom (or whatever software you use).

I used an additional edge light here to emphasize the tummy.

Go try it today!


Of blurry backgrounds and slow lenses

Slow lenses? For blurry backgrounds?

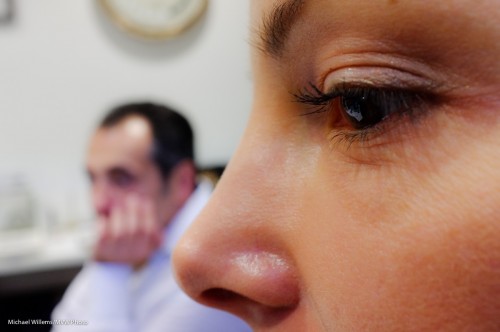
Yes, you can create blurred backgrounds even with slow lenses – an f/1.4 lens is great, but even an f/8 lens can give you blurry backgrounds.

How?

By zooming in (using a long focal length lens) or getting close.

Very close. Look at this shot taken at f/8.0:

Not bad, eh. Taken with my Fuji X100 in macro mode-  very close. So yes, you can do blurred background as long as you get close to your subject, relative to the background. Remember that, next time you are regretting not having an f/1.4 lens and having to do with an f/5.6 lens.


Outdoors Light

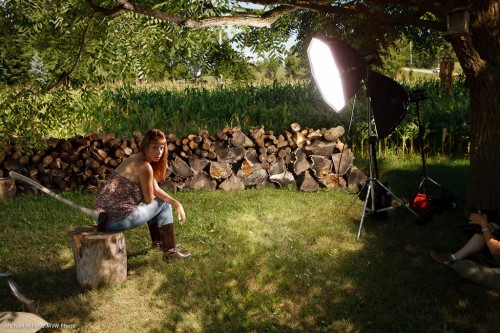
Outdoors, a flash, a powerful one, will often make good images into great images. Because you can make the background darker:

Here’s how we took a shot at a creative light workshop last year:

Which leads to this shot:

As always:

  1. Get the background right first; remember to keep the shutter speed below your maximum flash sync speed (like 1/250th sec).
  2. Then add flash.
  3. Set the flash power to the aperture you have gotten to in step 1.

Really simple, no? Provided that you have a powerful enough flash to overpower the sun, of course.