Blink. No, don’t!

Today a reminder, prompted by my recent Montréal visit.

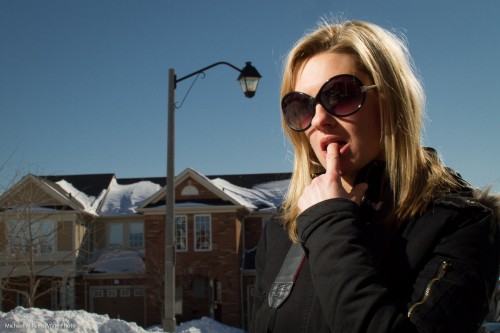
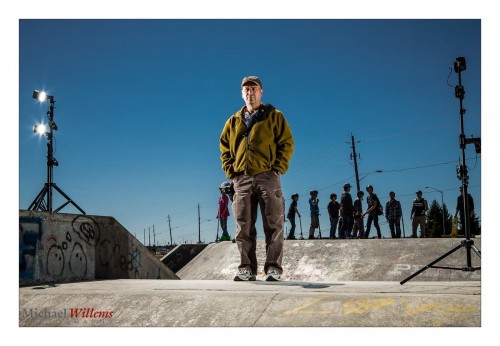
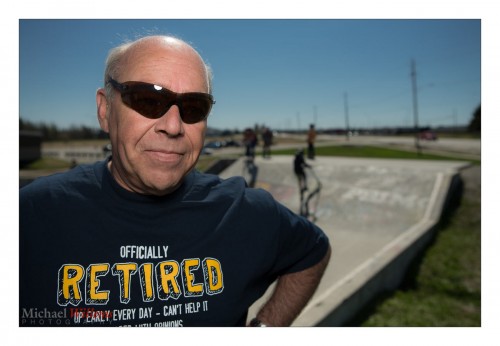
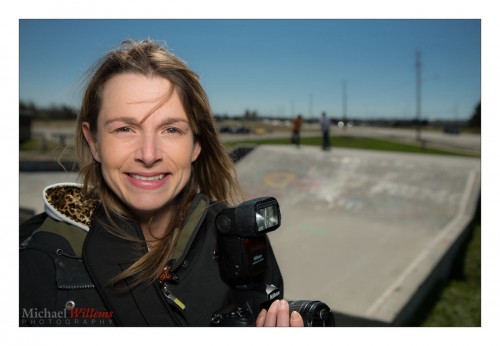
If your subjects do this:

…that is because:

  1. The flash is aimed straight at the subject (remember, outside, since you are majorly mixing flash with available light, you can get away with this if you need to); and
  2. TTL flash uses a pre-flash for metering. Then, a few ms later, when the shutter opens and the “real” flash goes off, your subject is already in mid-blink from the preflash.

Yes, you will recall there is a solution. Flash Exposure Lock (FEL, Canon) / Flash Value Lock (FVL, Nikon). This allows you to first press a button for the preflash, and then press the shutter for the picture and the “real” flash.

  • Canon: use the “*” button, unless your camera has a little “FEL” or “M.Fn” button; then use that.
  • Nikon: assign the FVL function to the Fn button (do this via the pencil menu). Note, D3100/D5100 cameras lack this function. Then use that button.

After pressing the button as per the above, you have a few seconds to fire the “proper” flash and take the image. Remember to warn your subjects there will be two flashes and the second one is the “real” one.

That little tip makes you a better photographer than uncle Fred. There. You’r welcome.


Magic Recipes

We all want simple starting points, Right? So here’s five of my simple flash “recipes” – great starting points. This post you may want to print!

The following are four great, simple to remember, starting points. They are no substitute for proper learning, but they are very good in the context of that learning. And you can try them today. Now. These recipes all have you using one or more small flashes (speedlights). Adjust them as needed!


I .Indoors Flash, Warm Backgrounds:

For this, you use the Willems 400-40-40 recipe as your starting point:

  • 400 ISO
  • 1/40th second
  • F/4
  • Flash aimed behind you upward at 45 degrees, bounced off a wall/ceiling
  • Increase ISO when needed!

II. Studio Style Flash (big flash):


  • 100 ISO
  • 1/125th second
  • f/8

III. Studio Style Flash (small flash/modified):


  • 200 ISO
  • 1/125th second
  • f/5.6

IV. Outdoors, Sunny Day, Dramatic Portrait:


  • 100 ISO
  • 1/250th second
  • f/11 – f/18
  • You may need to use a close-by. direct (unmodified) flash.

V. Outdoors, Sunny Day, Blurry Background:


  • 100 ISO
  • 1/2000th sec
  • f/4
  • High-Speed Flash / Auto FP flash enabled!
  • You will have to be close to your subject; if modified with a softbox, extremely close.

___

TAKE IT FURTHER: These are some quick start points. get into depth by having me teach you. And buy my “recipe book”: 52 recipes with tips and tricks. Click here.


The Graduate

And here is my graduate son Jason, B.Eng in Montréal a few hours ago:

And how did I shoot this? With a direct, head-on flash, yes, and High-Speed flash enabled: 1/250th second, /f7.1, 400 ISO.

Yes, outside it’s OK to shoot head on if you have to. Not creative, but competent. And these settings were designed to give me DOF and a slightly darker background, so the subject stands out.

Here’s an inside-the-tent shot:

I shot at f/2.8 to f/3.2: in fact, the tent was the right brightness to use another mnemonic: 32/32/32, or “3200 ISO, 1/320th sec, f/3.2”.  Namely, 1/320th to freeze camera motion while I am using the long 70-200mm lens; f/3.2 to give me a little DOF for accuracy; ands 3200 to enable the two above. All photography involves a little thinking!

Lighting In Timmins

I am in Montreal, but take a look at this shot from the Timmins workshop on Saturday:

I use flashes – two on each stand:

  • Flash makes the subject stand out (I like a “darkground” -a darker background).
  • Side flash makes the subject three-dimensional.
  • More light is good. One stop more by doubling the light on each side.
  • Two, also to cover a vertical subject more evenly.

I used 1/250th and 100 ISO, obviously (why “obviously”?) – and that got me f/13.

Now off to shoot my son’s graduation ceremony at McGill – yes, I am in Montréal.


Bubutbut

I often, of course, say this – “Limit: when using flash, you cannot exceed your camera’s fastest sync speed (usually 1/250th second)”.

And then almost as often, I hear the following objection:

“But Michael: you can use High Speed/Auto FP flash!”

And that way, you can exceed the sync speed. Sure – like in this photo of Aurèle Monfils of the Porcupine Photo Club, which I made yesterday with the standard sunny day blurred background setting (write it down!) of:

  • 100 ISO
  • f/4
  • 1/2000th sec

…using an on-camera flash fitted with a Honl 8″ Traveller 8 softbox:

Yes. You can, as you see!

But now I have a “but”.

The high-speed mode works by effectively making your flash into a continuous light, at least for the duration of the shutter speed; it flashes pulses at 40 kHz. Fine, but most of those pulses reach the closed part of the shutter, so most energy is wasted; hence, your effective range is reduced dramatically. Maybe just over a metre at 1/2000th second when using the flash without modifier; with a softbox as I was using here, maybe 30cm, no more.

Hence the slight “wide angle” look in my image above due to me having to be close, with a wide lens. As in this one of Aurèle’s daughter Lisa:

So while it is true that high speed/FP flash solves the sync speed problem, it’s  not a panacea, and in practice, it is only occasionally usable.

Footnote: Lisa is turned away from the sun: It is behind her, meaning she is not squinting, and the sun becomes the shampooey goodness™ light on her hair!

___

Want to learn to use modern Flash technique? I travel worldwide for hands-on seminars. Vegas, London, the Netherlands, Phoenix, Niagara, Toronto, or Timmins: wherever you want me, I’ll be there for you.


50 Ways

Outdoor flash:

The problem is all inside your head
She said to me
The answer is easy if you
Take it logically
I’d like to help you in your struggle
To be free
There must be fifty ways
To Use A Speedlight

There are; and sorry, Paul Simon.

Outdoors you want to make the background “darker for drama”. So you go to 100 ISO (lowest you can) and 1/250th second (fastest you can if using a flash). Then f/13-f/18 will give you a dark sky. Simple recipe!

f/18 may not be possible because your flashes may not have enough power. So to figure out what to use, you do this:

  1. Use two flashes on the subject’s left, and two on the right.
  2. One slightly higher; one lower.
  3. Both slightly behind subject aiming forward.
  4. Set them to manual/half power, say (full power is too much usually; flashes may overheat).
  5. Use them straight on – modifiers “eat” too much power.
  6. Fire them using Pocketwizards or similar radio triggers.
  7. Move the flashes as close as you can to the subject, and see what aperture that gets you (use a light meter or trial and error).

Today, for me, with two flashes on each side of the subject, this was f/13. Here’s the setup:

And that gets us:

Not bad, eh?

Remember to pre-focus, and then use manual focus; also, go low enough so the subject is high; then, make sure you click when the subject is at the predetermined point.

Easy, and I can teach you how to do this, as I taught the Porcupine Camera Club today here in Timmins, Ontario. There must be fifty ways to Use A Speedlight, and especially outside, these are fun!


Timmins…

….is where I am about to teach the Porcupine Camera Club more flash technique today.

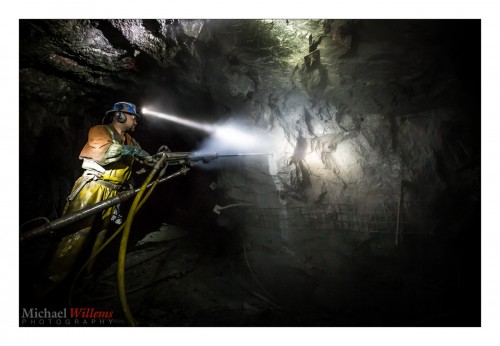
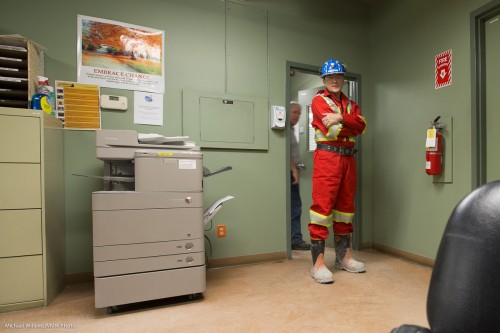
And today, I went 1.2 km underground, at a Timmins goldmine, to make pictures like this:

What did I learn, other than “things get dirty”, and “I like mines and miners”?

It’s tough light. And the boots are heavy and overalls cumbersome, but I knew that too.

  • I learned  that my main obstacle was the hard hat, and the safety glasses. The hard hat stopped me from being able to move the camera up to my face. And the glasses made it impossible for me to easily move my reading glasses into and out of place. I had to improvise.
  • I also learned that my helmet light was very useful both in lighting up subjects to focus, and in lighting them up for the photo.
  • I refrained from using my Pocketwizards where there were explosives being installed; radiating under 5W they were safe, I was told, but I thought I had better not take risks! So I used remote TTL for that part.
  • The first 600 metres were humid with fog; below that, the fog lifted.
  • I rarely had to go above 1600 ISO.

Great pictures resulted from my day UG (underground)… but I will fill you in on more technique the next few days.  After I sleep!


Dear Marissa

Marissa Mayer, Yahoo CEO, said this the other day, when introducing a layout change that makes Flickr look like Windows 8 (ugh):

…there’s no such thing as Flickr Pro, because today, with cameras as pervasive as they are, there is no such thing really as professional photographers, when there’s everything is professional photographers [sic]. Certainly there is varying levels of skills, but we didn’t want to have a Flickr Pro anymore, we wanted everyone to have professional quality photos, space, and sharing.

Thanks. Another reminder of why I dislike Yahoo.

“There is no such thing really as professional photographers, when there’s everything is professional photographers”. Don’t you need to know basic grammar to be CEO? But worse, it is nonsense in terms of content as well.
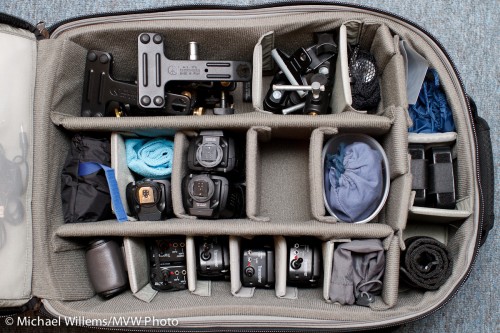
Airport-security-v2-roller-camera-bag

Airport Security V2 Roller Camera Bag

Ubiquity does not mean professionalism. Everyone having pots and pans does not mean everyone is a chef. First, professional just means “makes his or her living at something”, i.e. having it as a profession. And as that sentence may well lead you to conclude, something as a profession means that you are good at it.

In particular, it means that as a professional photographer (and pay attention, Marissa):

  1. You thoroughly know your craft. Having a camera does not imply that. I would not be a teacher if it did. What does even an advanced amateur really know about exposure, composition, or flash techniques? Unless they have been professionally trained, very little.  That’s why I teach (call me!). As a pro, you know more about the interaction of aperture, distance and focal length to create depth of field than most people know about their spouse.
  2. You have professional grade equipment. No “1:3.5-5.6” amateur lenses, but “1:2.8” lenses or even better, “1:1.4” prime lenses. You have water-sealed cameras. Many flashes: studio strobes as well as speedlights. Yes, many flashes, not just one. (What, you think studio strobes are unnecessary “today”, Marissa?)
  3. You understand light. This is not a given: it takes a while after you acquire the basic skills, to then understand light.
  4. You know how to use the latest modifiers and other light-shapers.
  5. You understand composition. This is not a given: it takes a while after you acquire the basic skills, to then understand composition.
  6. You know about all types of photography – portraits, fashion, product, studio, event, creative, food, the list goes on.
  7. You have spares for everything – and I mean everything.
  8. You are a highly analytical problem-solver.
  9. You are quick and nimble when problems occur – as they always will.
  10. You know post-production techniques and software – software like Lightroom and Photoshop, which you have spent many weeks (in the case of Photoshop, months) mastering.
  11. You have a proven ability to deliver all the above – proof including a good portfolio, and good references.
  12. And, ah yes,  it is a business. Meaning, you need business skills, the ability to (and proven track record to show that you do) deliver in time, the ability to invoice, to write contracts, to be there when promised; to make off-site backups, to charge tax, to budget; you know the law; you understand releases; and so on.

So, yes, Marissa, there certainly IS today “such as thing as professional photographers”. Buying an SLR does not make you a pro. Learning how to use it does, and that takes time. And money. Not that much money today – see www.cameratraining.ca – but it doesn’t happen all by itself, just because Flickr gives you a GB of storage, or whatever.
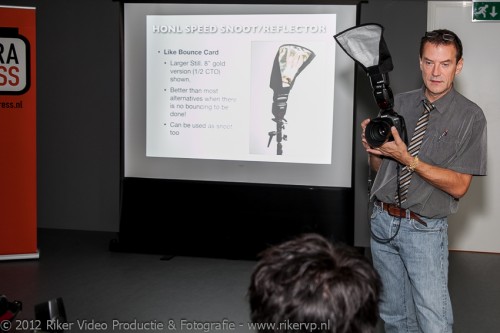
Pros like myself not only find your statement ignorant and insulting, but worse, think that it does a great disservice to the many people who would like pro skills. Yes, you can grow these, and yes, it is rewarding, and yes, you should.

My advice to everyone: don’t listen to Marissa, she apparently knows not whereof she speaks. Instead, read this site every day, take training (call me!), and head out with your camera and shoot, shoot, shoot, and then shoot some more. And don’t forget: have your portfolio reviewed regularly. Yeah, by a pro.


Timmins Mining

Mining is one of Canada’s wealth-generating resource industries. Industries like mining made this country great, and I am honoured to be allowed to photograph a mine in northern Ontario this weekend. So I am off to Timmins in the morning.

I trust that it will not be like this:

In fact where I am going, underground, it will be hot, humid and dirty.

So this is the one time I will put filters on my lenses – clear filters, also known as UV or Daylight filters, whose only task is to protect. I recommend that you own them – but normally leave them off.

In a sandstorm, rainstorm or a mine, however, putting them on might be a good idea. Easier to replace a $100 filter than a $2,000 lens.

Now I have to go dig out my filters. Pun intended.


Canon tip of the day

If your images come out of the camera named something like this:

_MG_4037.CR2

What does that underscore mean? Why not “IMG”instead of “_MG”?

It’s Canon’s way of telling you that you have set your colour space to AdobeRGB instead if sRGB. This colour space setting determines how the conversion from RAW to JPG is done. If you are shooting JPG, the camera produces images in that space; if you shoot RAW, it tells the program at the other end you would prefer that colour space when eventually making JPGs.

And sRGB is the right setting in almost all cases, hence the warning if you use AdobeRGB. Although AdobeRGB has more colours, it needs software to show it properly; most software and most screens show sRGB much better; AdobeRGB looks dull on these devices.

ANyway now you know what that underscore means.