Repeat Post: DPI/LPI versus Pixels

Today a repeat post, because this happens all too often, and it happened again yesterday. People confuse the DPI setting in an image with something meaningful. News Flash: By itself, saying “300 dpi” or some such means nothing at all about the quality or size of the picture. So here goes, from 2010:


I keep hearing people say “I want this picture at 300 dpi”, or “send it to me low quality at 72 lpi”.

When talking about a given image, that by itself is meaningless!

Let me see if I can explain. I will simplify and assume that dpi (dots per inch), ppi (pixels per inch) and lpi (lines per inch) are the same. They are not, not exactly; but assume for a moment that they are, since it makes no difference for this explanation.

Folks, the dpi (or lpi) setting makes no difference to the quality of an image. Not by itself. It is just an instruction to the printer.

It is the number of pixels that makes the difference. Not the number of pixels per inch, which is just an instruction to the print device.

Let me try to explain.

Let’s start with the image. You have taken a picture. It is a certain number of pixels in size. Say, 640 pixels wide, or 1,200, or 4,500. That is the resolution of the picture. The more pixels, the higher the resolution. Very simple. So let’s say your camera is a 6 Megapixel camera – that means your image is 3000 pixels wide (3,000 wide x 2,000 high = 6,000,000 pixels, or 6 Megapixels).

When someone says “send your picture to me at 72 dpi” or “send it to me at 300 dpi” that means nothing by itself. Try it: export your photo from Lightroom (or whatever you use)  as 72 dpi, and then again as 300 dpi, and compare the two images. Identical number of kilobytes, and when viewed full size, identical detail.

DPI means “dots per inch”. So by saying “take this image and make it 300 dpi” that is just telling the printer “take this image and print it ten inches wide” (3000/300 = 10). Setting it to 72 dpi means “print it  42 inches wide” (3000/72 = 42). But it neither increases nor reduces the quality!

What people need to say if they are talking about image quality is:

  1. “Send it to me 10 inches wide at 72dpi”.
  2. Or “send it to me 10 inches wide at 300 dpi”.

Which just translates to:

  1. “Send it to me (10×72) pixels wide, i.e. I mean 720 pixels wide”
  2. or “”Send it to me (10×300) pixels wide, i.e. I mean 3,000 pixels wide”

So if you mean 720 pixels wide, or 3,000 pixels wide, why not just say that?

That is the essence. After all, it is easier to set one variable (pixels wide) than two (dpi and size); and pixels mean something real.

Unless we are printers, we are talking about it from this perspective, so we should use clear terms. Telling me “send it to me at 72 dpi” is only meaningful if you also add the inches. So be clear, and say “send it to me 3,000 pixels wide”.

Ring a Ring o’ Roses

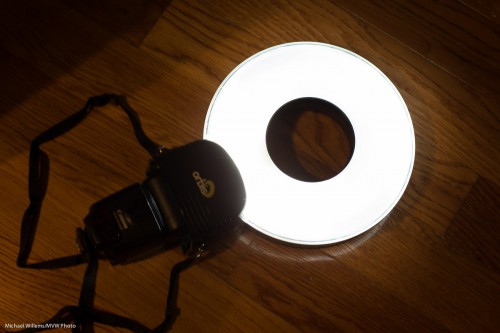
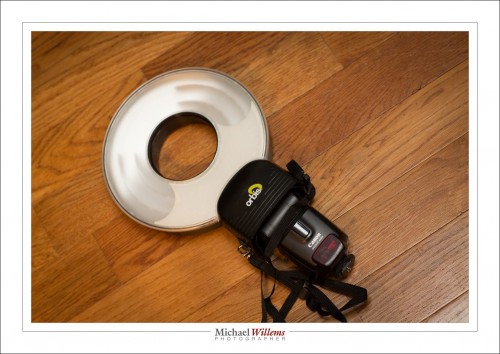
I talked about ring flashes recently, if you recall. This time, a few notes about the Orbis Ring Flash—a flash that is not a flash.

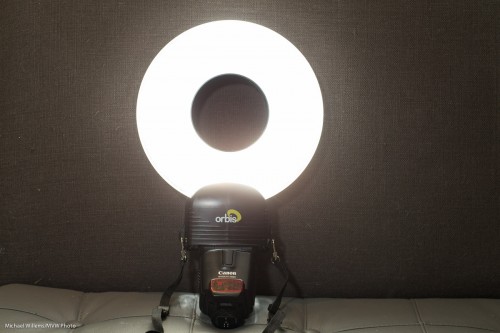
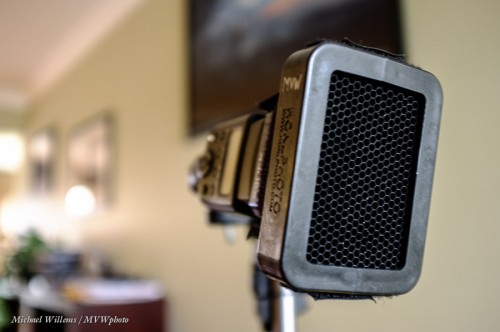
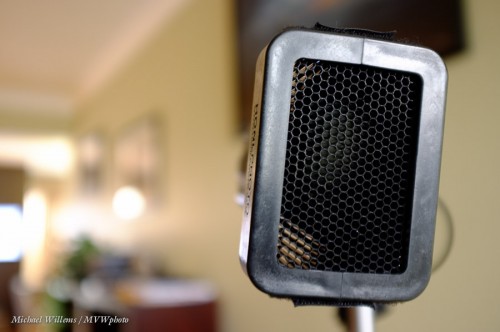
It is a flash modifier. An attachment with clever light guides, that makes your speedlight into a ring flash. In order to achieve this, your flash fits into the bottom:

Result: a ring flash. And a remarkably good one, with amazingly even light all around the circle:

This needs you to insert your flash into the unit’s base, then set it off using light- or radio-driven TTL, or some other way. You hold the flash in your left hand, while you hold the camera in your right hand, with the ring around the lens.

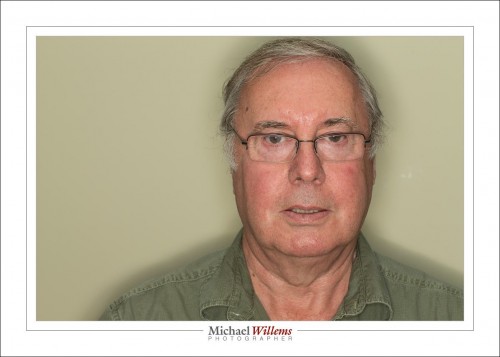
And this works remarkably well. See the characteristic halo, and the very recognizable ring flash light, shown by student Tony:

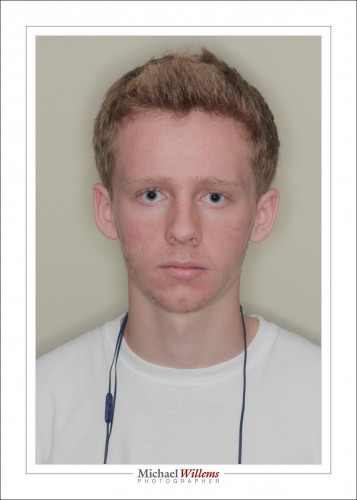
And again, as shown on my intern Daniel:

As said, this device contains incredibly clever engineering. To make it this even, the light paths have to be very cleverly engineered. And they are: whatever I tried, the ring always lit evenly.

From prior experience, I am sure the cheap knockoffs that seem to be around do not work nearly as well.

You can, of course, also use it off camera, rather than around the ring. It also works well when you do that, still providing better light than a straight flash. Like here:

I can see that this device is going to be a fixed part of my flash gadget bag. Thanks to David Honl of Honlphoto.com for sending this to me.

And, um, yeah… it is even good for shooting cats.

…including the donut shaped catch light that tells you immediately that this is a ring flash photo:

And I can tell you that this is a remarkably good device for shooting…

….you guessed it:

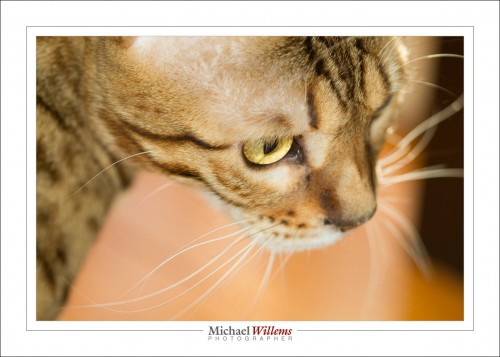
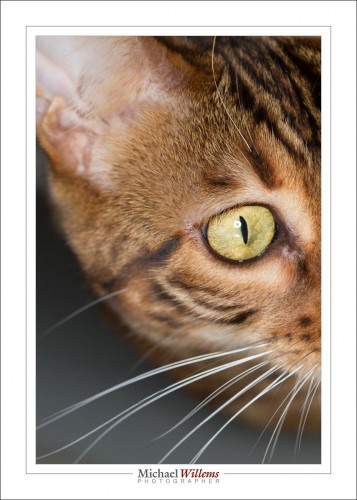
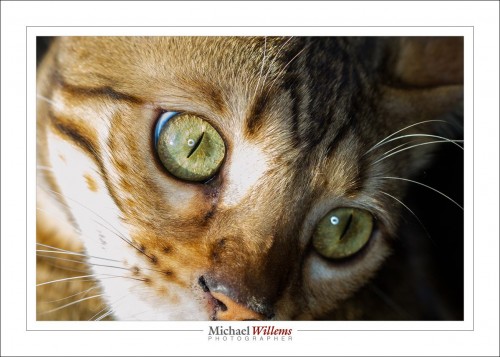
…cats! (Canon 7D with 100mm macro lens, f/5.6, 800 ISO, 1/125th, ring flash).


Portrait extremes

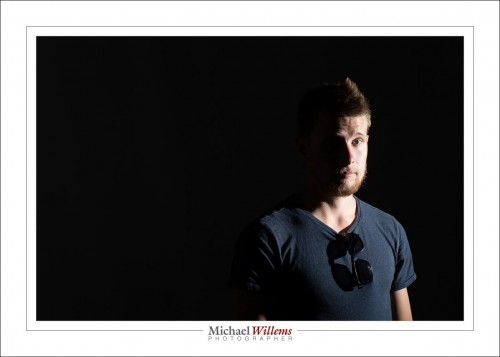
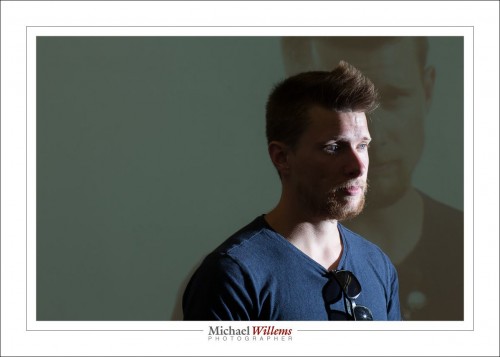
Within minutes, I made three different pictures today during the class I taught at Sheridan College. I wanted my students to see how simple it was to do various portrait lighting types.

A traditional portrait with key light, fill light, hairlight (“Shampooey Goodness”), and background light looks like this (made with four flashes):

Key light on our right through an umbrella; fill light on our left, two stops lower; hair light behind left, shining forward; and background light bright on the background from behind the subject. to blow out the background completely.

So now the opposite: one with just the key light, off to the right, unmodified except for a grid:

And a hybrid: same settings but I turned on the projector behind the subject with a previous picture. A picture within a picture, as it were:

All these were made at 1/125 sec at f/8, ISO400.

Simple setups can make interesting pictures. What can you do with simple light?


About that grid

Once more about the grid, my favourite flash accessory.

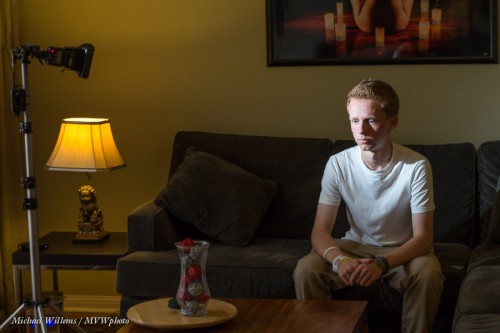
This was the setup with my intern Friday:

The subject will be lit with a single flash, on the left side (as seen by us), on a light stand, set to 1/4 power and fired using Pocket Wizard radio triggers.

I want drama., Sine the lamp will not appear in the photo, I do not need to see all that ambient light. so let’s kill the ambient light.

How? How do I make the ambient part go darker? Smaller aperture (=greater “f-number”), or faster shutter, or lower ISO. I used 100 ISO, 1/125th sec, f/8, to get this:

This is not bad: Rembrandt lighting with one flash. But I want the wall to be dark.

Why is it light? Not because of ambient light, Nope, it is simply because the flash throws light al over the place. The wall is lit by the flash.

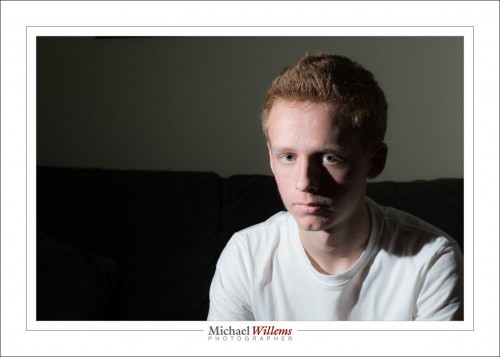
So then I fitted this Honlphoto 1/8″ grid to the front of the flash (using a Velcro “Speed Strap”, also from Honl photo):

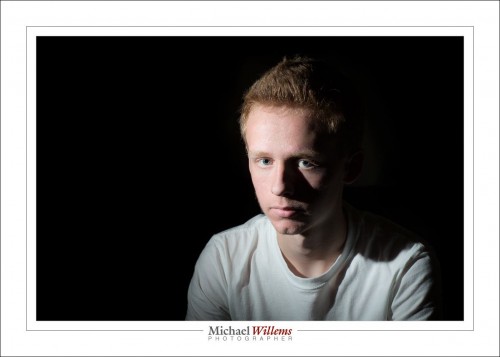
Which gives me this, since the flash is aimed at the wall outside the picture:

Straight out of the camera (“SOOC”), that is a pretty good result, eh? (*)

Remember: lighting a picture starts with no light, and then adding light where you want it. And only where you want it.


___

Foot notes:

(*)I am Canadian


Reader Question

A reader asks:

“Good Morning Michael. Been following your feeds about photography, incredibly awesome. I currently have a 70d w/ 18-135, 70-200, 50m, with the 600ex flash. I have a small wedding approaching and feel the need for another lens. What’s your take on the 17-55 IS 2.8 or the 24-105? Could you share some tips with me, I’d be grateful for that Thank you”

Good question. Equipment is important.

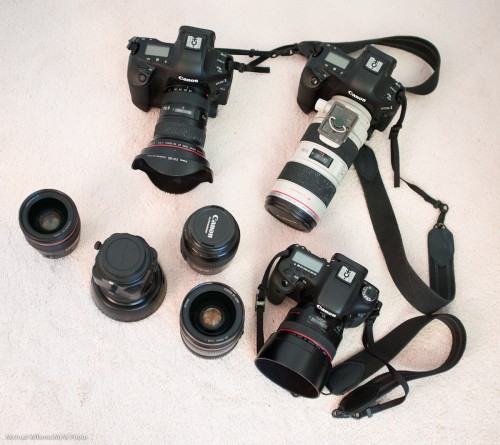
A standard “go-to” lens for pros is the 24-70 f/2.8 lens. For a crop camera like yours (a camera with a smaller sensor), the 17-55 ISD 2.8 is that lens. Great lens because it is a pro lens for your camera type. And it is stabilized (“IS”, or in Nikon terms “VR”, means Image Stabilization).

The problem is: once you go full frame. i.e. to a camera with a sensor the size of a negative—and one day you will—you will not be able to use this lens anymore (it is an AF-S lens, usable for small-sensor cameras only). And since lenses last basically forever (both in technical and in economic terms), this will bite you back.

It is for that reason I recommend the 24-105. And it has longer telephoto range, with is very useful for impromptu shots.

Other tips for shooting important events (and a wedding is as important as they get):

  • Bring spares for everything please!
  • Fast lenses are great when the light is low and the ceilings are high
  • Rechargeable batteries, more than you need and then double that.
  • Spare camera battery and CF cards.
  • As soon as you can, add a spare flash and also, learn to operate off-camera flash. It is easier than you think.
  • A wide angle fast prime lens (like a 24mm prime lens) would also be great for low-light situations.
  • A very wide lens (10-20mm range for crop) would be great as well.

And then practice. Learn how to bounce.

Here’s two wide angle shots from a recent wedding I photographed:

Finally, get, and read, and then re-read, my collection of five e-books from http://learning.photography/collections/books and schedule some one-on-one training: a short course will pay off incredibly quickly. See http://learning.photography to reserve a session now, 24/7/365.


Because…

Why do self portraits, you ask?

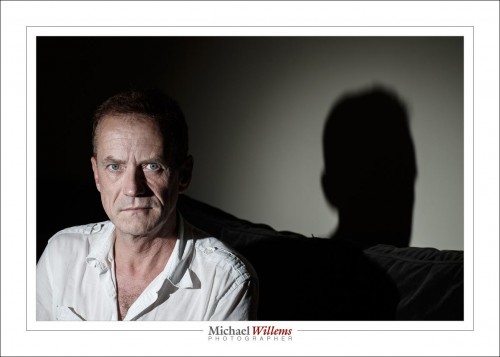
Self Portrait, Michael Willems

We do self-portraits first because we are there. After all, I am my most available and most patient and most understanding subject, all at once. I can try a portrait 100 times until I am completely happy.

There are, however, other reasons to do “selfies”, too:

  • I am not critical (“that makes me look fat!”)
  • I know the importance of making photos to document my life. I am always telling my clients to please have photos made: today is yesterday’s “those were the days”, and I believe that thoroughly.
  • I know my thoughts, so photographer and subject are always on the same wavelength.
  • I keep in practice.
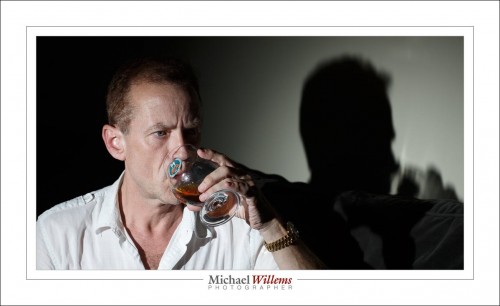
  • And probably most importantly: I do not always want portraits that make me look great. Like yesterday’s “unhappy” photo. Or today’s, which I just took, where I am showing extra contrast in the skin tones. So I emphasize wrinkles. So? God knows I earned them!

I made the above self portrait this afternoon, in my bright living room:

The camera, on a tripod, was set to f/8, 1/125 sec, 100 ISO (that is why the photo is dark even though the room is bright), with the flash set to 1/4 power (that is why the subject is bright). Like yesterday. Including the 1/8″ Honl Photo grid on the flash.

I am on a roll, and will do some more. But first, one of these:

Enjoy your weekend, everyone! Happy 4th of July to my American friends, and Shabbat Shalom to my Jewish friends.


Reflecting a mood

Today’s shoot was themed “Sad”. I have a student, Evelyn, who is a talented photographer herself, who asked for some help to learn how to shoot a sad portrait/self portrait.
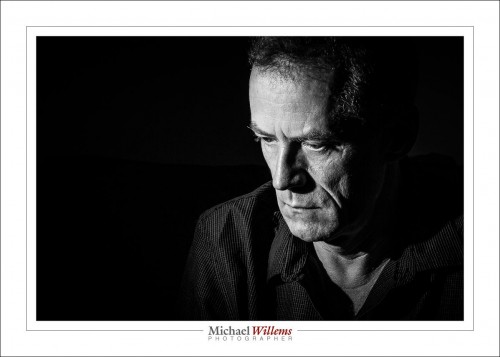
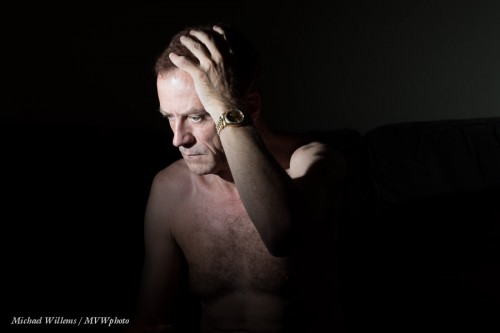
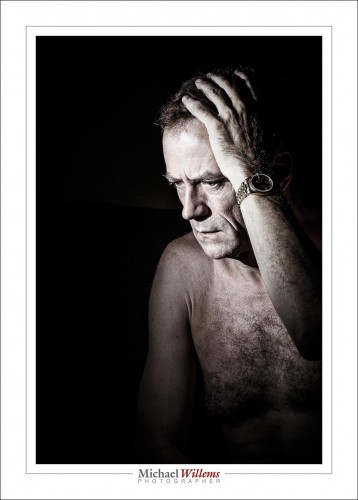
So before she arrived, I quickly shot one of myself. It ended up like this:

The shot took just a few minutes to produce, and I will share the history of how I made it.

First, I decided to not use the studio, but the couch. The studio is too clinical for the subject to get into a sad mood. Sad mood makes me think things like:

  • hard light
  • lots of darkness
  • b/w or desaturated
  • extra contrast and presence and sharpness
  • no eye contact
  • eyes cast downward
  • using hands, arms, etc

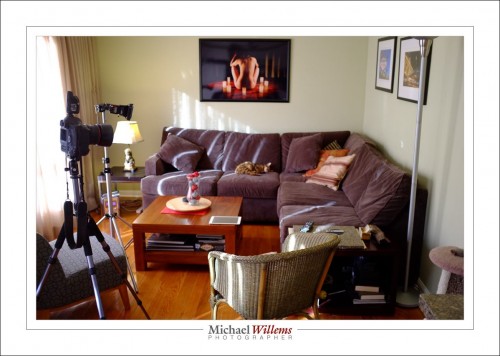
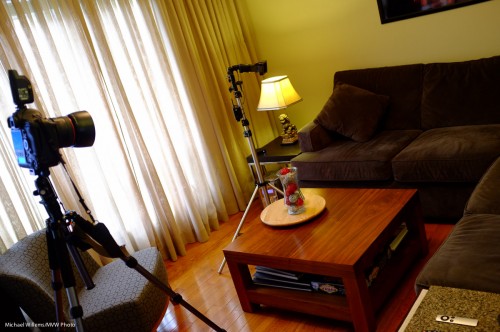
So I used one flash, off camera. The camera was on a tripod. I used pocketwizards. Here’s the obligatory “pullback shot”:

The camera was set to 100 ISO, 1/125th second, and f/8, standard studio settings, with the flash set to Manual mode, 1/4 power. Experience tells me that those settings will work at that distance.

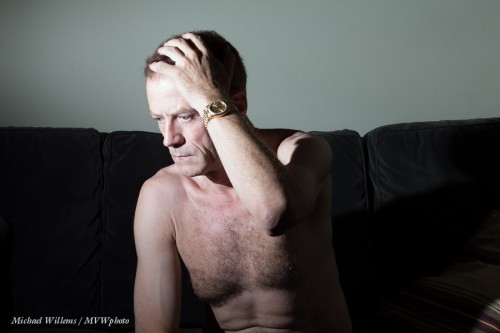
When I use that setup and those settings with a bare flash, I get this, straight out of the camera (“SOOC”):

One of the elements of a sad picture is darkness. Lots of darkness—a metaphor for a dark mood. So I want a chiaroscuro picture. Hence, I do not want the wall lit up. The solution: a Honl Photo 1/8″ grid fitted to the flash does what I need. Here, also SOOC:

Better.

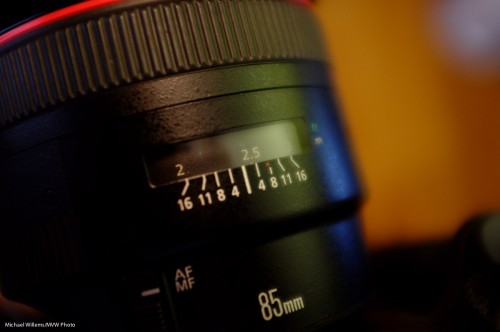
With the lens set to “M” (manual focus) I used the lens scale to manually set the focus distance to the distance between the camera and where I would be. That’s why you have that lens distance scale:

I checked by zooming in to 100%. After one slight adjustments, my pictures were razor sharp. I used the timer shutter release.

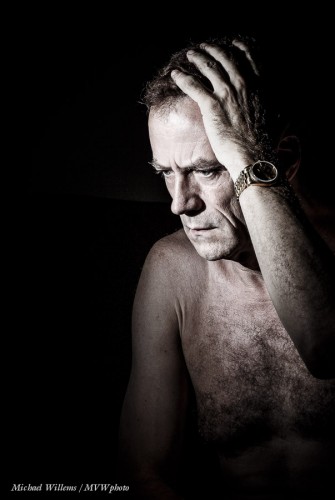
After I took the image, I desaturated it using my standard “Desat” develop preset, and I cropped the picture vertical:

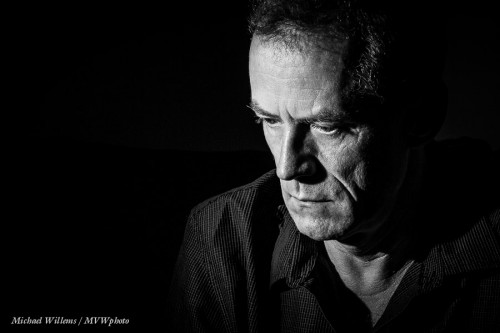
I decided to go B&W for most. Here again is the winner:

Having that, I awaited my client and after she arrived, we shot some similar ones of her. All using the 85mm prime lens. Of you have a crop sensor camera, a 50mm lens would do great for these shots.

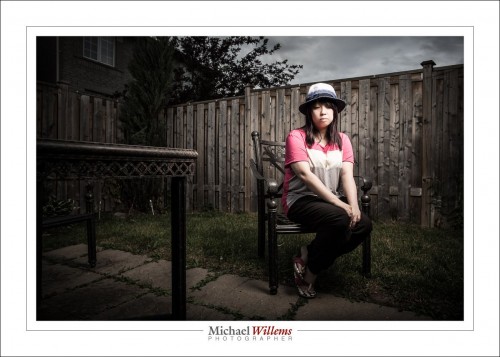
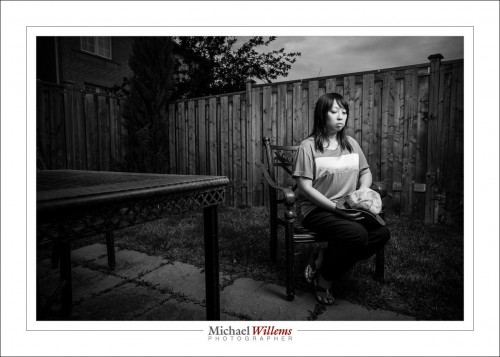
In the above image, the sadness is produced almost entirely by the person’s expression and body language. But sometimes the background is not absent, but instead is an essential active part of the mood-setting. That was shot two, made outdoors with a Bowens studio strobe powered by the Travel Kit.

I used my 85mm lens for the previous shots, but I used a 24mm prime lens for this shot. A wide angle, so the subject will be small in the image (else I get distortion). An environmental portrait.

Here it is, also desaturated, but otherwise SOOC:

And finally, one in B&W:

What do you think? Sad enough?

___

Want to learn this? Do a custom training session like this, designed for your unique individual requirements. Check out http://learning.photography and contact me to find out more. Whatever your level of knowledge, you will kick your photography into overdrive by filling in knowledge gaps and refreshing creative ideas. In person or via the Internet. Do it!


Opinions

I never use others’ materials, or criticize others, but this video is interesting and this person is 100% right in his criticism of Ken Rockwell:

https://www.youtube.com/watch?v=I38q5Ad5GaM

Watch the eleven minute segment segment that starts at 39 minutes. A segment that makes me feel roughly like this:

Canon 1Dx with 85mm f/1.2 lens; 1/125 sec, 100 ISO, f/8, Off Camera Flash at 1/4 power; Pocketwizards, HonlPhoto 1/8" grid.


Why am I sharing this? Because the presenter in this video is absolutely right, and if you believe Mr Rockwell, you will be setting yourself up for failure. Take it from me: Shoot RAW. Do not use auto ISO. Use good lenses. Doing anything else is recipe for disaster.

There is opinion, and there is silly opinion, and not all opinion is valid. You are welcome here for your daily dose of valid opinion. 🙂

Thanks to Steve Jones for forwarding this segment.

TLC

Tender Loving Care… sometimes your photos need some. Meaning, some post-production editing.

I try to keep that to a minimum, for several reasons. First, I am a photographer, not a graphic artist. Second, it’s work, and I like to minimize work. Third, I like my previews “on the back of the camera” to look great, not “needs some work”.

On that subject. The camera usually has a pretty vivid preview, and people (including me) like that. But when you import the RAW image into Lightroom, you lose that: suddenly, your image looks more dull.

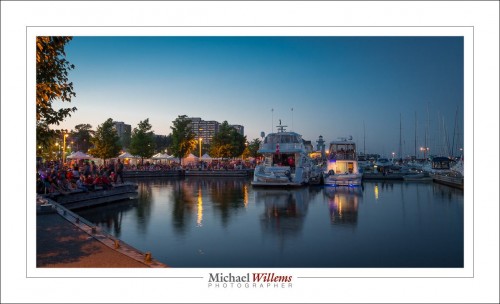
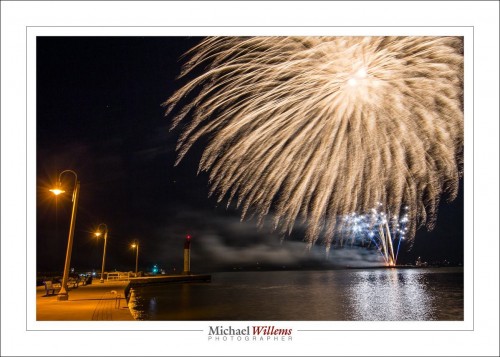
Bronte Harbour, July 1, 2014: This image was pretty good out of the camera.

This has two reasons. One: turn off in-camera “image improvement” settings. Those only for on JPG files. If you are going to edit, do it under full control in Lightroom, not in the camera under its control.

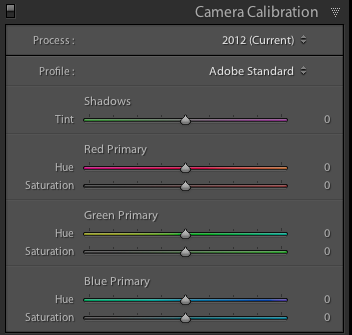
But there is another reason. By default, Lightroom converts the RAW into a preview using Adobe’s preference. In the DEVELOP module, scroll down to the last pane, “Camera Calibration:

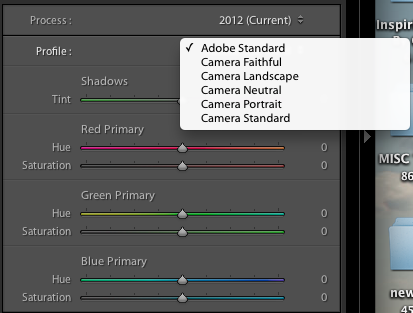
When you click on the “Adobe Standard” default, you see other options:

I usually select Camera Standard. You can make that your default. Result: images that look more like your camera preview.

Now you can do any further editing. In the image above I did four things: (1) I slightly darkened the blue sky using the HSL/Luminance blue slider; and (2) I slightly increased the saturation using the BASIC section saturation slider. Finally, (3) I added a very slight vignette after(4) cropping off the top inch. Since the original image was good and exposed well, minimal changes were needed. But they were still changes. Sometimes, a little TLC can have big results.

Learn all about Lightroom, the only game in town: come to me for a private workshop during which you learn how best to set up and use Lightroom. You will be amazed at how good your images really are.