To polarize or to ND?

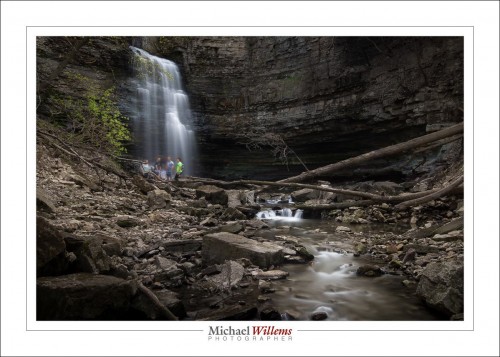
Saturday, I shot water details in Timmins:

When shooting water, like rapids, a polarizer is the obvious choice of filter. Turn the polarizer until reflections disappear.

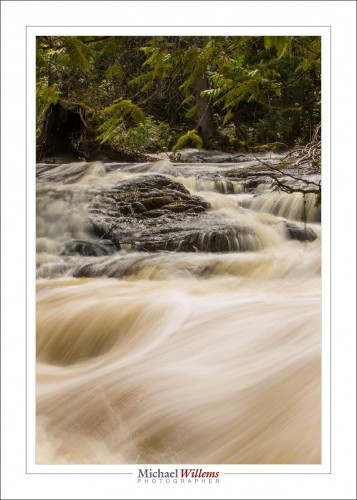
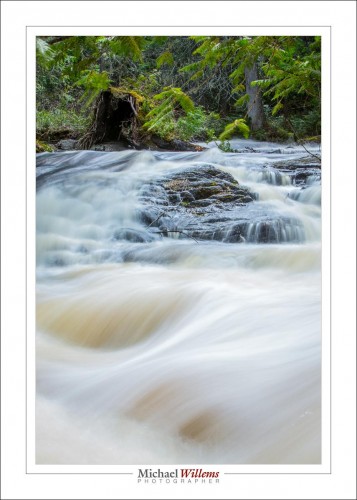
But sometimes,  you need a neutral density filter, because it is darker. The shot above is an example of that: even with a dark (factor 8) ND filter and at f/32 and 50ISO, I could only get a shutter speed of 1.3 seconds. Which, as it happens, was fine; it’s exactly what I wanted. Any slower, and the flow lines would disappear.

For a waterfall I would have wanted even slower. Much slower: 20 seconds.

If I had used the polarizer, I would not have done that, this time.

Why? Because I was shooting on a bright sunny day. Too much light.

Lesson: the best time to shoot water motion is on an overcast day. Bright overcast is fine!

___

My “Stunning Landscape Photography” learning e-book is available now from http://learning.photography.  Use discount code “Speedlighter” at the end to get an additional 10% off all orders!

Whoop Whoop Pull Up

The title of this post? That is a warning, the kind of warning you get on the flight deck as you are about to fly into a mountainside.

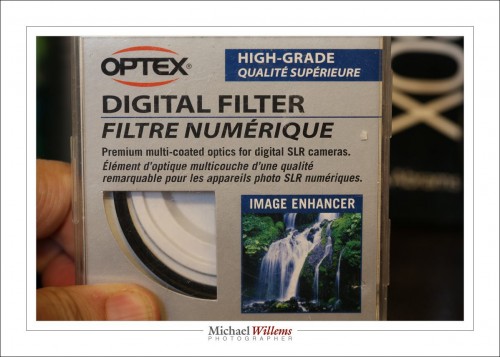
It is also the kind of warning I feel internally when I see something like this:

I mean… digital filter? Like photons care? Yes, I can imagine scenarios where a sensor needs a different filter from film, but not readily, and this ain’t one of them. This is more a marketing ploy to get Uncle Fred to hand over more money to replace his “analog filters” with digital equivalents, I think. So while having some lens filters for protection is a good idea in case it rains, do buy good filters, but don’t worry about having them always on every lens. I personally never use them.

Instead, spend your good money on a modern camera, 3 years old or younger, and on lenses.

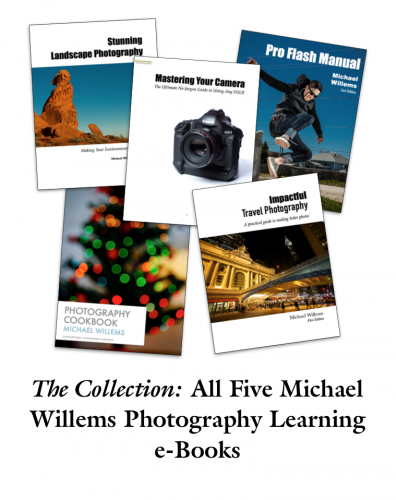
And on my newest ebook, and do use the discount code, see yesterday’s post.  Click on the image below to also see a few sample pages, plus the table of contents.


For Your Eyes Only!

As you saw yesterday, the new book “Stunning Landscape Photography—making Your Environment Tell Stories”, the fifth in my series of e-books, is available immediately from the e-store at http://learning.photography.

And better news still. If you have always wanted to buy my e-books but have not gotten around to it, I have a deal for you, as a loyal reader.

Get an additional 10% off everything you buy, until July 1st, by using discount code “Speedlighter” upon checkout.

Enjoy!


New Book Released!

Big news: the all new e-book “Stunning Landscape Photography” has just been released.

If you have always wanted to try shooting landscapes, or if you want to become better at doing it, this is the e-book for you. In my latest e-book, I includes information on technical requirements, tripods, bags, filters and other requirements; required photography knowledge; timing of shoots and location finding; shooting technique; lenses; basic and practical composition; and post-production. I include many specific landscape techniques, from night scenes to flowing water photography. The ultimate guide to finally mastering your landscape shots.

This extensive and richly illustrated 117 page e-book is $19.95 plus applicable taxes: it comes as a PDF file, conveniently optimized for freely viewing on iPad, your computer, and similar platforms. Head on over to the store at learning.photography to obtain your copy right now!


Timing is everything

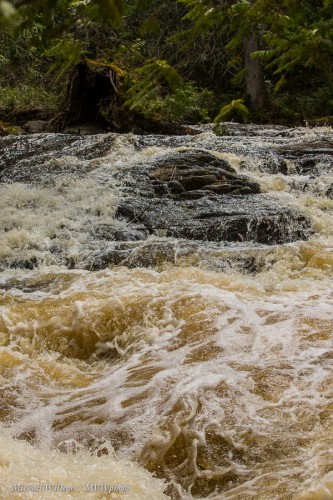
Here’s a waterfall outside Timmins, Ontario, yesterday around noon, with lots of spring melt water running rapidly:

1/800 sec at f/8, ISO3200

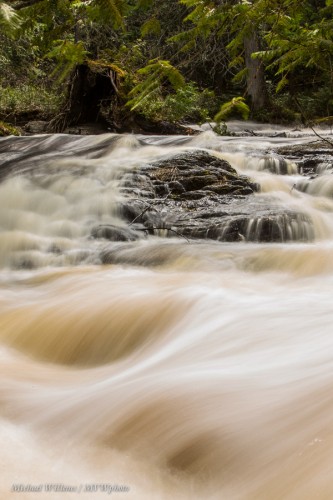
And here is the same scene:

But this time, 1.3 sec at f/32, ISO 50. Using, of course, a neutral density filter to allow for the slow shutter (and even then, that’s as slow as I could get with an 8X ND filter.

Which is better? Matter of taste. The first one shows the violence and chaos of rapids; the second one separates things. I like this one, as a finished product:

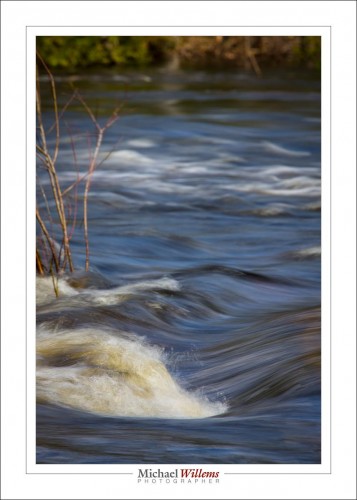
The most important thing to remember when shooting running water: experiment. Longer is not always better. Somewhere between around 1/3 sec – 1 sec is usually best for water, in my experience, because much longer and you lose the flow lines. And I like the flow lines:

(0.8 sec at f/32, ISO 50)

My advice: go find a stream, get out a neutral density filter, and go experiment. You will need a tripod, too.

And great news: my Landscape Photography e-book will be released officially later today! Stay tuned!


HDR

HDR, or “High Dynamic Range” is a digital technique that squeezes together two or more images that were taken with different exposure settings, and then take, if you will, “the best from each one” and combine those.
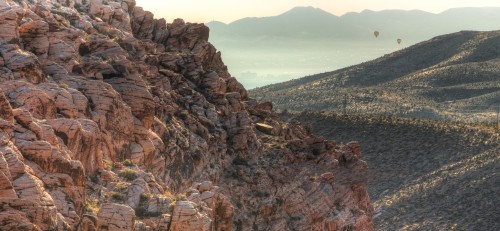
At issue is the dynamic range in an image, which can exceed what your camera can handle. “Dynamic Range” means the difference in stops between the darkest and the brightest areas.  On a sunny day with dark shadows and bright sunlight this  simply cannot be handled by your camera: either the darkest areas are exposed properly, or the brightest areas, but not both.

HDR solves that: you take one image with the darkest areas well exposed, one with the lightest areas well exposed, and perhaps one or more in between, and then magically combine them, using software like Adobe Photoshop, which has HDR functions built in, or market leader Photomatix.

Problem solved: the entire image is now well exposed, dark areas as well as bright areas. In essence, the software reduces the dynamic range; we call this tone mapping.

“Artistic” HDR—More than using HDR to solve dynamic range problems, you can use it to give pictures a strange, hyper-real, otherworldly look. This is very popular.

It is also very risky, I think, for several reasons.

One is that the novelty wears off very quickly. Initially, the first time you see such an HDR, you think “WOW!” in capitals. But a little while later, you shrug, and say “oh, yet another HDR image, yawn”. In the future, we will say “oh, HDR special effects… that’s so early 21st century”.

The second reason is that when you do this kind of HDR, you are not really a photographer, but rather, a graphic artist. That is fine, but do realize that this is what is happening: you are getting praise for something you did not do (great photography), and for something that wasn’t actually there (unless you were taking LSD). Nature simply does not look the way that “obvious HDR” makes it look.

But that is my personal opinion. By all means play with art effect HDR (I have, too), and by all means produce some works of art this way. Just don’t do it for every image you produce forthwith. Now, an example of that kind of HDR. Deliberately overdone and bad:
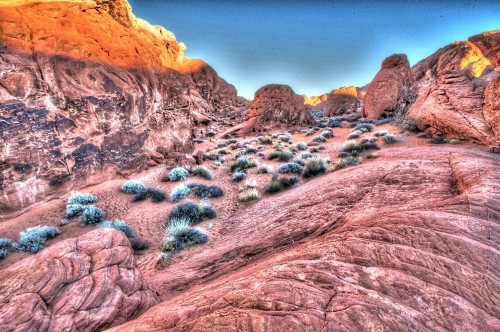
Ouch!

 

Glass

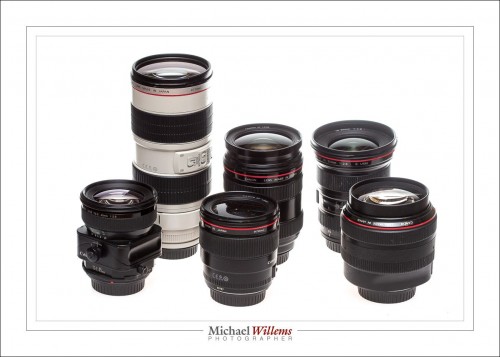
“Glass”, as photographers call lenses (we all like to use jargon) is more important than the camera itself. That’s why I have many thousands of dollars’ worth of them:

The red lines mean “L-lens”, or “luxury lens”, i.e. a pro quality lens.

So why spend so much on lenses?

Because they make the photo. The camera does hardly anything. Also, lenses retain their value much better than cameras. The value of as lens is in part due to the intrinsic value of the optical glass. And that remains. So a lens keeps value and functionlity for 20 years or more.

And that is why it is sensible to spend on lenses. Your pictures will be noticeably better. A good lens is $2,000 in many cases; but offset that against he 20 +years use you will get out of it and it’s not so bad.

I have, there:

  • 35 mm f/1.4
  • 45 mm f/2.8 tilt-shift
  • 85mm f/1.2
  • 16-35 f/2.8 zoom
  • 24-70 f/2.8 zoom
  • 70-200 f/2.8 zoom

Question: why do I have so many prime (=fixed, non-adjustable) lenses (over half)?

Bonus Question: Those are six of my seven lenses. So where’s number 7?

Mirror lockup

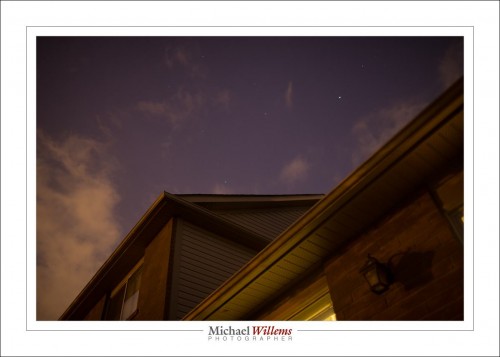
Back yard at night: 1.3 seconds, f/1.4, at ISO 100.

In your DSLR, the mirror flaps up and down every time you take a photo. This shakes the camera, ever so slightly, even when you are using a tripod. When you shoot at 1/500th of a second, you will never notice this. Also, if you shoot 10 second exposures, the slight vibration for a fraction of a second at the start will not likely show. But if you take photos with a shutter speed between, say, 1/15 sec and 1 sec, you may well notice this, since the “shake time” is significant with respect to the “shoot time”.

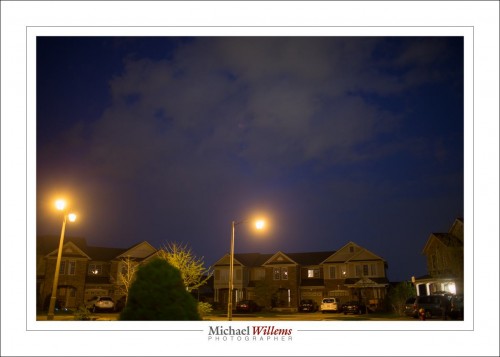
To avoid this, many cameras offer a “mirror lockup” function. This allows you to make the picture in two pushes: one to put the mirror in the “up” position; and the second, to actually release the shutter. You may want to try this if you want very, very sharp pictures. Here’s my street, just now:

It works like this: Activate it; then, when you press the shutter (or better, iuse the wire release) the mirror flaps up; now you need a second press to actually open the shutter.

Use this in combination with wire release and your photos will be steadier.

Tip: focus on infinity manually, and during the day, verify that the “infinity” marker on your lens actually means infinity, i.e. that it is well calibrated.


An interesting exercise

As you probably know, I am a big fan of shooting in the RAW format. You pretty much have to, because RAW has the following benefits:

  1. Much better quality (more colour bits).
  2. More tolerance for mistakes (e.g. a 2 stop underexposure can be easily fixed).
  3. Decisions such as white balance, colour space, etc are not final. They are mere suggestions and you can change them on the computer before finalising the image into a JPG.

RAW images are like negatives, while JPG images are like Polaroid photos. So if you want to minimize risk, shoot RAW. Stands to reason.

But now I am going to suggest something odd: Occasionally go out and shoot JPG.

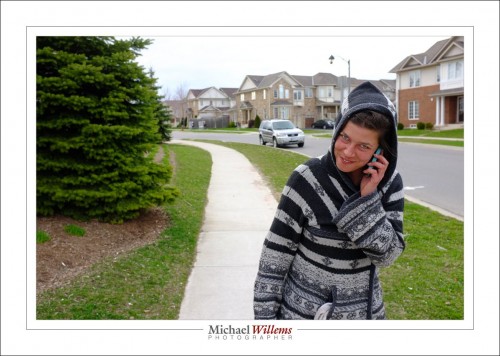
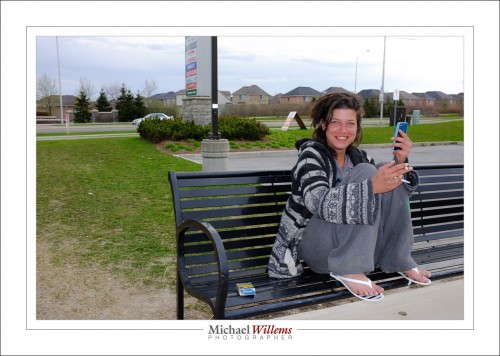
Above, my model, the day before flying out to Albania to be with her boyfriend. A JPG image, unchanged (other than the frame and logo), taken at 400 ISO, 1/160th sec, f/5.6 with my small Fuji X100 camera:

Fuji X100 (Photo: Michael Willems)

And why would I suggest shooting JPG? Because it has no tolerance for mistake. Like film shooting.So shooting JPG is an exercise in photographic discipline. You have to meter accurately. Be sure you get the exposure right, Be sure your white balance is correct. Crop properly. Be sure your picture is good in the camera. And all that makes you a better photographer!

So… go for it! A day in .JPG, and no changing the images afterward.

Here’s another “straight out of the camera” JOG from that day:


Reader Question

Reader Ray asks:

Quick questions, I have 7D and a 50D as my backup, what would be a suitable full frame up from the 7D? Are full frame slower then say my 7D?

Good questions about Canon gear.

Canon Logo

Upgrading to full frame makes sense for people who like bright viewfinders, low noise/high ISO, good quality, and wide angles. So good for you.

If I were in your shoes, I’d go with a 6D, the economical full frame option.

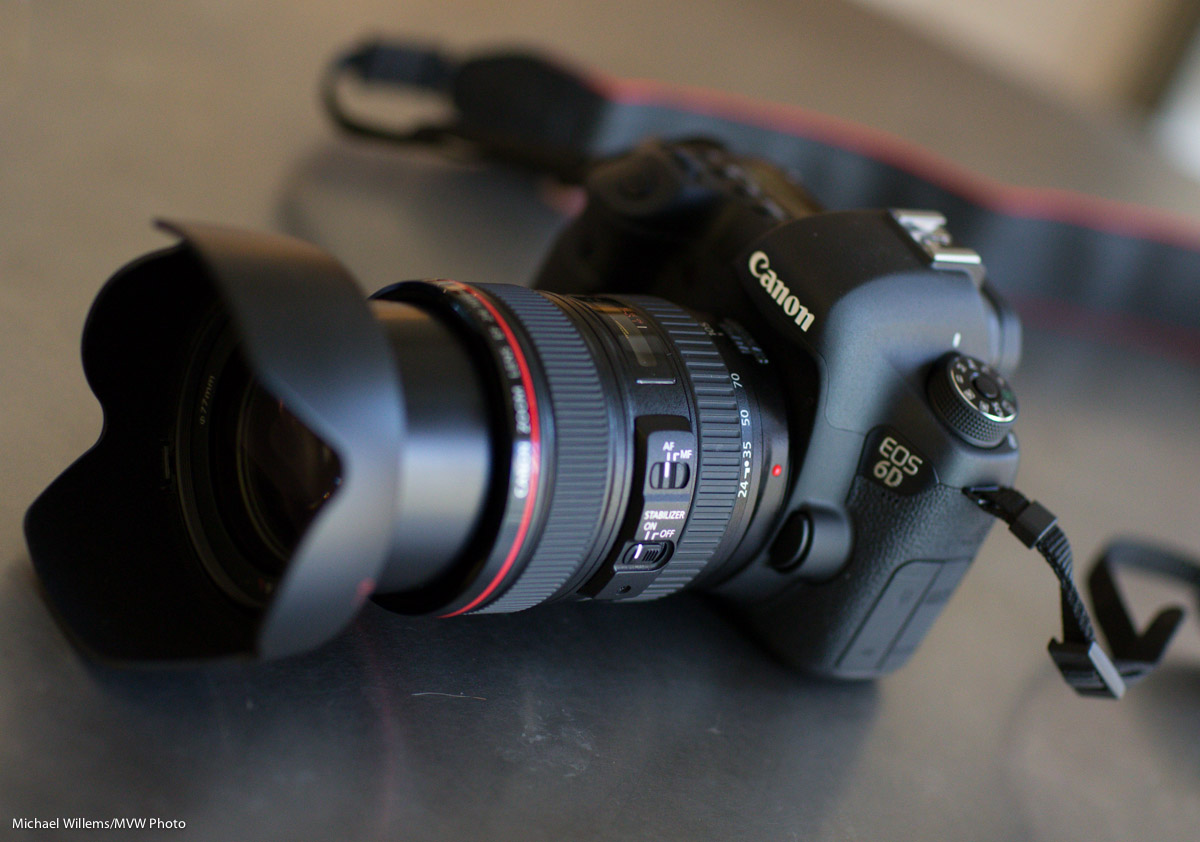
The Canon 6D, which I have reviewed briefly here, is a great camera. Canon left very few functions off. The focus system is old, and the flash sync speed is limited to 1/160th second. Both of those are relatively small limitations if you know what you are doing. (And if you do not, go here). And the shutter lasts 100,000 exposures, vs the 5D’s 150,000 or more. There’s some more small things of course.

And the 6D also has neat new features like GPS and WiFi, so it’s not all “less”.

So if you want to splurge, then go to the 5D MkIII (or even the 1Dx, if you win the lottery), but I think the benefit for many is doubtful, and the 6D is a great camera.

Yes, the full frame cameras have lower frame rates. The 7D can shoot 10 fps if I recall correctly; on the 6D, it’s 4.5. The larger mirror means slower movement. But how often do you really shoot at 10 fps? That’s a good way to wear out your shutter.

___

Do you have questions too? Ask away, and I shall answer… in most cases, quite quickly.