Zabriskie Point

Here’s Zabriskie Point in the 1970 Antonioni movie:

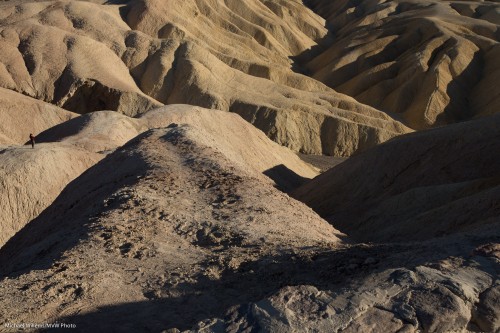
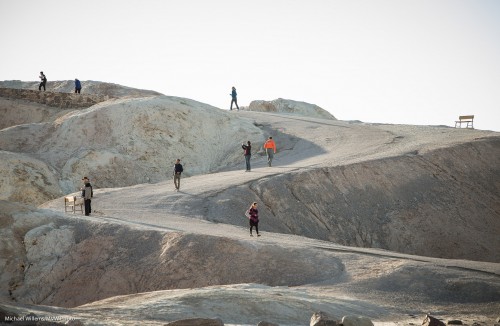
And here it is the other day shot by me:

They added a bench and there’s more tourists; that’s about it, in 45 years. I can just imagine being there in 1969. The landscape is as stark as then:

And so is the environment, except for a much better road now.

Stark. Beautiful. I love the desert.


Fire

Yesterday’s trip was to the Valley Of Fire, Nevada. Just an hour outside Las Vegas and the most stunning landscapes I have ever seen–and I have been around the world countless times. I can only compare it to Ayers Rock (Uluru) and the Olga’s (Kata Tjuta) — except better (sorry, Oz friends) and bigger.
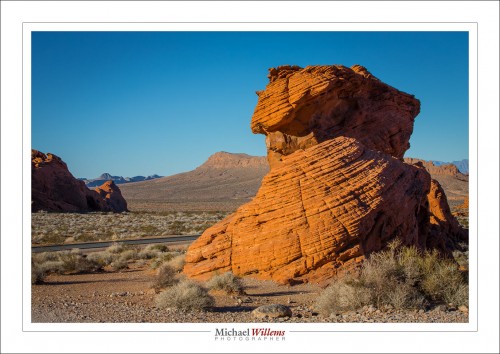
I have never regretted not having two cameras as much. Every other shot needed a lens change. The above shot was taken with the 70-200 lens. This one with the 16-35:
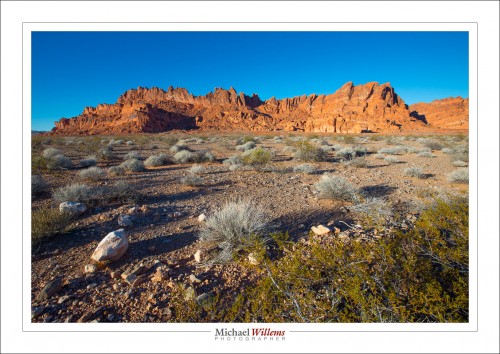
That National Geographic “wrapping around me” feeling that only a wide lens can give you.

And the crisp, undistorted feeling a long lens delivers:
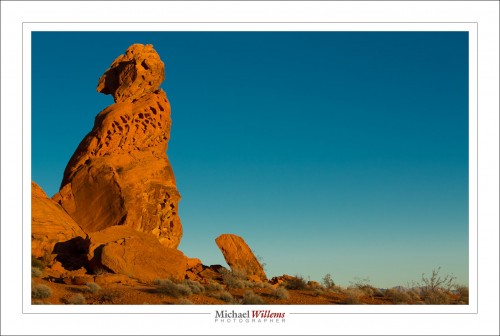
What was critical in the shot above? Yes, time. I had a few minutes. In 30 seconds, the sun was gone. What happens in mountains under a clear sky.
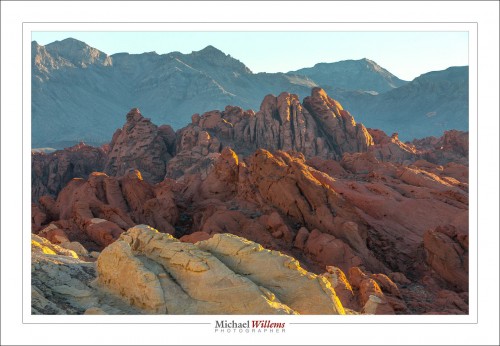
One more from the wide lens:
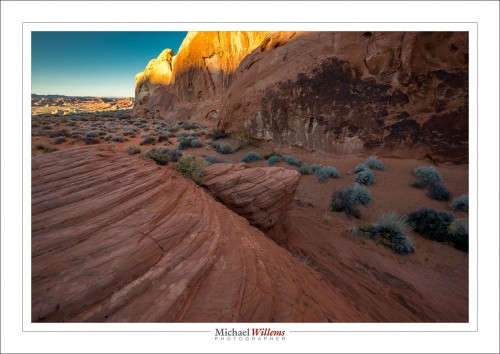
And the sun eventually sets.
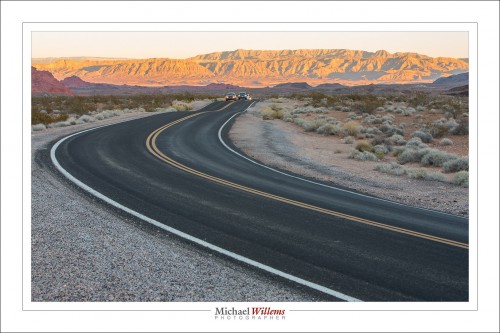
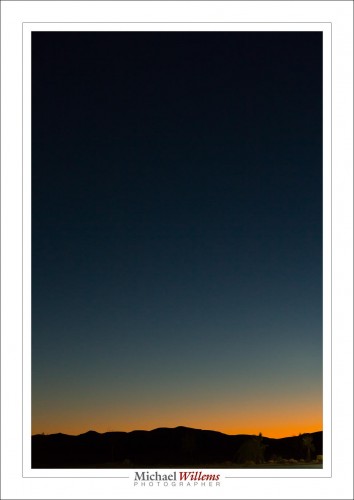
Not that the fun stops after the sun sets. Beautiful colors come out:
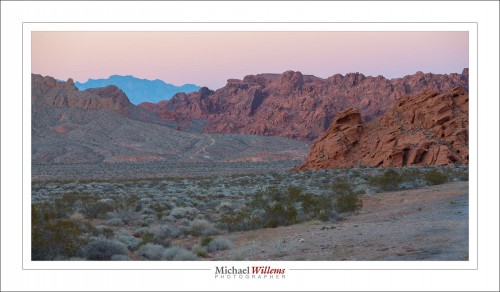
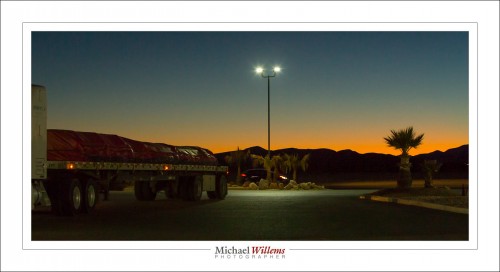
And here finally is the native gas station that I drove a Korean college student, her mom, and her two kid sisters to yesterday, after they had a flat tire in their Kia rental. And I am here to tell you that those “temporary fix” kits they use now instead of a spare tire do NOT work. (the kits that comprise a compressor plus some substance). After the “fix”, 6km later it was flat again. Fortunately, I had a van so was able to drive them 15km to the gas station, where they waited for the rental company.
I could spend a week in that park and only scratch the surface. Instead, I use photography and I am quick.

This country is so beautiful, I am thinking more and more I belong here, the southwestern USA.Now all I need is a green card and an income…

___

More travel photography tips: Get my e-book Impactful Travel Photography today. Need to learn your camera? Then buy Mastering Your Camera too.

Timing is everything

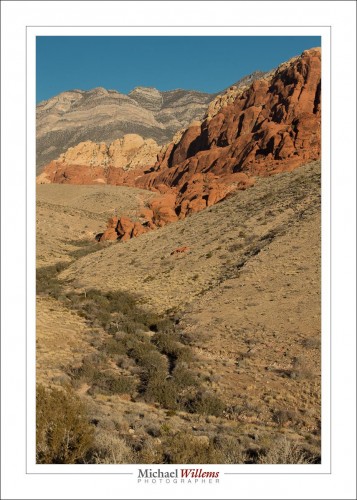
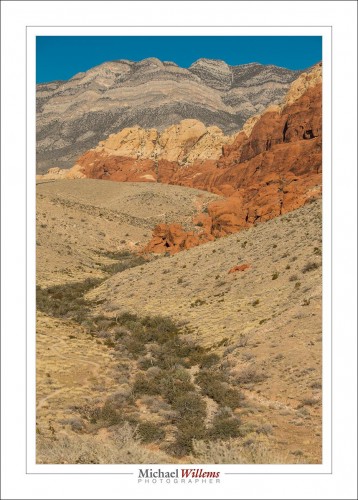
Not everything, but it is certainly something you should be aware of. Look at the difference in these two pictures of Red Rock Canyon, Nevada, yesterday morning:

Majorly different, no? And why? Because I took them about an hour apart. 9am (first) versus just before 10am (second). And that darn sun had shifted. See? Proof that it turns around the earth.

Both acceptable pictures (note the curves, and the other compositional elements described in Impactful Travel Photography?), but both different. See the differences?

Light really is very important and as a photographer you should always be aware of the nature of the light: where is it, how contrasty is it, how bright is it, what colour is it.


Solitude

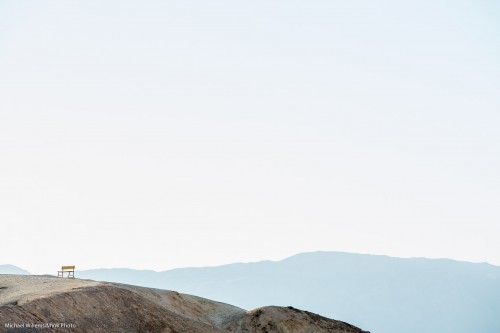
As those of you who read my new Travel Photography book know, solitude is well expressed by using “negative space”. Like here, in a picture I made today at Zabriskie Point in Death Valley, California:

I am utterly delighted to have driven there. Stark landscape, which I remember well from the eponymous 1970 movie that showed the turmoil of the 1960s so well. In the image above, the landscape plays little role, but its starkness is well shown. In the following image, it’s all landscape–but with a person to give it size:

There were, of course, other tourists. See how a slight change in viewpoint makes for a very different (but still good) image:

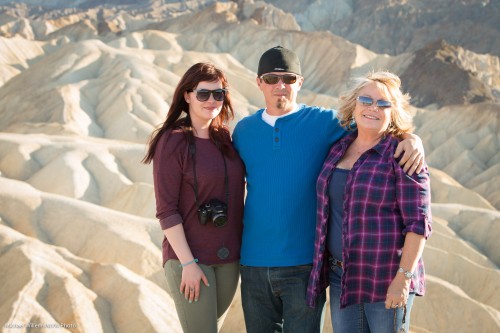
And here are the tourists I helped by taking a picture–one of whom is reading this, if she kept my business card, and I bet she did, and I hope she buys my all-new Camera Manual, so she learns all about operating her camera:

Did you notice all those were made with the long lens (70-200 f/2.8)? Sometimes it just works better that way.

Zabriskie Point. Meaningful for me because of that movie. Meaningful for the tourists because they were together there. Photography is such a great gift.


Travel

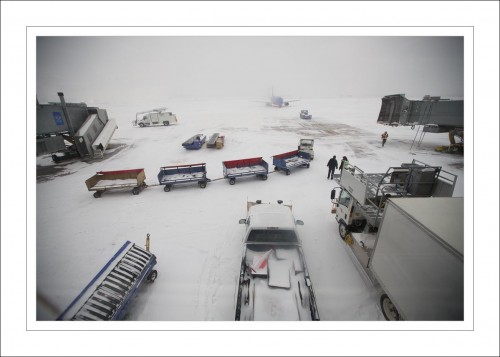
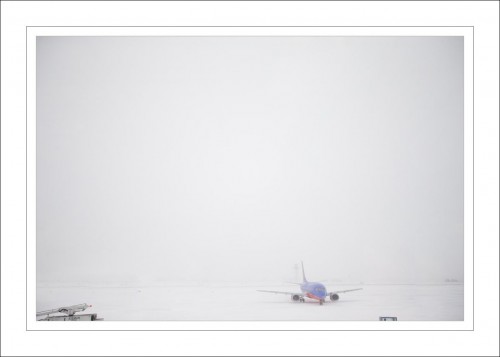
Took me from here Friday…

…to here yesterday:

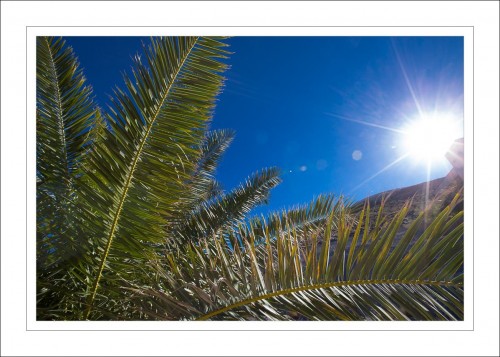
Today, Red Rock canyon, I think, and perhaps even The Strip, we shall see. And in a few days, back to this:

…but I prefer not to think about that yet.

All these made with my wide angle lens, 16-35mm. My favourite travel lens, usually.


Learn to use your DSLR!

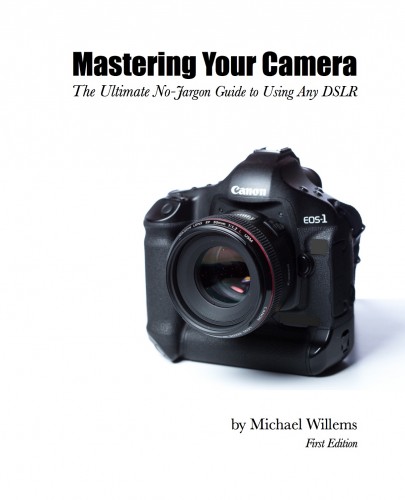
Great news: the new e-book is out! “Mastering your digital camera: the ultimate guide to using your DSLR”. Available now!
http://www.speedlighter.ca/e-books/mastering-your-camera/. 182 pages of facts, explanations, examples: all you need to learn to take professional photos. Go check it out!

(You may be amused that this announcement comes to you from 36,002ft above Kansas City, on a flight from buffalo, NY to Phoenix, AZ.)

It ain’t all what you see

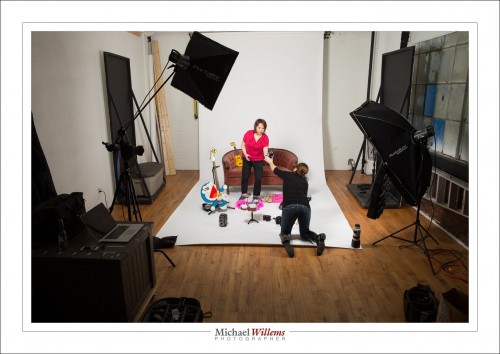
The day before yesterday, I did a shoot for a very talented photographer who is publishing her work and needs a front page. A studio shoot, and just a word about that today.

A shoot is not what it seems, sometimes. The end result is like this:

The shoot actually looked like this:

Make-up artist. Backdrop. Lights. And post work, including:

  • Making the edges of the white background pure white.
  • Filling in areas without backdrop
  • Colour change of the couch.
  • Small changes in lighting curve (dark areas, light areas, etc) to optimize the end result.

Often, also skin edits and so on, but with a young subject and a make-up artist, that was not necessary. The rest, though, was, and that is one reason you pay a photographer: attention to such detail, and expertise carrying it out, is the difference between “OK” and “good”.

Tomorrow, I am off to Las Vegas (standby flights allowing), so updates may be sporadic for a few days. We’ll see!


2014!

Happy New Year, everyone!

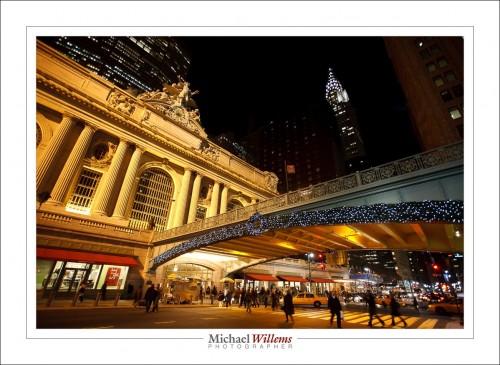
This picture is from almost exactly seven years ago: Grand Central Terminal in Manhattan, early January 2007. For pictures like this, of course, you use a very wide angle lens. 10-20 on a crop camera; 16-35 on a full frame. Slow shutter speeds are possible, everything is sharp back to front and you get great perspective. Cheers!

___

My new book release is imminent: if you bought or received a new SLR camera for Christmas, it may be just what you need!


Do it in style (or not)

Another page from my upcoming book, Mastering Your Camera – The Ultimate No-Jargon Guide To Using Any DSLR (ISBN-978-0-9918636-2-4) whose release is imminent. Planned for January 14, but it may well be earlier: STAY TUNED. I will announce release here and on https://www.facebook.com/CameraTraining.


Most cameras allow a “Picture Style” choice. This choice allows you to set the camera up to produce photos with a particular “look and feel”, like Standard, Portrait, Landscape, Monochrome, and various others:

This setting effects sharpness, contrast, saturation, and colour tone. And again, as in previous “in-camera editing” options, this only affects JPG pic- tures and a RAW image’s built-in JPG, i.e. the preview you see on your screen. So when you shoot JPGs, yes, do explore these options and how they all look.

Even if you shoot RAW, if you use your camera maker’s provided software (e.g. Canon’s Digital Photo Professional application), you can then have the RAW image “tuned” the same way on your computer, so in that case there is some utility to this. You can even make your own styles. Nevertheless, if you shoot RAW, I think the advantages versus the drawbacks of not using Adobe Lightroom or similar weigh towards not doing this, and just leaving it on “Standard”.

If you shoot JPG, I would not use the “Monochrome” setting—as discussed before, this will throw away all colour info and make it impossible for you to adjust the B/W conversion later.

Play with styles if you shoot JPG; else, my advice: leave the camera on “Standard” and do all editing in Lightroom. And: you can emulate most cameras’ styles in Lightroom in the DEVELOP module, in the CAMERA CALIBRATION pane, by changing the PROFILE setting. Play with that!


Review!

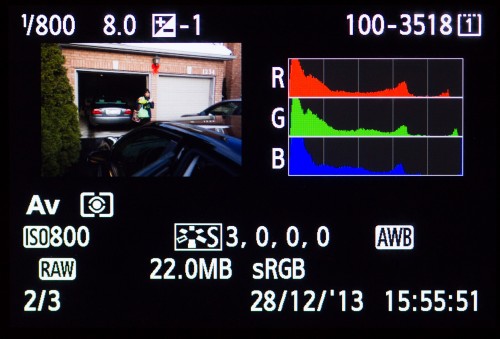
You all press the “playback” button to review your photos, of course. But do you also benefit from the extra information you can see?

Additional Info (EXIF data): You can see additional information about your images (such as the image’s date and time; image name and number; the histogram (an exposure graph); detailed exposure and settings data. Like in the picture above.

To see such important data you press:

  • Canon and similar: the INFO or DISP button. Press it repeatedly, and you will cycle through the different views.
  • Nikon and similar: the UP or DOWN controls. Press them repeatedly, and you will cycle through the different views.

Try it now: press the Playback button, then repeatedly press INFO/DISP or UP/DOWN. What do you see?

Blinkies: some of these review modes can (or can optionally, when enabled) show blinking “highlights”. These blinking areas are the areas that are, or are close to, overexposed. Are blinking areas a problem? Not necessarily, but when half your subject’s face is blinking furiously, then, yes, of course.

___

These words are from my next e-book, “Mastering Your Camera-The Ultimate No-Jargon Guide to Using Any DSLR”, (ISBN 978-0-9918636-2-4) which will be released within the next couple of weeks.