NEW RELEASE: “Impactful Travel Photography” e-book!

I am proud to announce, just in time for the winter travel season, the release of my long awaited book: Impactful Travel Photography (ISBN-978-0-9918636-3-1)

This is a downloadable e-Book (that is: you pay, and I send you the link by return, usually in minutes, certainly within a day), in convenient PDF format:

This 123-page PDF lays out, in a very logical fashion, everything you need to know about travel photography.

“I find this one is almost like you are there explaining it in person. It makes me want to go out and try what I have just read”. – Lisa J, Timmins, ON

Many years practice in both doing and teaching travel photography, and my having worked in 38 countries to date, resulted in what I think is the perfect way to convey my knowledge.

You judge – $19.95 for this 123-page e-book, packed with information, and richly illustrated with photo examples. Buy here.

Chapter titles/page numbers:

Introduction 8
Preparing For The Trip 12
Camera Basics 23
Choosing The Right Lens 31
Resolving Common Challenges 48
Composing Better Images 60
People And Culture 95
After The Trip 107
Conclusion 112

This book will change the way you do travel photography! Instead of coming back with thousands of “blaah” images, you will come back with great compositions that you are proud to show off.

This book will demystify travel photography. The things you never thought were easy, actually are. Years of experience will help you quickly learn the do’s – and the don’ts. What’s more, you will frequently say “Oh… I should have thought of that”.

This will make you creative. Creativity is often hampered not by lack of thoughts, but by lack of knowledge. Knowledge and ideas are what you need: Problem Solved!

This book will allow you to get results from your current camera. Even if you only have simple equipment, I will teach you how to use it well. You do not need a huge SLR to apply the lessons in this book!

This book will give you practical checklists. There are many good rules of thumb, starting points, and “to do” lists included. This is often the secret to learning quickly.

The eBook format has some unique advantages for you:

  • CONVENIENCE: this is an Electronic Book formatted for reading on iPad and on your computer.  I do not addle you with “Digital rights management” restrictions like most book authors. You will never see “not authorized on this device”. You can copy and read it on all your devices, forever. I trust my customers.
  • COST: Because I self publish my books, there’s no Middle Man like Amazon, Google or Apple to take a large portion of the money. That means I can keep the cost down for you. Comparable books on similar subjects cost three or four times more.
  • FUTURE PROOF: It’s digital. There will be a second edition soon, no doubt, with any misconceptions explained and errors fixed and new material added – and when that happens, you are entitled to the new edition at no extra cost!

Many years of travel photography knowledge for just a few dollars: head on over to http://www.michaelwillems.ca/Buy_Book.html and get your copy. And take pro shots on your very next trip!

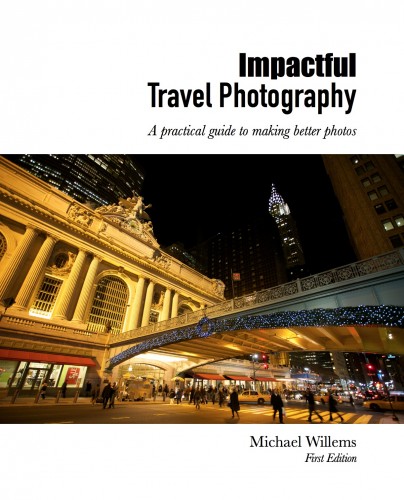
NEW: There is also a special offer for the Bundle of ALL THREE e-books. Head on over to http://www.michaelwillems.ca/Buy_Book.html and check it out!


The Compulsory Adjective

This is a tip from my Impactful Travel Photography e-book, which will be released this weekend–in time for Christmas. Just sayin’.

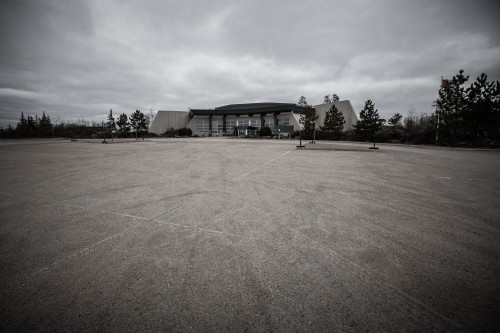
A trick for better travel photos. The trick is simple: when you press the shutter, ask yourself “what is the subject?” If it is simply nouns (“the Eiffel Tower”, “The Shania Twain Museum”, or “the Houses of Parliament”), then the photo will probably be boring. The subject needs an adjective, a descriptor; something you are trying to say. “The Very French Eiffel tower”, or “The Houses of Parliament as a tourist attraction”, for instance.

Or, as above, “The Failed, Abandoned, Shania Twain Museum”. That makes the viewer look and work out the story. It helps the photo tell a story. Most importantly, choosing the adjective helps you decide how to photograph your subject to achieve that story (like by using the empty car park in the photo above, with a wide angle lens).

Remember: your subject should be not a noun, but an adjective and a noun… and an adjective that your audience can guess!


Boom!

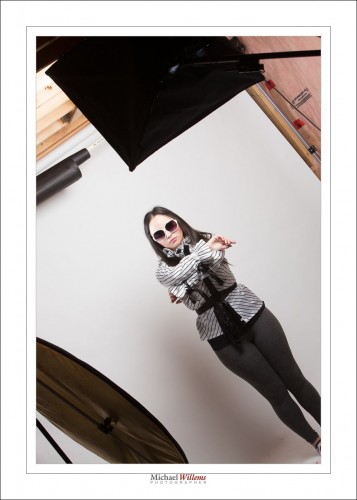
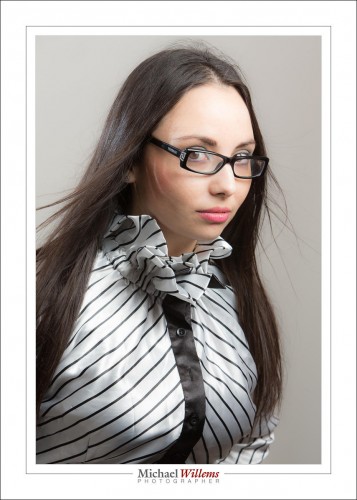
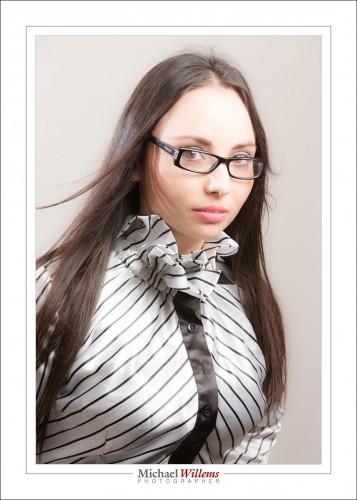
I used a simple softbox with a boom stand today for some portraits:

The softbox is held by the boom above the model’s head. And a reflector provides some fill light on the side I am on – I am shooting from the left, slightly. You can see it reflected here:

The boom means I can have the light directly above the model, in front of her, without me having to avoid the light stand.

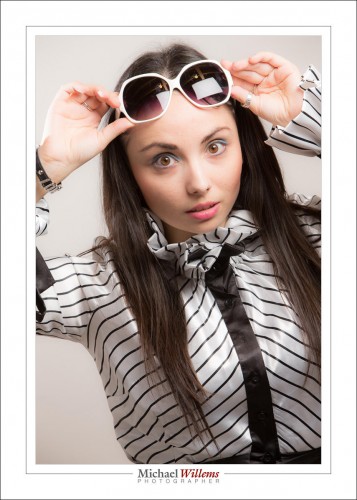
I now get simple butterfly lighting, but I can turn into into loop lighting by slightly turning the model away from the softbox:

A simple light source like this, perhaps with a reflector, can do really cool professional light; that is why we use it for fashion and beauty shooting. Add a hair light and you have everything you need:

And once you gave simple light, you can now concentrate not on light only, but on expressions, positioning. and even, dare I say, it, a little fun in your shoots.

But whatever you do, always remember: in studio shooting, you always need to be aware of the light. Where is it, how is it, what is it. If you do that, you will know what to do.

And now it is almost 2:30AM: time for bed.


Detail, detail

This season, whether you photograph your family get togethers, or vacation trips, or any other story: make it a story. And you do that in large part by adding detail pictures.

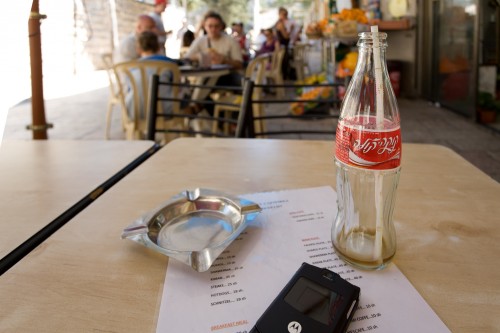
Like this, for example:

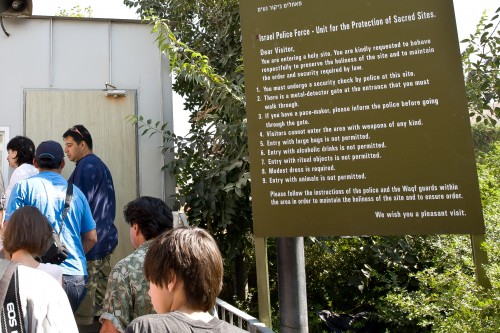
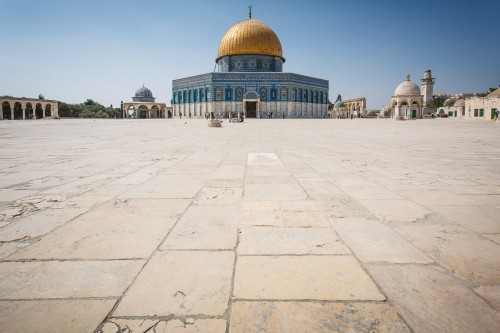
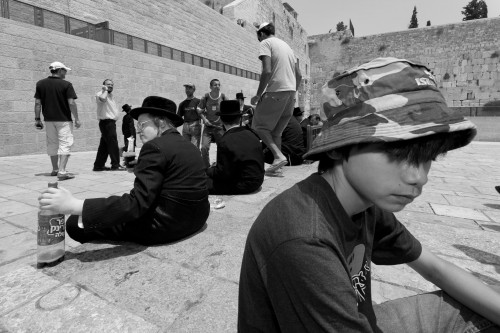
On a trip to Jerusalem, you would of course photograph the “big” things. But the small details, interspersed with the big things, tell the story much more clearly. A hebrew Coke bottle, and menu with shoarma, kebab,ash tray, and so on. Or signs at the entrance to the western wall site:

Look for anything that helps tell the story with detail. Anything you notice.  And then you can shoot the “big things”.

But that “B-roll” of supporting detail pictures makes it come alive.


Look for my upcoming Impactful Travel Photography e-book, out soon. Details here as soon as it is ready to go – I am aiming for December 24.
 

Drink Responsibly!


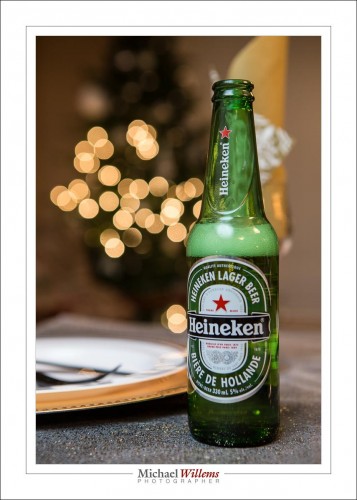
Nah, I will not bug you with educational messages: you are adults and perfectly able to act and drink responsibly without me talking down to you like our various pressure groups, politicians, and authorities .

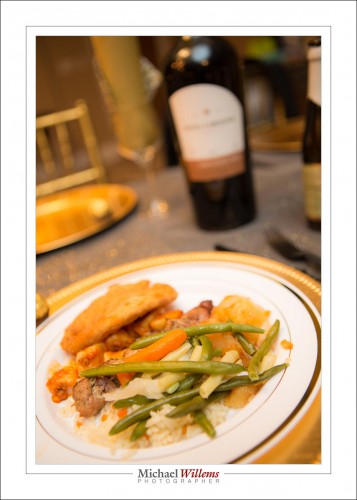
The same goes for eating: You’re in charge of you. Salads or meat and pasta: up to you.

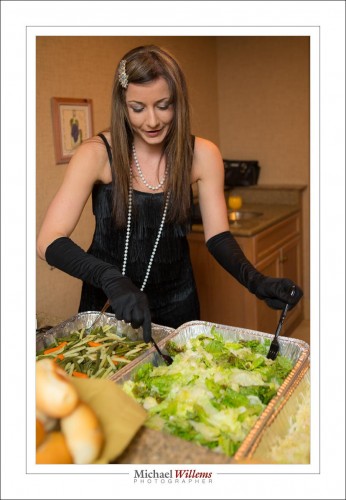
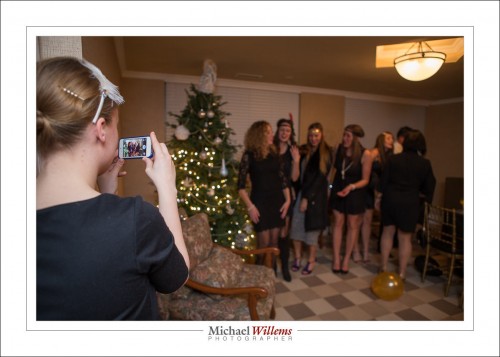
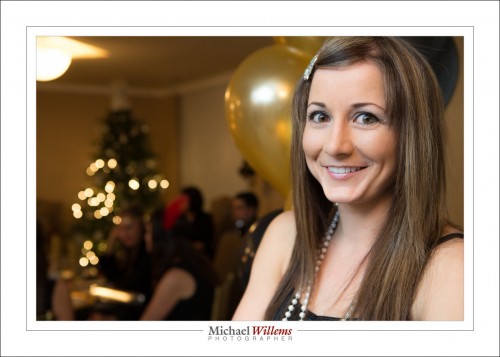
When getting together with friends, do record the event; on your iPhone if you must – or better, hire me to shoot it for you.

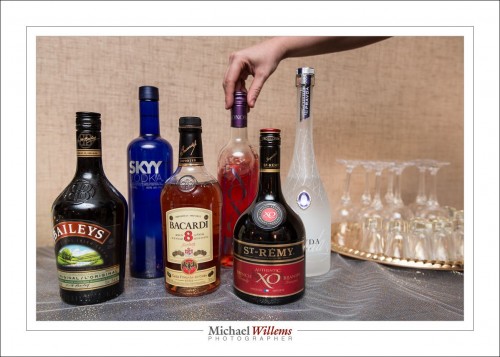
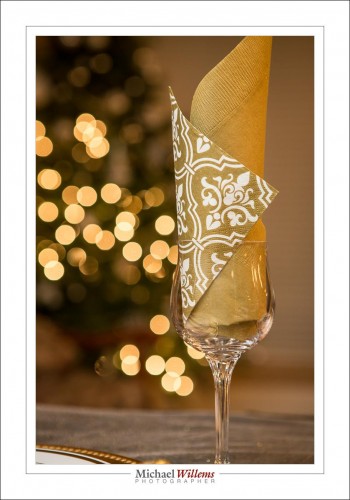
You will of course record the decorations as well:

Now, the point of this post?

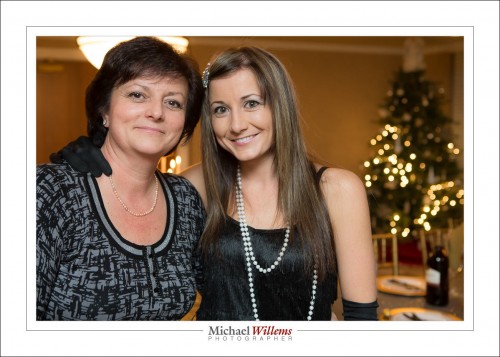
These pictures were all from an event I shot Friday night.  And contrary to my habit, I changed lenses several times before settling on what I really wanted. I started with my favourite 35mm f/1.4 lens. But it was not dark, and I wanted a little wider, for the tables and so on, so I switched to the 16-35 f/2.8. Then I wanted longer, to get those large circles from the light – so I switched to the 24-70 f/2.8 L, the perfect all-round lens. I used it at discrete settings of 24, 35, 50 and 70mm. That way I knew what to expect.

Enjoy the festive season, and shoot a lot – this is the perfect season to record permanent memories!


A reminder for the festive season

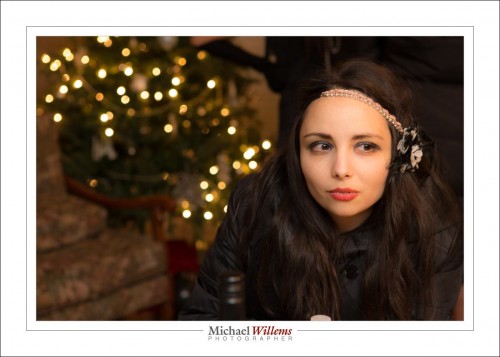
A reminder, with some pictures at an event I just photographed. You can use the pretty lights we see all over the place (Christmas tree lights, festive season decorations) as a wonderful background. Like this:

To do this, you need to really blur that background. This means:

  • Shoot wide open, or close to it.
  • Separate your subject from the lights (not right in front of them).
  • Zoom in.
  • Get close.

If you cannot do all these to the full extent, you can still get pretty lights – they just will not be quite as big. Still worth doing!

Even

Even not quite as big, they are still nice. I shot these at f/2.8 and f/4 with a 24-70mm lens. And here’s one more, just one more:

Yes, this season affords a great opportunity for cool backgrounds to go with your cool foregrounds.


Friday the 13th.

..is not a bad day so far. I am shooting an event tonight; first, some more writing (the Travel Photography book: I am making good progress and I trust I will have it finished before Xmas), and some admin.

A quick note, today, about TTL flash. You can of course set up a studio setup with manual flash, and when you have time, you do that. But when you do not have time, use TTL for off camera flash. Remember:

  • Use flash exposure compensation when needed (when the camera decides to over- or under-expose the shot).
  • Avoid reflections.
  • Meter off something mid grey.
  • Disable your on camera flash (so that it sends commands, nothing more).
  • If you have two flashes, set them to “A” and “B”.

Now set ratios between groups (Canon) or adjust groups to taste one by one, by stops (Nikon).

I had two flashes here: main flash A on the left; hairlight B on the right.

A:B = 1:1 (Canon) or A and B both set to 0 FEC (Nikon):

A:B 8:1 (Canon) or B -3 stops FEC (Nikon)

A:B 1:8, or A -3 stops FEC (Nikon):

Although the way of setting them differs a little (ratios vs per-group adjustments), the end result is the same. And the benefit of using TTL for this is that it is very fast. TTL with some knowledge and some adjustments when needed, and Bob’s your uncle. Try it, if you have several flashes.


Leave some space!

One reason we use negative space is to show a subject in isolation; small person or object versus big world. But there are other reasons, like this one. We do it also to allow the placement of text, like this:

And that brings me to a related subject. OK, not all that related, but whatever. Namely this: If you are interested in shooting any kind of magazine cover page, I have a few tips for you.

  • First of all, be very sure that your work is 100% technically correct. Focus, lighting, exposure, grain: all have to be perfect, or forget it.
  • Ensure that your work is in keeping with the magazine’s culture and audience.
  • Shoot RAW. That way, colour space choices (sRGB, AdobeRGB, etc) can be deferred until later.
  • Shoot vertical (portrait orientation). Magazines are vertical, after all.
  • And finally: yes, do leave blank space. Text has to go somewhere.

Want to be in magazines? Start by creating a portfolio of great work. Then do the legwork – and there’s a lot of it to be done. And meet all the tech requirements, or you are wasting your time.


Direct can work

Another reminder, if you need one, that direct flash can work. Direct, unmodified flash. As long as it it not on the camera (with a few exceptions), this kind of hard light can be very effective for certain shots. As long as you aim it right.

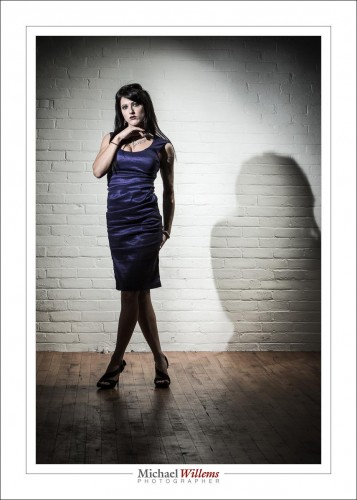
Here’s a studio photo of model Danielle from yesterday:

I wanted a shadow, and the way to get it is by using an unsoftened flash – I am using only a grid on the speedlight. Almost straight into her face: good light for a model.

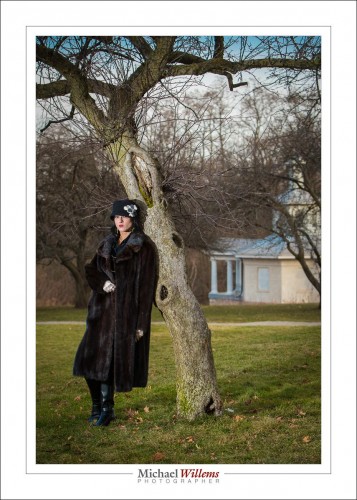
And earlier in the day, this: 1920s style.

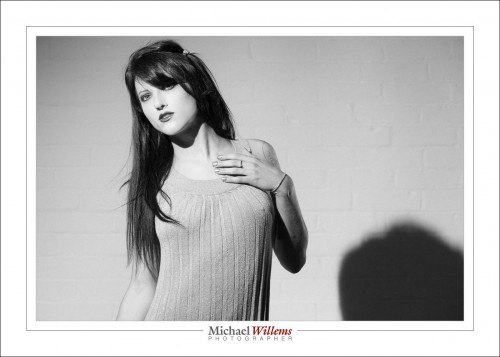
And let me show you one more:

In all these photos, direct, unsoftened flash was good – because the flash was off camera, the model was young and had good skin, we want to brighten skin for best smoothness, and I aimed the light carefully.