Split personality? No

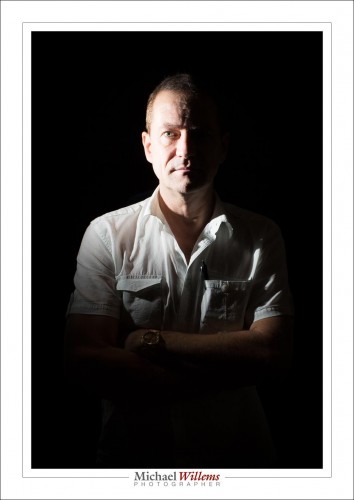
But split lighting? Yes. This is an example – made just now during a flash workshop – of split lighting.

Split lighting means you light half the face, and the other half is not lit. Simpl.

To make this picture:

  1. Set your camera to 100 ISO, 1/125th sec, f/8. This will make the room dark.
  2. Put a flash in the side.
  3. Put a Honl Photo 1/4″ grid on the flash’s SpeedStrap. This stops the light from reaching the wall and other areas.
  4. There you go!

You can meter manually or using TTL. I used manual and Pocketwizards, but TTL is fine too (as long as you disable the on camera flash except for commands).

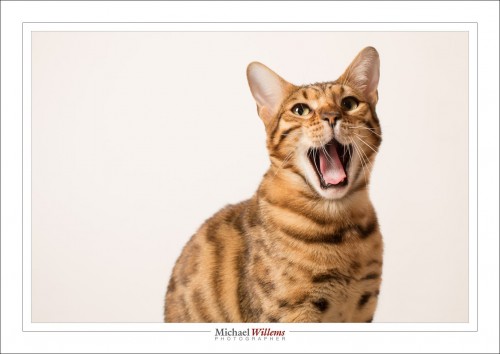
Tomorrow, another flash workshop. I am pumped! But Shiva is less than interested:


So..?

So – do you all like my snazzy new interface?

Seriously – a call to my readers: let me know what you would like to see on speedlighter and on my YouTube channel. In terms of content, design, functionality, anything. And all my posts are open to discussion, and I welcome it. (I need to approve your comment just once and you’re good for life. And no-one but me sees your email address).

Michael

Learning the tools

If you have not yet looked at my Adobe Lightroom and other photography videos, then head to my YouTube video channel: www.youtube.com/user/cameratraining. Regular new tips and techniques. Today’s tip: Secrets of the Healing Brush. A few things I bet you didn’t know.

Note: there’s one spot left on tomorrow’s Oakville Advanced Flash course. Contact me if you are interested.


Touristy Haze

Have you ever looked at something vast, like the Grand Canyon, or Cologne Cathedral, and thought “WOW”, only to have your pictures turn out “Blaah”?

One reason is haze. Grand things are big things, and big things involve distance, and distance involves haze. And haze makes for “blaah” pictures.

Unless you make that haze into a benefit. Make lemonade out of lemons. Like here:

London is hazy, foggy (what else is new), but by placing a sharp object in the foreground I have made this haze into a benefit. The haze now accentuates the foreground object and makes it look extra sharp. At the same time, we no longer “blame” the photo for having haze in the background. This is a trick, in other words, to have the viewer “allow” haze.

Easy, no? Use any foreground object – preferably, of course, one that is relevant to the photo’s setting. But it can be as simple as your travel companion, your car, whatever – and you’re done!


Looks so good, but…

A reader asked me this:

Okay so the last few times I have loaded an image into lightroom, the colors changed from the initial great preview to some weird blah shit when it loads in the develop window. Grrrrr: do you know why it’s doing it?

Yes.

Many cameras by default have the “Auto Light Optimizer” (Canon) or “Active D-Lighting” (Nikon) set to “ON”, which is a mistake. If you shoot RAW (as you really ought to), turn those ALO/ADL functions OFF.

Why?

What does ALO/ADL do to your RAW image? Nothing. And you shoot RAW. So why does it matter? Here’s why.

If you set ALO/ADL to ON, your camera will, where necessary, apply “fill light” to the data that comes from the sensor, and use the result to make its little embedded JPG. That will make dark areas lighter. In other words, the camera makes your not-so-great images “look better” by, if you will, “photoshopping the preview”.

So, the RAW image is bad, but the little embedded JPG is “photoshopped”, so it looks great. And that little embedded JPG is what you see on the back of your camera. \

So when you look, you will see a well-exposed picture. Happily, you shoot more. But in fact, unbeknownst to you, the actual data is darker: you are in fact underexposing the dark areas of your picture!  And you wonder why when you import your image into Lightroom (which does not honour that same “fill light” setting) it looks so much darker than on the camera. Or rather, you wonder why the histograms are so different (you should probably not judge exposure just by the image on the LCD).

So when you turn ALO off, the camera no longer shows you an “enhanced mini JPG”; instead, it shows something closer to the real RAW image. And if that is dark, you can fix it by adding light, not by tweaking bits (which can add noise).

In other words:

Making a bad image, but using in-camera “photoshopping” functions to make it artificially look better (at the expense of quality): BAD. Making a good image: GOOD.

In addition, read this previous post. And you’re welcome.

___

I have one spot open for my Flash course on Saturday, 10AM. If you are interested, let me know now!

The emotion of colour

Colour brings with it a whole set of feelings and emotions. We talk about “warm” colours, “cold” colours, and we tie colours to things we have experienced.

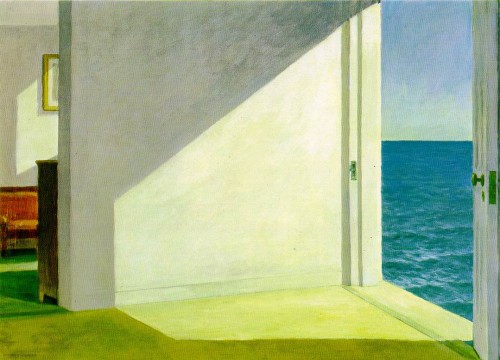
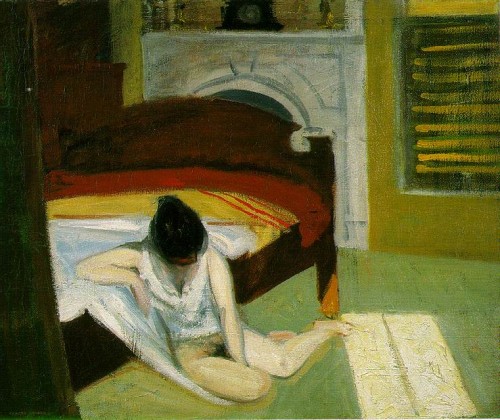
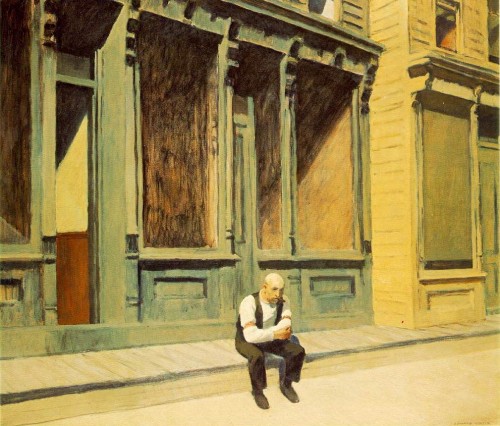
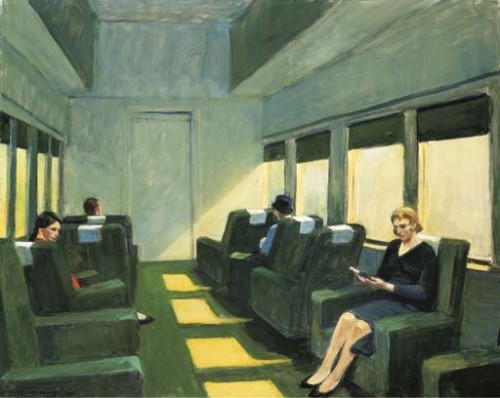
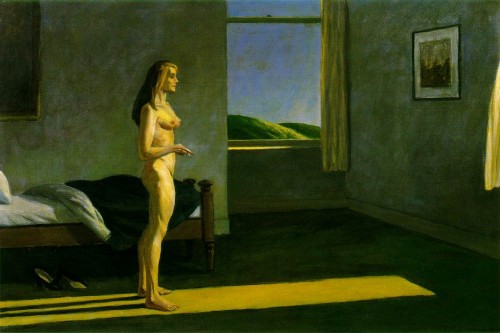
One of my favourite artists is the late Edward Hopper (1882-1967). He of the Night Hawks, yes. But also, and especially, he of the stark room settings, and of the amazing summer colours.

I love the way Hopper perfectly captured the summer colours. And not by making the image red, as might be expected, but rather, by giving it that wonderful olive greenish cast. I can feel the weather, I can hear the sea, I can sense the afternoon.

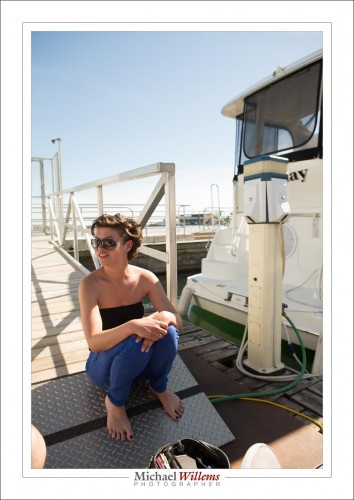
If I take a summer image and set white balance to “auto”, I get a very correct image, but not one that speaks to me:

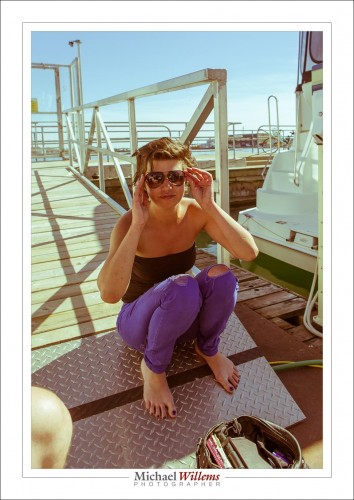
If, however, I select the right white balance setting, I get:

That yellow-green look, almost like a faded polaroid, speaks to me of a lazy, warm, long-lost summer day. I can almost feel the sun.

Hopper was a master of this. Here’s his Summer Interior:

And “Sunday”:

And this:

And one more:

All those speak to me of the same warm summer afternoon feeling. So I try sometimes to recreate the same feeling Hopper evokes. Like here:

Compare that to the first Hopper, and you will – if you are me, anyway – get the same kind of green/yellow summer feeling. And that is the power of colour. So think about it carefully. Colour, like other aspects of light, is an interpretation as much as a fixed value. Look at artists who inspire you, and ask “what were they doing with colour and how does it affect me?”.


Rating your images

It can be quite useful to rate your images, in order to later be able to reduce the number you are working with to the minimum required, and in order to quickly find good images. But when you rate them, you need an unambiguous system, one that is always the same. Otherwise, don’t bother.

Here’s mine, and here’s how I use my method in Lightroom:

Have you subscribed to my YouTube Video Channel yet? There will be more videos regularly, so check back. And comment, and feel free to request subjects. If you want to learn Adobe Lightroom in detail, contact me: I can help you in a personalized session.


Persevere, and…

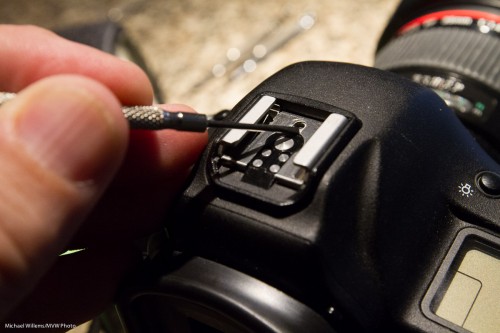
Good News Dept.: my 1Dx camera has a loose, wobbly flash hot shoe at the top. Clearly a simple fix, but one I needed Canon for – and that was complicated. Even though I have an extended warranty, I would have missed my main camera for around our weeks.

For a two minute fix.

And yes, that is all it was. A two minute fix, once I realized what the problem was.

I initially thought I could not do it. I had done this before, as have others: see my colleague photographer and blogger Neil van Niekerk’s post from 2007 about it. But on the 1Dx, my top plate just would not come off. And I was not about to bend or damage it trying.

So I was contemplating next steps. Until I realized why it would not come off: Canon now uses a little glue on the top plate to hold it to the hot shoe. Which if you ask me is of questionable value if the screws right underneath it can come loose. Anyway, all I needed was a little continued gentle prying and applying pressure back and forth, and yes, the plate came off. And from there on it was the standard “repair”:

  1. Raise, at the back, the top metal plate
  2. Slide it back and remove
  3. Tighten all four Phillips screws (all four were very loose)
  4. Slide the plate back

I am feeling happy, especially because of the time difference between an official “repair” and me doing it: two minutes versus four weeks. And all I needed was a small jeweller’s screwdriver.


A:B C? Huh?

Every now and then I repost an item, because it needs to be done. Here’s one:

MVW_9056-1200If you use Canon’s excellent multi-flash E-TTL II system, you can get great results with simple speedlites like the 430EX.

But you have to know how the system works. There are a few gotchas – like the sensitivity of the E-TTL system to highlights: just one reflecting item in your shot and the entire picture is underexposed. except that reflective item.

One other thing to know is the way you set ratios. This is under-explained in the existing literature, and yet, is very simple once you know it.

You can divide your remote flashes into “groups”. You can assign each flash to group A , B, or C. You do this by controls on the back of the flash.

The options for setting up these groups are are”A+B+C”, “A:B”, and “A:B C”.

A+B+C simply means “fire all as one big group”.

A:B means “I have set one or more of my flashes (including the one on the camera, if that is enabled to flash) as group “A”, and one or more flashes as group “B”. I want to fire so that the ratio between group A and B is as set; e.g. if I set 4:1, then the “A” flashes fire four times more brightly than the “B” flashes”. So unlike the Nikon CLS system, which sets “stops with respect to neutral exposure”, the Canon system sets “ratios with respect to each other”. Not difficult: just another way of looking at it.

The one mode that gets most people is A:B C. (Note, just a space between the B and the C). This option simply means “A and B are as before, but any flashes in group “C” will fire at high power and this group will not be taken into account when calculating overall picture exposure”. This means you use group “C” to light up a white background.
Like in the pictures here of my son Jason, which I took in five minutes this morning before work. Including setting it all up. Pictures like this one:

MVW_9055-1200

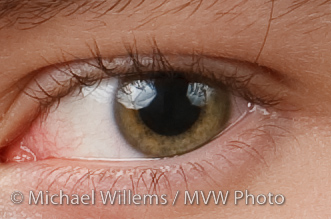
This picture was shot as follows: on our left, the “A” flash firing through an umbrella. On our right, the “B” flash also firing into an umbrella (you can see that in the reflections in his eye – you do always focus on the eyes, right?). And behind Jason firing at the white wall behind him, the “C” flash, aimed at the wall. All three of these are 430EX speedlites. On the camera, a 580EX II speedlite. This on-camera flash is disabled; it simply drives the three 430s. The system is set to A:B C, with an A:B ratio of 4:1 (the camera left side of the face is four times, i.e. two stops, brighter than the camera right side).
MVW_9055

Simple, really.

If you want to learn more about this subject, I teach at Sheridan College; and I teachFlash courses at Vistek; and as customised training, privately, to a wide range of clients. Contact me for more information via the links above.

You Need Protection Against Yourself!

Or rather, you don’t.

A somewhat advanced Lightroom tip for studio photographers today.

Adobe Lightroom, since version 4, has protected us from ourselves. Any overexposed areas are automatically brought back as much as possible as part of the RAW conversion, so that they appear not overexposed.

Fine. Until in a studio portrait, you try to deliberately overexpose the background, so that it becomes pure white. Fine, except Lightroom stops you.

Until you change the RAW conversion back to the older, 2010 version. Then you can overexpose as much as you wish.

I just posted a short video about this here:

TIP: Sign up for my YouTube channel, so you hear when I post a new video.