Sin against the rules?

Two questions.

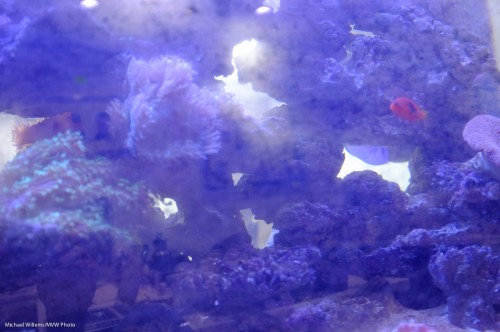
First: Can you shoot an aquarium whose glass is dirty? Like this?

Furthermore, can you do that using a wide angle lens instead of a macro lens? And when there is little light? At high ISO? Surely not.

Yes, you can. Provided that you:

  1. Get close to the glass – very close. This defocuses the dirt.
  2. Do not overexpose (underexposure makes black blacker, and hence helps make grey dirt go away).
  3. Ensure that behind you, it is dark, so you avoid reflections.
  4. Shoot at fairly low F-numbers.
  5. Are patient.
  6. Are willing to do a little post work if needed (to makes blacks darker and whites brighter).

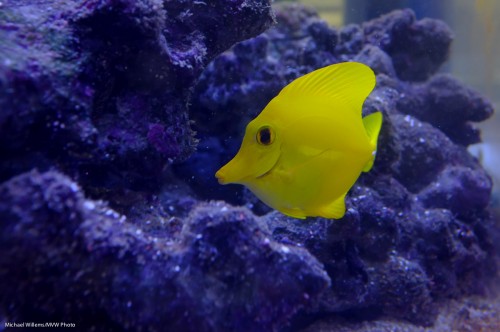
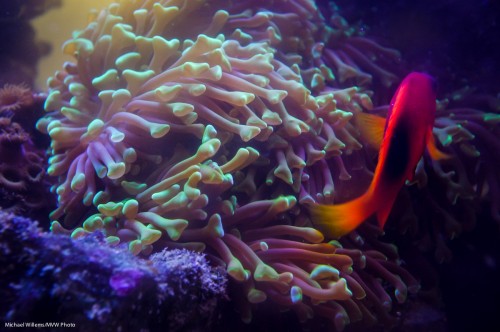
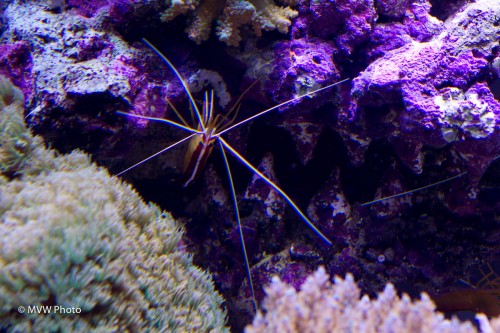
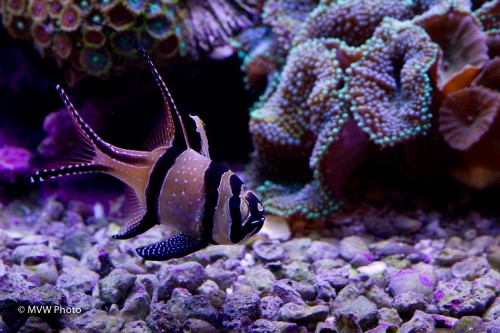
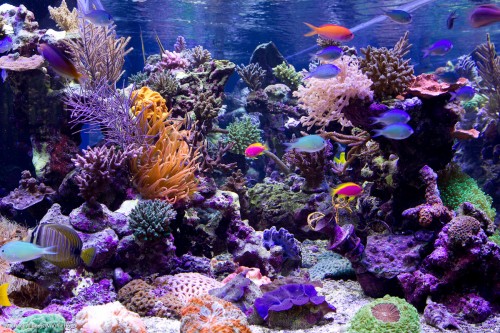
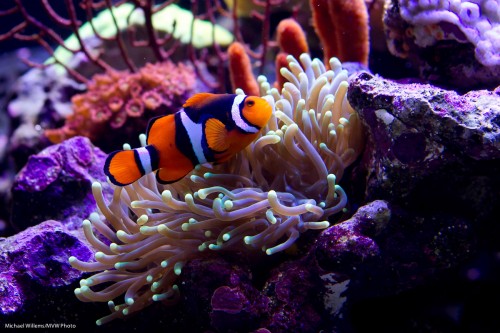
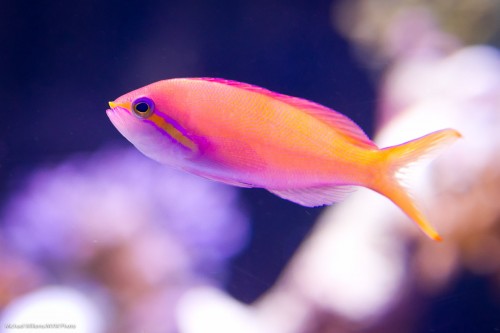
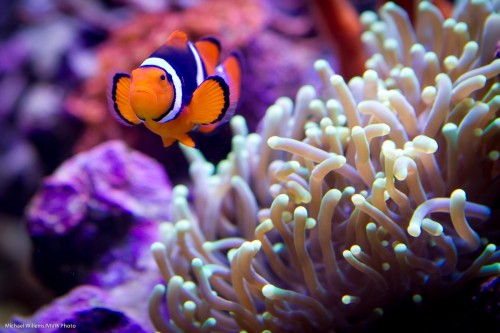
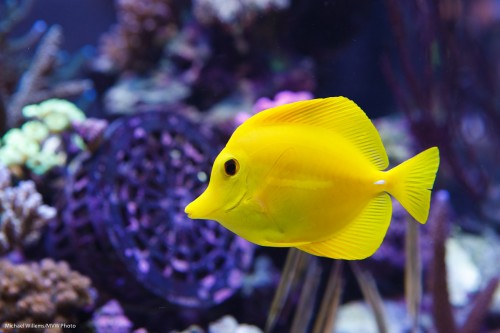
Examples here – shot this morning with my Fuji X100 camera with fixed 23mm lens (equivalent to 35mm), at f/5.6, 1/60th second, at 800 ISO.

800 ISO? Is that not grainy? Well, apparently it is quite acceptable.

(More aquarium tips elsewhere on this site – search for “aquarium” on the right.)

Next question. Can you shoot JPG and get quality?

No. Yes. Wait. Of course you can. As long as you get the shot right!

On the Fuji I tend to shoot JPG, against all my usual advice – because I tend to get everything right (white balance, exposure, and so on). And these are usually not client shots, hence I feel I can just shoot JPG, unless they are for publication.

So the above shots were shot as JPGs. So yes, it can be done – though I would normally recommend RAW, since more mistakes can be fixed more easily. But when you have to, and have the ability to consistently get “close enough”, you can indeed shoot JPG. QED.


Glass problems

When I shoot, I like as little glass between me and my subject as possible. Obviously I need a lens, but as little extra glass as possible is good.

The reason is that glass can distort, and it can introduce extra flare.

  • If glass is not optically great, this will be more easily noticeable (use drug store glasses, look though airplane windows, or old windows).
  • If it interferes with filters, e.g. with a polarizer (try shooting through your car windshield with a polarizer).
  • If you shoot at an angle.

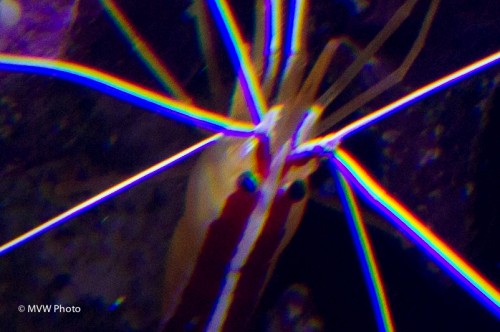
When you shoot through an aquarium, for instance, do not shoot at an angle. Because this results:

Look closely:

Ouch. We call this “chromatic aberration”.

The solution: shoot straight, and avoid wide angle lenses.

No aberration even when you look up close.

So glass can cause problems – which is why I use as little as needed. Meaning I do not use filters on my lenses except when needed. Like “Protection”, “Daylight” or “UV” filters. Yes, I have them in my bags in case it starts raining or snowing, or I am in a sandstorm or on a  beach, but unless those things are happening, I will not use them. Every little bit of clarity helps.


Finding Nemo

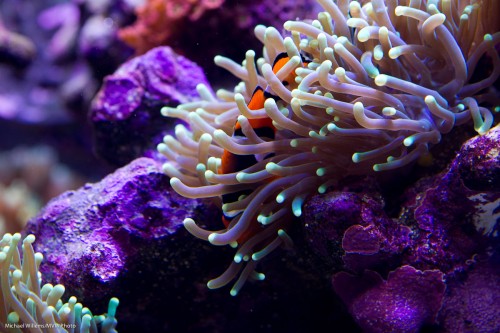
Found him:

He was hiding in these coral polyps. Which is, I understand, exactly what these fish do.

Today, in other words, some more aquarium shooting, and a few more tips on the same.

This time, on the camera settings:

  • Lens: I used a 24-70mm lens set to 70mm for most shots. On a 1.3 crop camera this gave me 90mm effective length. A 100mm macro lens would have done nicely, too.
  • Exposure mode: The mode to use is manual (although you could use program or aperture mode, since an aquarium probably does not vary all that much).
  • ISO: I shot at 800 ISO, which was a nice compromise between quality and speed.
  • Shutter speed and aperture: I used a shutter speed around 1/200th second and an aperture of f/5.6. At the chosen ISO of 800, this gave me a meter reading slightly below zero, and hence, well exposed pictures. An aquarium can be fairly bright, which is a good thing. The setting of f/5.6 (or f/4 in some images) gives me some depth of field, and 1/200th second gives me the ability to somewhat freeze motion.
  • Focus area: I set the focus area to one focus spot, and pointed that point at the main interest point in the picture – the fish’s eye.
  • Focus mode: I set the focus mode to AI Servo (AF-C for Nikon users). That way you can shoot moving objects.
  • Drive mode: I set the drive mode to continuous.
  • White balance: I used “Daylight”, since this aquarium was lit by sunlight-type light. Failing that, use “Auto” white balance.

Now that we are all set up, we shoot. A lot.

A few more tips:

  • We try to get as close to the glass as we can. This minimizes the imperfections of the glass.
  • The glass, of course, is clean.
  • Room light is dimmed as much as possible.
  • We may want to stabilize the camera e.g. with a monopod.
  • Avoid picturing too many artificial things (equipment) if you can.
  • Shooting perpendicular to the glass (see previous post on aquariums), since this preserves quality and minimizes the need to do any post-processing.

Remember that when using AI-Servo (AF-C) to shoot moving objects (or fish), you will be lucky if one third of your pictures are razor sharp even when you are experienced and have everything going for you. If you get one in ten extremely sharp, be happy.

At the same time – do not be too critical. If you print at 5×7 or even 8×10, you will not notice a slight blurriness.

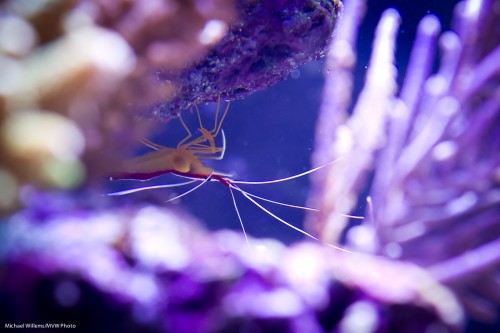
Nemo’s friend:

Prawn pregnancy:

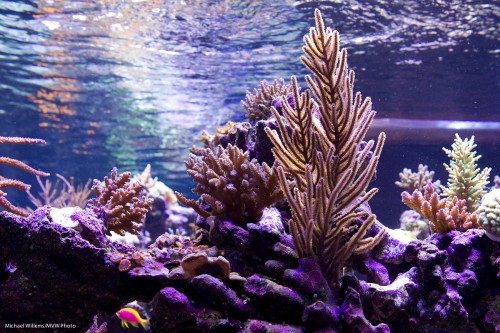
Nice reflections on top:

And finally, one more shot of our friend little Nemo:

Next week, a few more tips on photographing aquariums. In the mean time, if you have access to an aquarium, be prepared to spend a lot of time coming up with great shots. It’s worth it – an aquarium is a truly fascinating place, where nothing is ever the same.

Heeere, fishy fishy fishy!

Today I had the pleasure of seeing a wonderful live coral reef aquarium in Oakville – a world class aquarium, one with live coral reef flown in from Indonesia that sort of thing. You will be able to, I think, see more pictures soon on its owner’s web site, but I thought I might say a few words about shooting aquariums here.

Fish

A Fish.

Hence, my ten tips.

The following things immediately occurred to me. In no particular order:

  1. Use existing light – avoid flash if you can (reflections, loss of contrast).
  2. Shoot perpendicular to the glass. Glass distorts.
  3. Look for contrasty subjects first of all – make life easy for yourself.
  4. Ensure your shutter speed is rapid enough to freeze motion.
  5. Use a higher ISO if you must, but try to keep it down if you can.
  6. Look for opposing colours, as in the shot I made above.
  7. Be ready to enhance contrast in Lightroom. Sea water and glass will reduce your contrast, and there is little you can do, so be ready to fix afterward if you have to.
  8. Shoot lots of detail before trying the bigger shots.
  9. Avoid wide angle lenses as these will not shoot perpendicular to the glass. Use longer lenses (macro lenses, even).
  10. Use Manual mode: once you sort out the light, it will stay constant.

The above shot was made as follows:

  • 24-70 lens set to 70mm on a full frame camera (so a 50mm would do if you had a crop camera).
  • I was in manual mode
  • I used f/5.6 and 1/60th second
  • My ISO was 200. Fast enough to freeze the fish motion (if not the fish); slow enough for great quality.

In a later post, more on the overview/large/wide shots, but for now this ought to get you started.

I would love to spend a week shooting that particular aquarium, by the way.  Exciting. And the photographic opportunities. Wow!